Hike to the Steindalsbreen Glacier, Lyngen Alps, Norway
The Hike to the Steindalsbreen Glacier in Northern Norway is still a bit of a hidden gem in the Lyngen Alps. The endpoint of the hike is a Glaciel lake with calm, turquoise waters.
The Glacial lake is located at the bottom of a ravine, where the glacier plunges into the lake, looking like a “real” waterfall of ice.
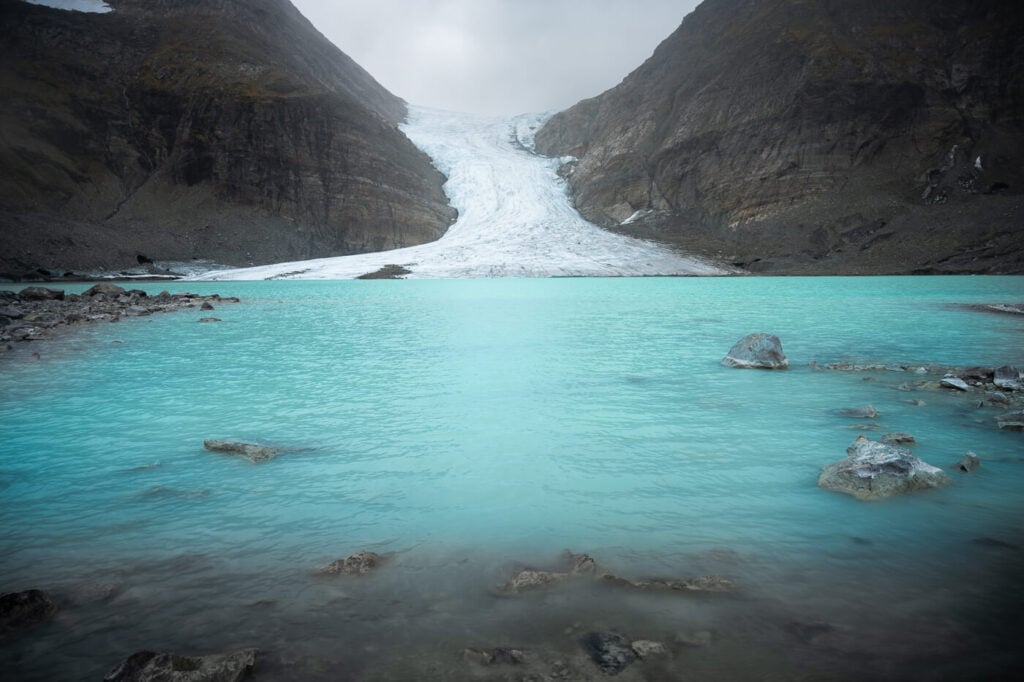
Steindalsbreen’s Glacier tongue and glacial lake.
What’s also special about this location is the beauty of the contrast between the dark sit on the lake shores, with the blue waters of the lake itself.
It’s a rather interesting combination of elements and quite a peaceful and very pristine location.

The hike, which lies entirely within the Steindalen Valley, can easily be done as a day hike from Tromso. It can also be easily integrated into any itinerary around the Lyngen Alps and other routes if you are planning to head further North or drive from the North toward the South.
That’s to say if you are in the area, this hike is time well spent – and if you are looking for hiking trails in the Lyngen Alps, this one is not to be missed.

The glacial river from Steindalsbreen runs through the beautiful Steindals Valley.
Table of Contents
Overview of the Steindalsbreen Hike & Map
The hike is relatively long, but not particularly difficult. I’d categorize it as moderate due to its length and because it still goes through both morainic terrain and the more recent glacial deposits – which is never the easiest terrain to walk on.
| Max Altitude | 450 m |
|---|---|
| Distance | 13.8 KM |
| Elevation gain | 580 m ↑ / 580 m ↓ |
| Hike time | 04:00/ 05:00 Hours |
| Hike Difficulty | Moderate |
Here is the map of the Steindalsbreen Glacier Hike. You can download the GPX file for free from the activity linked below, should you wish to do so:
How to get to the Steindalsbreen Glacier trailhead and Parking
Located on the Eastern side of the Lyngen Alps, the best way to reach the trailhead is by car. The drive from Tromso takes about one hour and a half and, of course, is quite scenic.
- Driving Directions: Road 868, Oteren. From either West or east, you need to run onto road Road 868 at Oteren. From there it’s a 30 minutes drive to the parking lot by the IMA Tursenter. turn when oyu see the “IMA Tursenter” sign – Steindalsbreen isn’t marked.
- Parking: there are two relatively large parking areas close to the tourist office. Both paid, you can use the Easy Park app. There is another smaller
- Public Transport: there is a bus stop on Road 868, a short walk from the trailhead. The Bus stop is called “Elvenes”, and bus 460 stops there. You can plan your public transport trip to Steindalsbreen here, and select the stop “Elvenes, Storfjord”
The Steindalsbreen Glacier Hiking Trail
The trail starts at the parking area next to the tourist center and is well-signposted. The path initially follows an old gravel road next to the Steindalselva rivers from the glacier. Although the river is not visible at this stage yet, the noise of its rumbling waters would be with us for almost the whole hike.

The dirt road at the trailhead.
There are several other minor points of interest along the route, all marked with info boards. These points of interest vary from botanical to folklore, with some fun facts, and information about the glacier/landscape.

There are many info boards on the trail, which hexplain the history, geology, or just report fun facts about the trail.
For instance, you’ll come across a stone where a woman gave birth to her child in the early 20th century, You’ll see detailed descriptions of the morainic deposits or stakes marking glacier level at different years.
I found these to make the hike even more enjoyable – it was actually quite interesting learning a few, unexpected things both about the landscape and the place itself.
Hiking to The Steindalshytta
The first part of the trail is almost entirely in the forest, with a few small clearings here and there. This is also where a good chunk of the elevation gain is.
The sound of the flowing river will also keep you company for most of the trail to the Steindals hut, although at this point you’ll only be able to catch small glimpses of it here and there.

Initially, the river is only partially visible through the forest.

As you approach the Steindalshytta you’ll be able to get better views and get closer to the river in a few places. The Hut is in a beautiful location, surrounded by the forest and small creeks.
From here onwards, you also have better views of the river.

From Steindalshytta to Steindalsbreen
The first part of the hike after the hut is still in the forest, but the views will gradually open up until you’re out of the woods. This part of the trail is also flat and offers fantastic views of the surrounding landscape and mountains. Also, you’d get a sneak peek of the glacier.

First view of the glacier from the trail.
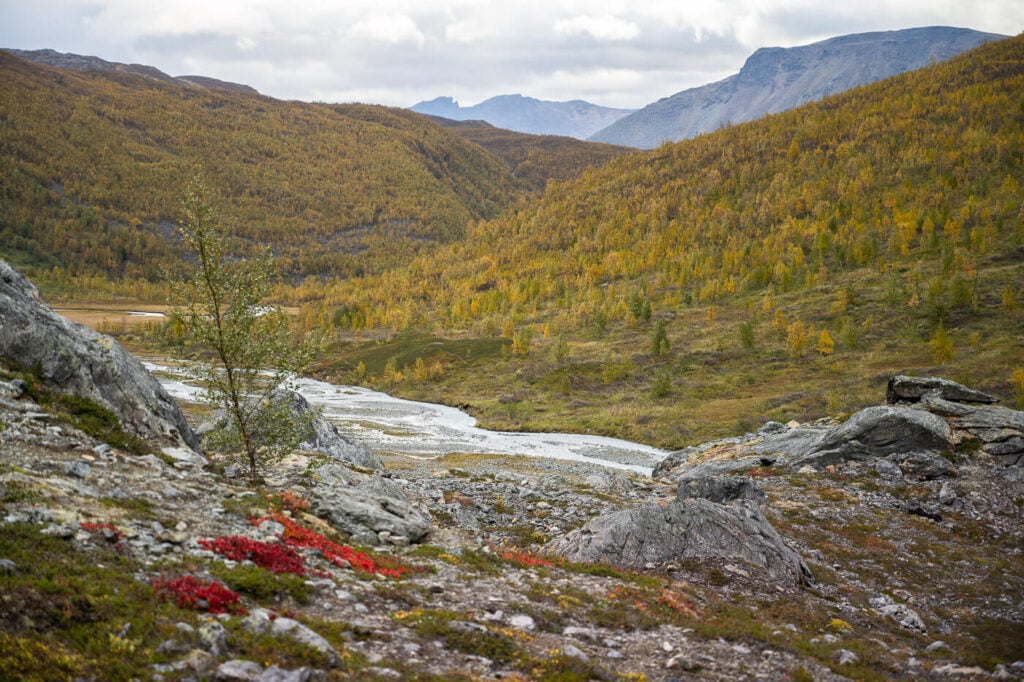
Looking back at the lower part of the glacial valley.
Then the trail will gradually start to gain elevation as soon as you approach the bigger morainic deposit, which is also the last stretch before reaching the lake and the glacier.
This last part is relatively steep and you’d need to find your way across the many stones and boulders.

Approaching the Morainic deposit, also the steepest part of the Hike.

From the top of the Morainic deposit, you can already see the whole glacial tongue

Then, the trail will flatten out at the top of the morainic deposit. You’ll pass by a logbook first, and then you’ll reach the lake’s shores.
You can walk along the shore and continue to your right on the side of the lake toward the glacier, where you can get quite close to it without stepping on it.

The logbook, with the glacier in the background.
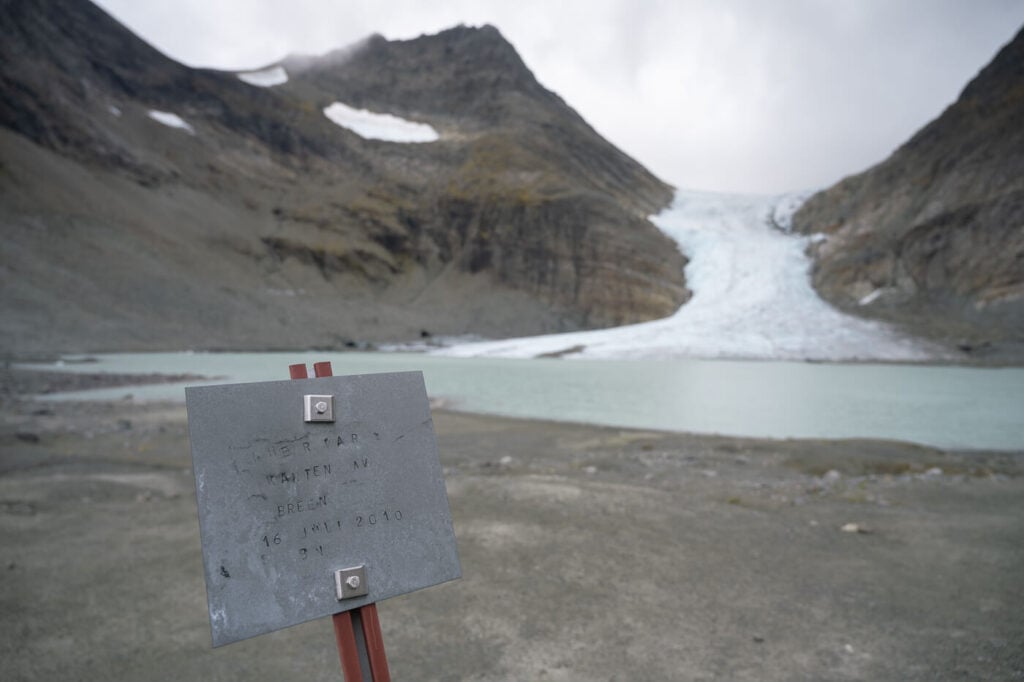
Boards mark the level of the glacier from previous years. In this case, this is where the glacier was in 2010.
This last part is probably more at risk of rockfall, otherwise, it’s a reasonably easy walk.
Don’t try to walk on the glacier if you have no experience or the right equipment, but if you want to do it, there are guided tours that will take you there.
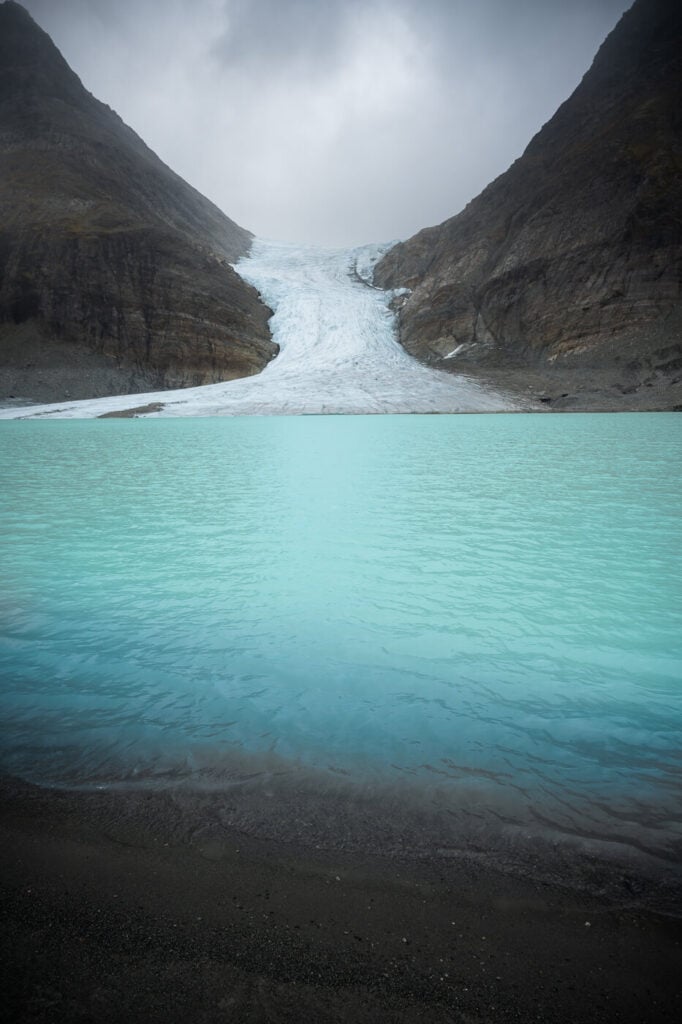


You can walk to the side of the lake, but be careful in this area – it is rather active and very close to the glacier.
Steindalsbreen Glacier Photos and Photography Tips
The major highlight of this hike was the lake and the glacier – specifically the blue lake of the lake and the contrast they created with the silty shores, that almost look like black sand. Add the backdrop of a glacier that really looks like a waterfall of ice and you have plenty of shapes and colors to play with.
There also are other interesting compositions along the shores of the lake with foreground rocks. On top of thatv the glacier has plenty of beautiful, intricate patterns.


The glacier itself has plenty of beautiful patterns.
On top of that, there are plenty of occasions to photograph the landscape while you hike to the Steindalsbreen glacier, especially with the river and the small waterfalls it forms on its course.
If you do wildlife, you may want to bring your longer lenses too in case you come across Reindeers – or even Elks. I did see a Reindeer in the forest, but it saw me first and it was gone before I could even think to take a picture of it.
Lastly, this is a protected area and drones are not allowed.
Where to stay
IMA Tursenter offers accommodation, and it’s located right at the trailhead. It’s a very quiet area if that’s what you are looking for. Alternatively, there are other guesthouses around the Lyngen Alps area.
in a van, you can spend the night in the paid parking area, which also offers public toilets. Alternatively, there is a much nicer, free Resting area back on the E6/E8 road.
Additional Resources
- For more hikes in the Lyngen Alps region, I can recommend the hike to Blåisvatnet, another glacial lake with even deeper turquoise waters.
- Check out the main page on Hiking in Norway to discover more beautiful hikes and locations.
- Page of the IMA Tursenter in Norwegian


Leave A Comment