Þakgil Red Trail Loop, with Epic Glacier View Detour, Iceland
The Red Trail loop is one of the longest hikes in Þakgil, also one of the hardest and one of the most scenic. Not only that, by I will make an argument for you to make it even longer, with a detour to a very spectacular location. As if it wasn’tt beautiful e nugh already :)!

View of the Mýrdalsjökull glacier from Maelifell, a small mountain on the Red trail in Thakgil.
I have already covered the Yellow Trail to the Huldujökull Panoramic Point, in detail, so I won’t go into all the details because this post is about the Red Trail – which offers plenty of scenic lookouts and interesting rock formations.
The red trail in Takgil offers views like those you’d expect to see trolls or elves – or other mythological creatures popping out from behind a rock.
The inaccessible ravines and canyons along the route make you wonder what kind of creatures might be living in their recesses. I probably would not have batted an eyelid if I had seen a dragon flying and spitting fire above a canyon like the one below.

But enough with the fantasy stuff, let’s get into the details of this beautiful hiking trail.
Going to Iceland? Blue Car Rental Discount!
As a reader of The Photo Hikes, you get a 5% discount on your car rental when booking with Blue Car Rental through this website. The discount will be automatically applied to the booking through the following link
Table of Contents
Overview of the Þakgil Red Trail Loop Hike & Map
Do note that the Glacier viewpoint detour is about 4km long – and takes about 1/1:30 hours of the whole hike described below.
If you wish to do the Red Trail without this loop, you can subtract that distance/time from this hike. The same applies to the GPS map below; you can exclude the out-and-back detour from the loop.
On the trail, I went counterclockwise to visit the glacier viewpoint first. If you plan to do it the same way, be aware that you may have to wade a river. Whether that’s needed or not, it entirely depends on the water levels.

A section of the red trail may require wading a river, depending on water levels.
I did have to, and the level was just below the knee (and I’m a 6ft /183cm tall guy). You may want to do it the other way around if you are unsure about the river part. That way, you’d clear it immediately. Not a huge obstacle, however.
Also, definitely bring hiking poles. I wish I did. The last part of the hike before the aforementioned river crossing is on a steep and soft terrain.
| Max Altitude | 740 m |
|---|---|
| Distance | 16.2 KM |
| Elevation gain | 780 m ↑ / 780 m ↓ |
| Hike time | 05:00/ 06:00 Hours |
| Hike Difficulty | Moderate/Hard |
Here is also the map of the Hike. You can download the GPX file from the linked activity. Do note that the trail may be changed from time to time. Do follow the trailmarks instead of the GPX file in case of differences.
How to get to the Red trail trailhead and Parking
Like all the trails in Þakgil, the red one also starts at the campsite. There’s only one way to get there because Þakgil is at the far end of a dead-end road.
If you are looking for car rental recommendations, I can recommend Blue Car rental – and you get a 5% discount too!
- Driving Directions: Þakgil can be accessed via a 14km long dirt road called Kerlingardalsvegur. The access road is just a 5-minute drive from Vik. Hotel Katla is where the road starts. While it is a rough, dirt road, it is not an f-road and can, therefore, be accessed by 2WD cars. Still, I would recommend a higher clearance vehicle or a small 4X4; I have seen sedans on the road, and the ride did not look fun. Anyway, this is a very scenic drive too, and while it can take 20/30 minutes, it may take longer as you will probably stop a few times along the way to snap some photos.
- Parking: Parking is available at the campsite and in smaller pull-out areas on the road to the campsite.
- Public Transport: none available, only by car (or some tours, perhaps).

The campsite, with parking, a view from the trail.
The Red Trail Loop
The first part of the trail is the same for the red, yellow, and blue trails. You can see the trail winding its way up the steep side of the ravine from the campground.
While steep, it’s quick to reach the top of the ridge above the ravine. Once there, the trail follows a dirt road uphill. It’s quite an easy walk here, as the gradient is gentle and the trail is wide.
Here, you’ll already come across some beautiful and curious rock formations. First, the one called “Rhino Rock”. It’s called so because of its shape, which resembles a rhino. Can you see the resemblance?

The “Rhino Rock”
Generally speaking, this part of the trail is easy and offers beautiful, open views of the surrounding landscape. A landscape
Then, you’ll pass by another impressive ravine that displays amazing shapes along its cliffs.


The trail offers amazing views of a landscape forged by glaciers, rivers, and volcanic eruptions.
Glacier Viewpoint Detour
While Hiking the Red Trail Loop, you’ll come across two forks. First, the Blue Trail, and then the fork between the Red/Yellow trails.
If you want to get to the glacier viewpoint, follow the Yellow Trail. However, you will have to backtrack to this point to continue on the Red Trail later on. This detour will take about an hour.
Again I won’t go into the details of the yellow trail as I already have all the information on another post. I am mentioning it because I think it’s well worth it. But it is an easy detour, although essentially unmarked.
If you take the detour, follow the yellow trail marks up to the tallest hill you see (called Sker). Then, continue toward the glacier, keeping to the right. Keep going until you see a horshoe-shaped canyon opening in the landscape. Head there for the views.

The yellow trail continues straight ahead, with no view of the glacier.

As you keep walking, the Glacier viewpoint will appear.
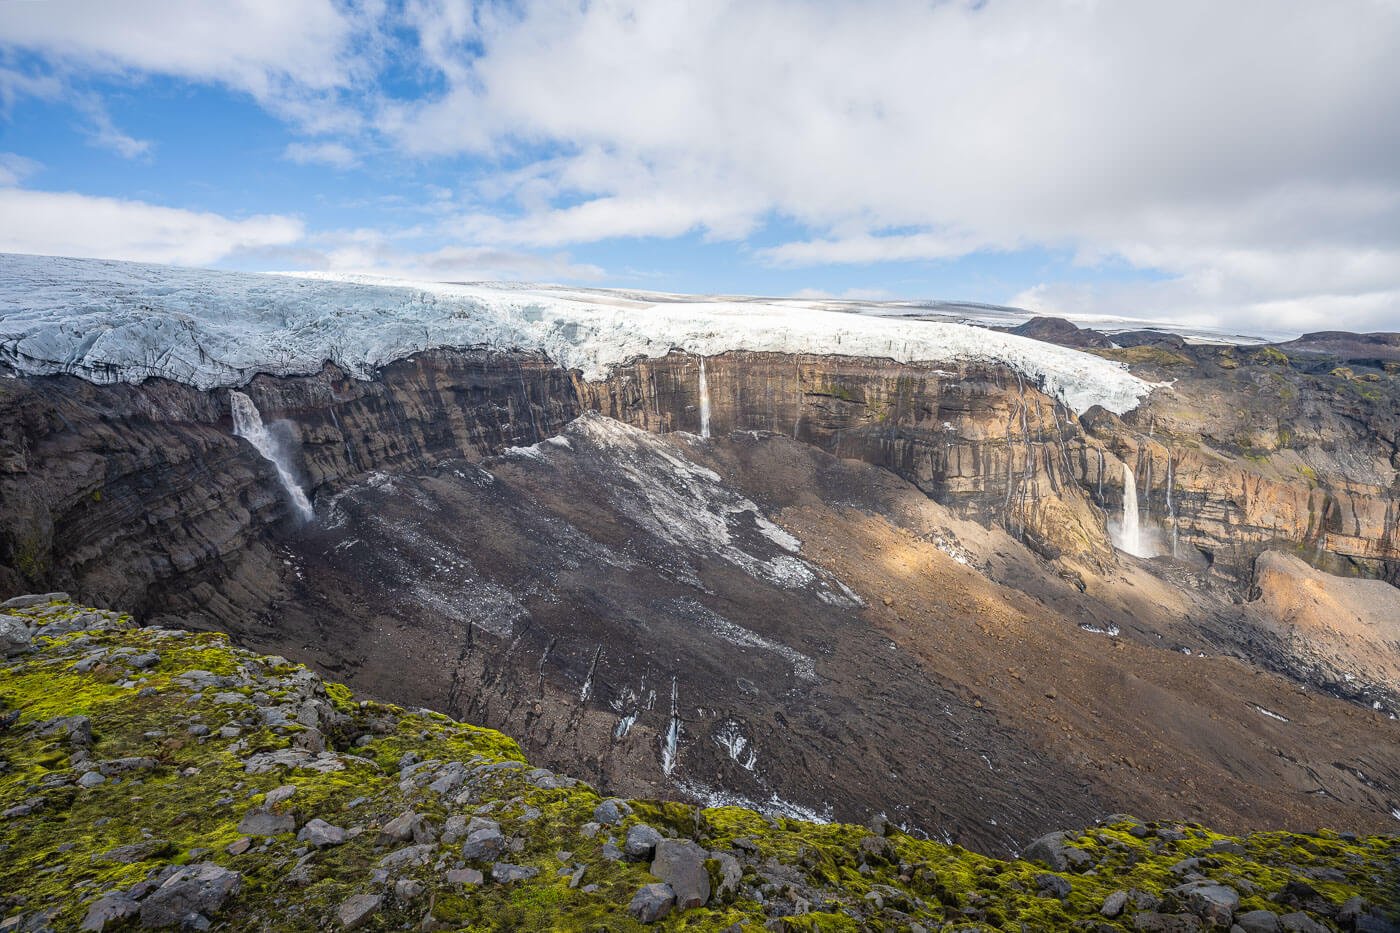
Glacier Viewpoint.
Red Trail Loop via Maelifell
Now back to the red trail. At the for between the Red and Yello trail, you’ll need to take the trail to your left. You will already see a mountain emerging from the landscape. that will be Maelifell, the next stop.

Maelifell
The trail initially heads downhill, before gaining elevation again as you approach Maelifell. It does not take long to reach it. It’s quite a steep trail to get to the top of Maelifell, but nothing that requires scrambling.
The views from the top are fantastic. Glacier, Canyons, and 360-degree views of the whole landscape.
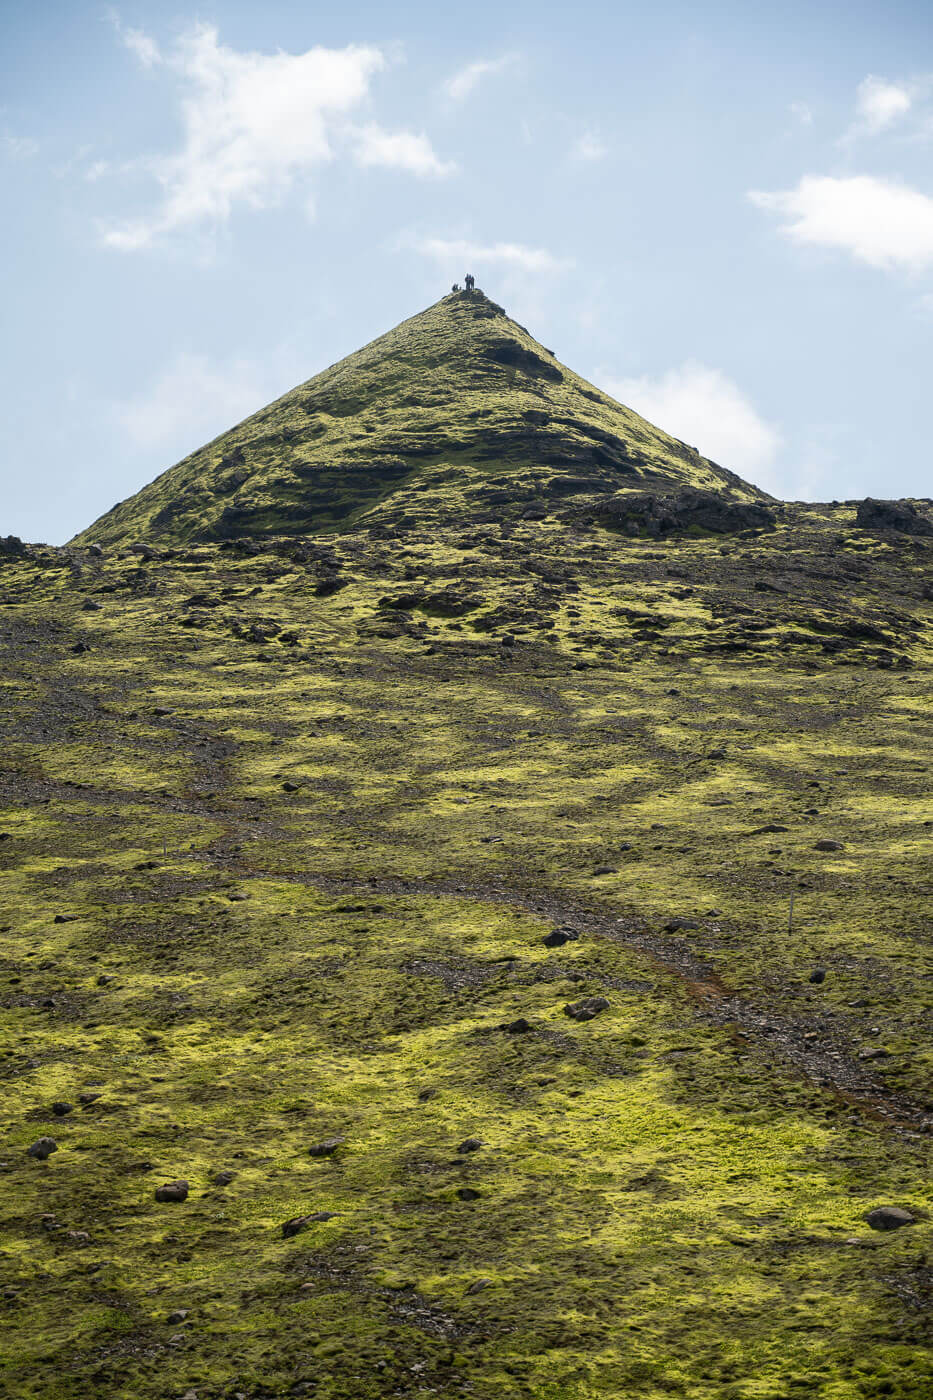
Hikers atop Maelifell.

Mýrdalsjökull glacier View from Maelifell.
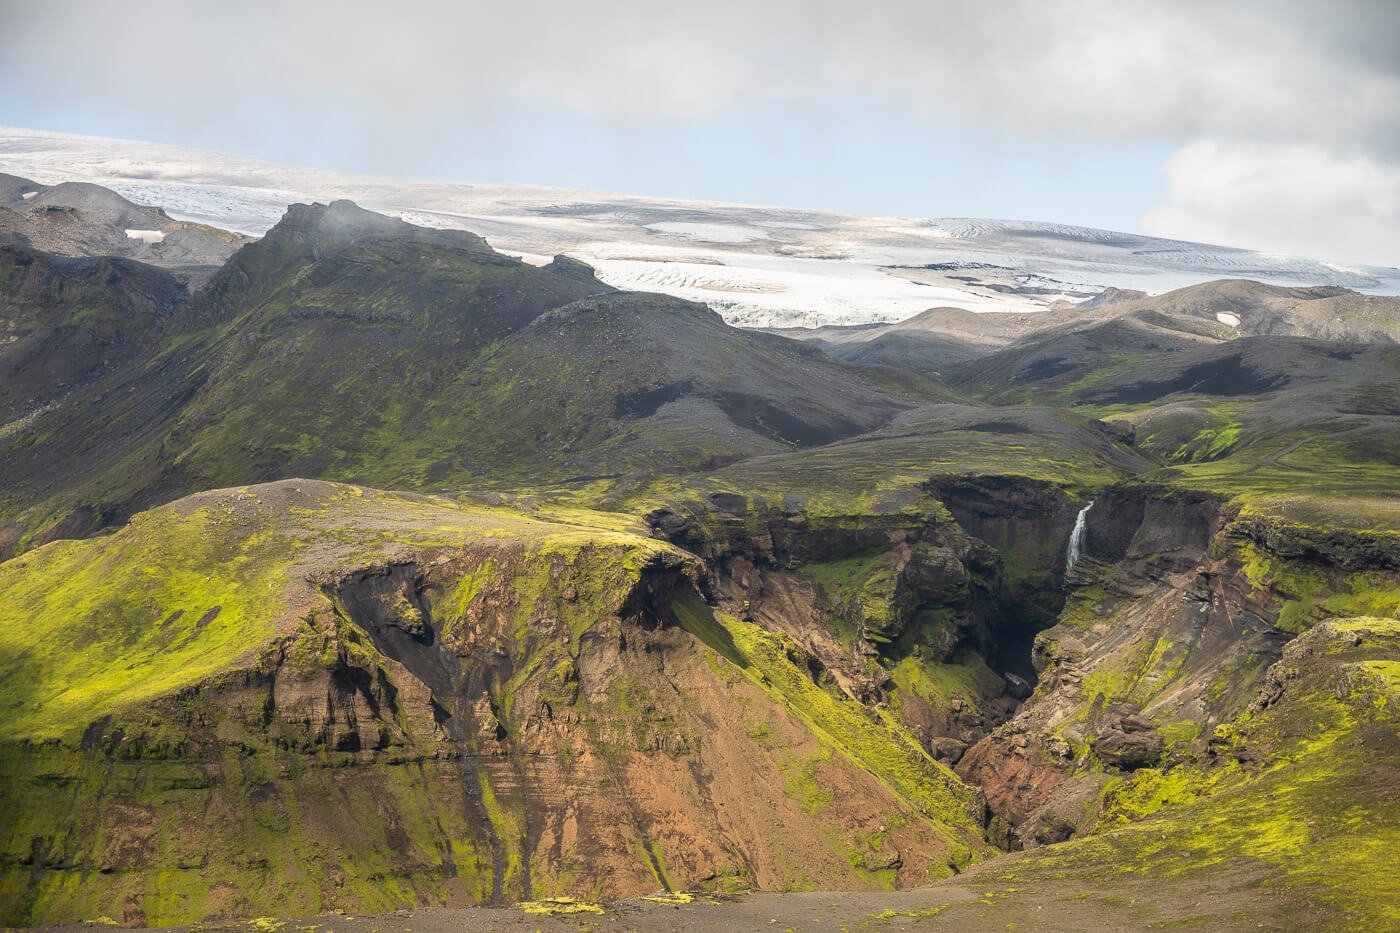
Another Glacier View.
The hike continues downhill on the red trail, passing several more canyons. Even if the trail goes downhill, the hike is still quite long and demanding.
The views will open up to the valleys, mountains, and rivers to the southwest, revealing, once more, more of the Thakgil magical landscape.


Then, onto the last bit of the trail, one of the most difficult sections. It’s a moderately exposed ridge, with a steep section don the side of the hill..
This is the section I recommend using hiking poles on. You’ll have to walk down a steep trail on soft, crumbly ground, where slipping and falling isn’t a remote option.
I had left my hiking poles in the car, so I had to baby-step my way down, zig-zagging as much as I could.
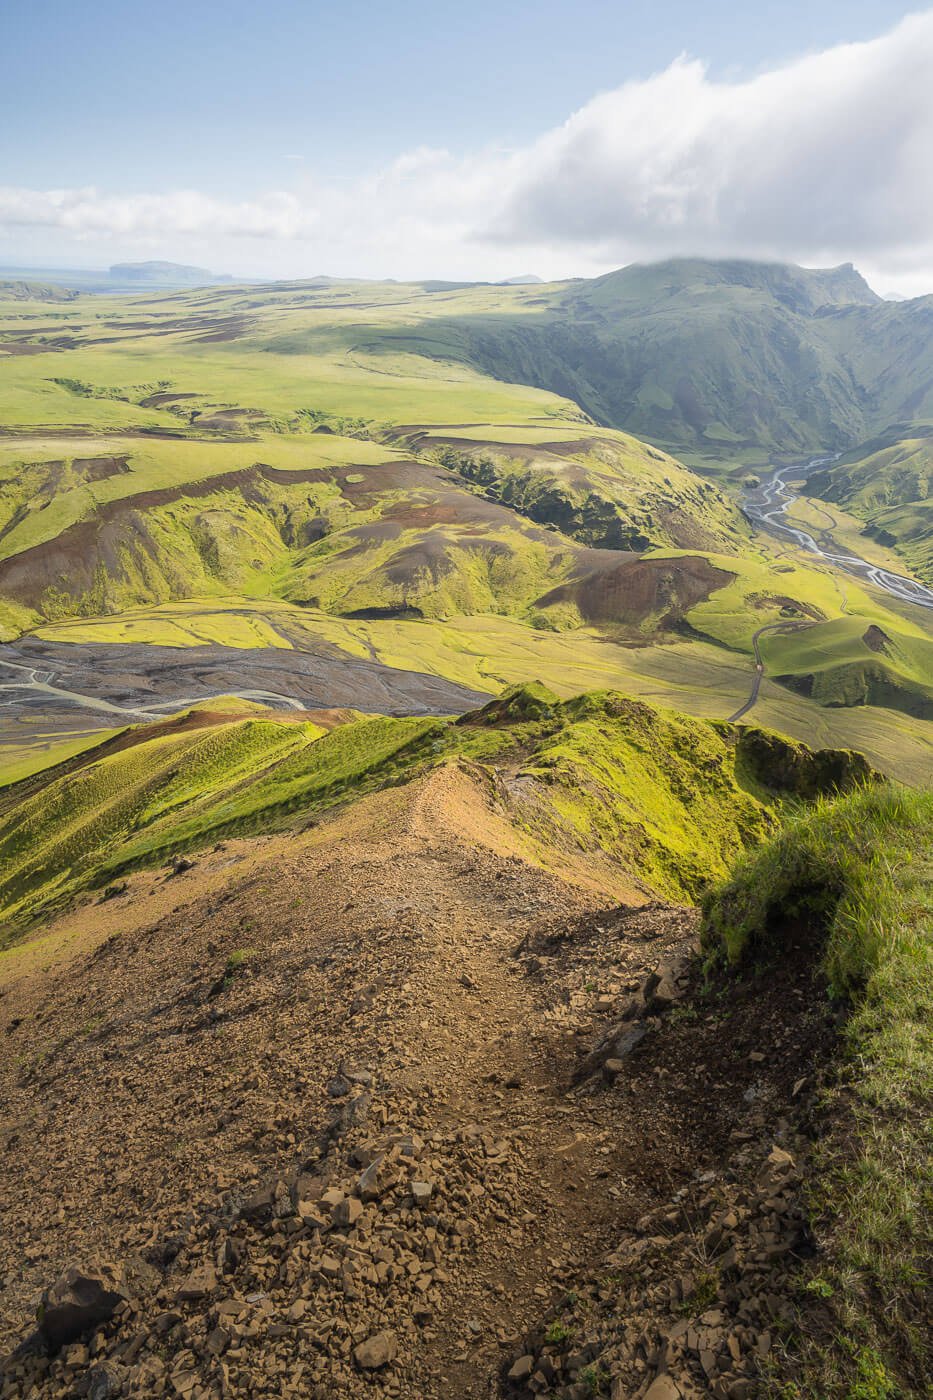
The last part of the trail requires hiking down a steep trail mostly made of soft gravel.

After this section, you’ll pass by a private hut, and shortly after that, it’s where you may have to wade a river. It really depends on how much water there is. you may have to or not.
I had to and had to cross several branches of the same river. If you have water shoes, I’d recommend keeping them on until you are back on the main road. From there, it’s an easy walk back to Þakgil to close the Red Trail loop.

Y0u may need to wade a few branches of a river to get back to camp.

Video of the Hike
Last but not least, here is a video of the Red Trail hike in Þakgil, with more beautiful views and landscapes. It. of course, also includes the detour.
Þakgil Red Trail Loop Photos and Photography Tips
The Red Trail is so filled with beautiful landscapes that it’s hard to pinpoint any specific place or recommendation. Apart from the stunning glacier view, which I think is a must-see, there are plenty of other amazing viewpoints.
However, I would say the main attractions of the Red Trail are all the Canyon, Ravines, and Glacier views you’ll meet along the trail. I used all the lenses I had, which ranged from 14 to 200mm. I’d also recommend bringing all the lenses you have. There’ll be an occasion to use them all.
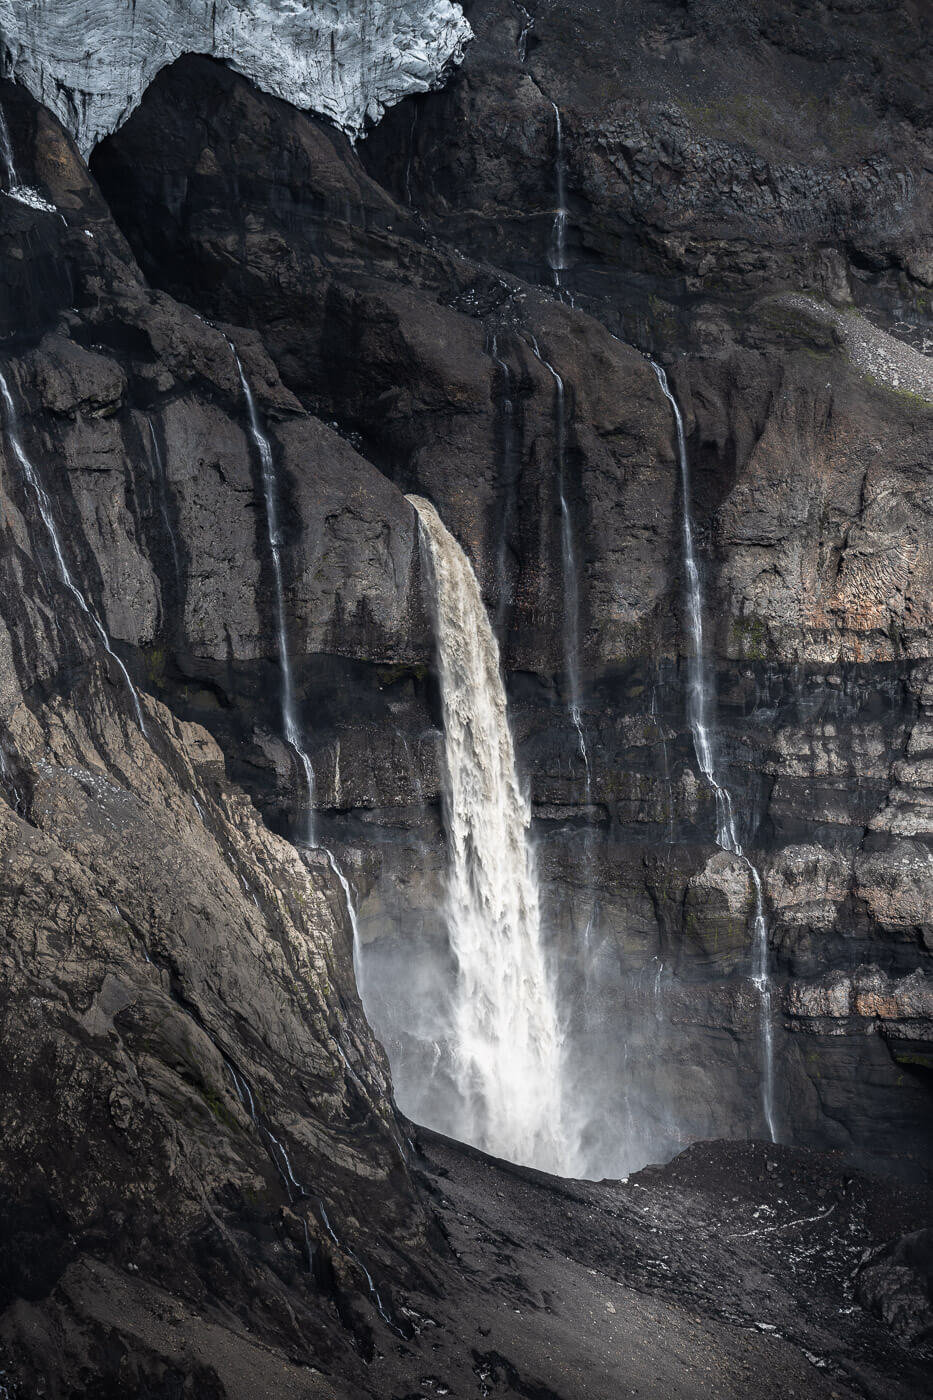
Huldufoss, view form the glacier viewpoint.

A random, beautiful Canyon along the trail.
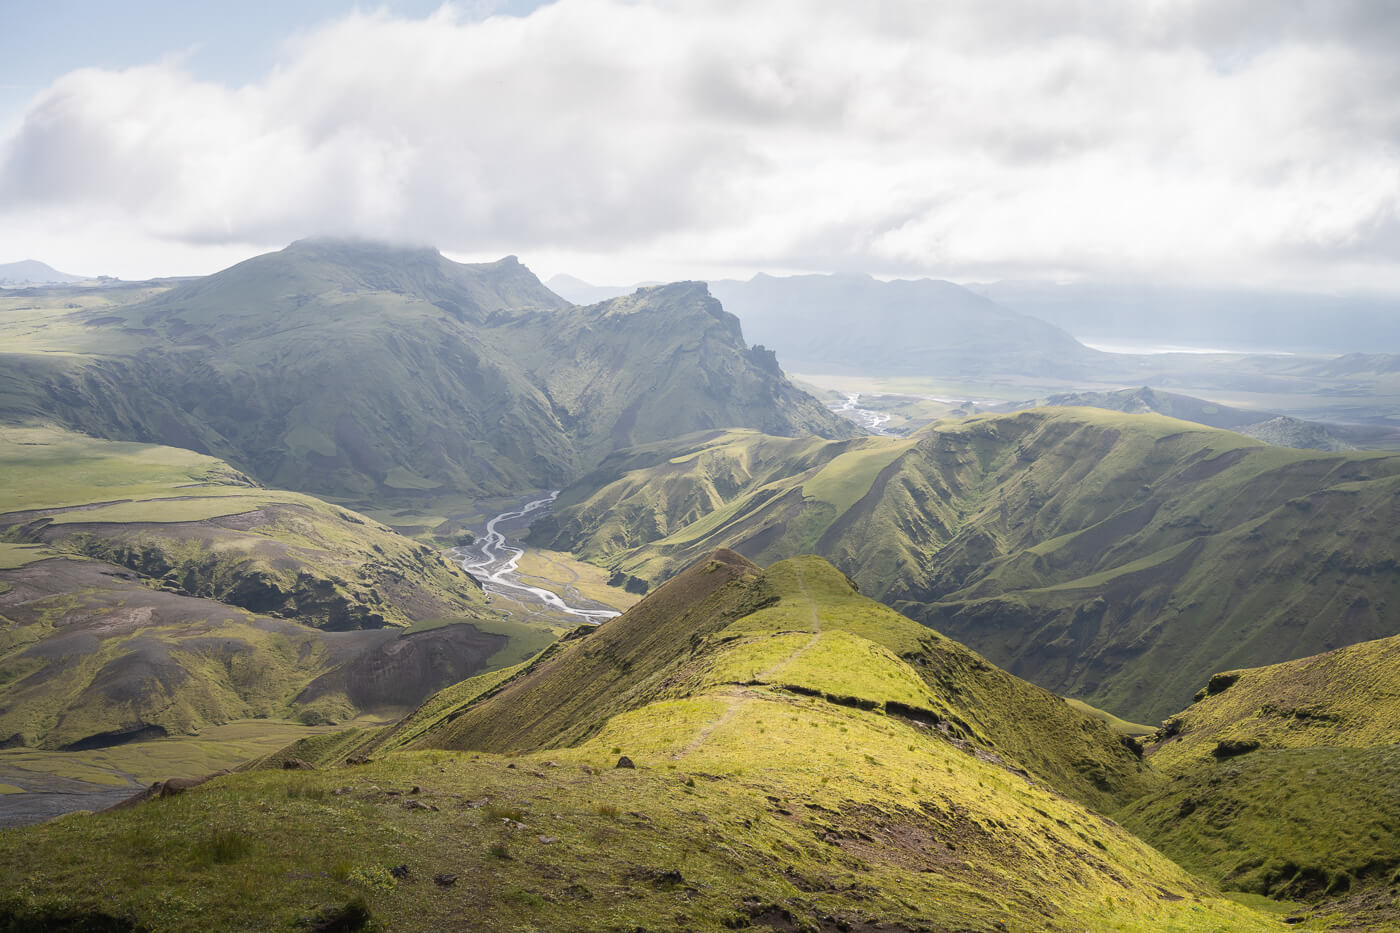

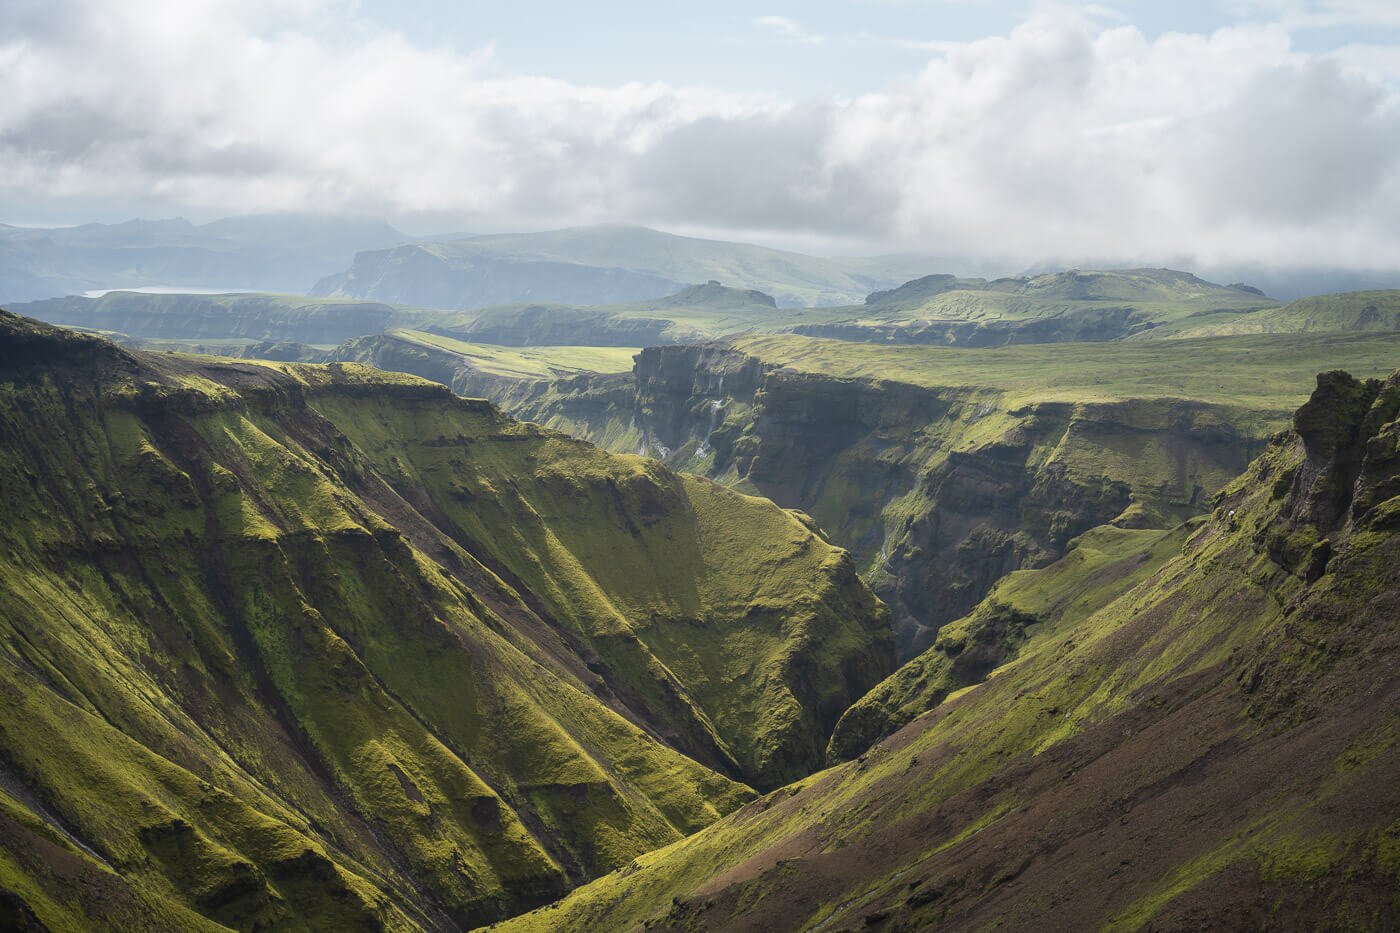


Especially if you enjoy doing landscape with a telephoto lens, this is a great place to do it. The landscape is so vast that there are plenty of details to sport in the farther away and unreachable corners of this area.
So bring all the lenses you have, you’ll find a use for all of them!
Where to stay
Þakgil, where else? If you read my other posts already you’d know this is my favorite campsite in Iceland and I stop here each time I visit in summer. You also have an option to rent a cabin there. It is an extremely beautiful location with great hiking trails around so to me it’s always worth stopping.
Alternatively, Vik and all the guesthouses around it are the closest locations where you should look for a stay. Be aware if you are planning to stay overnight in Vik you should book well ahead of time. Accommodation on the south coast is scarce.
Additional Resources
- Here is my full guide to Hiking and Camping in Þakgil. Discover all the trails and get camping tips.
- Here is the official Thakgil Website.
- Check out more Hikes in Iceland (with maps) here.

Leave A Comment