Torri del Vajolet Hike, Hike to the Towers and Best Viewpoints, Dolomites, Italy
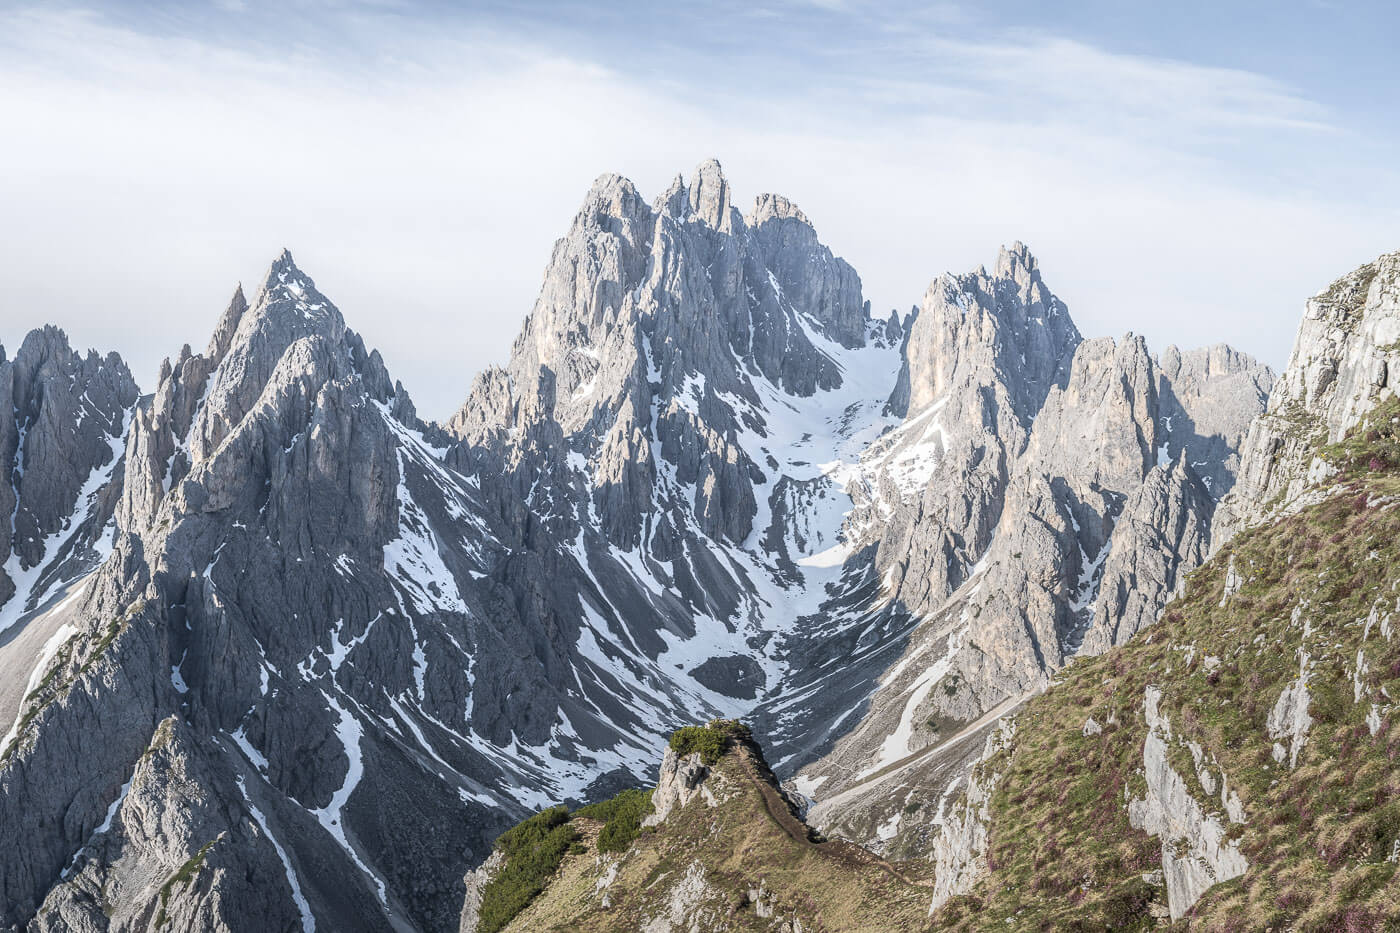
The hike to le Torri del Vajolet is one of the great classics and most popular in the Dolomites.
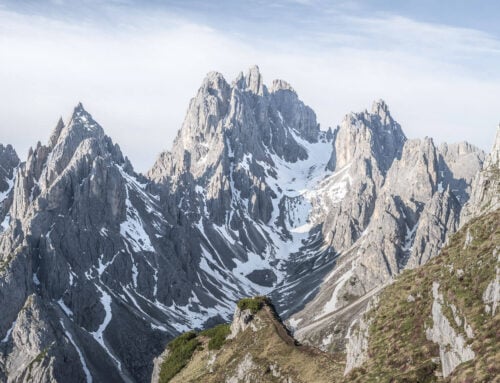
Meaning “Vajolet Towers,” these six sharp summits are among the major landmarks in the Catinaccio (or Rosengarten, in German) group and the Dolomites range.
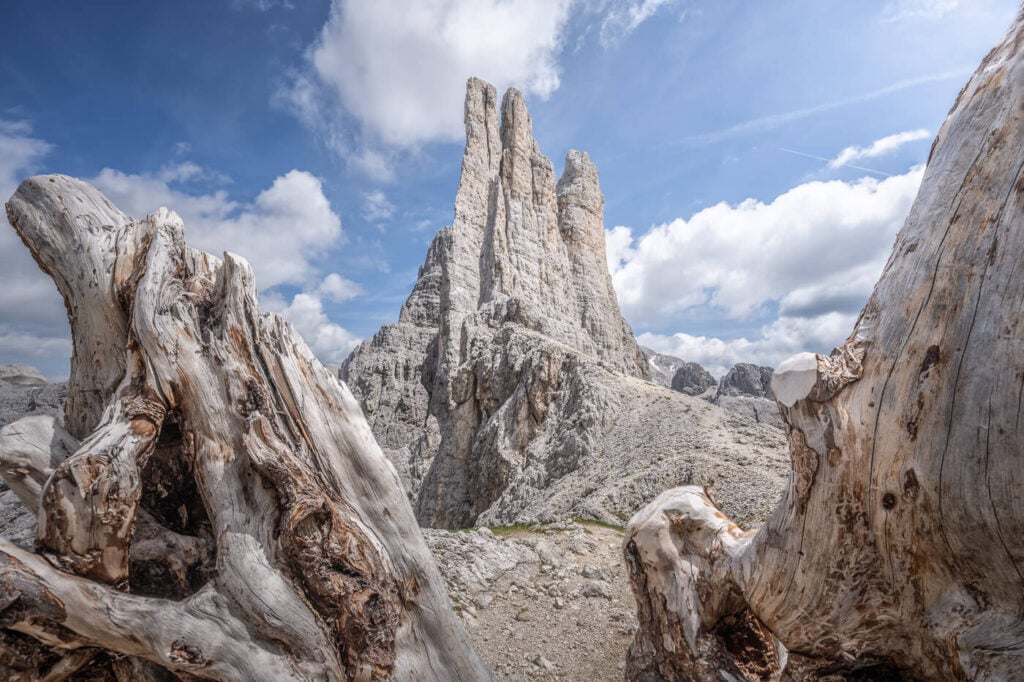
Le Torri del Vajolet – Vajolet Towers.
Located on the border between the Trentino and South Tyrol, they are most easily reached from Val di Fassa
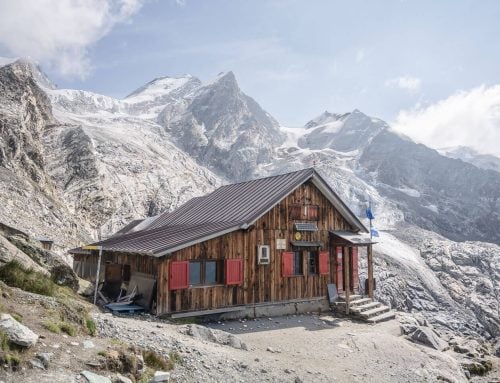
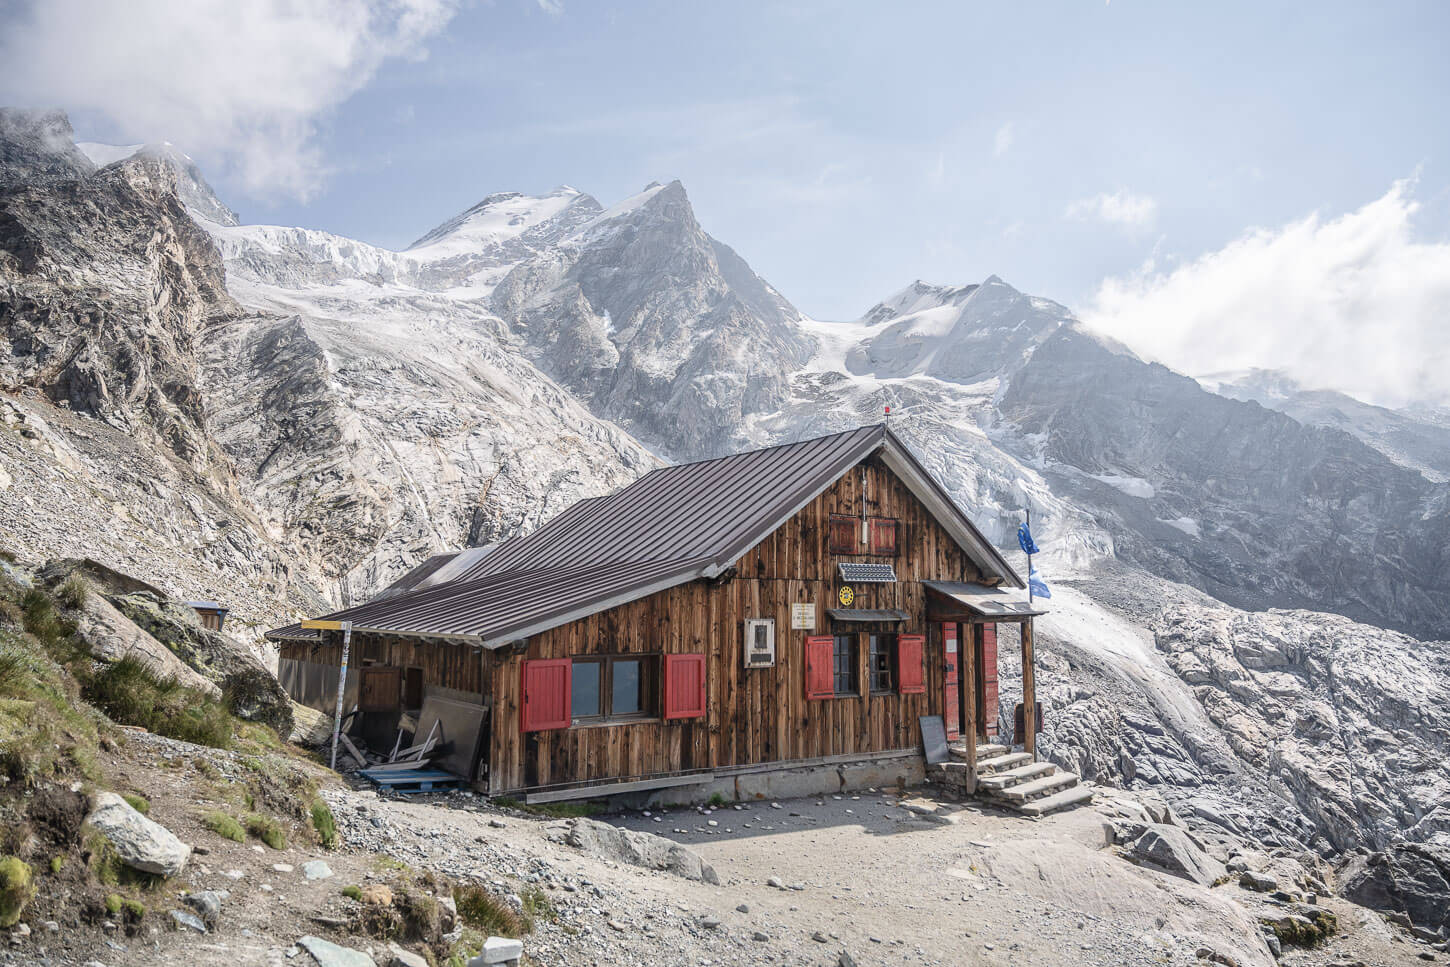
Also, there are several beautiful historical buildings and huts you can stay or eat at on your hike to the Vajolet Towers. These huts – called Rifugi in Italian are a great option if you want to be there for sunrise or sunset or if you want to explore more of this beautiful area of the Dolomites.
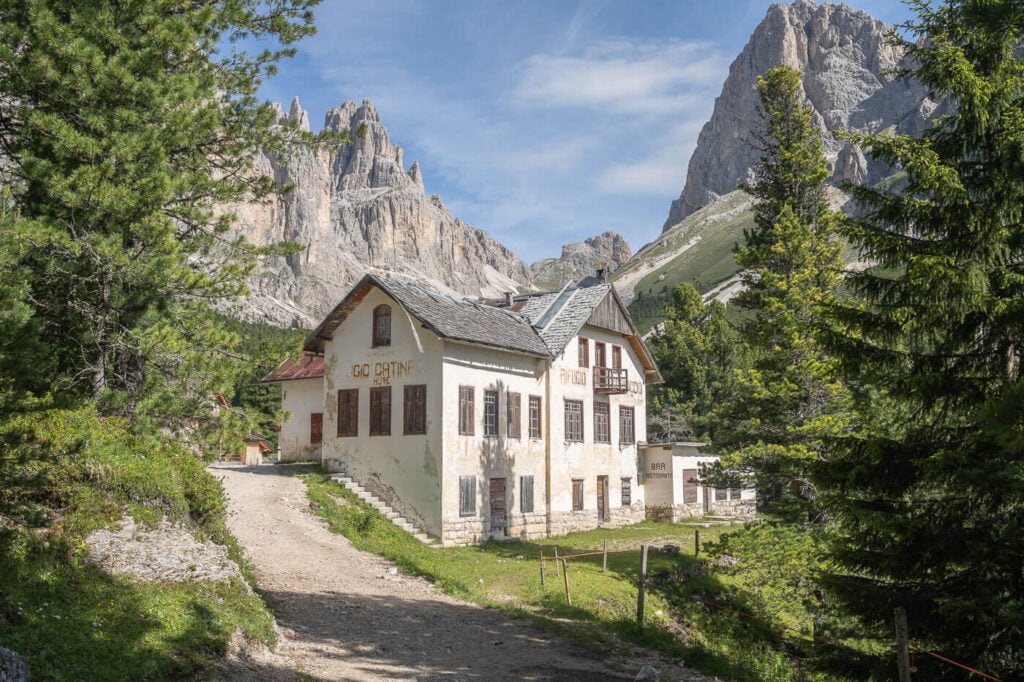
One of the many beautiful buildings you’ll find along the trail.
Table of Contents
Overview of the Le Torri del Vajolet Hike & Map
This is most commonly done as an out-and-back hike from the mountain station of the chairlift/cable car stations. However, there are plenty of trails that would allow making more or less longer detours from the most hiked path.
I’d consider this a hard hike because of the second section after the two rifugi. From there onwards the trail is steep, with lots of sharp rocks and some scrambling required here and there. Also, there may be some snow early in the season, which I did find in late June 2024.
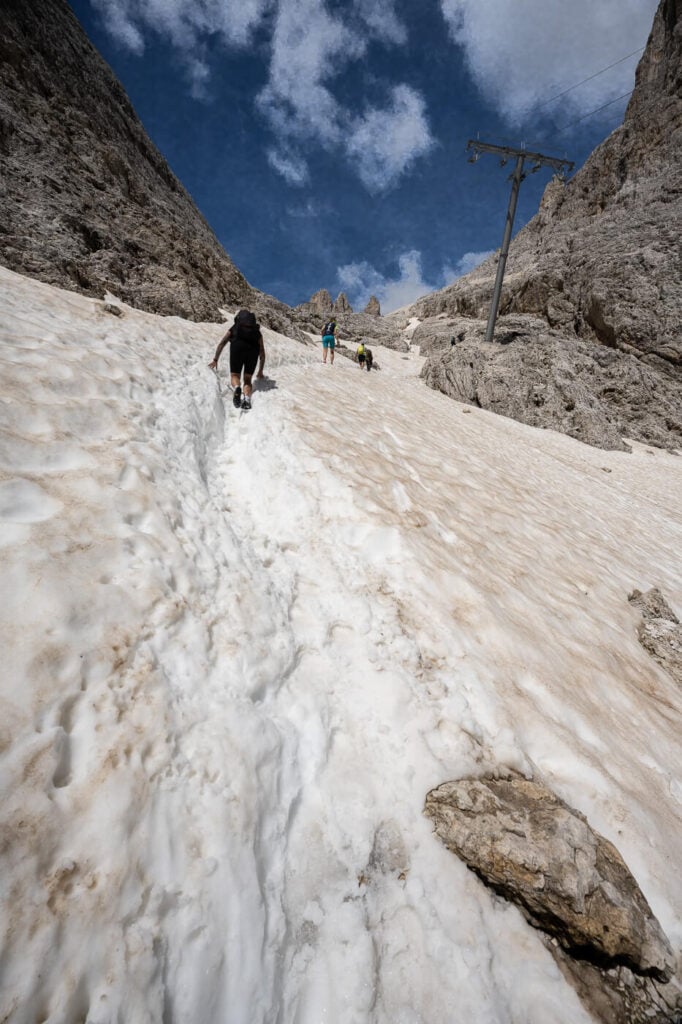
Snow on the trail between the Vajolet Hut and The Vajolet towers.
The first part is easy, and you can arrive at Rifugio Vajolet without much effort either. Only the last part of the hike is a little steep but nothing very challenging, The hardest part is between Rifugio Vajolet and Rifugio Re Alberto just below Le Torri – that part is rather steep and requires some scrambling.
Typically this hike is possible from early summer to early autumn.
| Max Altitude | 2,730 m |
|---|---|
| Distance | 14.7 KM |
| Elevation gain | 950 m ↑ / 950 m ↓ |
| Hike time | 04:30/ 05:30 Hours |
| Hike Difficulty | Hard |
Here is the map of the Vajolet Towers hike. You can download the GPX file for free from the activity linked below.
How to get to Torri del Vajolet and Parking
You could either drive to Vigo di Fassa and take the Funivia Catinaccio, or drive to Pera and take the Seggiovia (Seggiovia means Chairlift) Vajolet 1 and 2 – and another chairlift from there. Note, that you can also technically hike your way up from either Vigo di Fassa or Pera.
- Driving Directions: you can reach Vigo di Fassa via the A22 Brenner motorway, taking the Bolzano Nord, S.S. 241 Grande Strada delle Dolomiti exit if you are coming from the North (Austria). Then it’s about 45km from there. If you are coming from the south, take the Ora/Egna, S.S. 48 delle Dolomiti exit. It’s more or less the same distance from there.
- Parking: There is a small parking area suitable for 20-25 small to medium-sized cars right in from Funivia Catinaccio. Another one is a little further down the road here. Parking in these two areas is free if you use the Catinaccio cable cars. Otherwise, you’d have to park (paid) elsewhere in Vigo di Fassa.
- Public Transport: Bus 180 from Bolzano stops in Vigo di Fassa. In summer, also bus 471 stops there. You can plan your trip using the Alto Adige Mobility website.
The Torri del Vajolet Hiking Trail
Once arrived at the mountain station of the cable car, you’ll find both gorgeous views of the Catinaccio group and several huts you can fuel up at before setting out into the mountains. I sure did not miss the chance to have a second breakfast, on such a nice day and with such nice views.

Cake and Coffee at one of the many huts at the Catinaccio mountain station.
From the Catinaccio Mountain station to Rifugio Gardeccia
This and the next one are the easiest parts of the hike. Initially, the trail follows a gravel road until it enters a wooded area. This part of the trail mostly turns into the forest, but you have a few good views of parts of the Catinaccio group along the way, The trail itself is mostly flat, with a few, short uphill/downhill sections.
Then you’ll pass by a few older huts, as well as the Gardeccia hut. In case you regret not having had a second breakfast, here’s another chance for a bite and a coffee :).
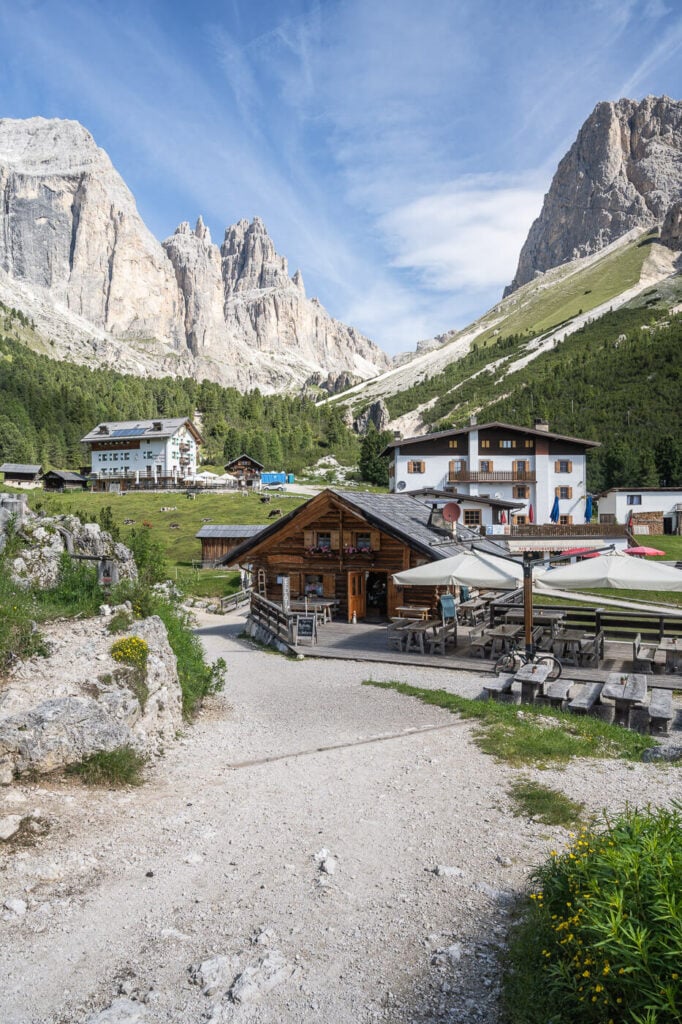
Rifugio Gardeccia and other huts.
From Rifugio Gardeccia to Rifugio Vajolet/Paul Preuss
This is also a short and easy part of the trail, mostly on gravel. The path gradually gains elevation and becomes relatively steep as you approach the two huts.
While the road is steep, it’s not difficult while going up. However, you’ll likely find this road slippery on the way down, as a lot of small gravel makes it easy to lose your footing. If you have hiking poles, bring them – I regretted not having them on my way down.

Paul Preuss Hut.
From this part of the trail, you can only see the Paul Preuss hut. The hut is built on top of an outcrop overlooking the valley below. Then, once you arrive at Rifugio Preuss, the Rofugio Vajolet comes in sight too.
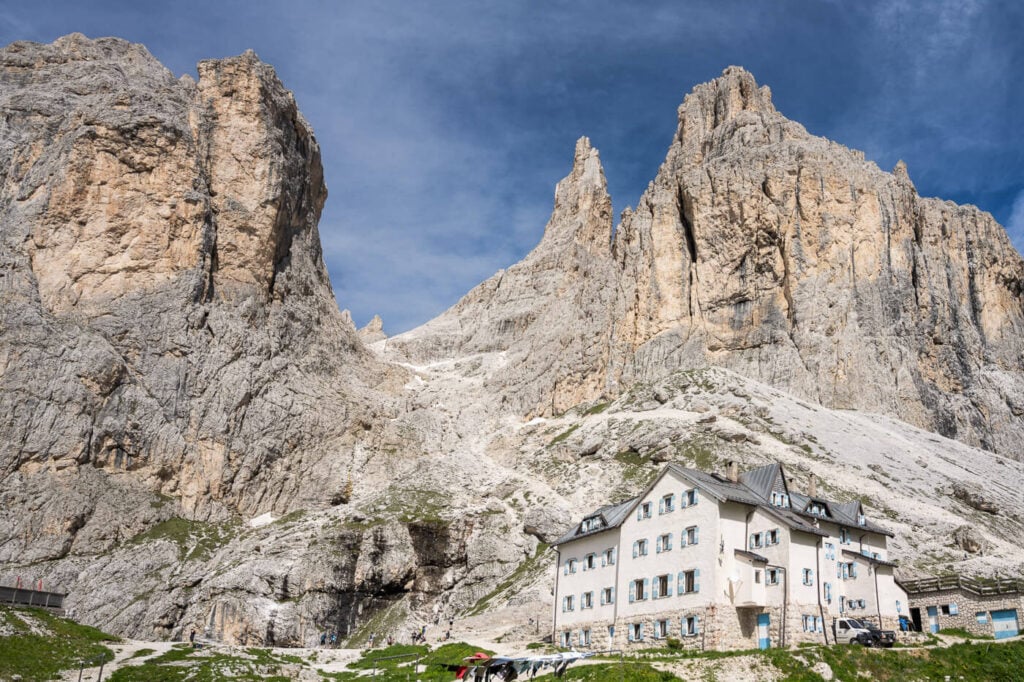
Rifugio Vajolet.
From Rifugio Vajolet/Paul Preuss Rifugio Re Alberto “Gartlhütte” and Torri del Vajolet
Now, the last part of the hike that leads to the Vajolet Towers, and the Re Alberto hut.
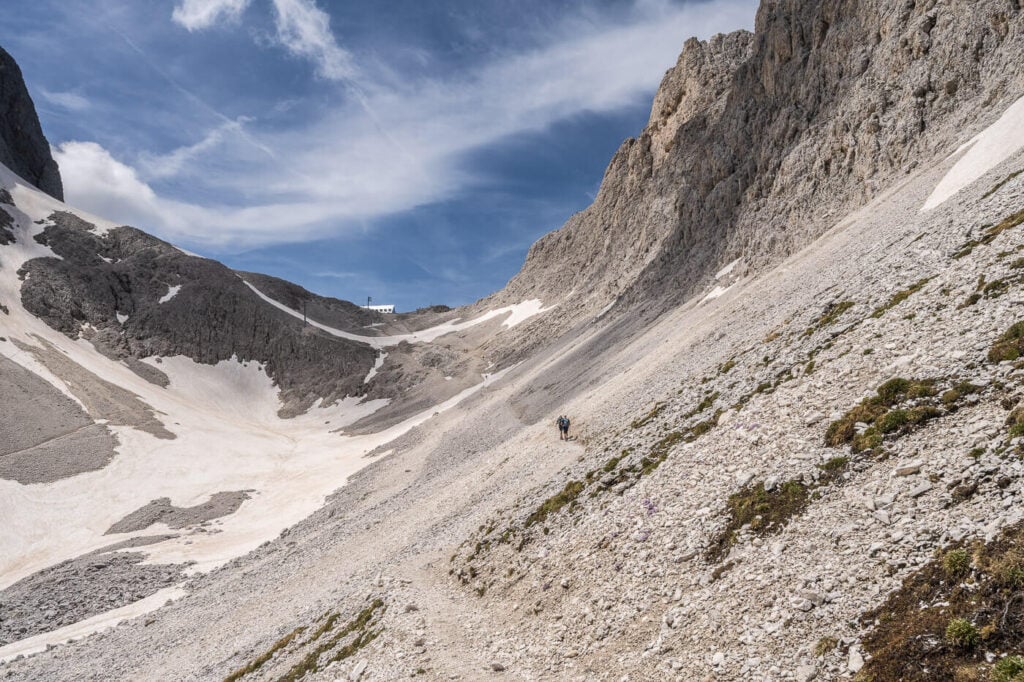
The trail between Rifugio Vajolet and Rifugio Re Alberto is the most difficult part of the hike. The trail is steep, and there are cables in places you can help yourself with for balance.
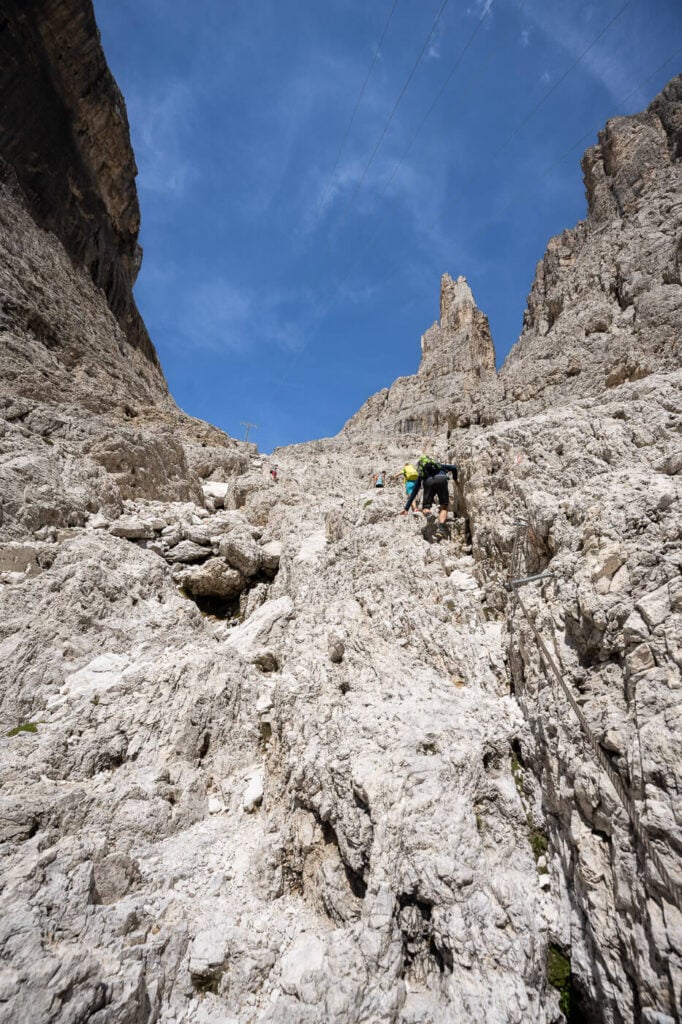
Still, there are loose rocks here and there, and some are relatively sharp, so take care up the trail. Early in the season, there can still be snow, which adds to the difficulty.
Within 30-40 minutes of hiking, you’ll see the Re Alberto Hut, as well as the Vajolet towers in all of their imposing majesty.
From there, you can continue to the Passo Laurin viewpoint, which is right below the Vajolet towers.
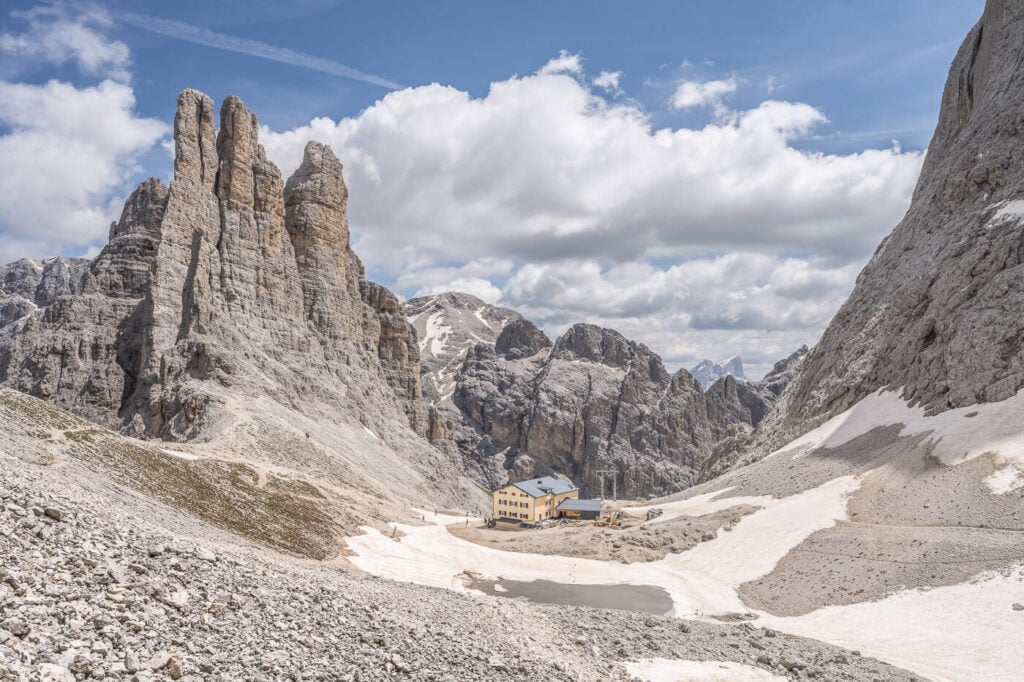
Re Alberto Hut.
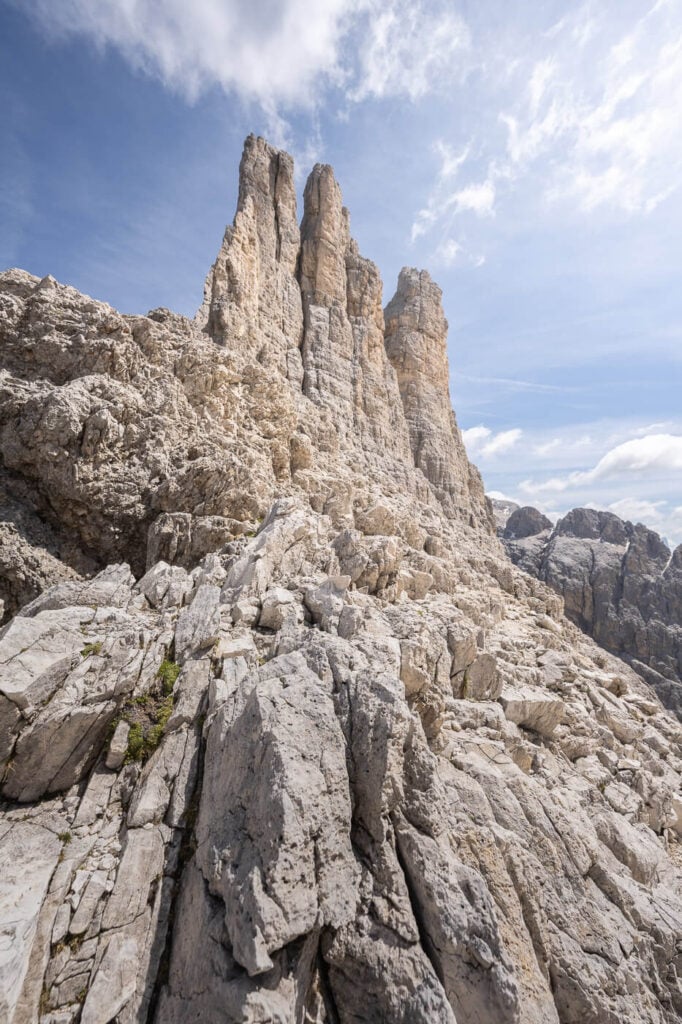
Torri del Vajolet – or Vajolet Towers.

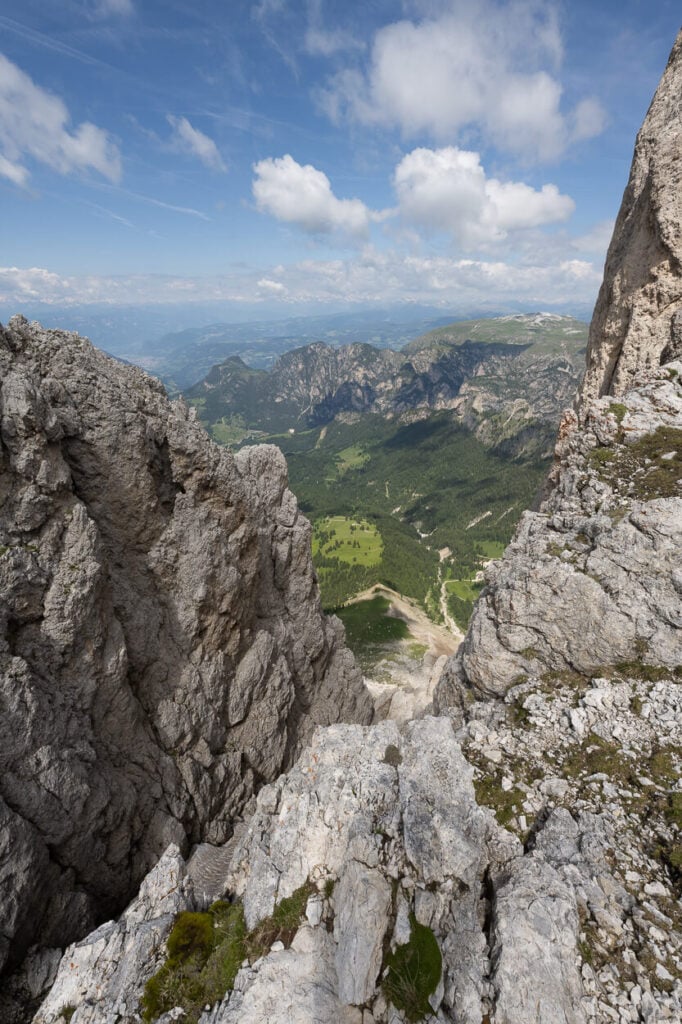
View behind the roots of a tree that serves as a bench
Any further than that, you’ll start going into climbing territory. Here you also have a good view of the panorama on either side of the mountain.
Also, from here, you can continue further up the mountain to another hut, which I’d recommend you do. It’s just an additional 20 or so minutes of hiking to the other hut and viewpoint of the landscape below the Rosengartner group.
From Rifugio Re Alberto “Gartlhütte” Rifugio Passo Santner
If you want to continue the hike further beyond the Torri del Vajolet (which I’d recommend you do) there is another trail that leads up above the towers and to the shiny silver beautiful Rifugio passo Santner.
Trail to Passo Santner from the Vajolet towers.
Vajolet towers, view from the hiking trail to Passo Santner.
This part of the trail is easy, essentially just a walk uphill and it takes about 20-30 minutes to reach the hut. It is largely scree, but not the kind of scree you take two step forward and one back,
Once you’ve reached the Santner Pass, you’ll have some great views of both the towers and, on the other side, the landscape below the Catinaccio group. The hut itself is a beautiful, modern structure and worth a visit.
It’s also a great place to relax before starting the descent back toward Vigo di Fassa.
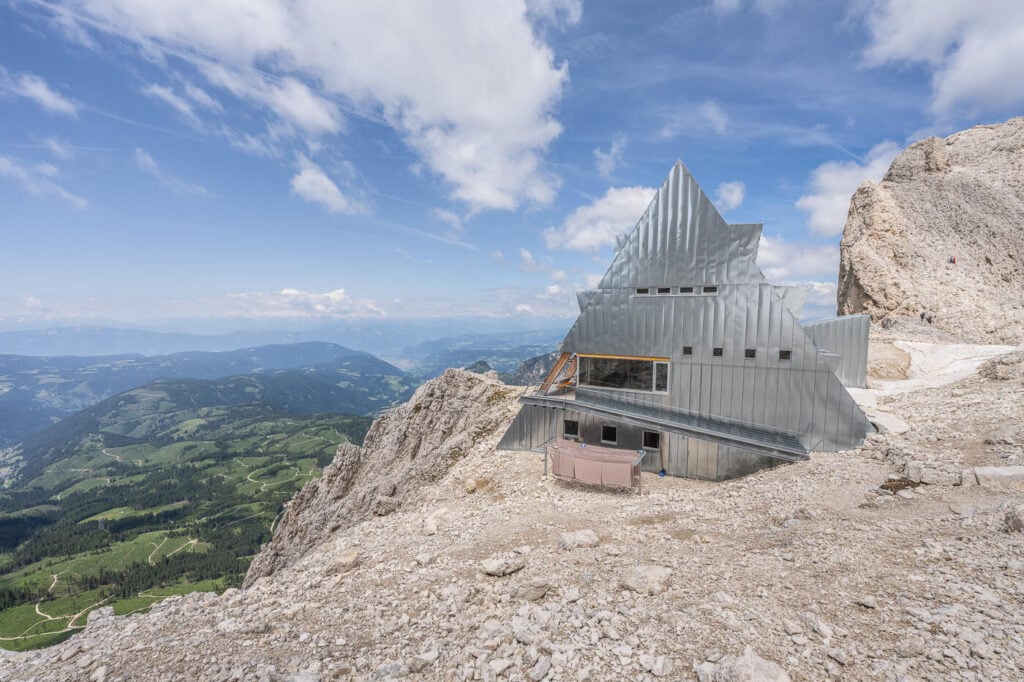
Passo Santner Hut.
If you are looking for a place to have a bite, I can recommend stopping at RifugioRe Alberto/Gartlhütte. Great menu and very tasty food.
The Torri del Vajolet, Photos, Photography Tips, and Best Viewpoints.
There are several excellent viewpoints around the Vajolet towers and above them. Needless to say, this is a place I spent a lot of time taking photos at, and I place I’ll return to hopefully sooner rather than later.
I visited in the morning, with the first cable car up, to catch the morning light, but I definitely want to be back for Sunset.
Anyway, the best view and the closest one to the towers are from Passo Laurin, right above Rifugio Re Alberto. There are several options for your foreground too, between the bare rocks, a dead tree that serves as a bench, and a circle of rocks.
You’d need an ultra-wide lens here. The Vajolet Towers are huge, and this is the closest viewpoint to them.
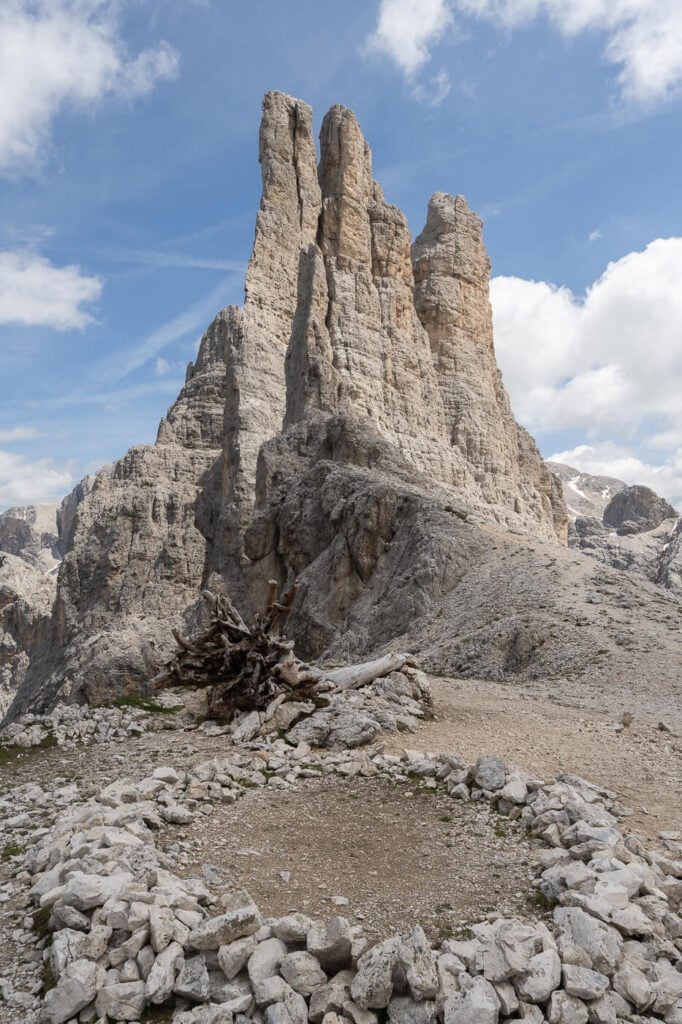
Roots of a dead tree also serve as a bench – and as foreground.
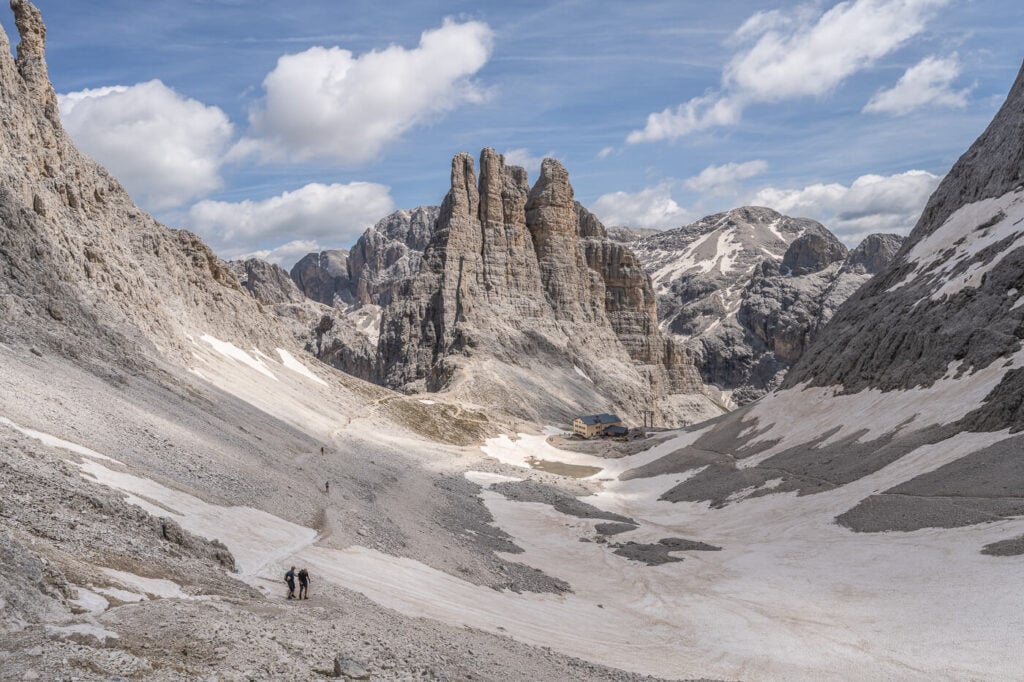
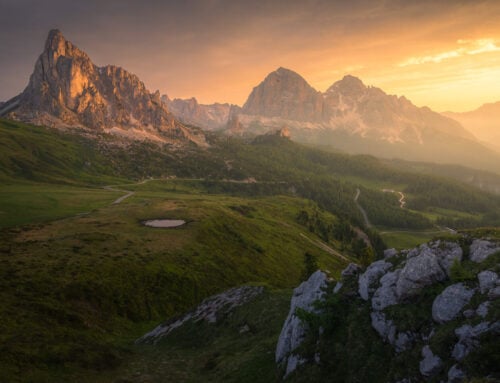
The other classic viewpoint is on the way to Santner Pass. This is also why I recommend hiking up there – the view is fantastic. From here you have a view of both the rifugio and the towers.
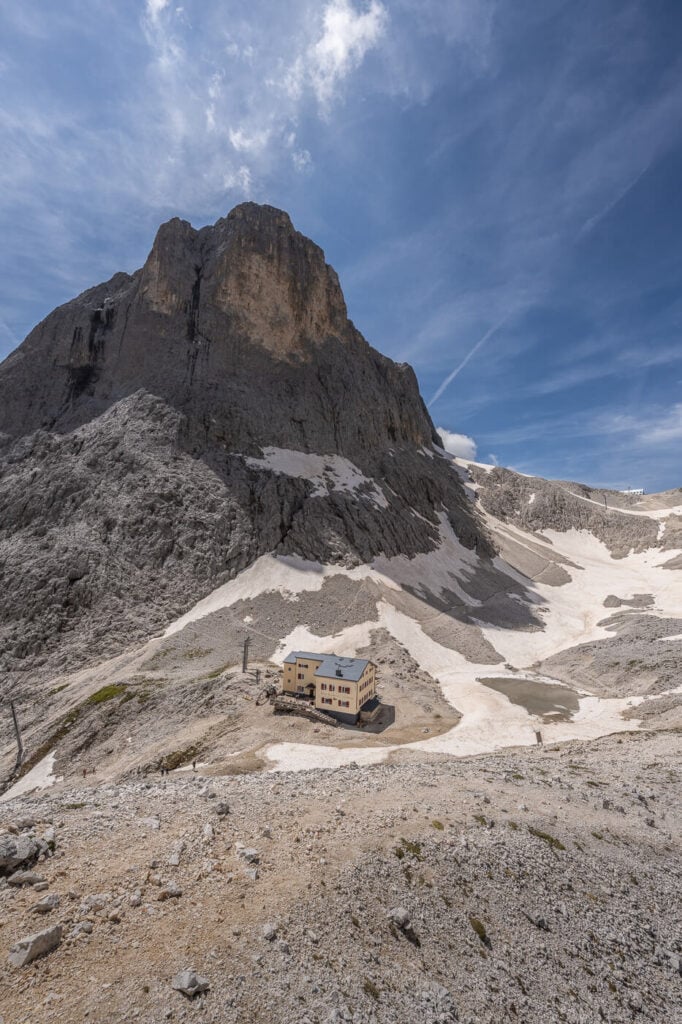
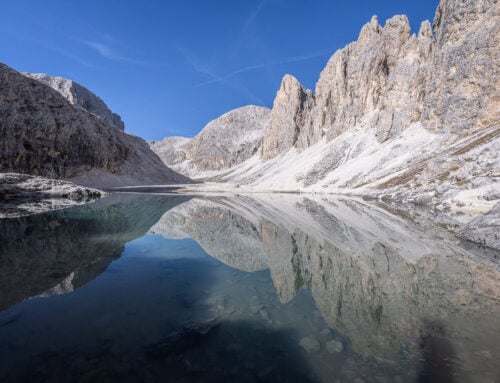
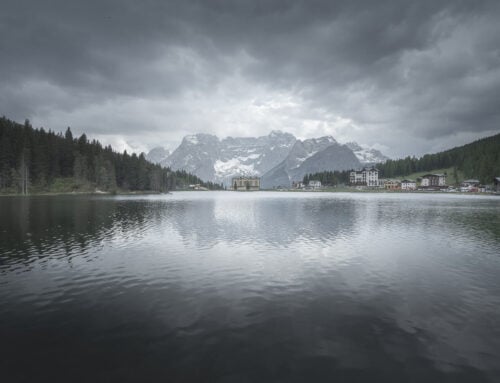
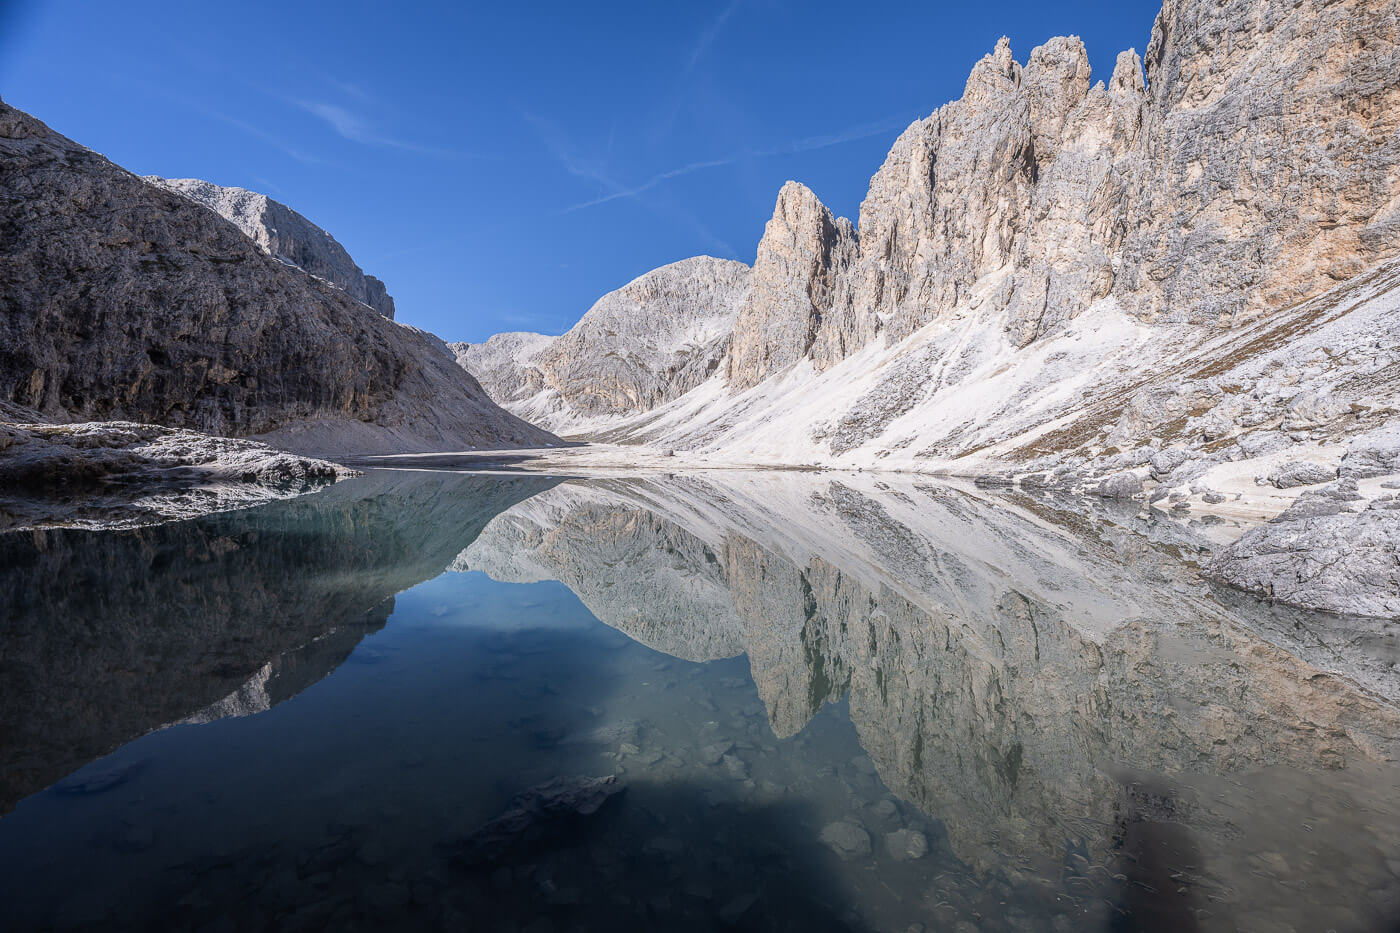
Lastly, there’s a small lake right behind the Re Alberto hut. Apart from catching the towers and the hut mirroring the lake, there are plenty of foreground options here. Either with ice, early in the season, or using the lakes’ shores as leading lines.
This was the spot that interested me the most when shooting there, just because of the several compositional options the small lake offers.
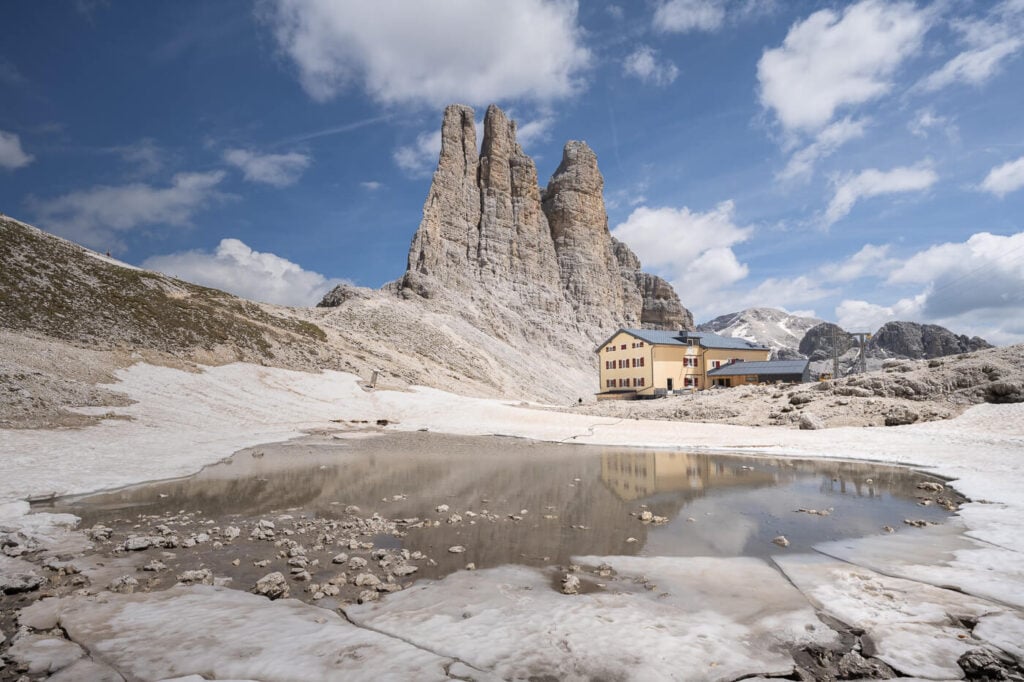
Small lake behind the hut, opposite to the Towers.
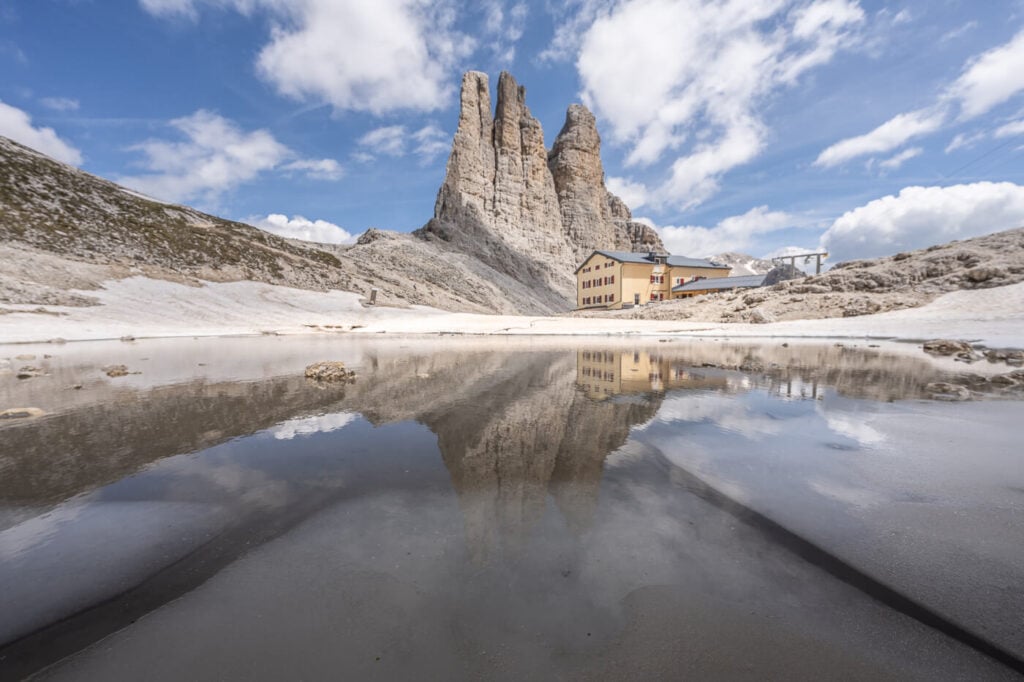
The lake is a good spot to catch some reflections – mixed with ice, early in the season.
Where to stay
You can stay at any of the Rifugio along the route, from Catinaccio to the Passo Santner Rifugio. That’s a great option to catch Sunrise and Sunset from there – and watch the tower catch the first or last light of the day. I’d personally stay at Rifugio Re Alberto if places are available or at the Rifugio Passo Santner.
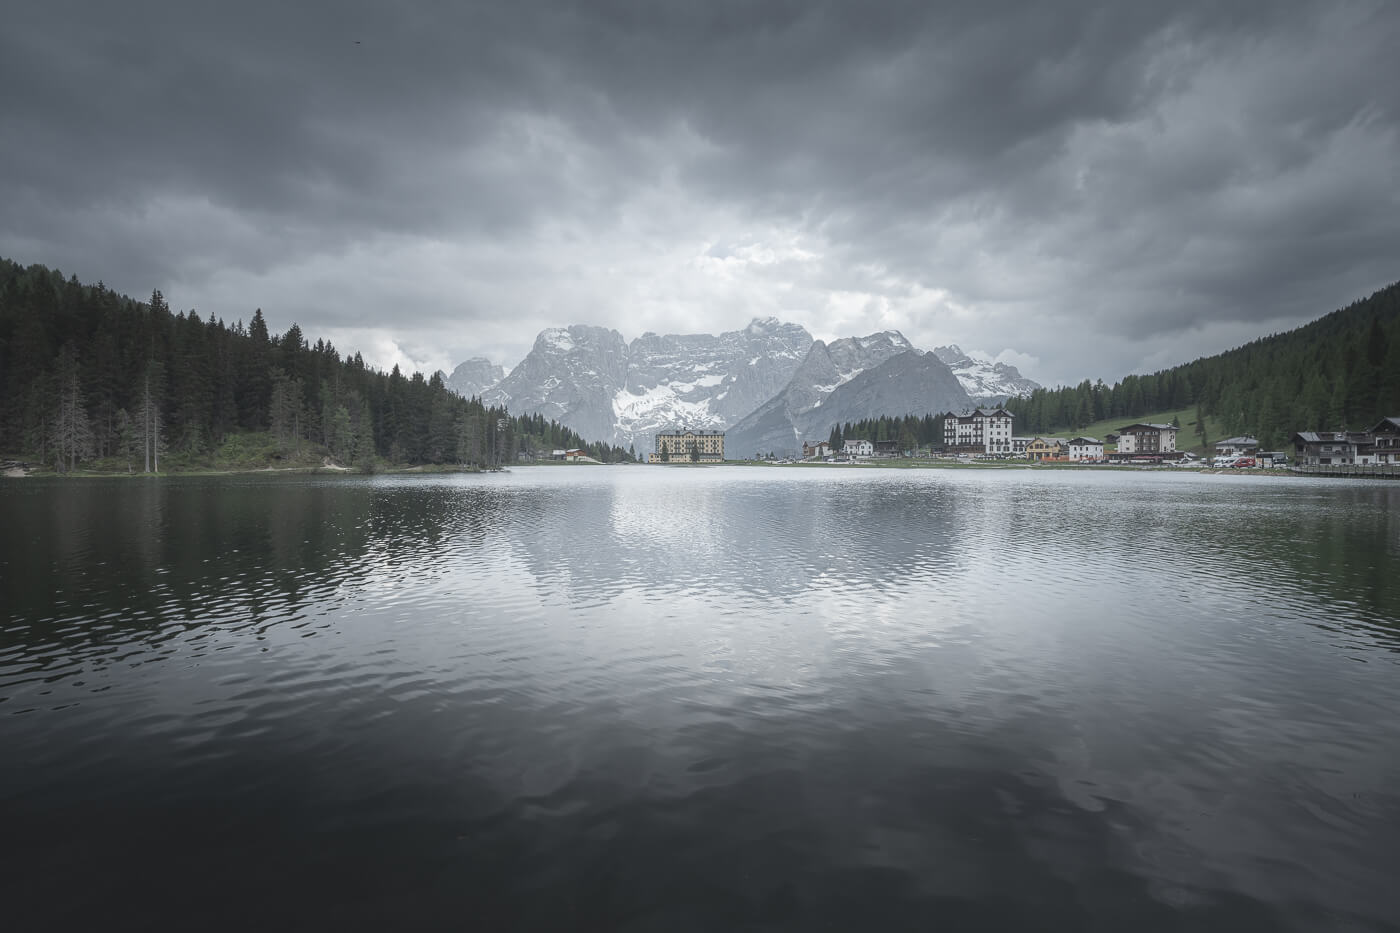
Vigo di Fassa and the area around it are also great places to stay for a few days of hiking. You could also visit the Lago di Carezza (Karersee) or Lago and Rifugio Antermoia as day trips from here.
Additional Resources
- Here’s my full guide to the best hikes and photo spots in the Dolomites, with tips on where to stay and when to go.
- Here’s the main page on Hiking in Italy for more hikes and scenic spots in Italy.
- Here’s the Funivie Catinaccio Website, to check the status, timetable, and plan your ride.
- Check out Rifugio Re Alberto’s Website, or Rifugio Passo Santner’s.

Ciao? Come posso visitare le Torri del Vajlolet e il Lago d’Antermoia in un giorno?
Ciao Milen, premetto che non ho fatto il tragitto tra il Rifugio del Vajolet ed il lago d’Antermoia, ma per farli in un giorno partirei da Vigo di Fassa prendendo la funivia del Catinaccio. Da li si puo salire alle torri del Vajolet. Poi occorre tornare al rifugio del Vajolet e dal li fare il passo per il lago di Antermoia sul sentiero 584. Dal lago si puo scendere a Mazzin e prendere un qualche mezzo per tornare a Vigo di Fassa. Giro lungo ed impegnativo con piu do 20km.