Hike to Kjeragbolten and Lysefjord Nesatindane Viewpoint, Norway
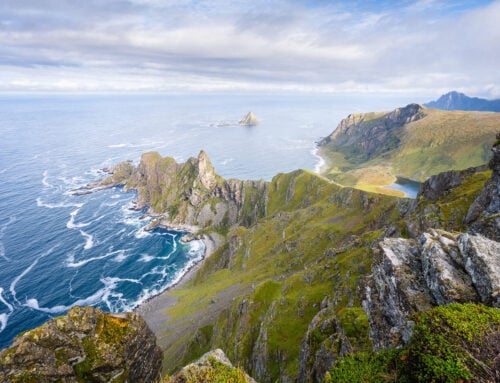
The hike to Kjeragbolten is one of the most famous and popular hikes in Norway, and, along with Trolltunga and the Pulpit Rock, one of the most spectacular and unique rock formations.
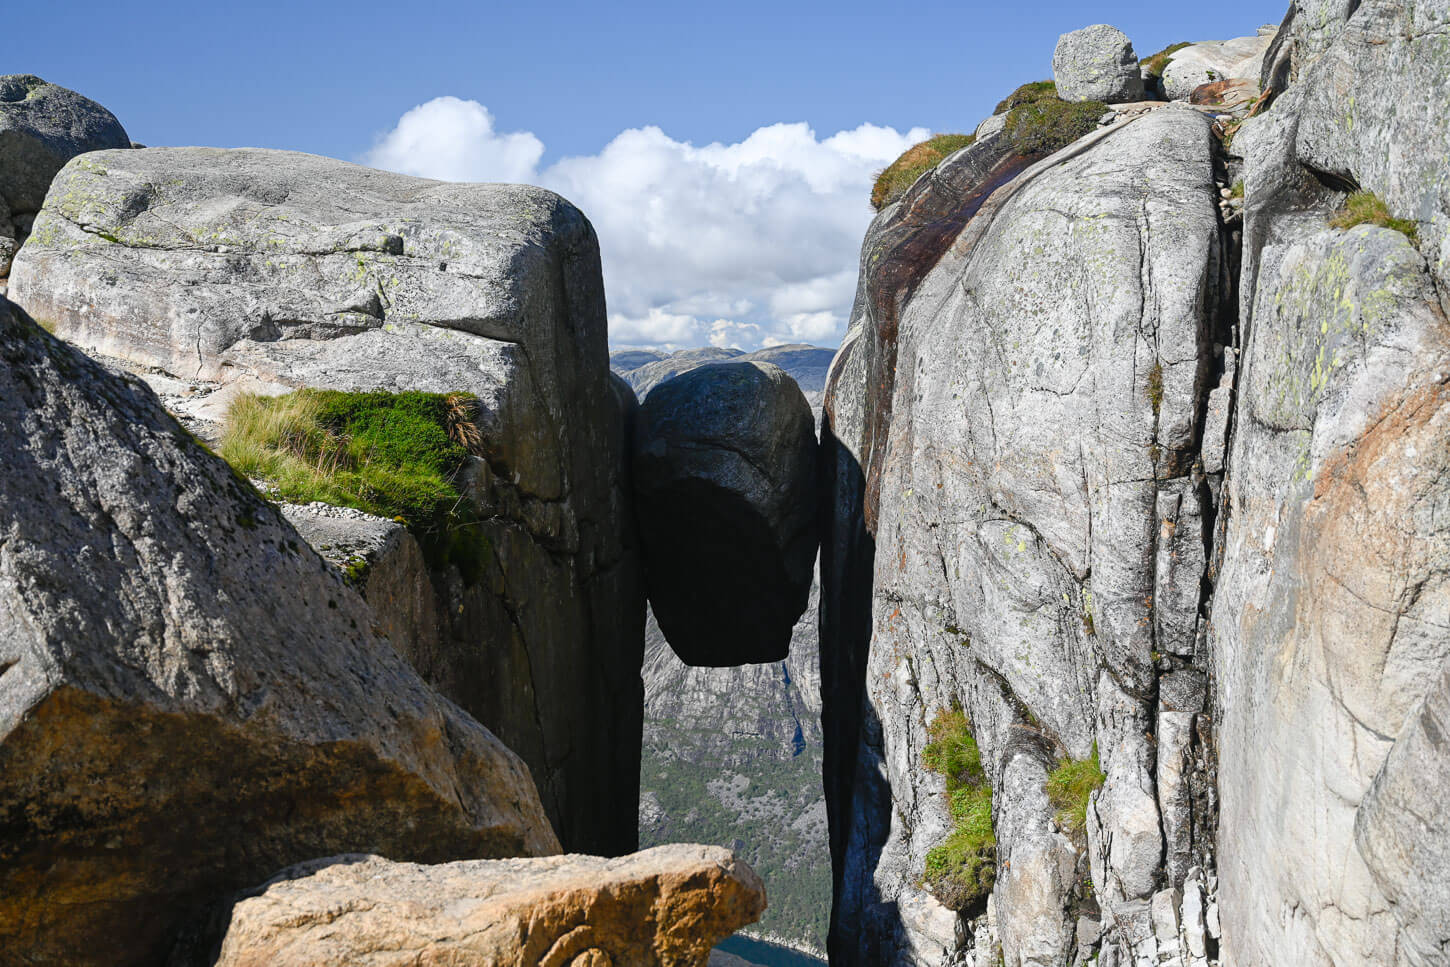
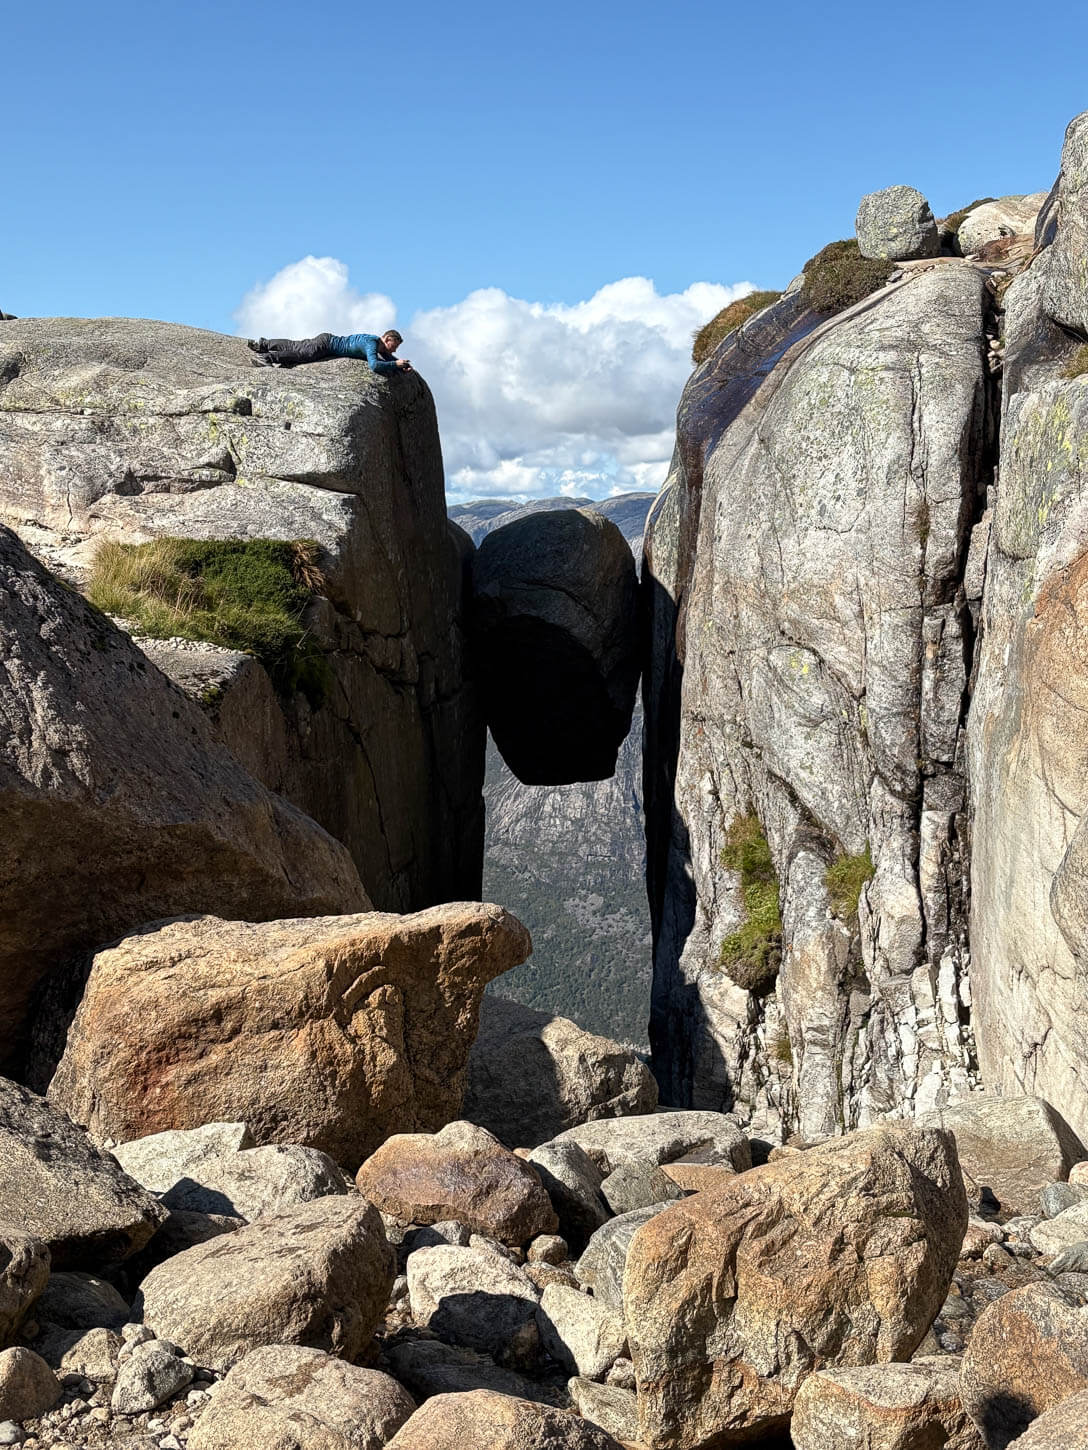
Kjeragbolten.
The boulder wedged in between the two cliffs at Kjerag is a natural wonder at approximately 1,000 meters (984 M.AS.L, or about 3,228 feet) above sea level. It’s a rather unique and curious sight, a unique photo opportunity too. For the braves and the curious alike.
Interesting Fact: the boulder has been wedged between the two cliffs above Lysefjord for approximately 10,000 and 50,000 years – the debate about the exact age has not been settled yet.
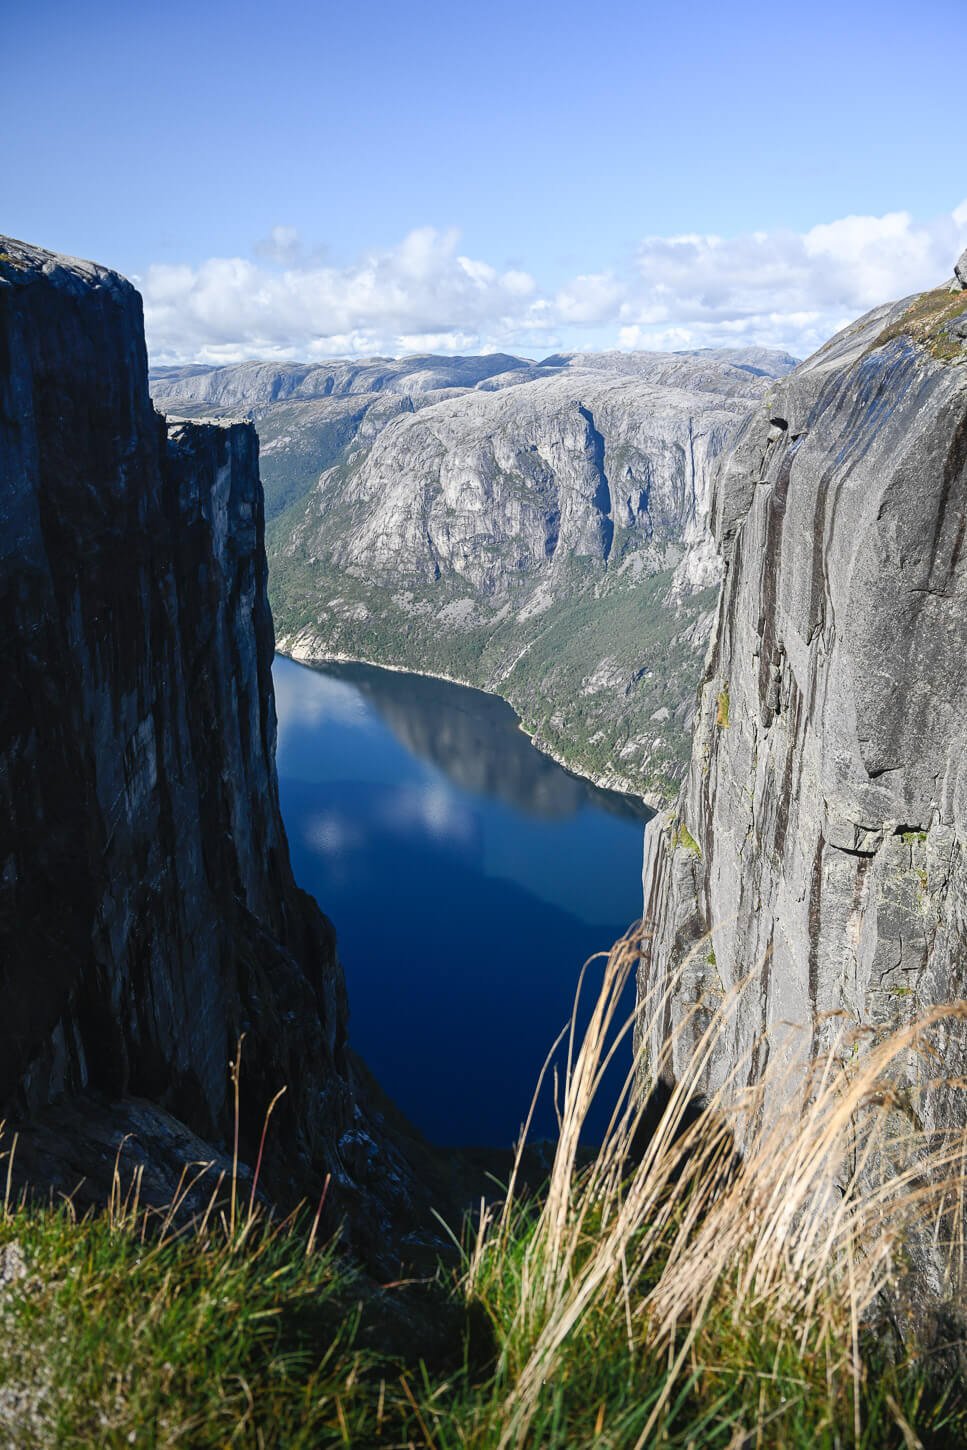
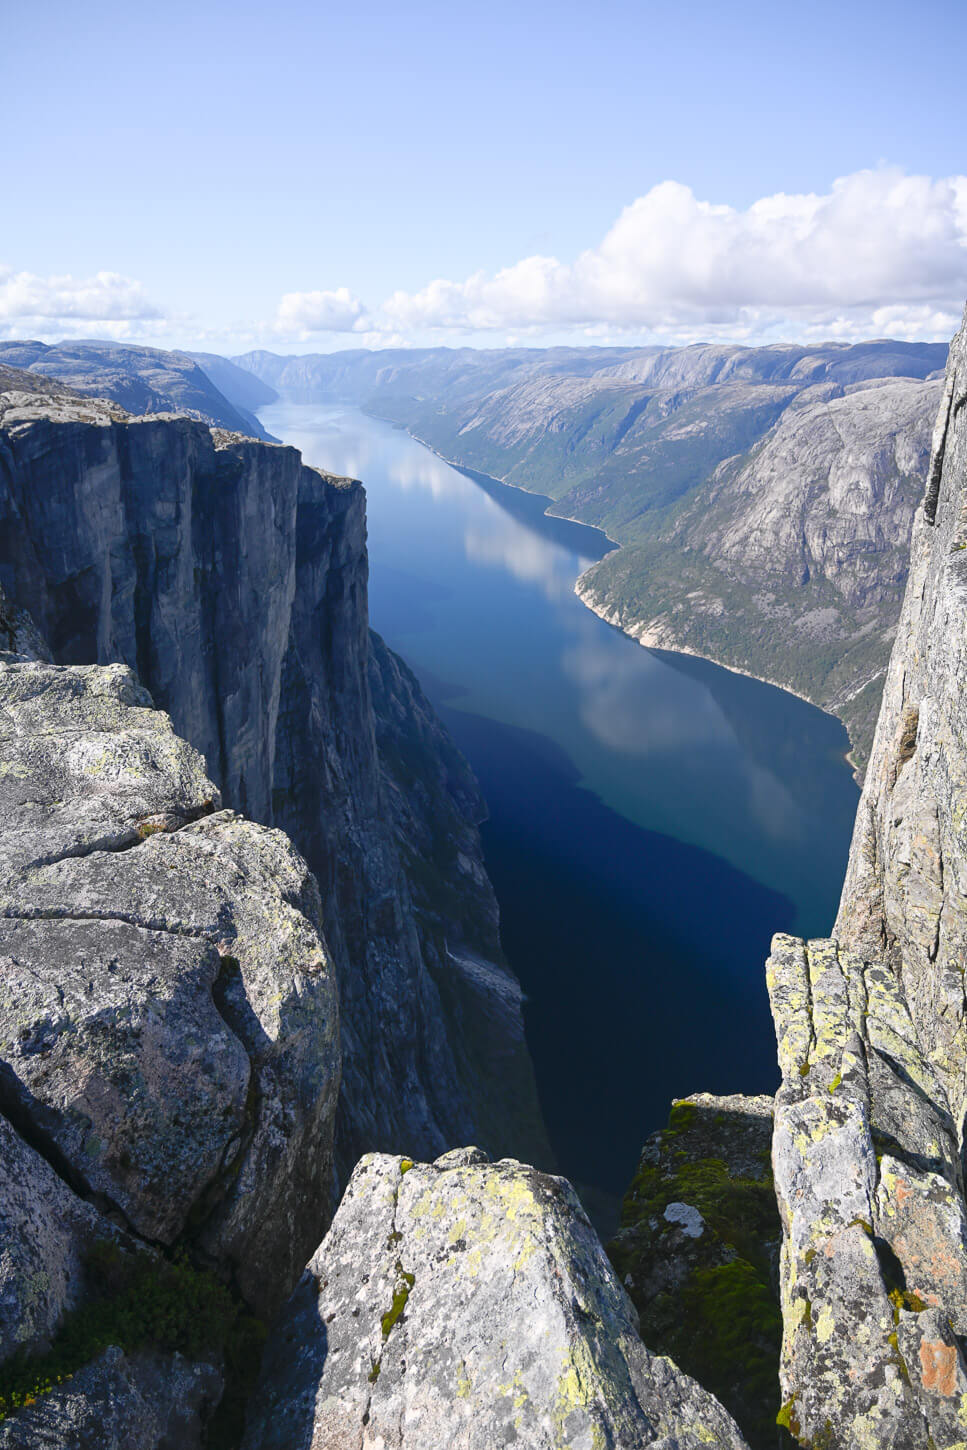
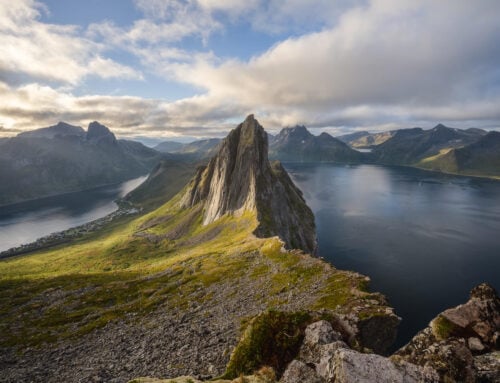
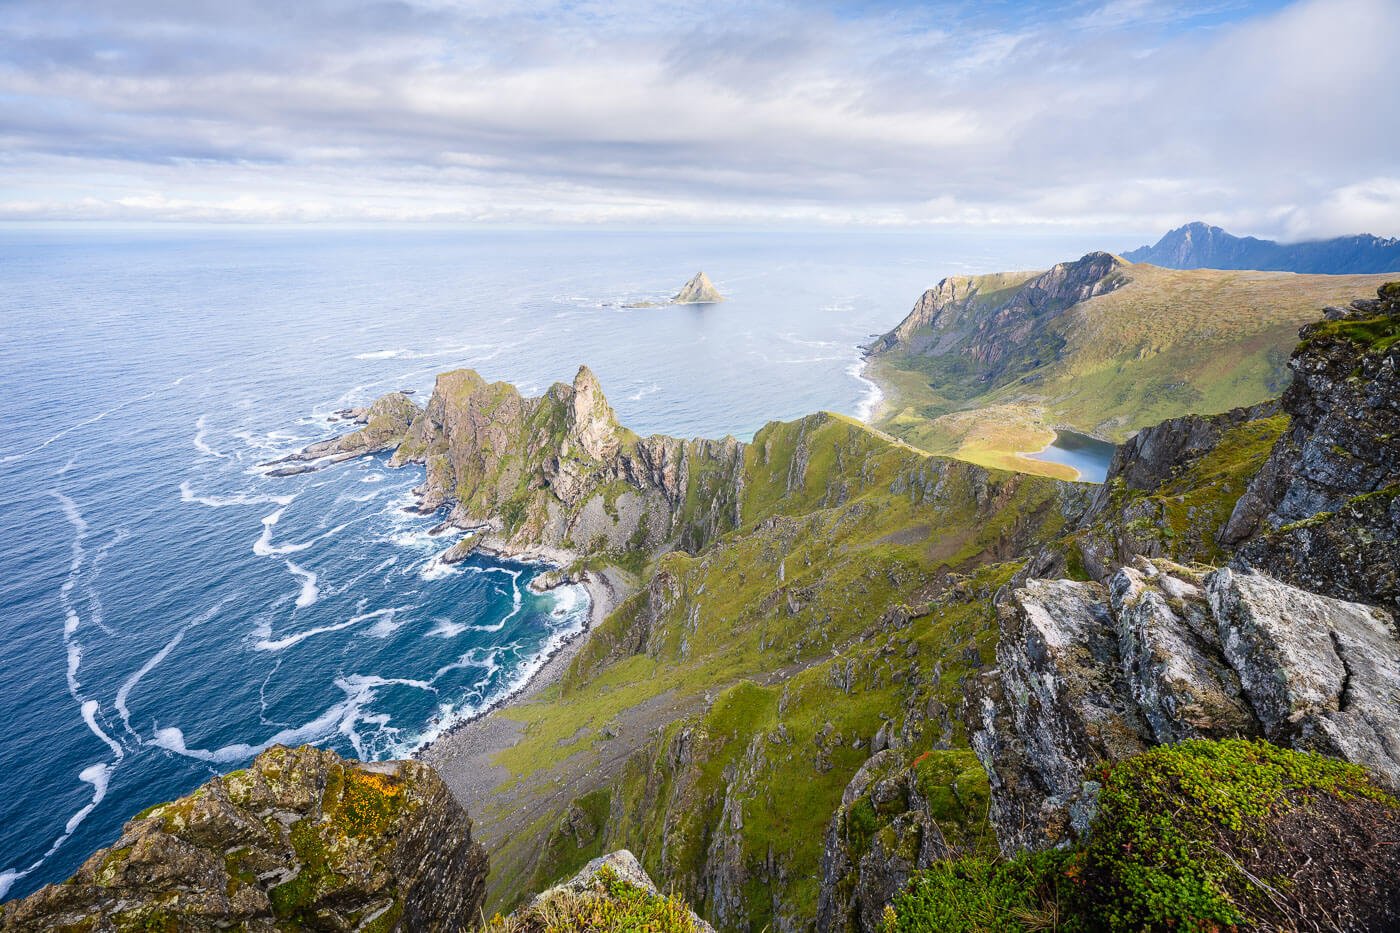
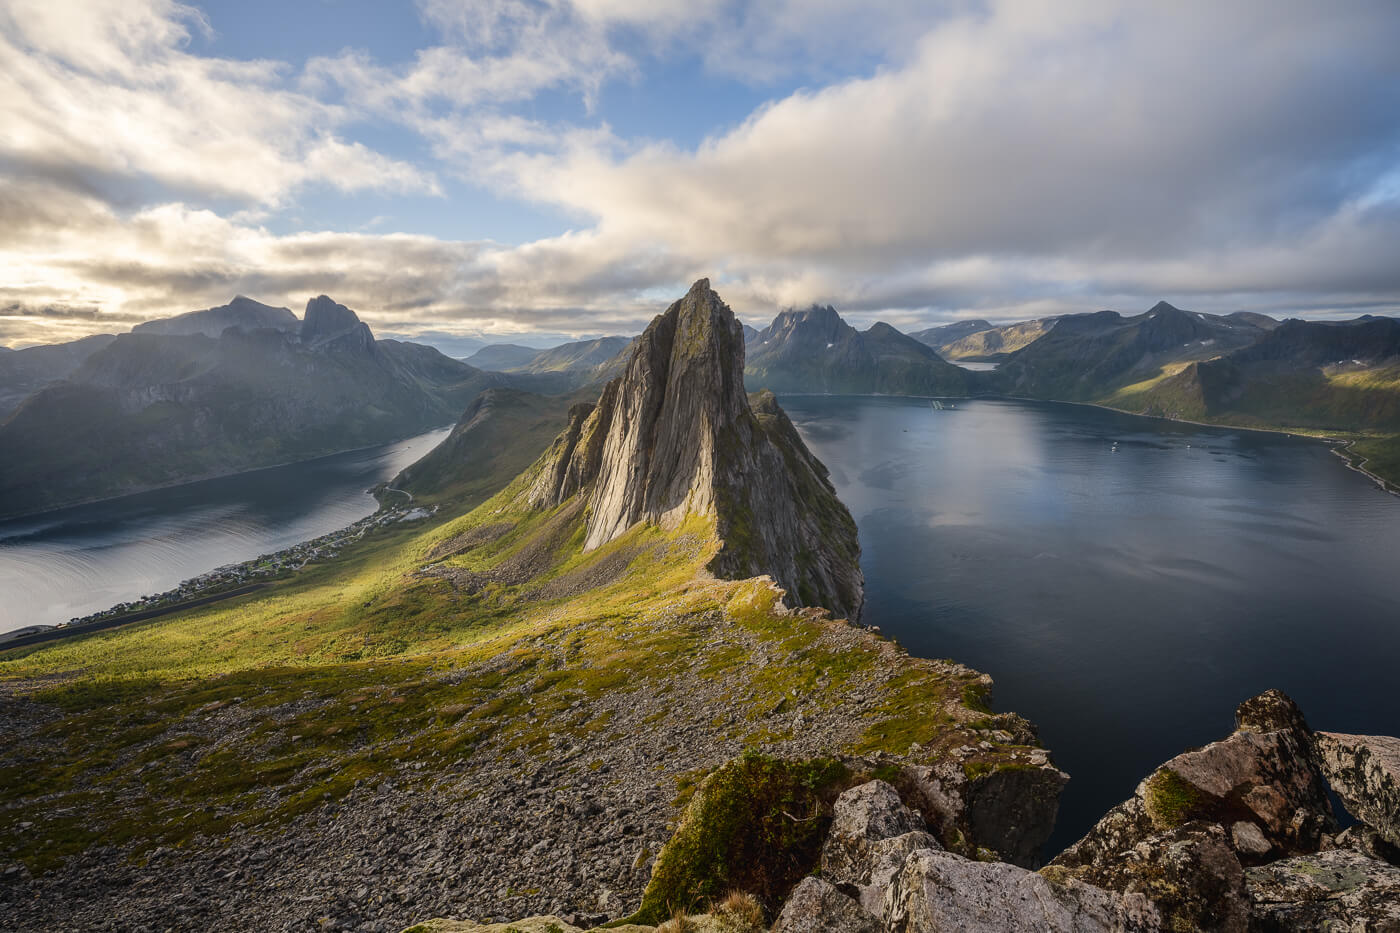
About the fjord Kjeragbolten stands above: Lysefjord is about 42KM long, and while you can’t see the whole fjord from the viewpoint, it is an impressive sight nonetheless. To get a better view of this majestic fjord, you can hike to the nearby Nesatindane viewpoint from Kjeragbolten. It’s just a short, ten-minute hike away from Kjeragbolten and more than worth the short detour. the Viw of Lysefjorden from there is jaw-dropping beautiful.
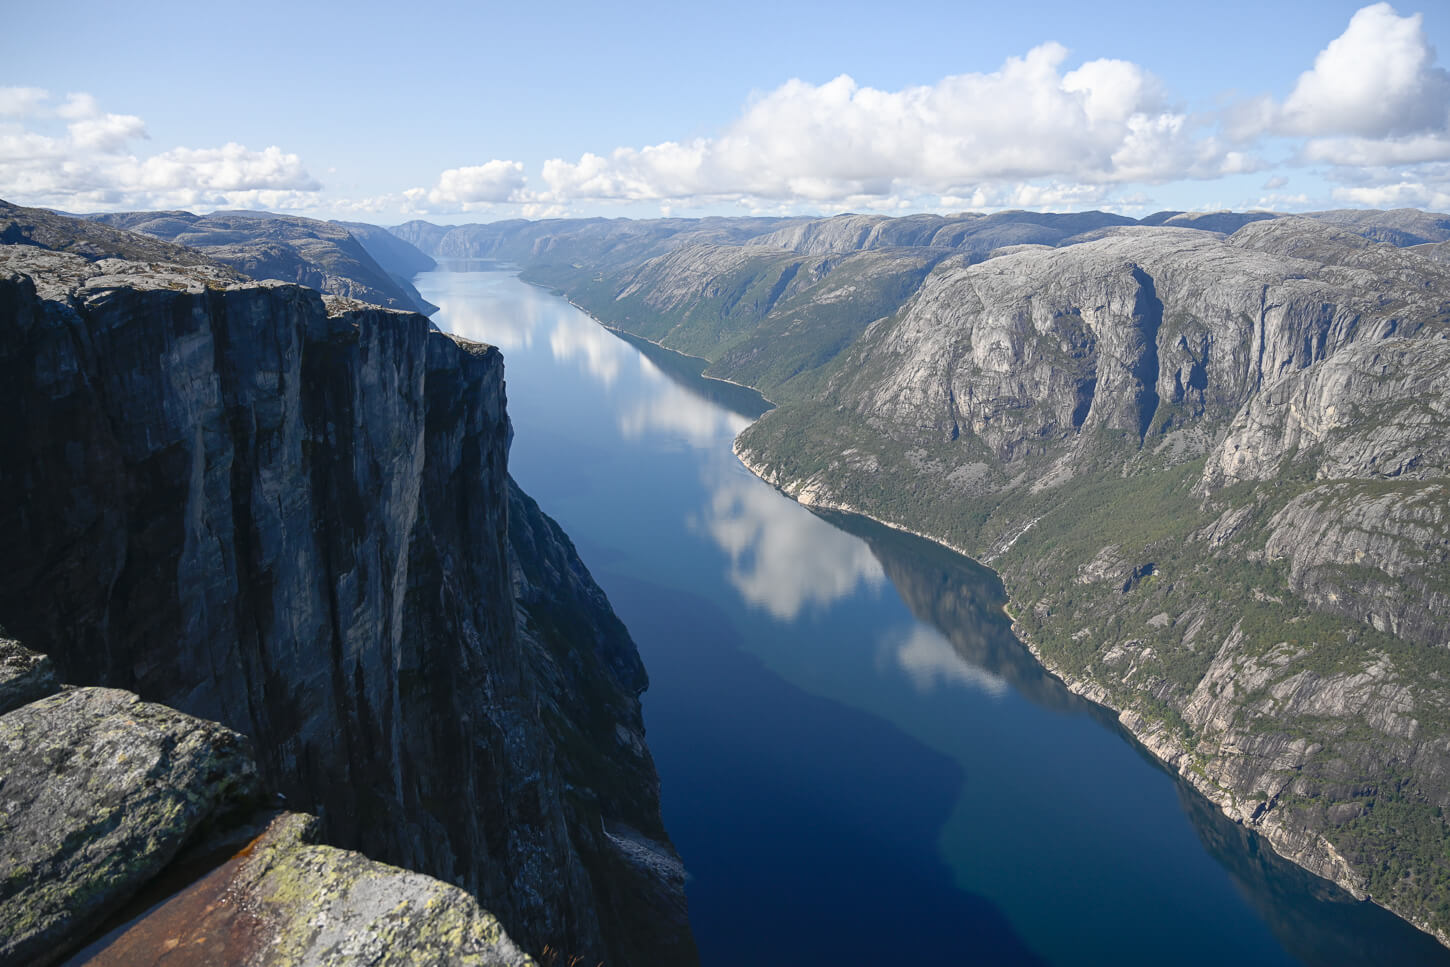
Nesatindane Viewpoint.
Table of Contents
Overview of the Kjeragbolten and Lysefjord Viewpoint Hike & Map
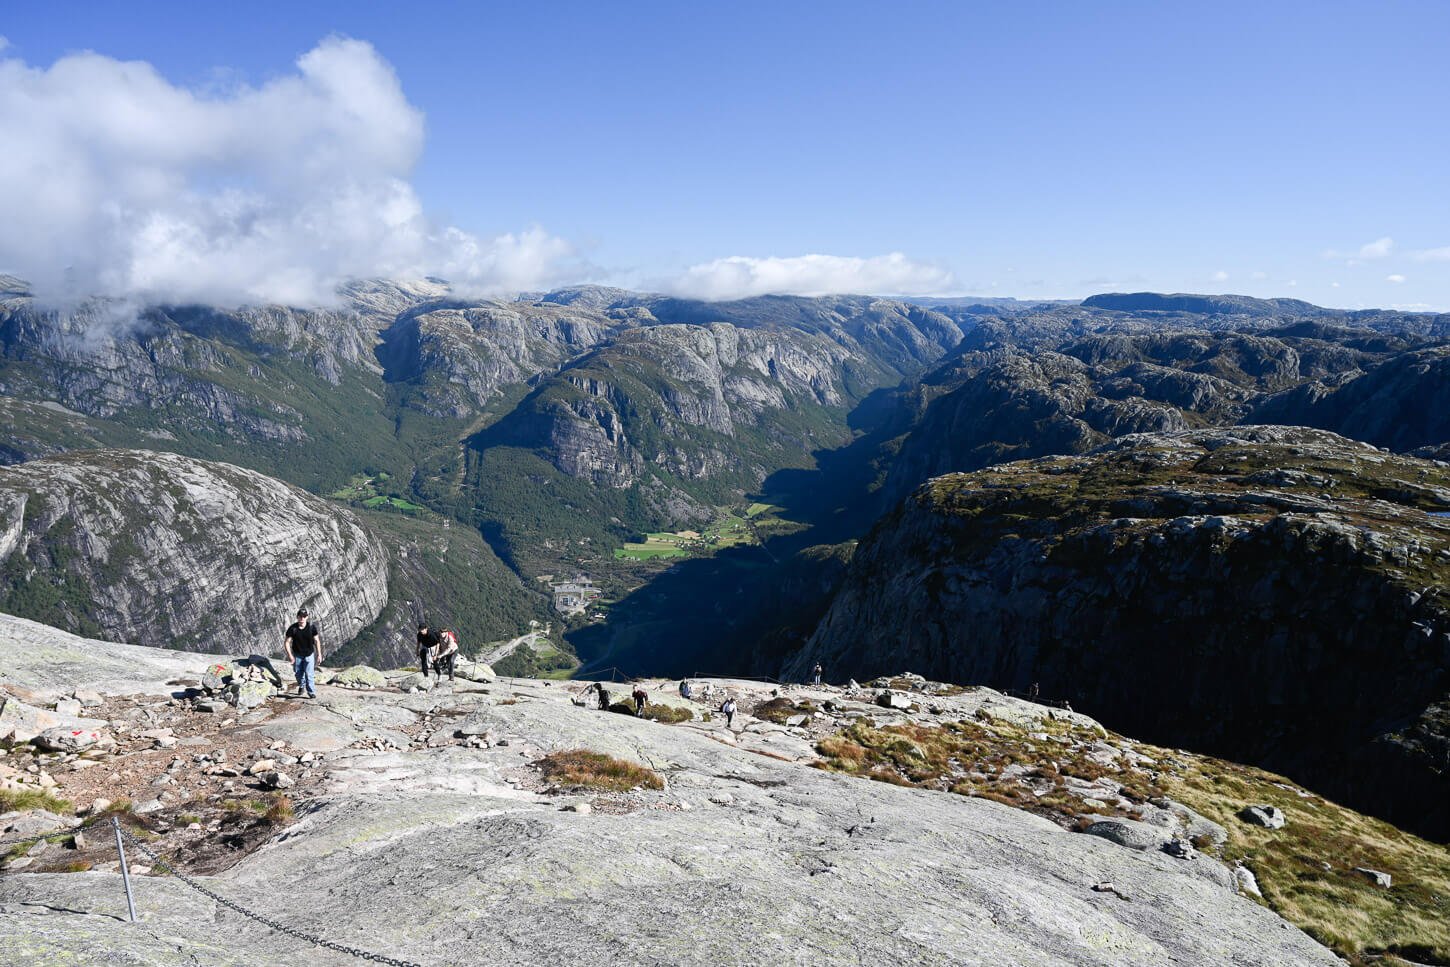
The hike to Kjeragbolten is not very difficult, but there are some technical sections at the beginning on flat and steep rocks. The start point of the hike is relatively remote, but also quite accessible. The trail is also well marked, with red trailmarks painted here and there, or large cairns.
In the steepest places, there are chains in place to help with the balance, but you’d definitely need to have boots or shoes with a good grip.
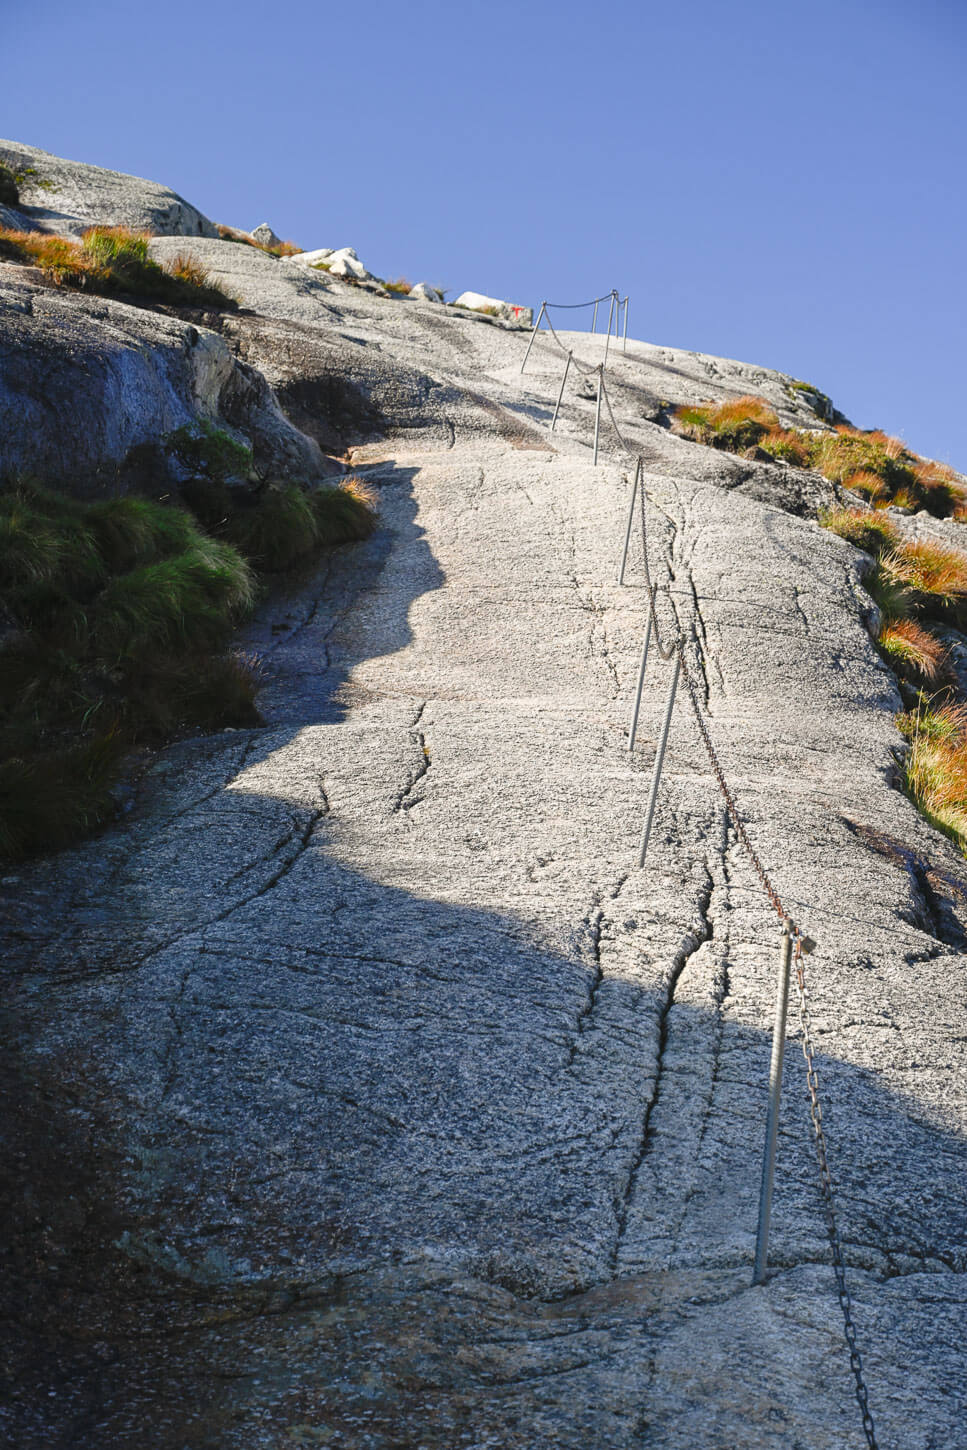
Many sections have chains that were installed to help hikers with their balance.
These sections are mostly in the first part of the hike. After that, there are a few up and downhill sections, but they are not as technical as the first part of the trail. Fit hikers with light packs could probably complete the hike to Kjeragbolten in less than four hours; otherwise, allow more than that.
Note that the details of the hike to Kjeragbolten you can see below include the short detour to the Nesatindane viewpoint. This detour only adds a few hundred meters, and it’s worth the hike in itself for the views it provides.
The Hike is generally possible from early June until early October, but it heavily depends on the snow and weather conditions. It’s not impossible to get there in winter, but that would be a sky touring effort for those who have the skillset.
If you want an early start before the bulk of the crowds arrive, it’s best to look for accommodations in the Lysebotn Area.
| Max Altitude | 986m (3,234 ft.) |
|---|---|
| Distance | 10.9 KM (6.7 miles) |
| Elevation gain | 750m ↑ / 750m ↓ (2,460 ft.) |
| Hike time | 03:45/ 04:30 Hours |
| Hike Difficulty | Moderate, but relatively technical at the beginning. |
Here is the map of the hike. You can download the GXP file for free from the activity linked below.
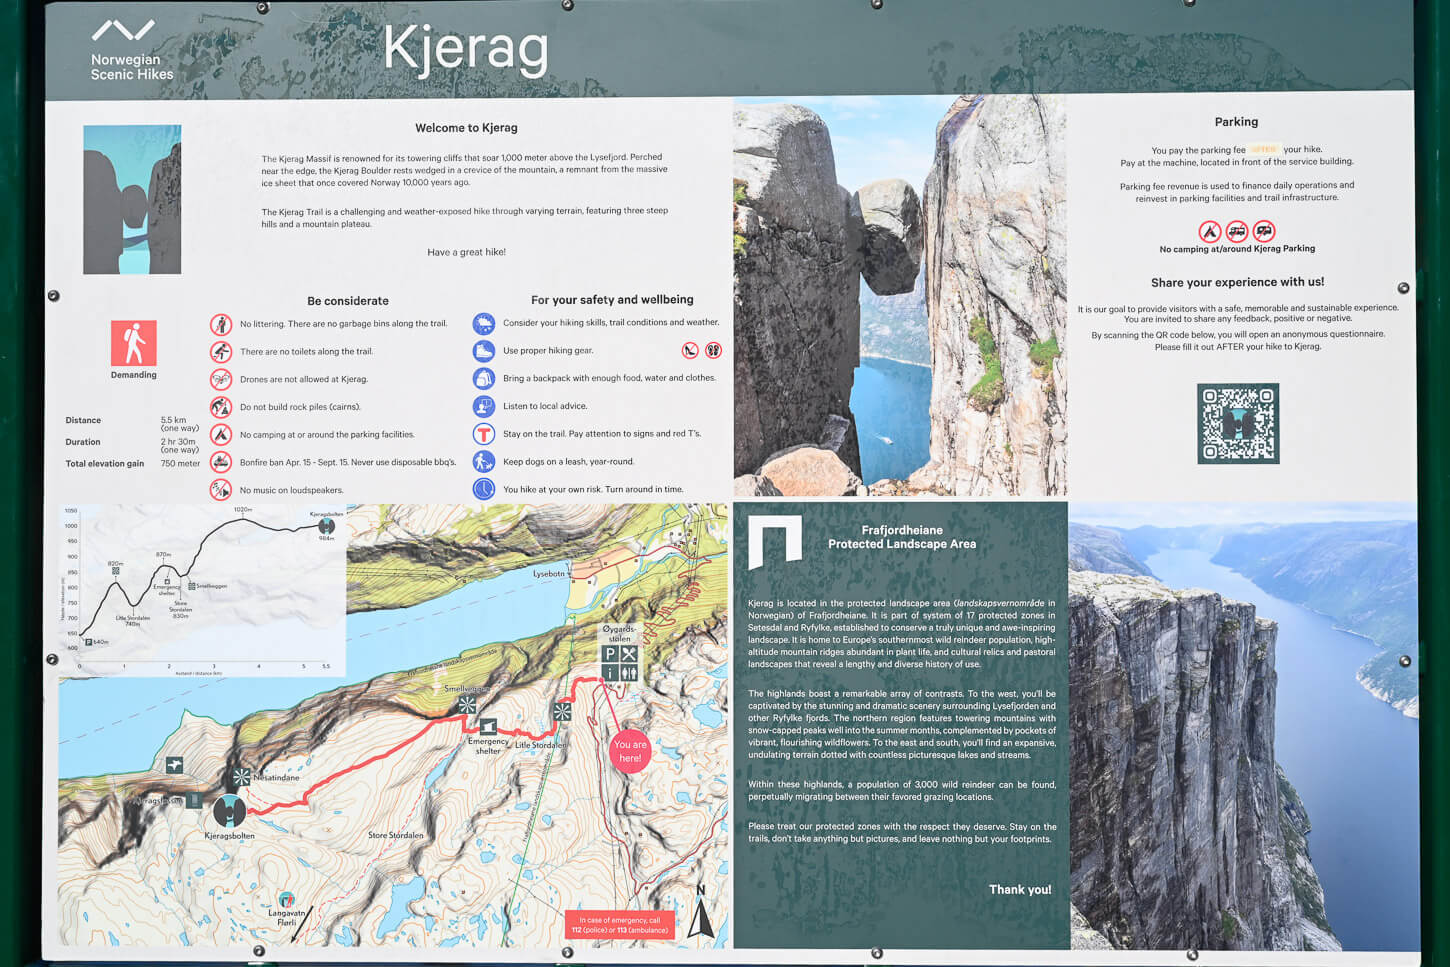
Info board with an overview of the trail at the Visitors Center.
How to get to the Kjeragbolten trailhead and Parking
There are a few ways to get to the Kjeragbolten trailhead, all of which require at least some planning. It’s possible to get there either by car or by shuttle.
- Driving Directions: The drive from Stavanger takes about 2.5 hours via Ålgård and Sirdal through mountain roads. Do note that long stretches of the road are narrow, one-lane only, with small pullout areas that allow you to negotiate passage with oncoming traffic. No different from mountain roads in other mountainous regions, but it can be quite demanding if you are not used to it. Definitely take it slow and easy. If you are driving from the East, as I did, you would need to drive through the Suleskard mountain pass to join Lysevegen and the road from Stavanger from the opposite side. Alternatively, it’s possible to get to Lysebotn by ferry from Lauvvik, Forsand, or Songesand. The ferry schedule is here. You should pre-book your ticket if you plan to take the ferry. From Lysebotn, you can drive the spectacular 27 hairpin bends up Lysevegen to the parking lot. There is also a shuttle service from Lysebotn to the trailhead – more info here.
- Parking: Paid parking is available by the Visitors Center at the Øygardstøl trailhead.
- Public Transport: There are bus shuttles that will drop you off at the Ljeragbolten trailhead – more info here.
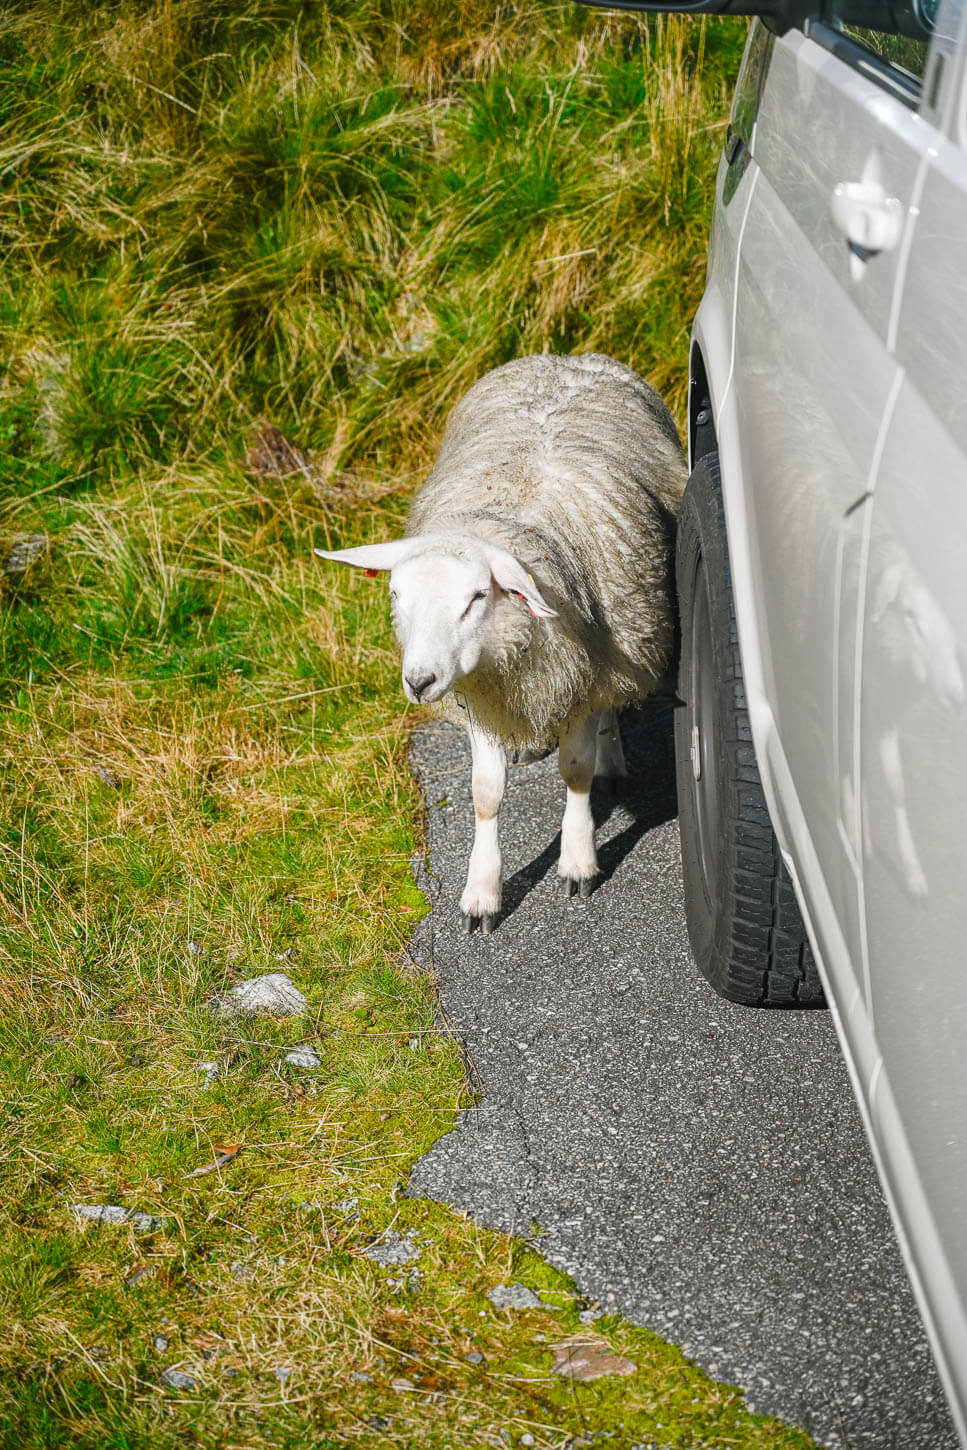
Sheep roam free in the area – and may welcome new visitors with curiosity.
The Kjeragbolten Hiking Trail
From the visitors center, the trail initially follows a set of stone stairs up the side of the mountain. However, that does not last long. Soon after this section, the trail immediately climbs a steep, rocky slope that requires balance using the cables that have been installed for that purpose. Boots/shoes with proper grip go a long way here.
This is the most technical part of the hike, and it would probably take around 20-30 minutes to cross.
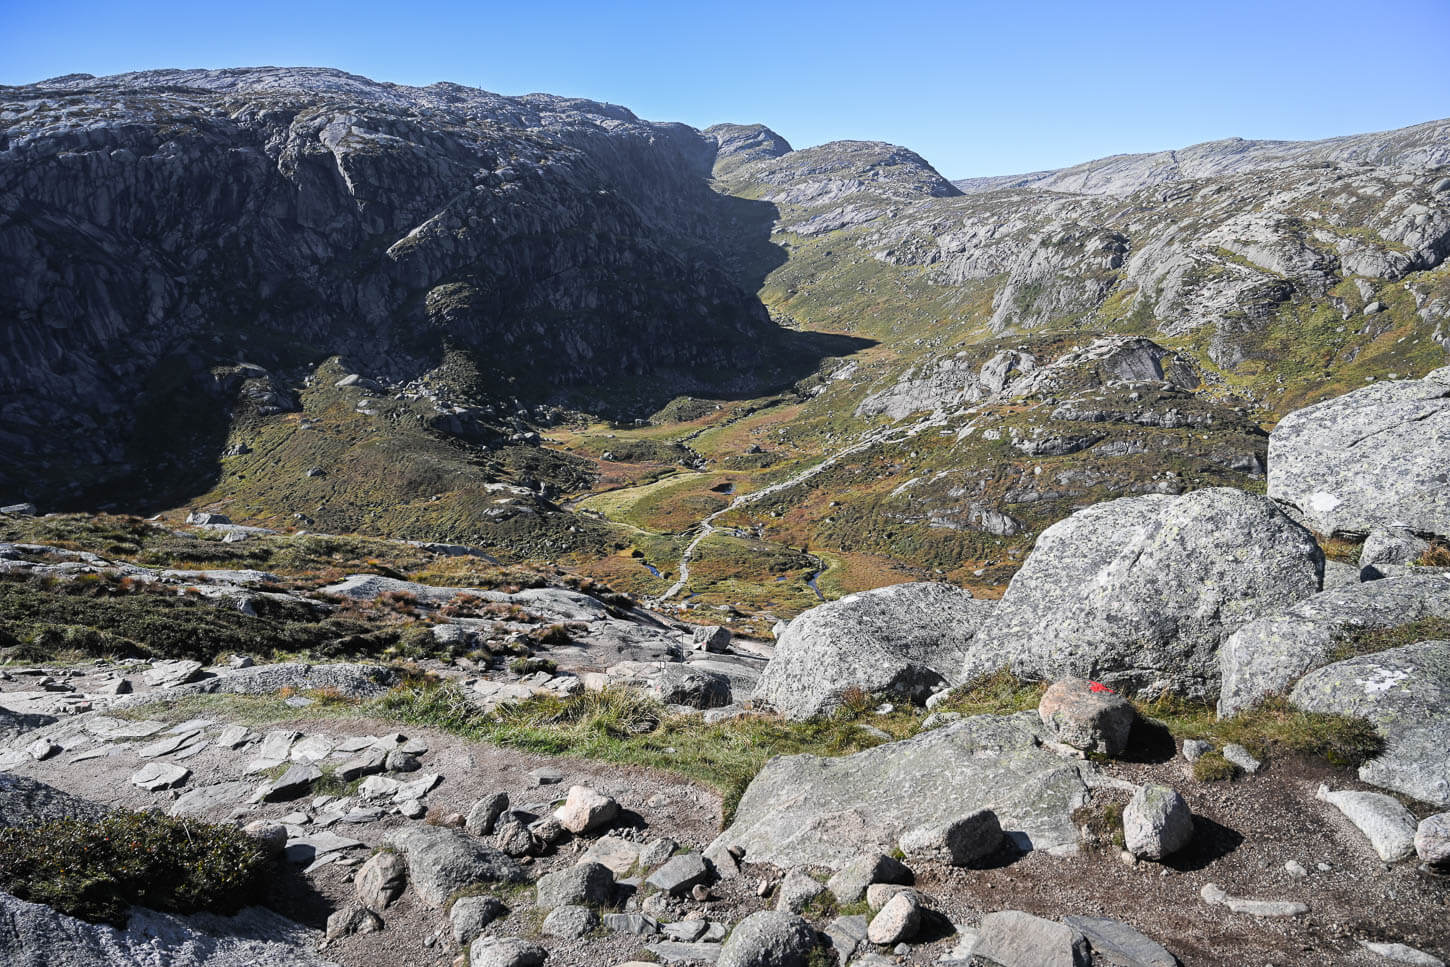
After the first climb, the trail descends into a small valley to climb back up the next one.
The trail then descends into a small plateau and grassy area, before climbing up again to the next rockface. This second climb is also relatively steep and includes parts on stone stairs and parts with chains.
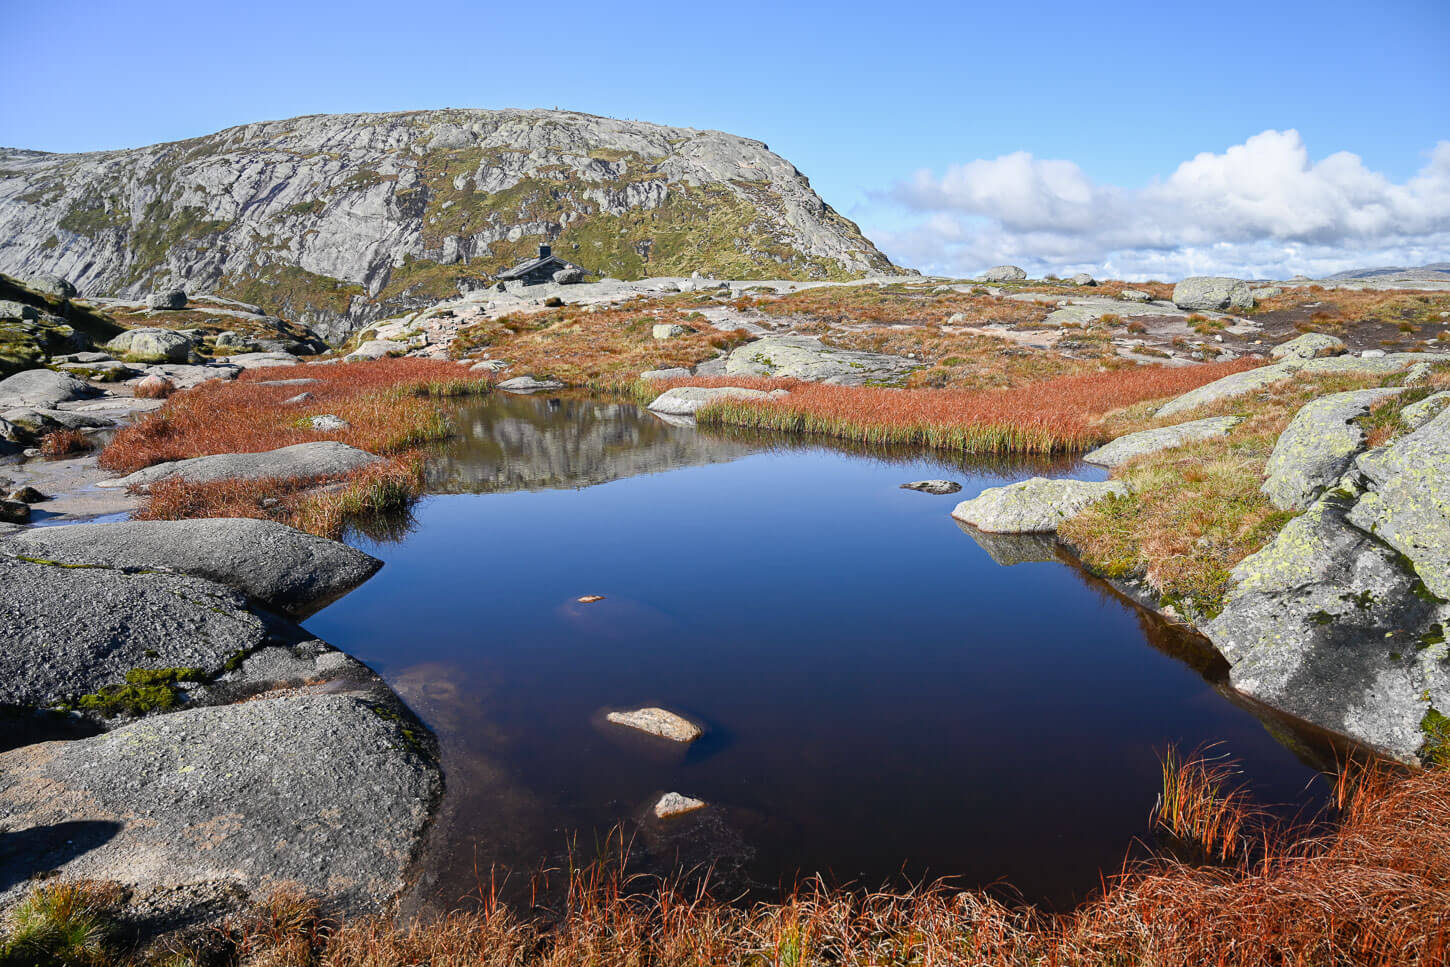
At the top of this section, there’s a small plateau; it’s where you can find the DNT Kjerag hut. From this small plateau, the trail descends once more into a narrow valley, crosses a small creek, and climbs up again – the last steep climb – the other side of the mountains.
On this last climb, there are a few more chains in place, and you can help yourself up the side of the mountain.
After this last climb, the elevation gain is much gentler, all the way to Kjeragbolten. It’s a hike on a vast, rocky expanse, dotted with erratic boulders (boulders deposited by retreating glaciers) here and there. It’s a relatively long section, but it provides views of the vast landscape around. And yes, it makes you feel very small against its vastness.
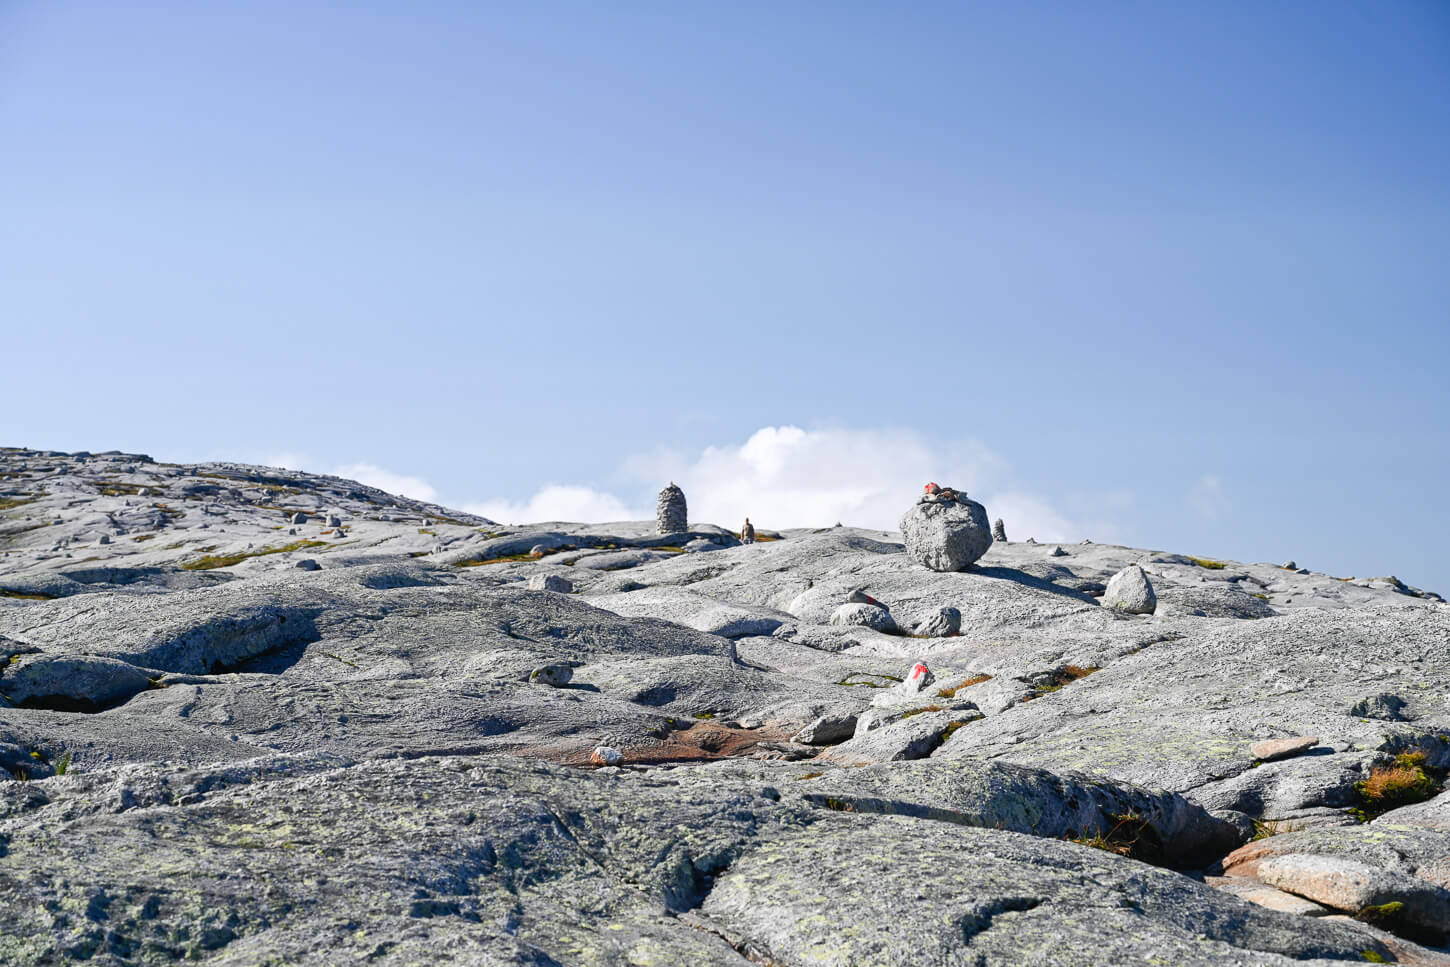
The last part of the hike is on a rocky high plateau, covered in erratic boulders.
Accessing Kjeragbolten
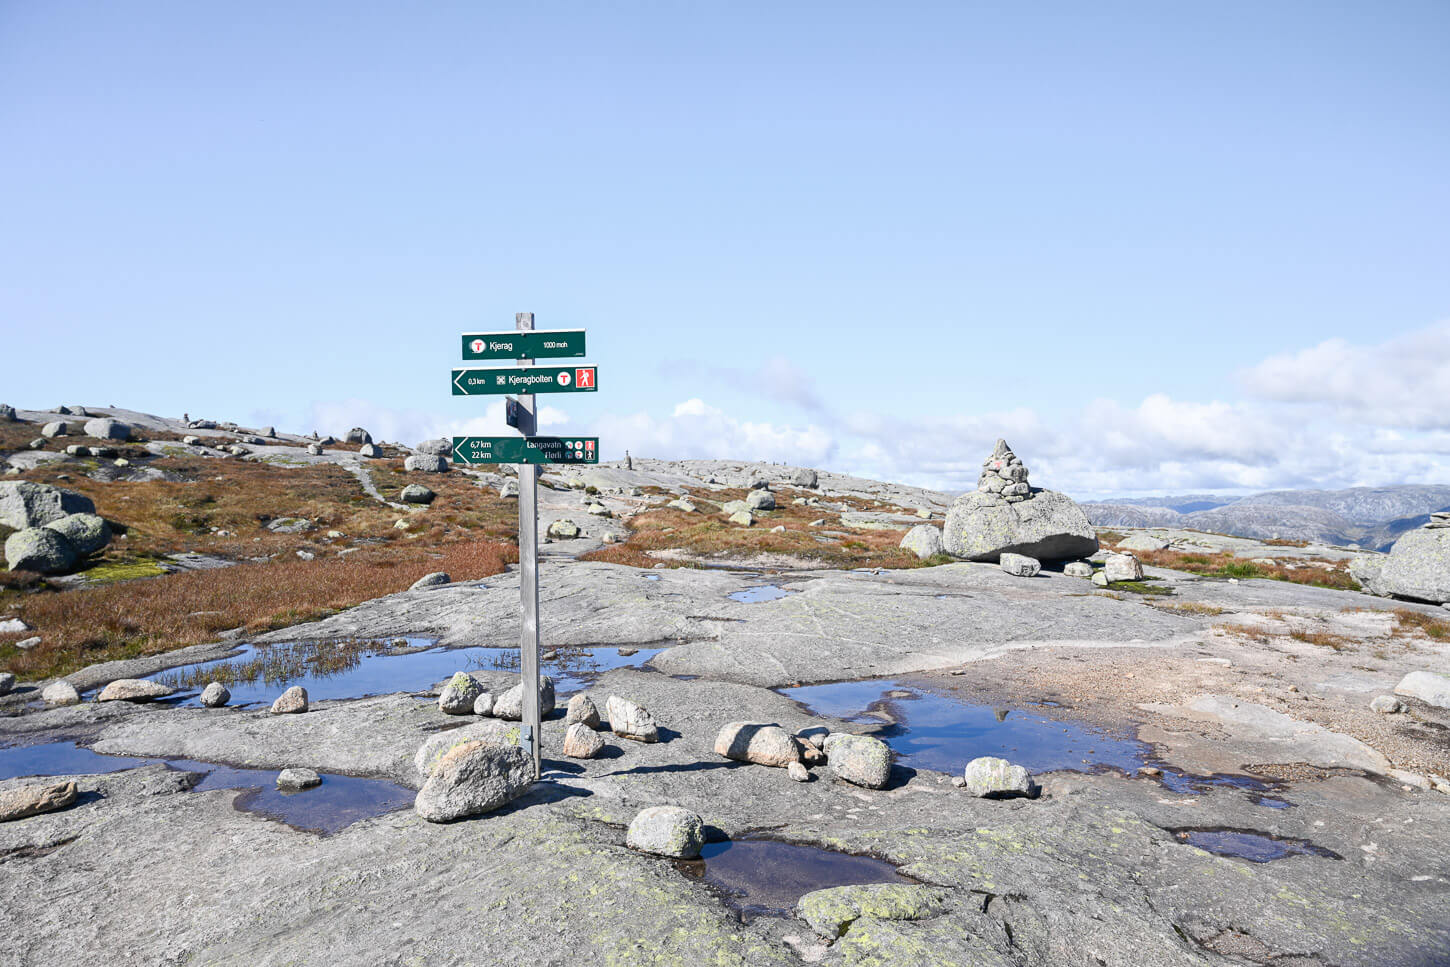
There aren’t any immediate visual clues as to where Kjeragbolten actually is until you are almost upon it. As you get closer, you will see a signpost pointing in different directions, one of which is Kjeragbolten.
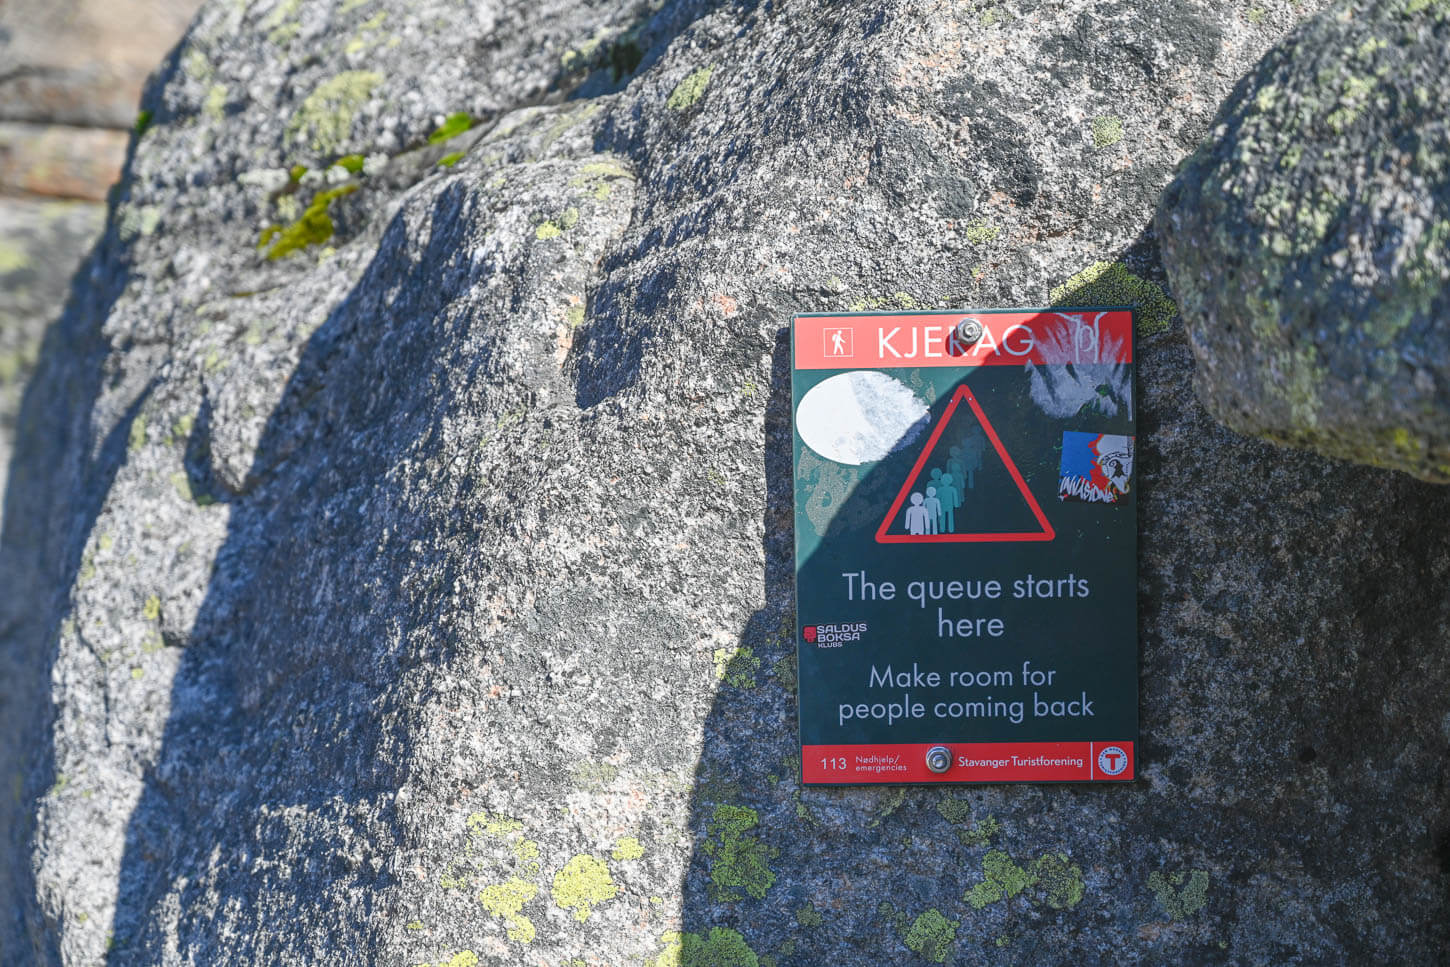
That trail will first lead into a narrow ravine where you will have to navigate through big boulders. If it’s crowded, this section will be a bottleneck.
It’s not long, however, before you catch the first sign of the big boulder wedged into the two rock faces. Just a short walk away. Before getting there, there’s a good viewpoint where you can watch both Kjeragbolten and people stepping on and off the boulder in turns. Also, a good spot to take photos of the random hikers striking poses for their own photos.
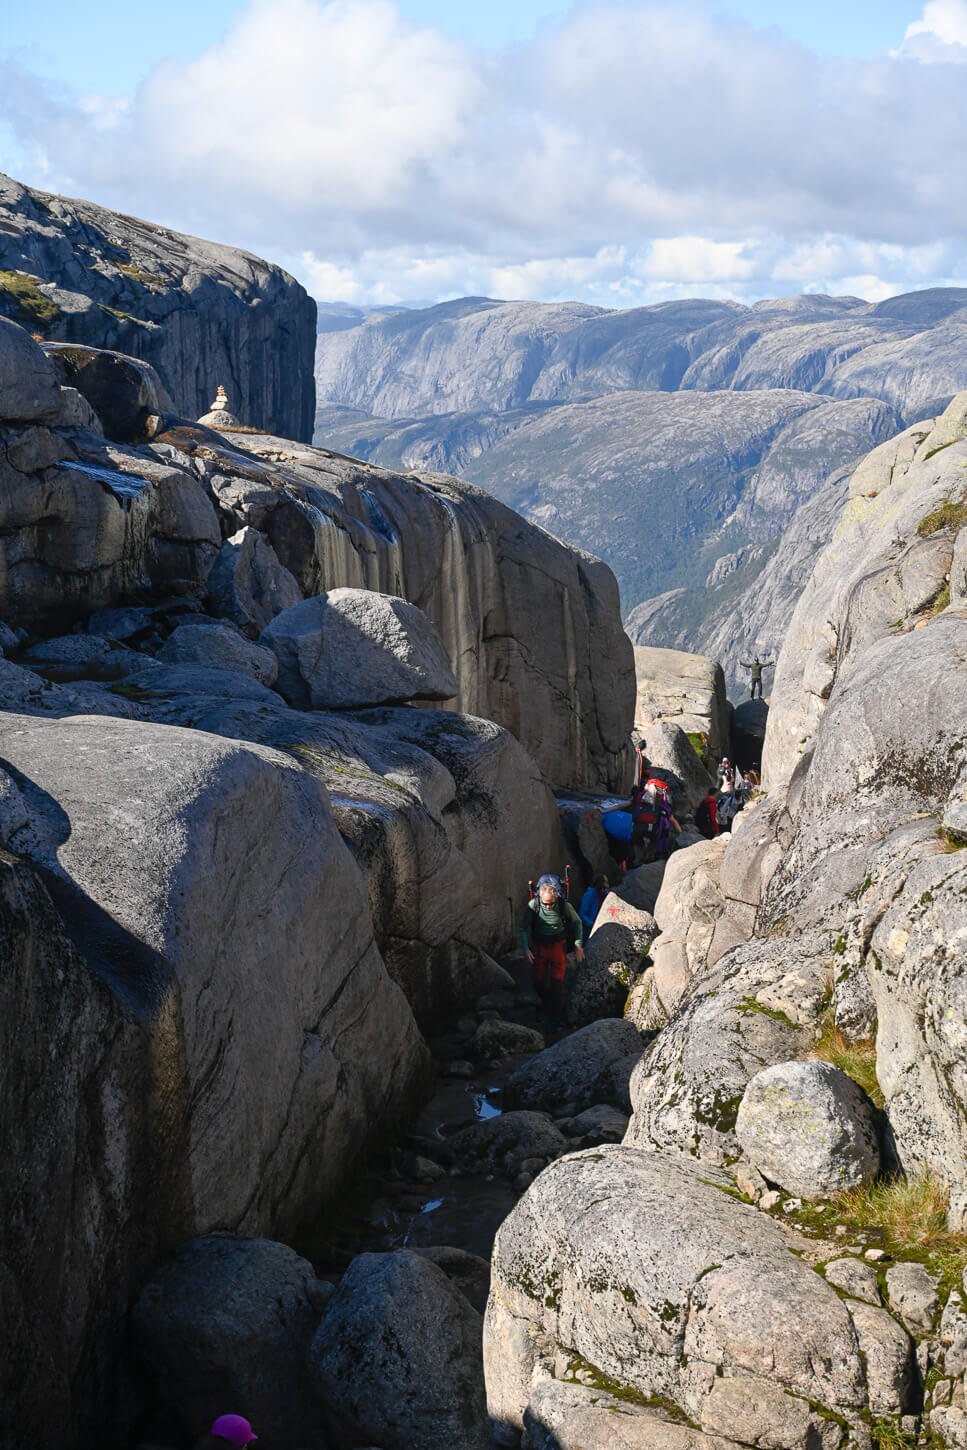
The last, narrow section of the trail that leads to Kjeragbolten, visible in the background.
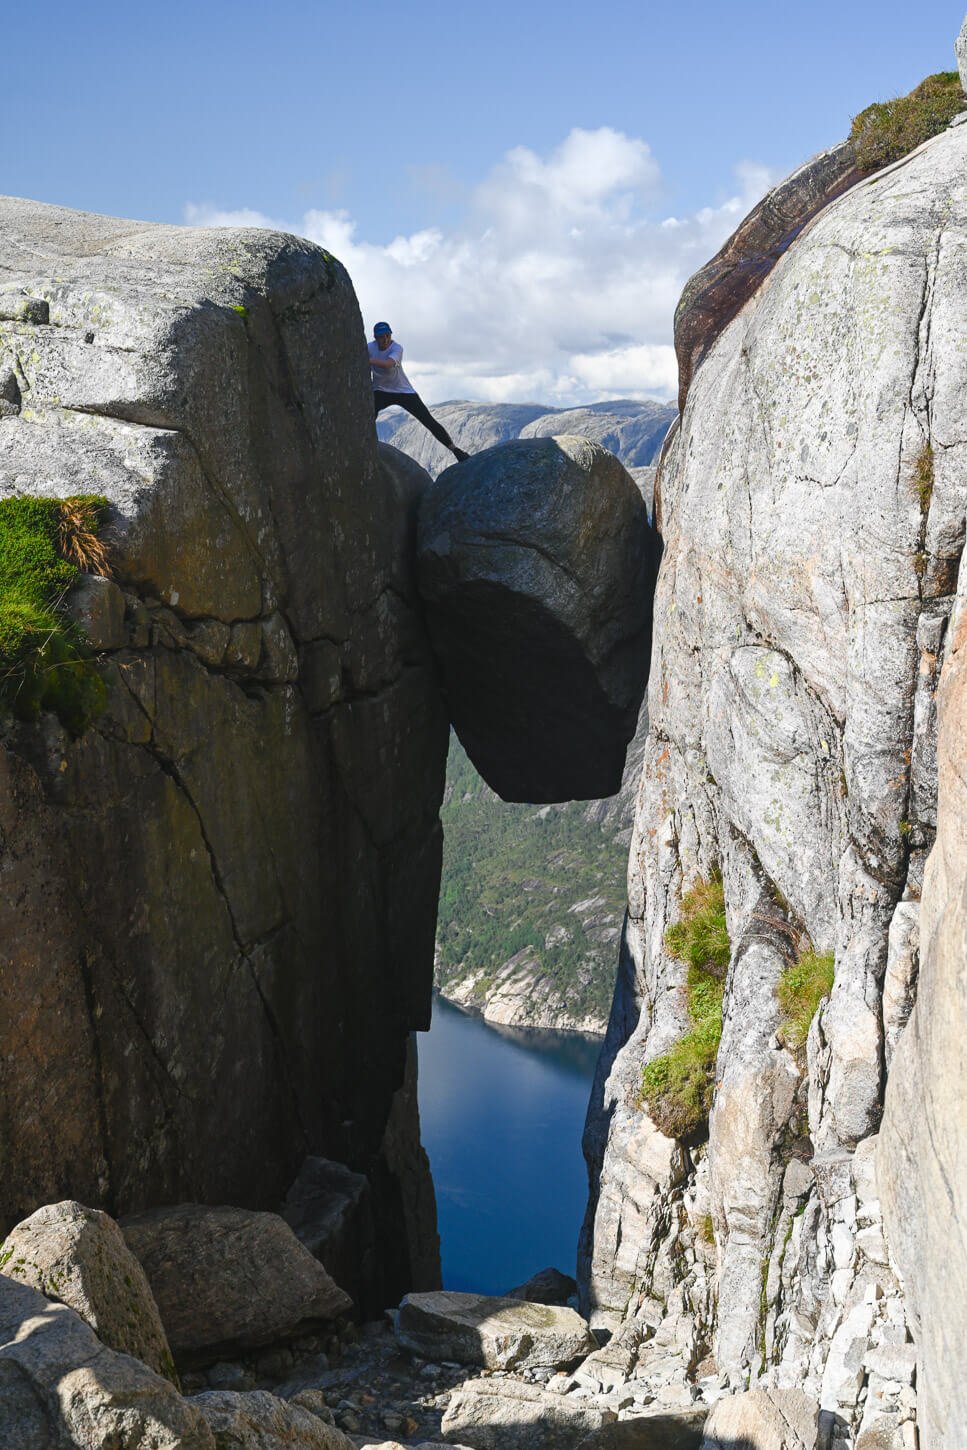
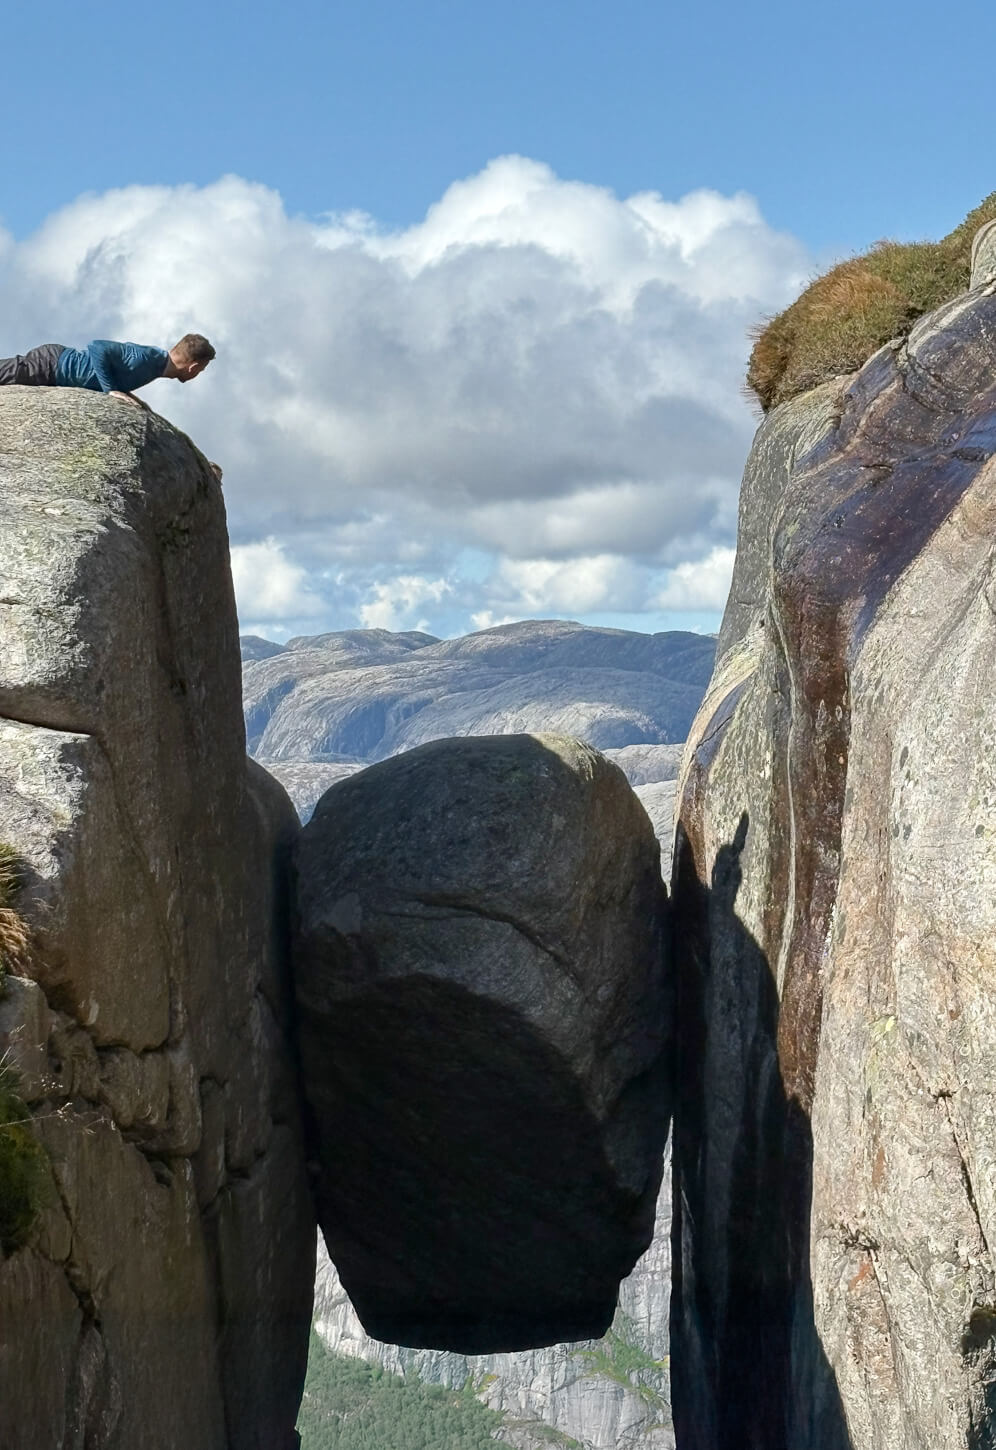
Hiker attempting to step on Kjeragbolten.
Kjeragbolten.
As you exit this narrow section, the trail opens up to a wider area next to Kjeragbolten. It’s a common place to sit and have a rest, a snack, or just enjoy the location.
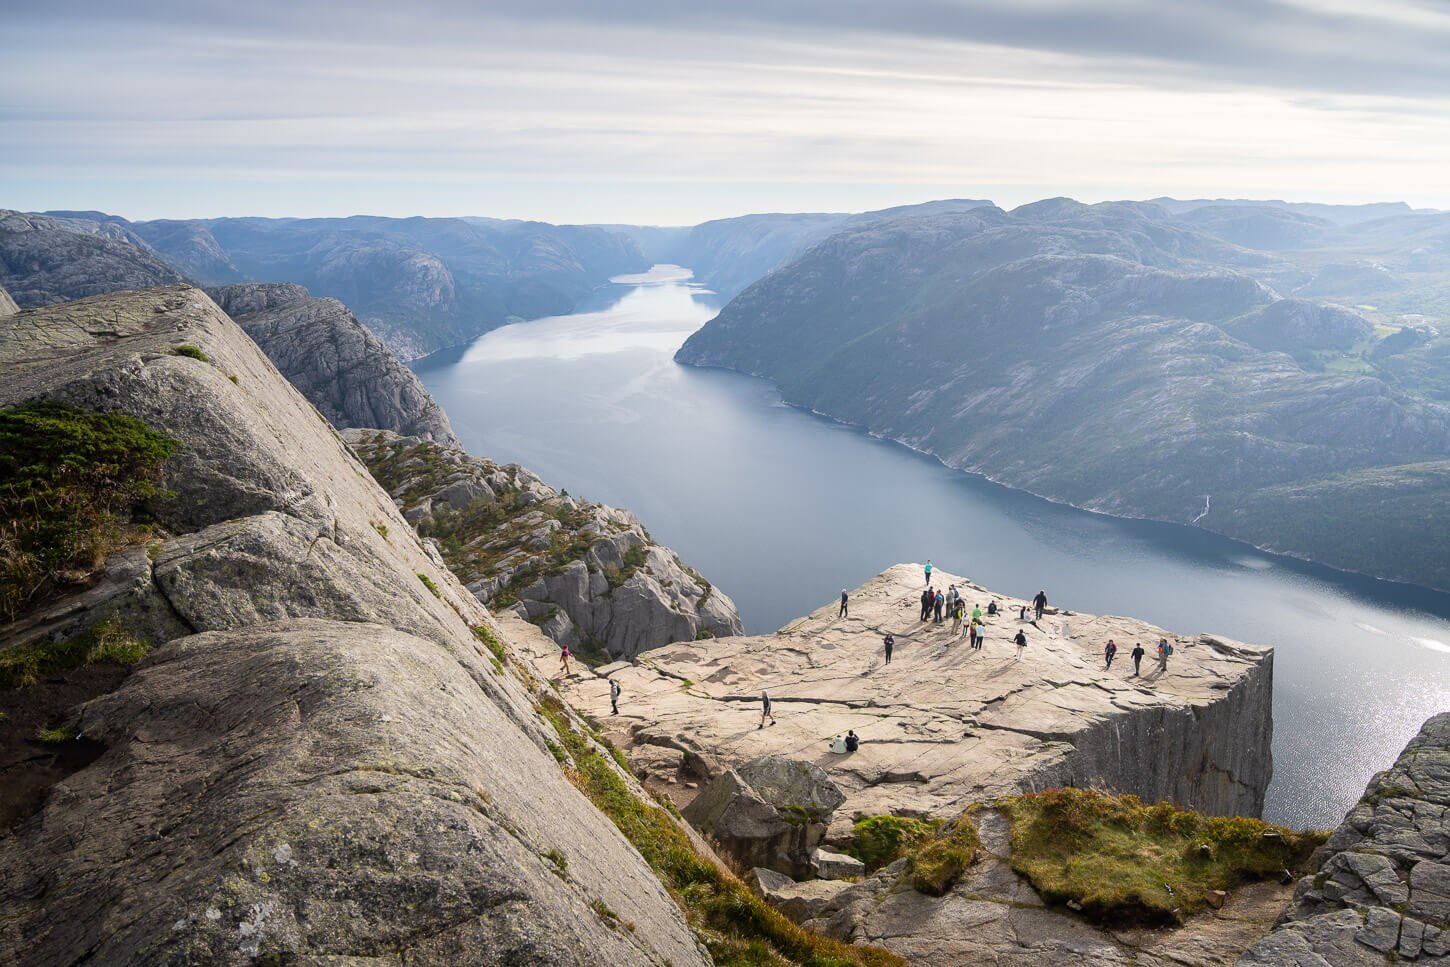
From there, the views from the cliffs all the way down to the bottom of the fjord below is jaw dropping. Definitely not something for those who suffer from the slightest dizziness when facing heights.
To step on Kjeragbolten, you would have to navigate around a boulder. A queue is likely to form here. So you will likely have to queue up for your turn on the boulder. It’s also a bit like stepping into an arena. Once you stand on Kjeragbolten, pretty much all the eyes of those around you, waiting for their turn or to take a picture, are on you.
So you’re exposed twice: to the cliffs and to the “public” :).
Stepping and Standing on Kjeragbolten – How dangerous is it?
So, how sketchy or dangerous is it to step on Kjeragbolten? If heights give you dizziness, it’s not the place for you – but you’d probably know that already.
However, the passage that leads to it is not that narrow, perhaps deceivingly so, because there still isn’t much room for errors. The boulder is relatively wide, too, but you do need a head for heights, as it is exposed and there isn’t much room for error.
So, in terms of safety, while Kjeragbolten is relatively safe – after all, it’s been wedged between two cliffs for more than 10,000 years – you have to be sure-footed and have a good head for heights.
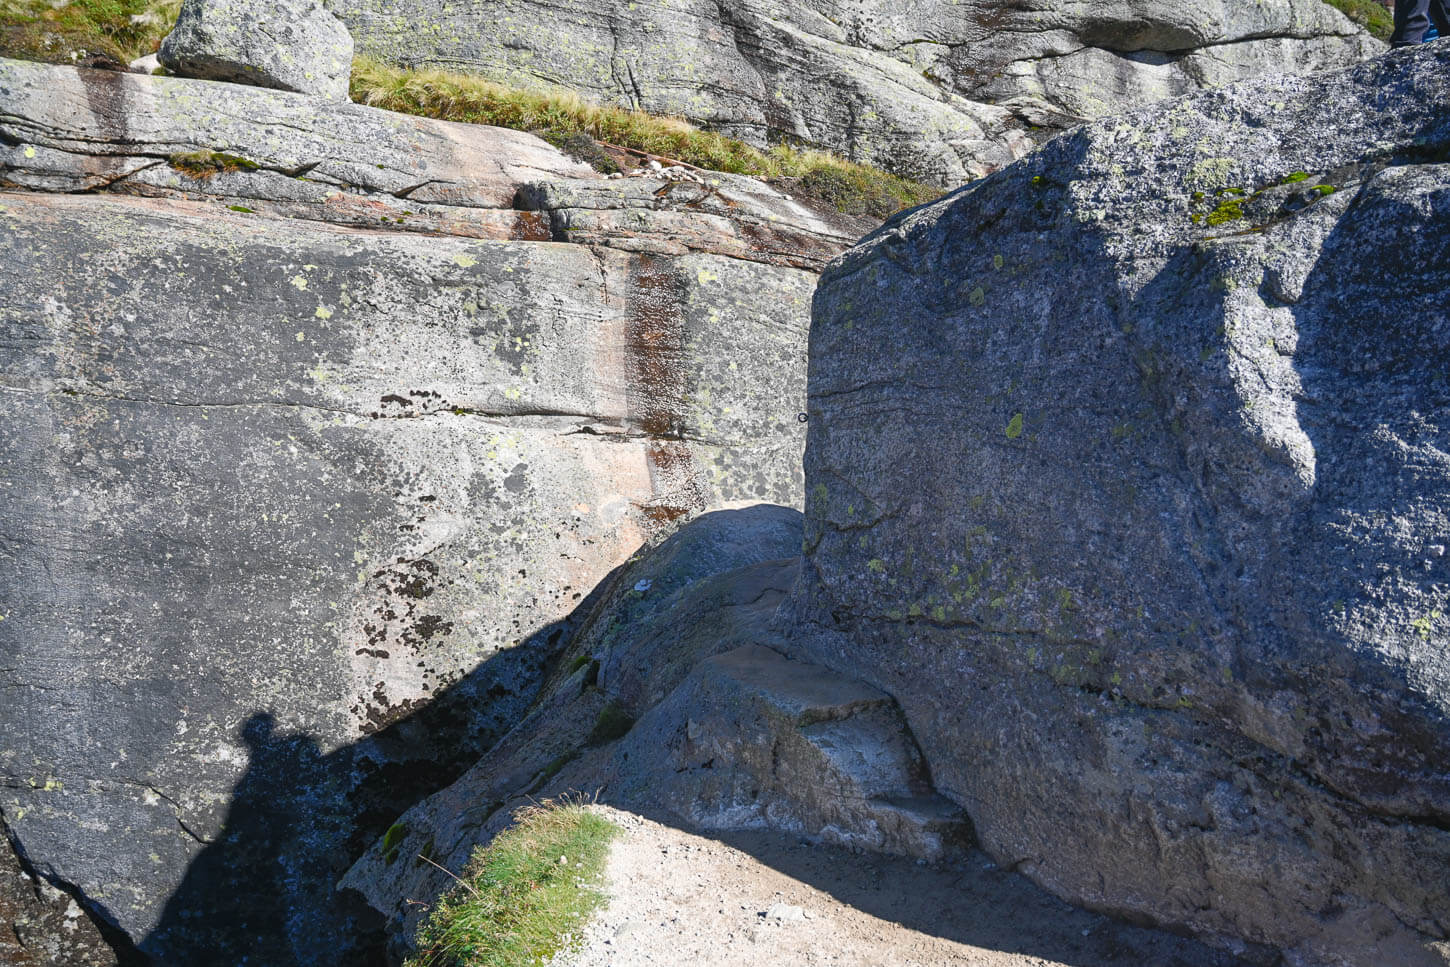
Kjeragbolten access point.
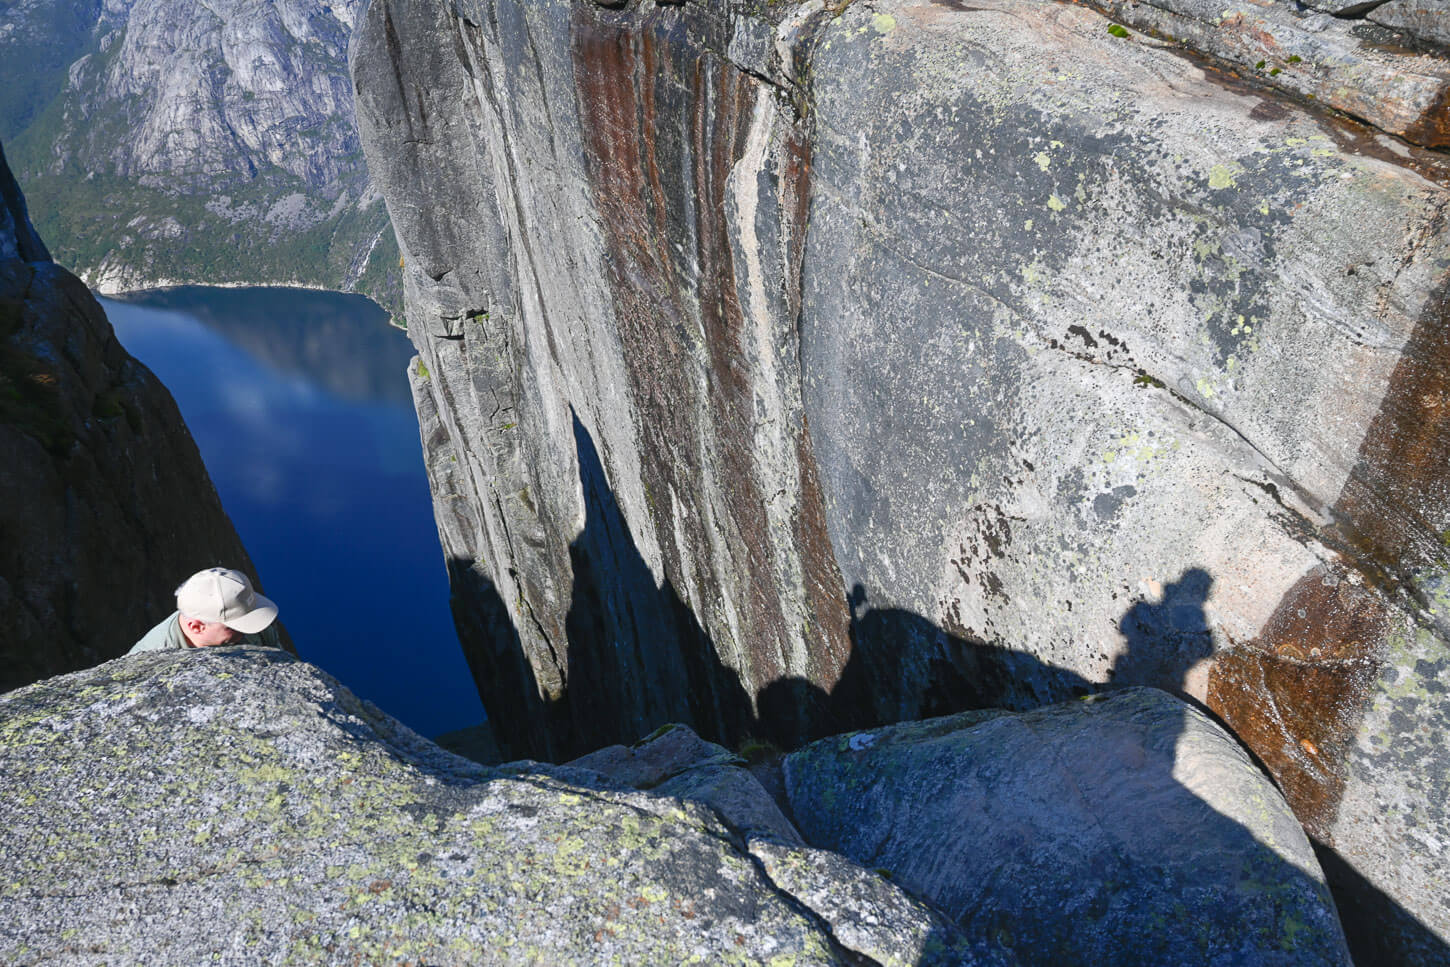
View of the passage to Kjeragbolten from a rock above it.

View while standing on Kjeragbolten.
It’s really only one way on and off the boulder, so that’s also why the queue forms. One person at a time, hop on, hop off, next. My tip here is that if you have time, wait to see if the queue diminishes. It often goes in waves, sometimes longer and sometimes shorter.
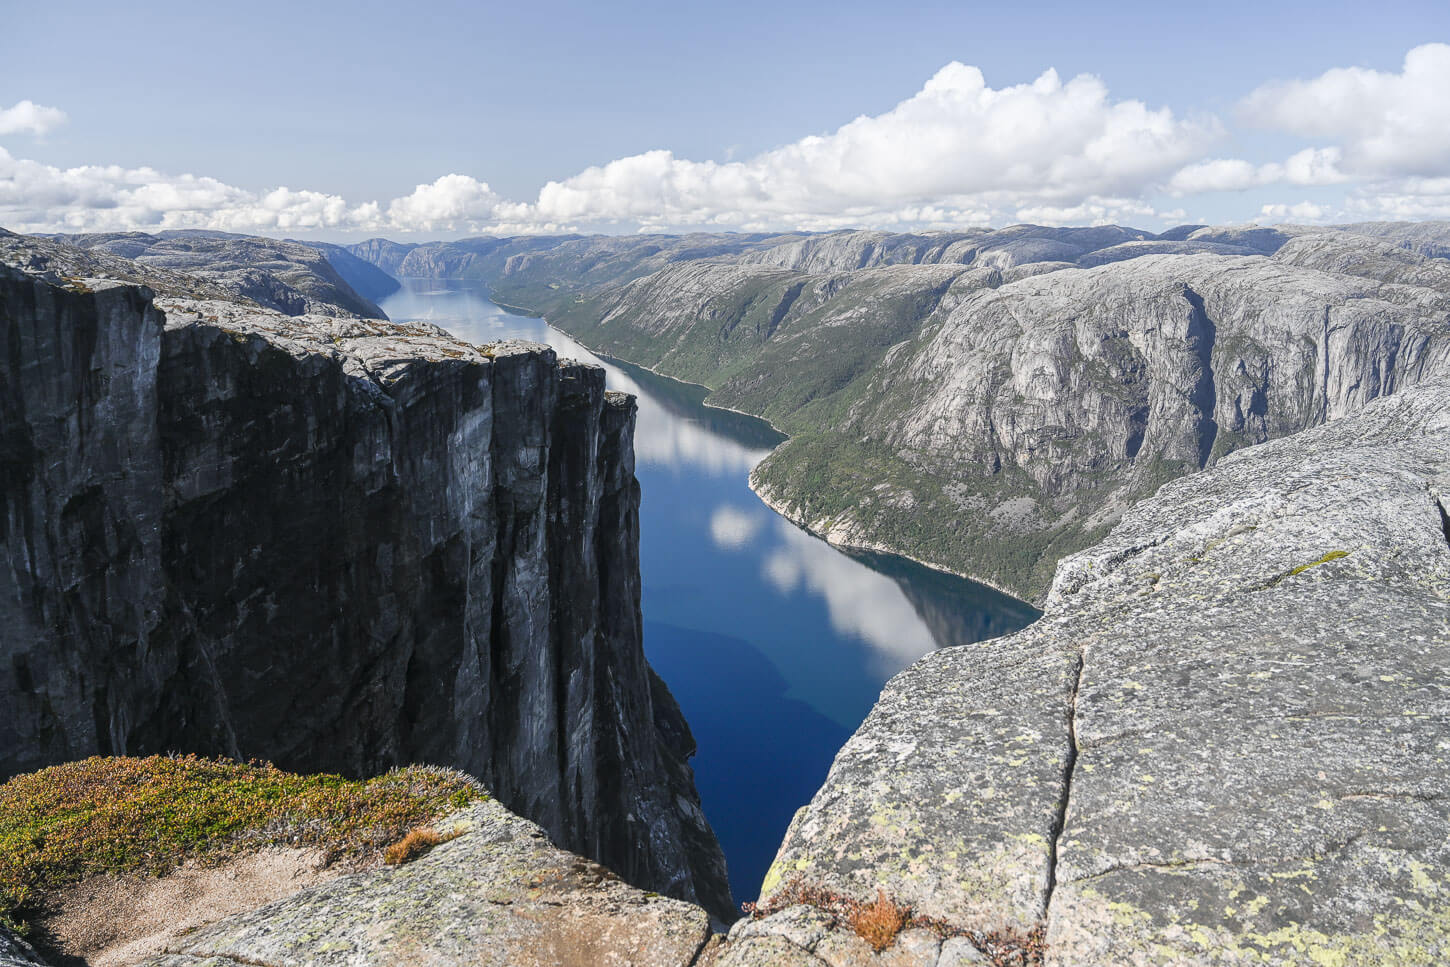
However, I think the very best views of Lysefjord are from the Nesatindane viewpoint. It’s just a short, fifteen-minute walk from Kjeragbolten, and I’d highly recommend not skipping it.
From Kjeragbolten to the Lysefjord Nesatindane Viewpoint
From the Kjeragbolten viewpoint, you will first need to backtrack a little, just to follow the trail signs you meet on the way up, a short walk away from Kjeragbolten. From there, turn back onto the large, rocky plateau toward the fjord.

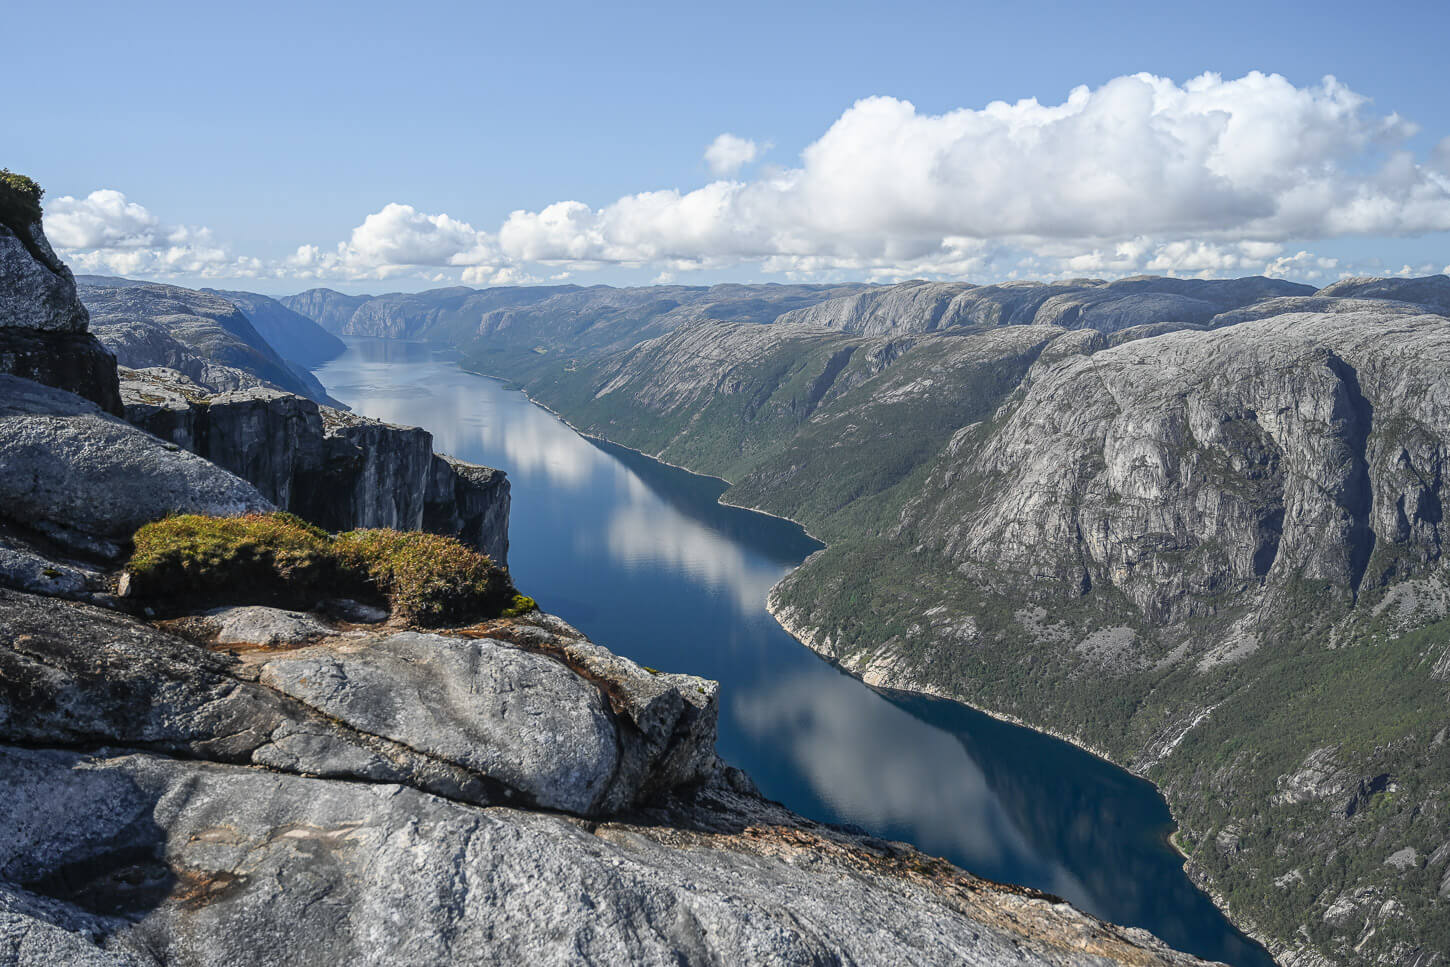
Within five minutes, you should arrive at the edge of the plateau. There, the views open up on the spectacular Lysefjord, a 42-km long fjord. You can’t see it all from there, but the views of the fjord and the vast landscape around it do make you feel small. Very small. It’s both the size of the fjords and the height of the cliffs you are standing on.
This area is completely exposed too, and it’s a very long, vertical way down below. It’s not very often that you can see such a huge, vertical drop.
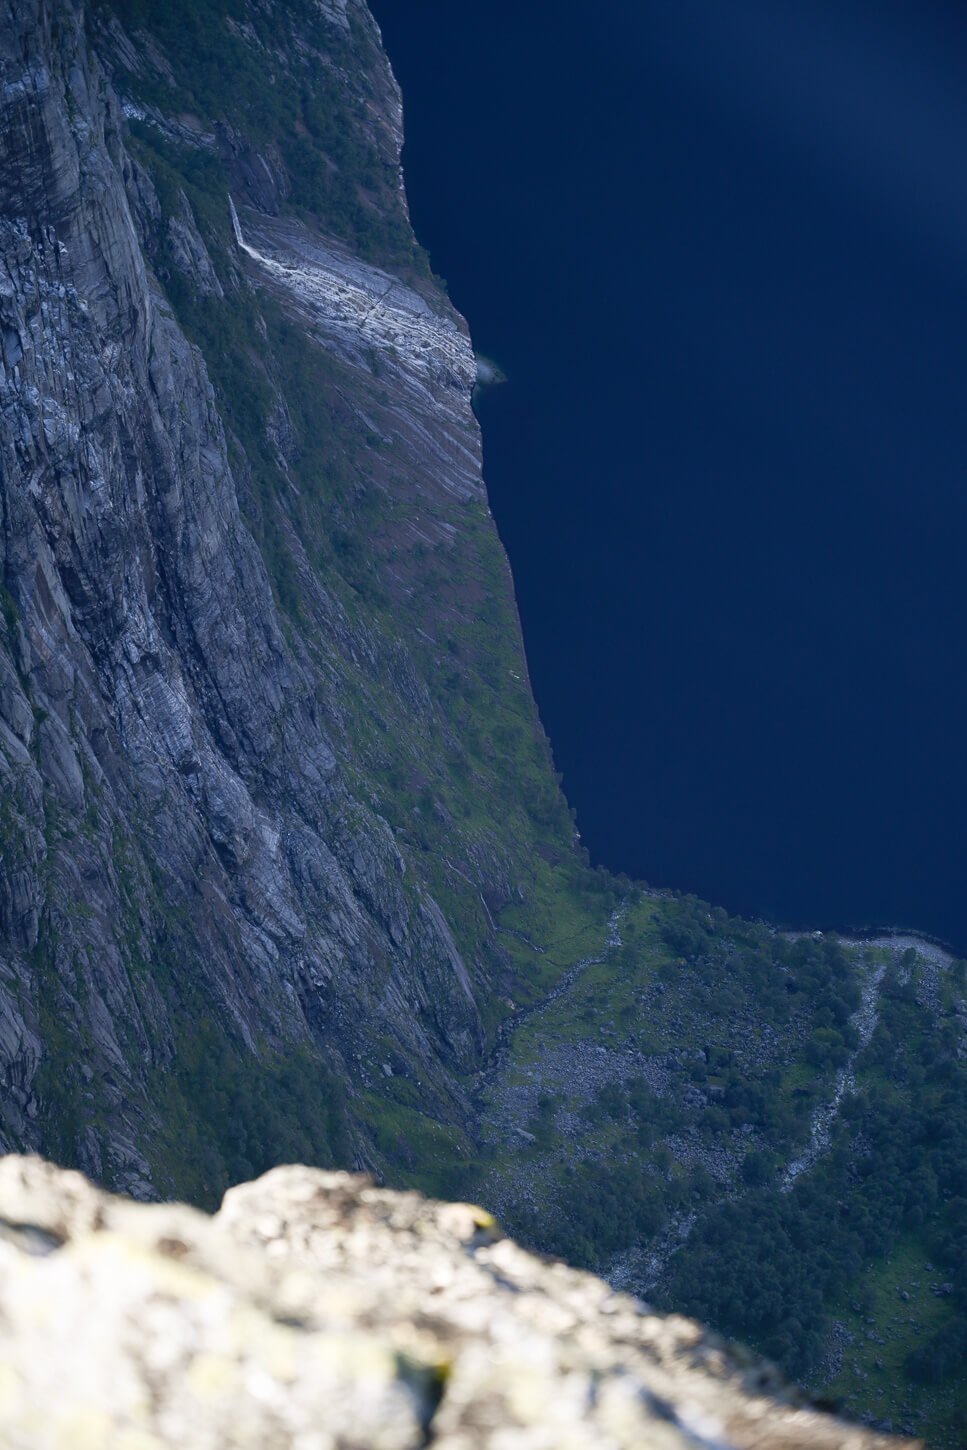
The Nesatindane Viewpoint is completely exposed to the valley floor below.
You can continue to follow the ridge of the plateau northward. Always be mindful of where you step; it’s all completely exposed. There are actually plenty of fantastic viewpoints along the ridge, but the best viewpoint is the last one on the trail, toward the Northern edge, at the following GPS coordinates: 59.036320, 6.592346.
From there, you can walk back up hill toward the main trail and from there back to the parking area.
Kjeragbolten and Lysefjord Photos and Photography Tips
First off, the classic photo everyone takes: standing on the boulder wedged in between the two cliffs. We already touched on the part of getting on the boulder; the viewpoint from where the photo is taken is right in front of it, on the main trail, just before the turn around the last guant boulder to get to Kjeragbolten.
Again, be prepared to queue up and wait for your turn to take a photo there. I took all the photos around Kjeragbolten with a 24-70mm lens, so it’s more than enough, and I did not really feel the need for something wider or longer. Other than the “classic” photo standing on the boulder wedged between the cliffs, I think Kjeragbolte offers opportunities for some interesting, candid photography.
The classic Kjeragbolten viewpoint loosely faces the west, so it may be better at sunset if the sky cooperates with some colors.
In terms of landscape photography, the best views are at the Lysefjord viewpoint rather than from Kjeragbolten. From Kjeragbolten, the view of the jaw-dropping beautiful Lysefjorden is mostly obstructed by the two cliffs on either side of the boulder.
However, the views completely open up around the Nesatindane Lysefjord viewpoint, and there is also plenty of foreground to choose from. From grass and plants to cracks in the rocks, you won’t have trouble finding any. Again, I think this viewpoint would be better than Kjeragbolten for sunset, and this is also a shot I hope to have the opportunity to do again at some time in the future.

Video of the Hike
Last but not least, for a better feel for the trail, you can also watch the hike to Kjeragbolten here:
Where to stay
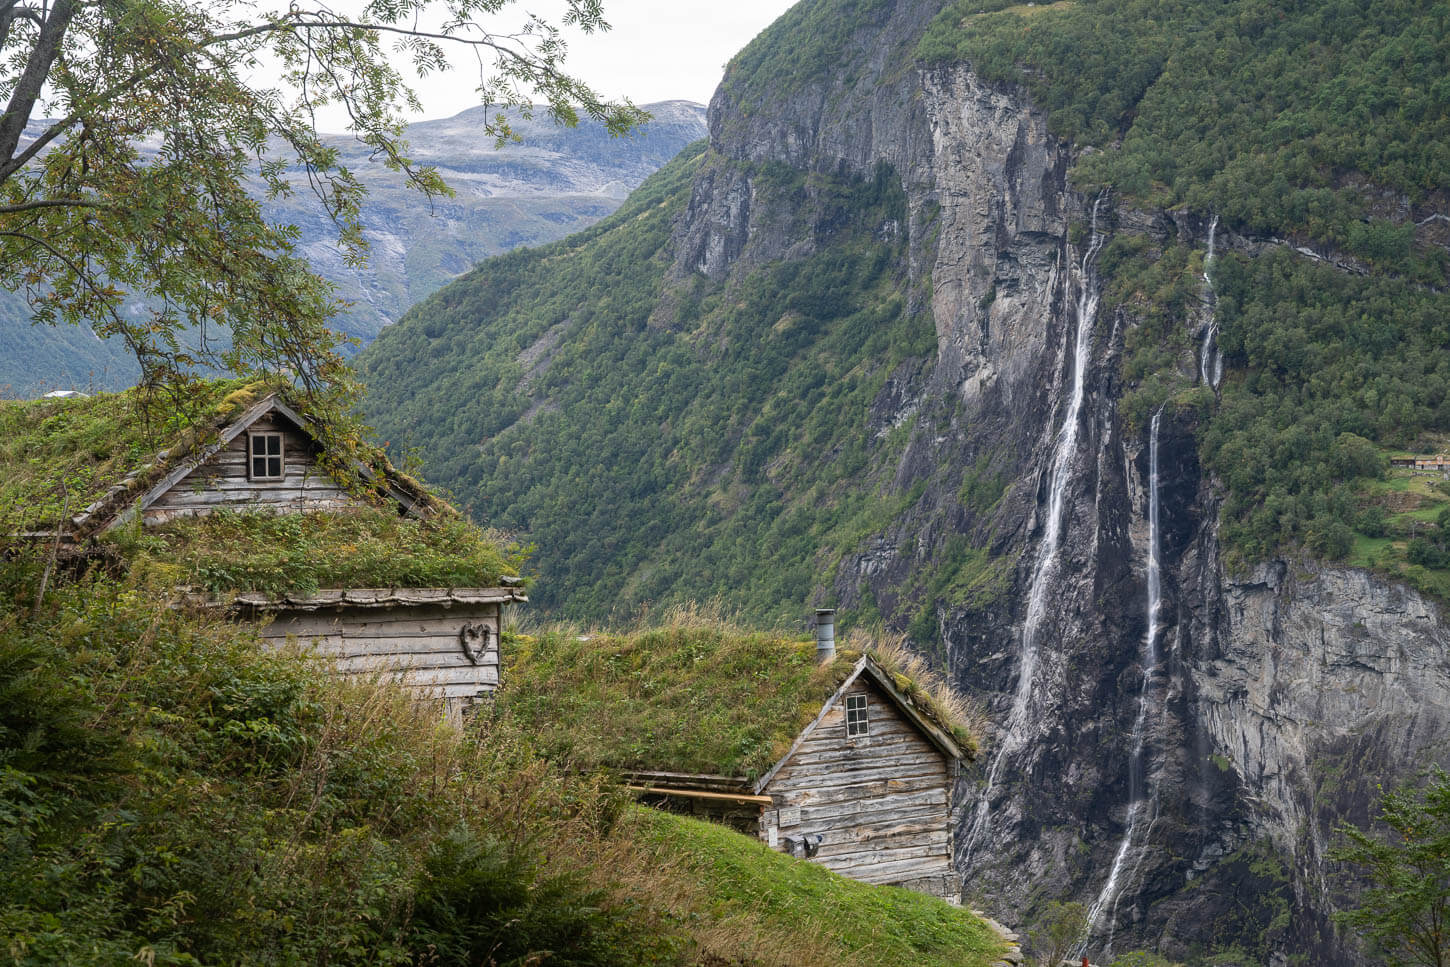
There isn’t really too much in the immediate vicinity around the trailhead. The closest accommodations would be in the Lysebotn area, which is a short drive away.
Camping in a van/RV at the parking area is not allowed. However, there are other areas around the Lysevegen area where you can spend the night in smaller parking areas. You could, of course, camp around the Kjerag area, but it’s all rather rocky.
Additional Resources
- Check out more Hikes in Norway, with Maps!
- Discover another one of the most amazing rock formations in Norway, Preikestolen, or the Pulpit Rock.


Leave A Comment