Hiking Backpacks for Photographers
If you are looking for recommendations on the best Hiking backpacks for photographers, you may be wondering if a hiking backpack may be better than a camera backpack. And if so, How?
Read on if you want to find out why hiking backpacks may be a better choice for photographers than dedicated camera backpacks and which hiking backpacks may be suitable for you.
I have gone through the same decision process myself and for me, long gone are the days I was using camera backpacks on the hiking trails. Since I switched to hiking backpacks, I have never looked back.
There are pros and cons that come with each choice, like with everything else. This is also a matter of personal preferences, of course. For me, however, the choice is clear; on the trails, I only use hiking backpacks for my camera gear.
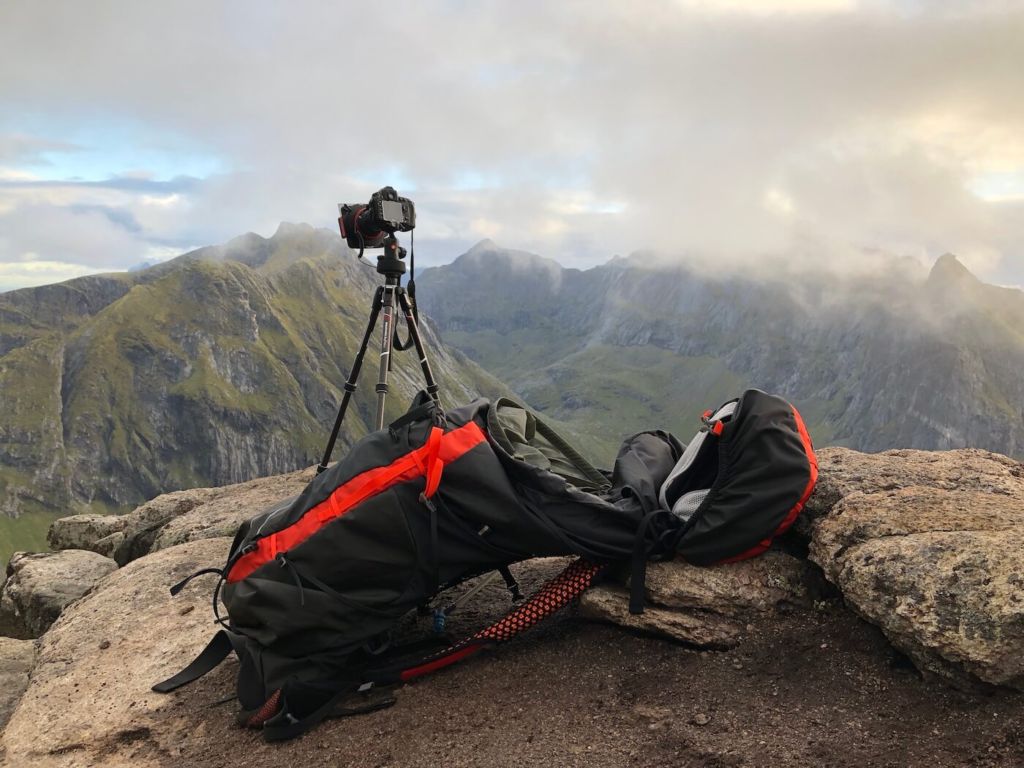
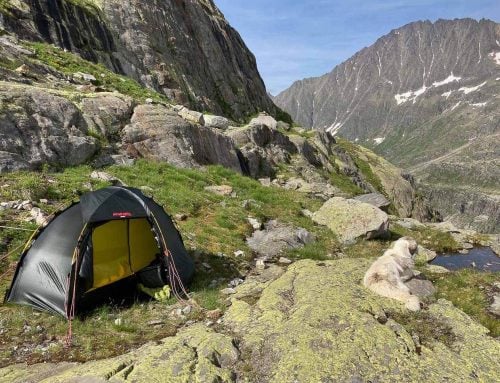
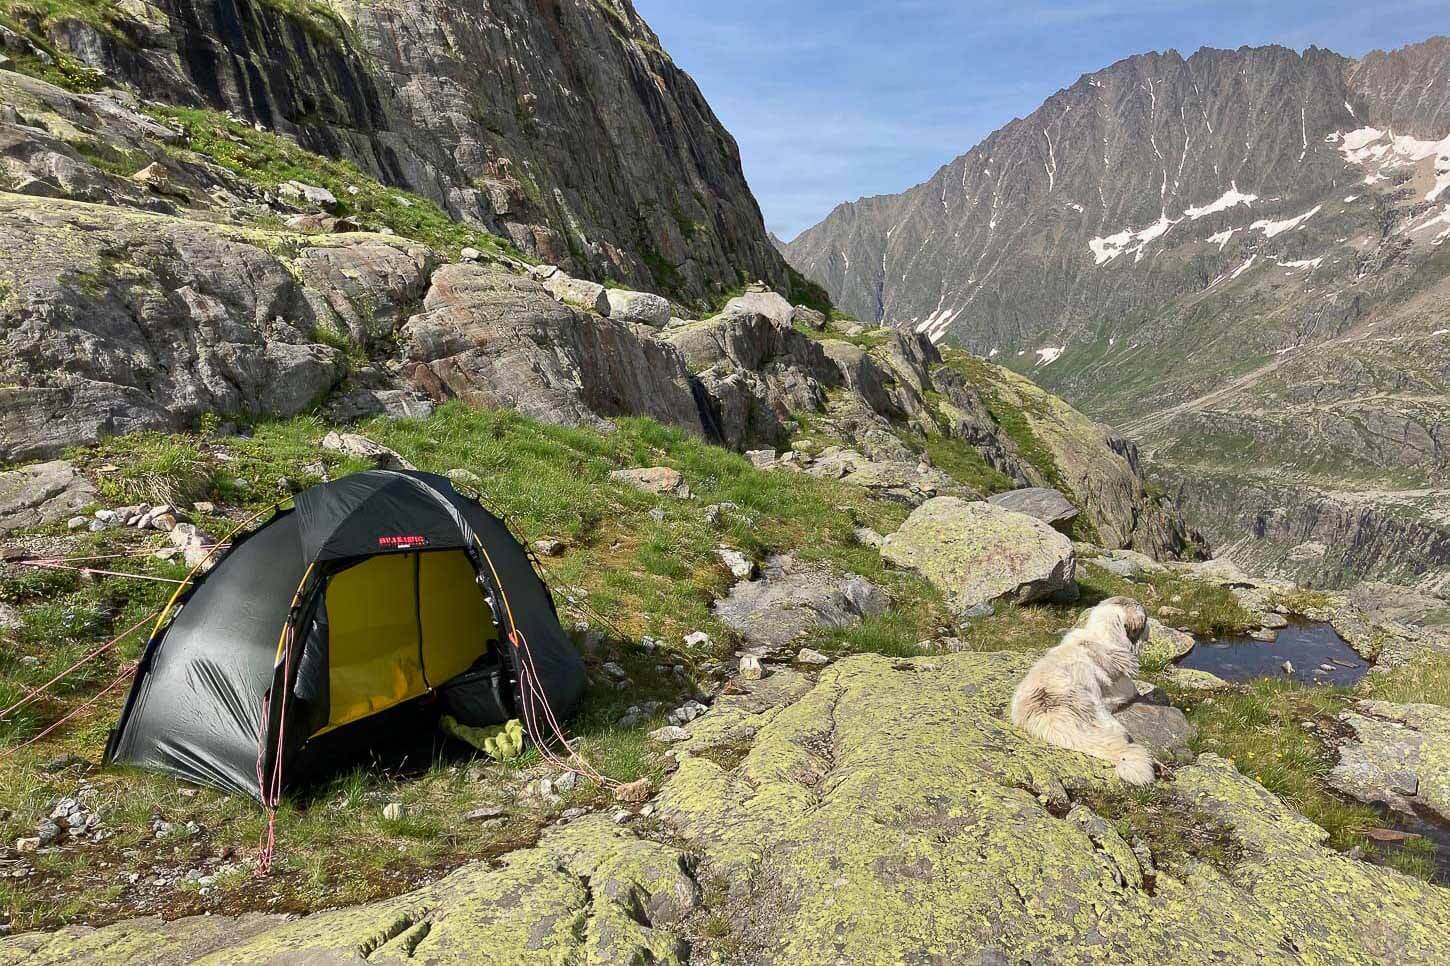
My Osprey Exos 58 on an overnight trip to Ryten, Lofoten Islands.
As someone who hikes in the mountains several hundred kilometers each year, I need to have a good backpack I can rely on. It needs to be comfortable, spacious, and lightweight.
In this post, I’ll explain why I only use hiking backpacks instead of dedicated camera backpacks. Let’s dive into some pros and cons.
Hiking backpacks for photographers – Pros
Weight: Camera gear tends to be quite heavy. When you need to carry a lot of equipment up the mountains, the ability to save a few hundred grams or more will make a difference over long distances or on hikes with a lot of altitude gain.
Support: Hiking backpacks, especially the bigger ones, are designed to help you carry gear comfortably. In general, they offer much better support and weight distribution compared to camera backpacks. They are more comfortable, especially over long distances, as they distribute the weight better – provided you wear them correctly.
Ventilation: One feature I love the most about hiking backpacks is their back ventilation systems. When you huff and puff up a steep mountain trail, it’s great to have a back ventilation system that lets your sweat evaporate. I have been looking for camera backpacks with a good back ventilation system, but I could not find any. Let me know in the comments if you are aware of any.
Space: since hiking backpacks have been designed to carry a lot of gear over long distances, they have much more space inside. This also allows you to organize the space in whichever way you want.
Hiking backpacks for photographers – Cons
Ease of Access: usually, hiking backpacks only have one opening through which you can access the content from the top. Camera backpacks, instead, will often have several access points from either the side or the back.
Lack of dedicated padding: unlike camera backpacks, hiking backpacks do not have much padding, if they have any at all. This means they do not offer the same protection dedicated camera ones do. To protect your gear, you will need an insert, like the Tent BYO I’ll show you later.
Storage and pockets: extra storage spaces and pockets are not designed with photographers in mind. Typically they will have several larger pockets where you can fit several items together. Still, they usually lack smaller internal or side pockets, where you can store your smaller bits of gear, i.e. remote shutter, batteries, memory cards and any other smaller piece of equipment.
Hiking backpacks for photographers – My setup:
These are the backpacks I own. I own four of them in total.
I’ll discuss the hiking backpacks first and then the camera backpack. Each has its use, and I will list them from the most to the least used.
Please note that as an Amazon Associate, I earn from qualifying purchases. If you find any of these recommendations helpful and decide to purchase a product I recommend, I will receive a small commission. This commission will help me keep the site running, and it will not cost you anything extra. This also means you will effectively support this site for free if you purchase one of these guides through my site. If you do – thank you!
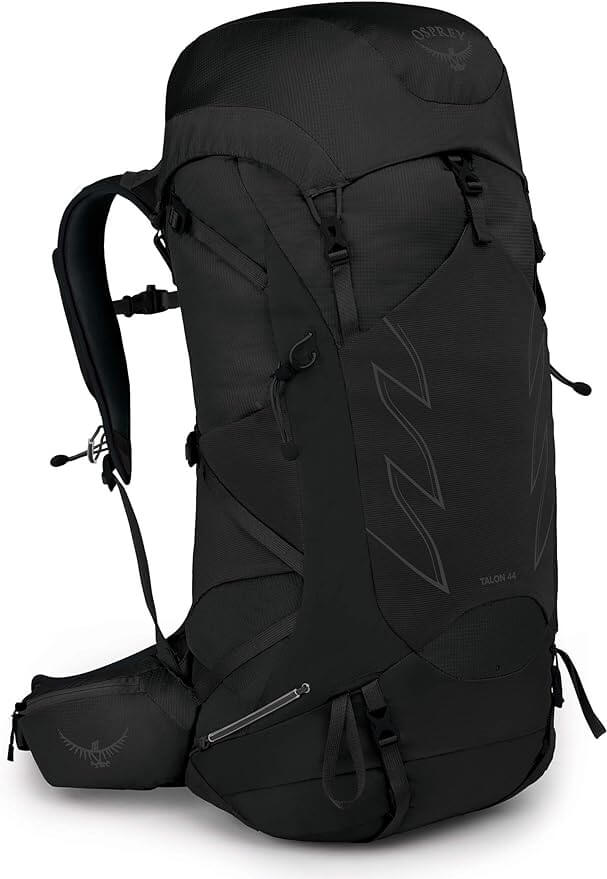
Osprey Talon 44
This one is my typical day-hike backpack. Good ventilation, great support, and ease of access all in a very light backpack. I have been using and abusing it for the last three years, and it only collected a bit of dirt.
Compared to the other backpacks, the best feature is the bottom opening. Yes, the bottom can be opened through a zipper. This allows you to easily access the content or camera gear without opening the top lid each time.
It also has two side pockets on the hip belt, which are suitable for a mobile or GPS unit. It can carry a hydration bladder.
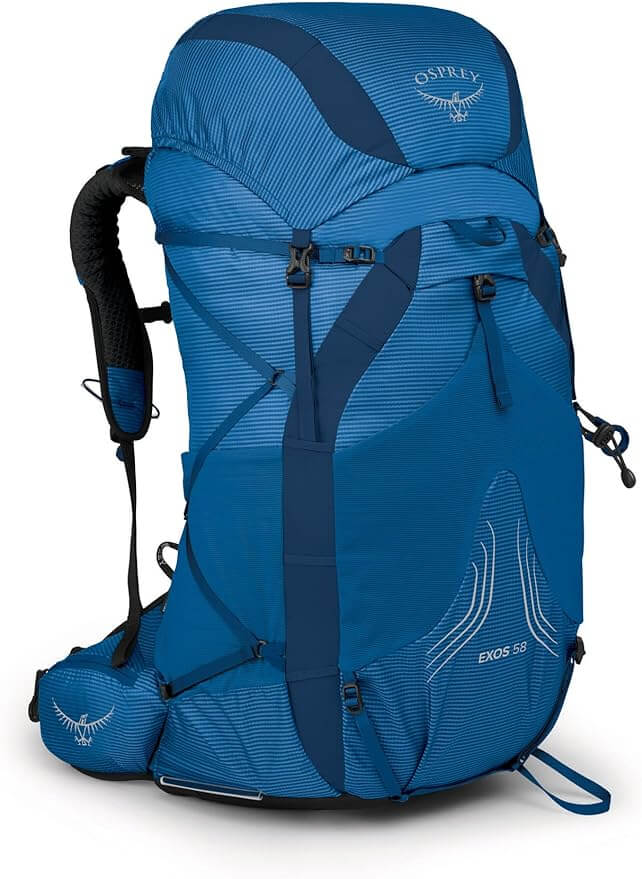
Osprey Exos 58
This one is my go-to backpack when camping in the mountains for a day or two. It takes all the camera and camping gear I need to take with me for an overnight or two.
There’s lots to like here. It’s ultra-lightweight, very comfortable, and fully loaded, and the ventilation system is fantastic. I can fit a whole hand or a fist in it. It’s almost like having a fan that blows away the moisture from your sweat.
Extremely durable. I have been using it for over four years, and this one has no signs of wear. The older model did not have hip belts, which was a dealbreaker for many. However, the new 2023-2024 model does have them!
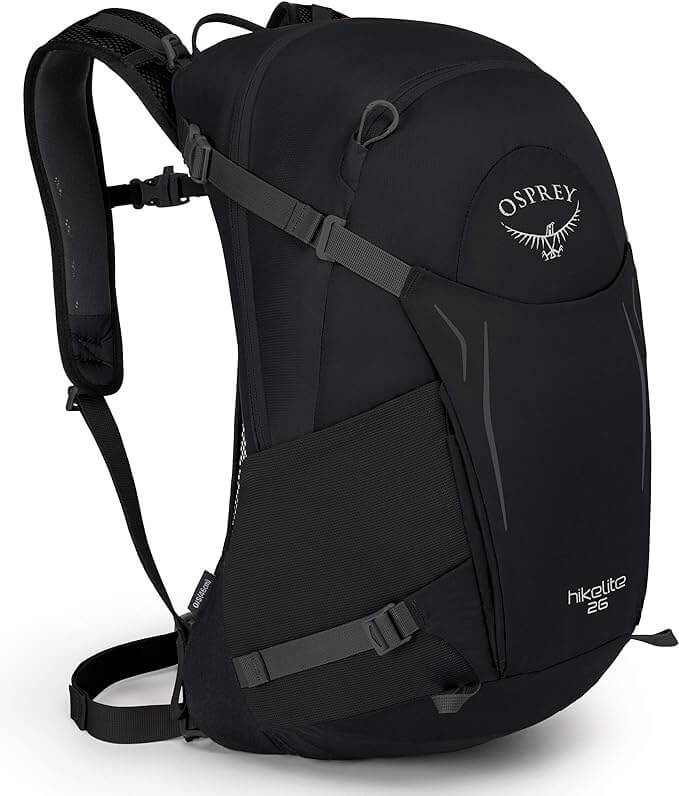
Osprey Hikelite 26
This is my go-to backpack for light or short summer hikes. When I only need to carry the camera with one lens and something to drink/some snack, I’ll pick up this backpack.
It can actually carry much more than that, but being relatively small, it is not suitable to carry heavier weights as it does not offer great support due to the lack of a belt.
This one also comes with its own rain cover and it can carry a hydration bladder inside.
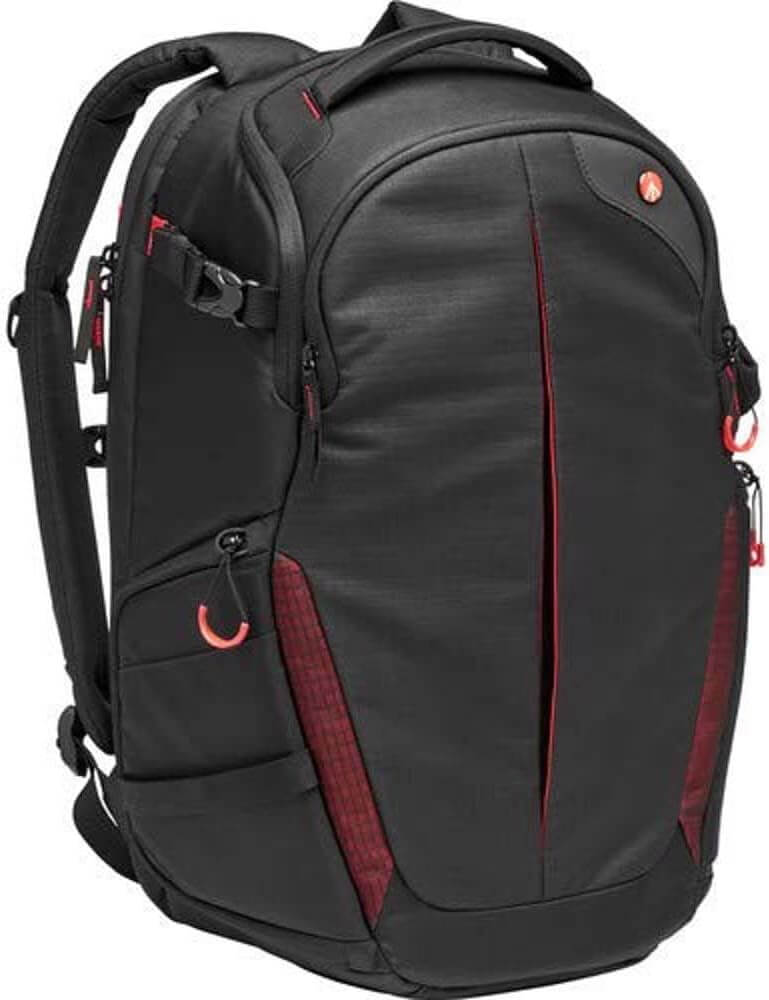
Manfrotto Pro Light
This is the only camera backpack I currently own, and I love it. I can fit all my gear and a 15” laptop in it. It has two main compartments where you can store several smaller storage solutions. Like all camera backpacks, the interior is modular, and you can arrange the space and compartments any way you want.
It also does a decent job on shorter hikes, but I no longer use it for that purpose. This is the pack I store my camera gear in when I am traveling or when I need to take a flight. On these occasions, the hiking backpack will either be checked in with clothing or will go into a suitcase, while the camera gear will be safely stored in the
Camera Accessories:
With a hiking backpack, you will need a camera bag insert to store your gear safely. This is true, especially with ultra-light backpacks, which are stripped down to their minimum components.
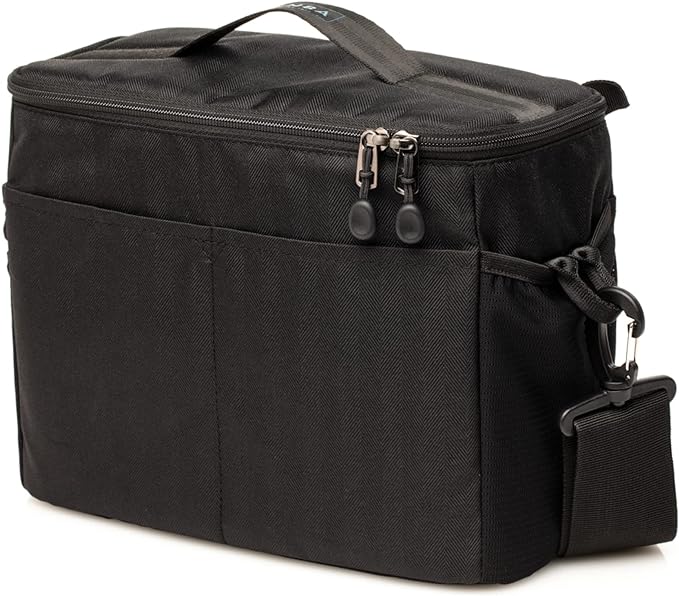
The best I could find for my needs are the Tenba inserts. They are light and modular, and you can also use them as standalone shoulder bags.
They have two mesh pockets, one on each side, one large pocket on the back, and two smaller pockets on the front. Plus, a zip pocket inside the lid. This is great as it makes up for the lack of smaller pockets of Hiking backpacks.
Here are the two I have chosen and what they can fit:
BYOB 10
Ideal for shorter hikes where you do not need to carry a lot of gear. I will typically fit my drone (currently the Mavic 3) and a camera ( Nikon Z7II) with a wide or medium-range telephoto lens attached, i.e. the Nikkor Z 14-24 or the 24-70. The DJI drone RC can fit in one of the mesh pockets on the side.
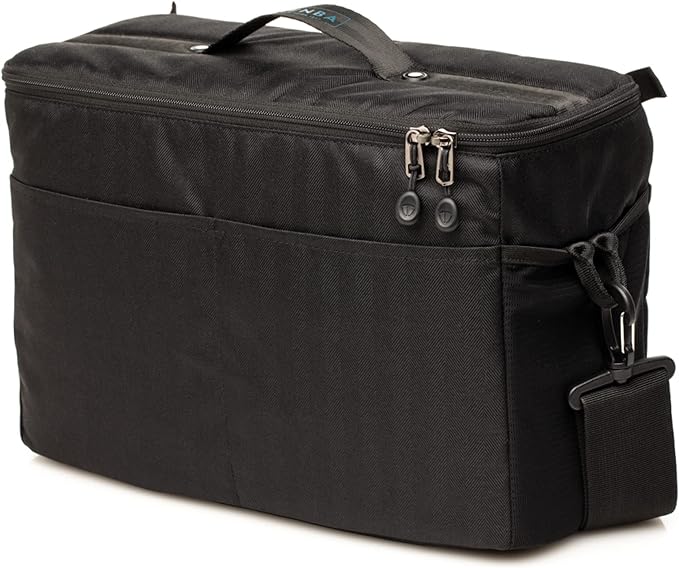
BYOB 13
My choice when I need to bring more gear. I can fit a camera ( Nikon Z7II) with a wide or medium-range lens attached to it, such as the Nikkor Z 14-24 or the 24-70, and a tele lens – in my case, the Nikkor Z 70-220 f2.8.
The drone will not fit in this case, but the Mavic 3’s Gimbal cover is so big that it covers the entire front and protects all the propellers. However, if I am not carrying the Nikkor Z 70-220 f2.8 with me, the drone will fit in there too.
In this bag, too, the DJI RC will fit into the mesh pocket on the side.
Peak Design Capture Camera Clip
I was skeptical about this one at the beginning, but it is one of the pieces of gear I used the most. I always have it on my shoulder strap and hang my camera on it at the start of each hike.
With this, the camera is always at hand, eliminating the need to pull it out of the backpack each time I take a photography break on the trail.
Initially, I was skeptical because I was not too fond of having my camera on my shoulder while hiking. In the event of a fall, I did not want to crush my camera with my body weight. However, how likely is it to fall flat on your face and chest? Everyone fails sometimes, but you’d most likely put your hands or arms down first.
On the other hand, when the terrain is rough, or I need to scramble up a steep trail, the camera gets in the backpack – that is, in the Tenba insert.
The plate is also Arca Swiss compatible, so that’s a big plus.

You can also read my full review of the Peak Design Capture Camera Clip here.
Backpack accessories
While most hiking backpacks can take some drizzle or light rain without getting wet inside, a rain cover is necessary.
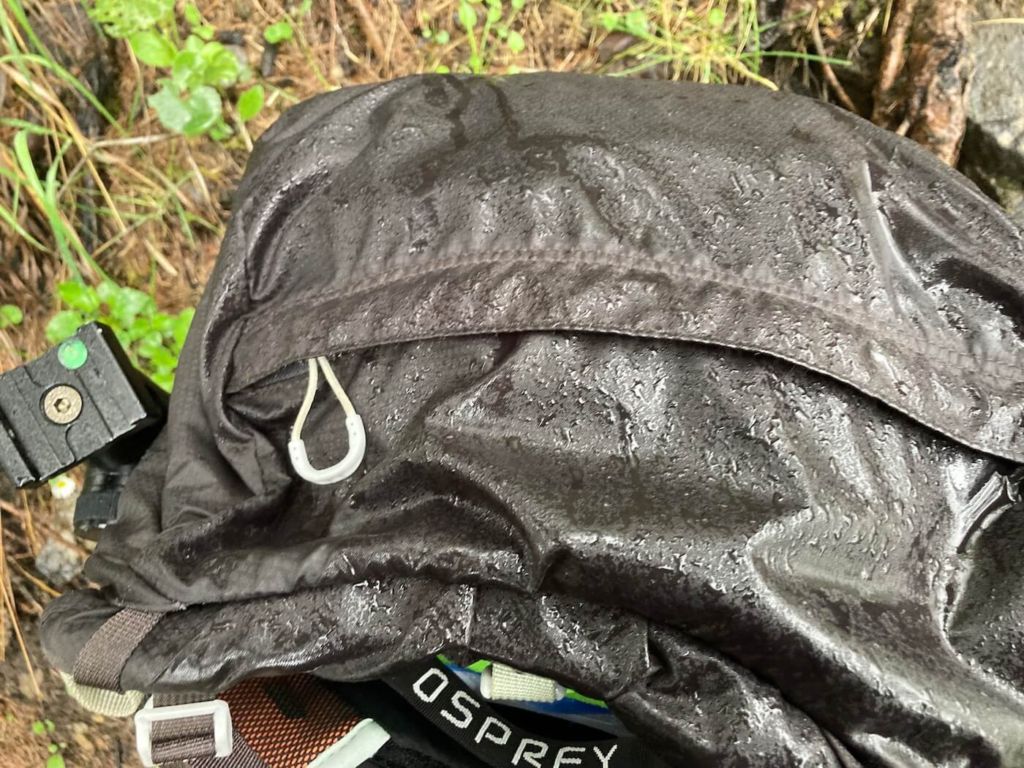
My Osprey Talon 44 – top li drenched, but the inside of pocked we barely humid.
Hiking backpacks will take a fair amount of water before allowing any inside, but you really don’t want to risk your gear getting wet. This is what I use to protect the equipment from the rain.
Osprey Ultralight Raincover
These come in three different sizes, so you would need to pick the right one for your backpack.

Yes, I have two layers of protection for my gear: the Raincover and the pack liner. The pack liner always stays in my backpack. I only remove it if I am 100% sure I will not need it for the day or during my hike.
If there is a chance of rain or I must cross a small river, this one is with me. It’s fully waterproof, so even if your pack gets soaking wet, this will keep your gear dry.
These also come in three different sizes, so you would need to pick the right one for your backpack.
With the combination of these two, you are guaranteed to keep your gear dry.
Conclusion – Hiking backpacks for photographers
This was my personal setup, and I own all the gear I recommended in this post – in fact, I have owned most of it for several years, and it’s all top-notch quality.
I hope you could find some helpful information in this post. But if you have any questions or want to add anything to the post, let me know in the comments below.
Additional Resources
- If you are interested in a more camera-oriented pack that can still carry camping gear, check out my review of the Lowepro Photosport Pro 70l aw iii.
- If you are also looking for a tent, check out my One person tents for hiking photographers recommendations.
- If you are curious as to what else is in my camera bag, you can check it out here.
Really appreciate the info here, I’ve been doubting between the Vanguard hiking series or a hiking backpack plus an insert. I’m really going to miss my loved side access to photo gear, but there is only so much hiking you can do with a Peak Designs backpack 😅