How to Photograph the Northern Lights
Introduction
In this post, dedicated to how to photograph the Northern Lights, I will share my best tips and camera settings to take photos of the Aurora.
Seeing the Northern Lights is, for many, a once on a lifetime event. One you’d most likely want to have good memories of. One you’d most likely want to have good photos of as well. I certainly do, and I love watching my Northern Lights shot. It’s a bit like reliving each night and experience.

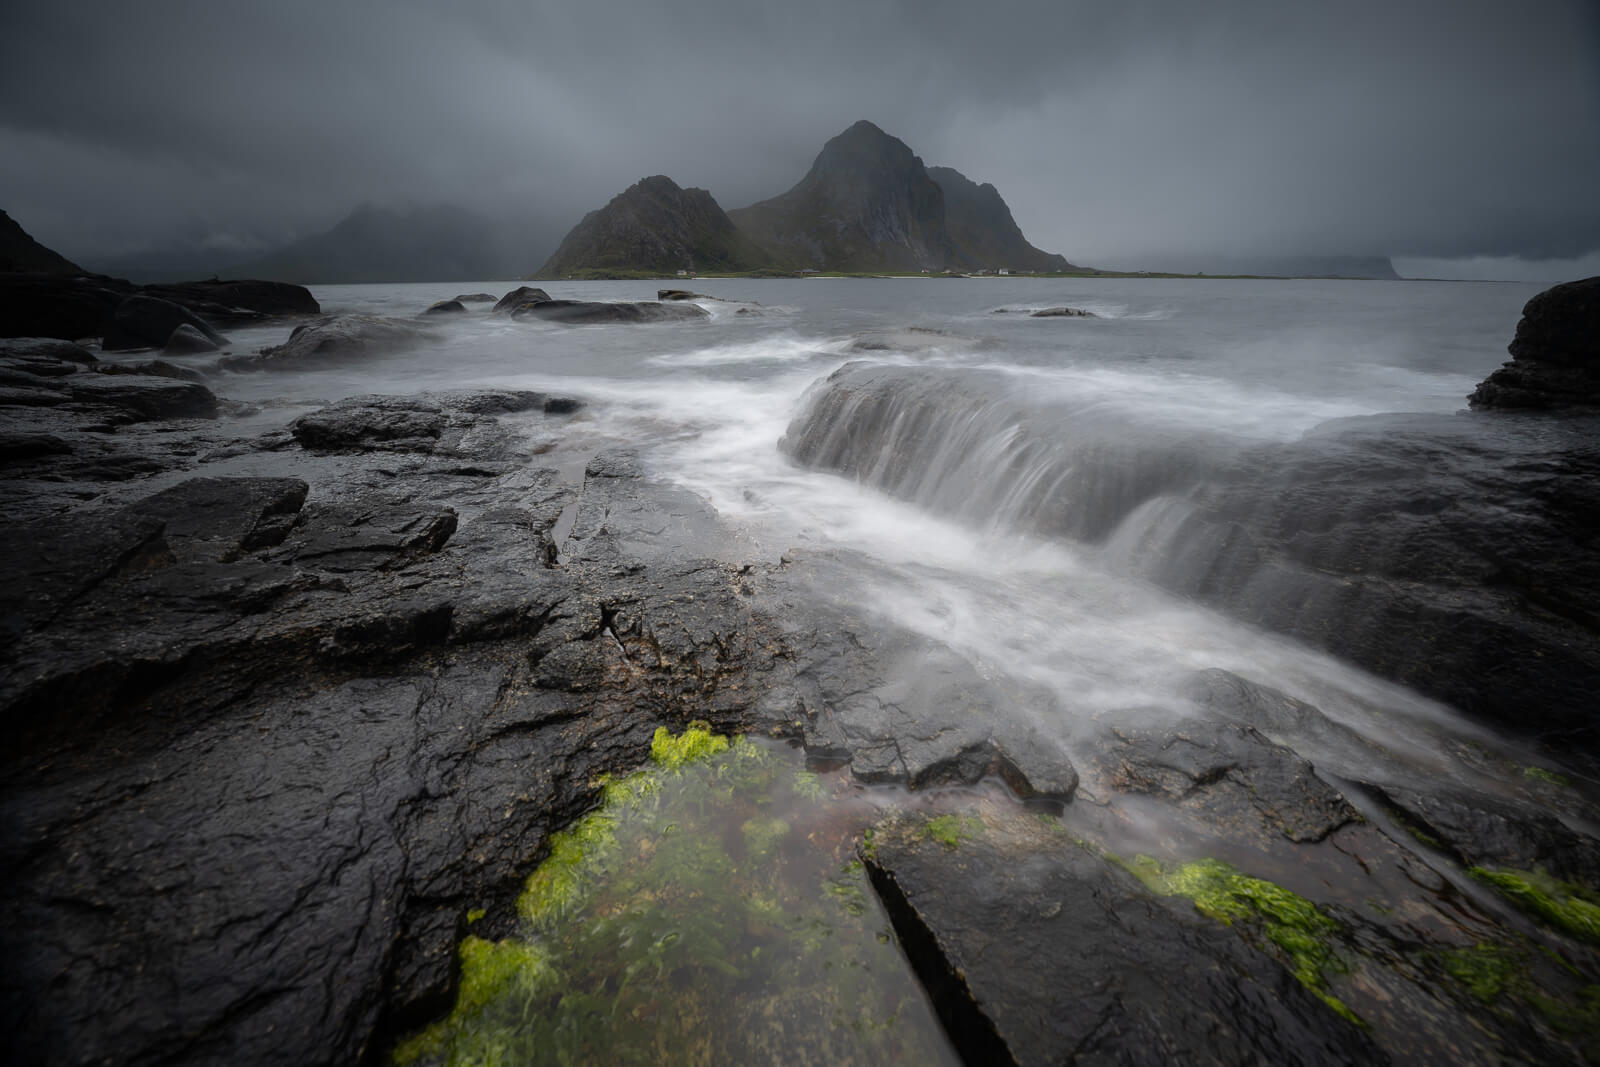
Utakleiv Beach, Lofoten, Norway.
I hope this post will help you capture photos. Also, if you are planning a Northern Lights hunting trip, you may want to read my other post, “How to see the Northern Lights“, first. In that post, I explain how to maximize your chances of seeing the light and how to plan a successful Northern Lights chasing trip.
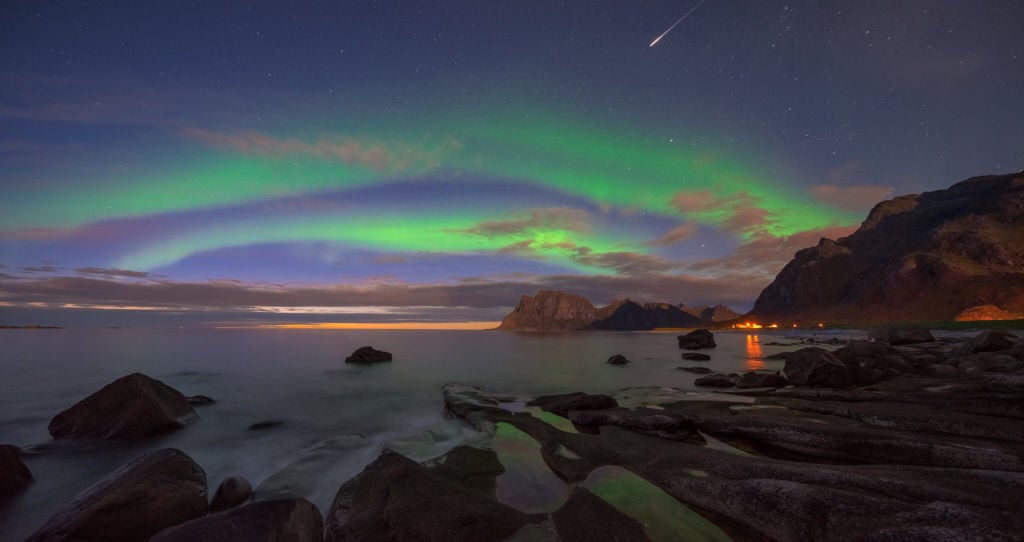
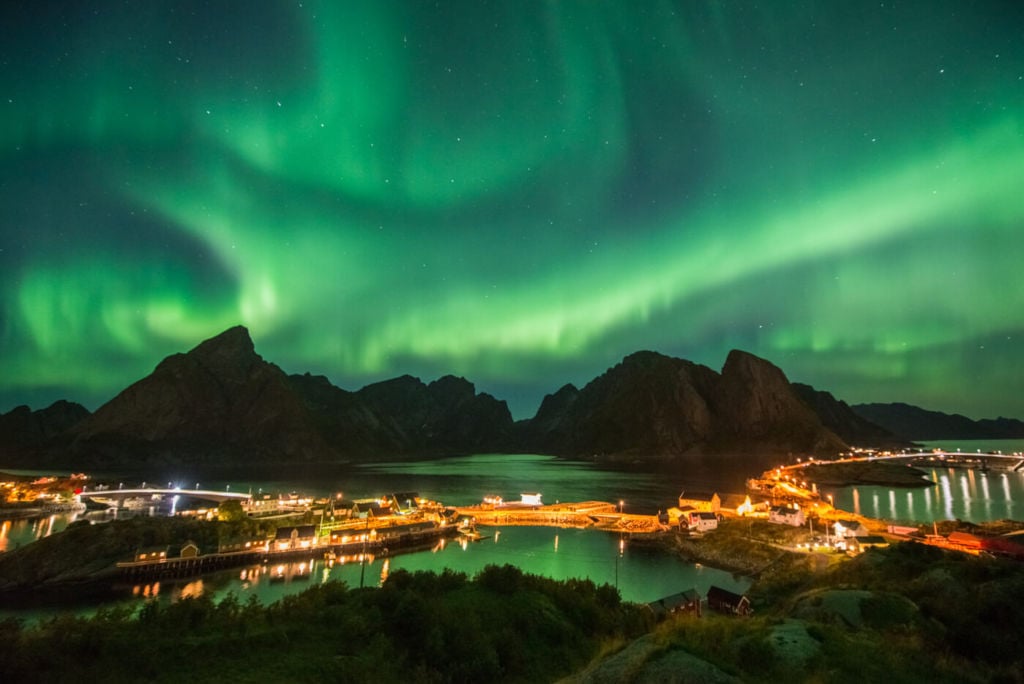
The Northern Lights dancing above the Norwegian sea, with the lucky bonus of a shooting star.
Please note that as an Amazon Associate, I earn from qualifying purchases. If you find any of these recommendations helpful and decide to purchase a product I recommend, I will receive a small commission. This commission will help me keep the site running, and it will not cost you anything extra. This also means you will effectively support this site for free if you purchase one of these guides through my site.
Table of Contents
Best Cameras and Lenses to Photograph the Northern Lights
This section is meant for those that are not too familiar with the Camera. If you already are, you may want to skip to the next section on the best settings. If you are on the market for a camera and are trying to figure out what would work best, I’ll provide some guidelines for you to decide. This is also because new, better cameras are released all the time, while the guidelines in this post can be used to choose any model at any time.
I’ll also split this section into two: camera and lenses. As we’ll see they are both equally important.
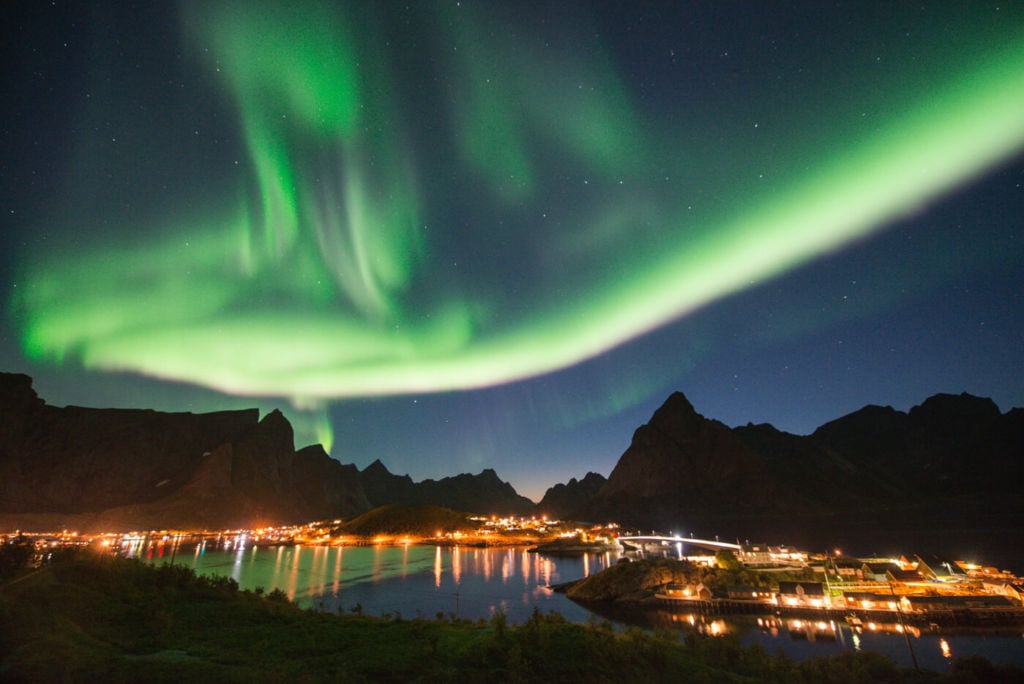
Aurora Borealis above Reine, Norway.
Cameras
Let’s start with the obvious: better or more expensive cameras do not necessarily mean better photos. Operating them correctly requires a bit of knowledge. Choosing the right gear requires a bit of knowledge on the topic too. Same for the lenses.
Ideally, what you want to look for is an interchangeable lens camera with a large sensor, essentially a Full Frame camera. Full-frame (Fx) cameras will generally perform better than APS-C (crop sensor) or M4/3 cameras. This is because Full frame cameras have a larger sensor, which allows the camera to gather more light. More light can translate into better image quality since you can also work with lower ISO values. As we’ll see in the next paragraph, you will want to keep the ISO value as low as possible.
This is not to say APS-C or M4/3 Cameras are not up to the job. They are, in fact, very capable – but keep in mind, especially for night photography, the smaller the sensor, the lower the image quality. My personal choice, the camera I am currently using, is a Nikon Z7 II.
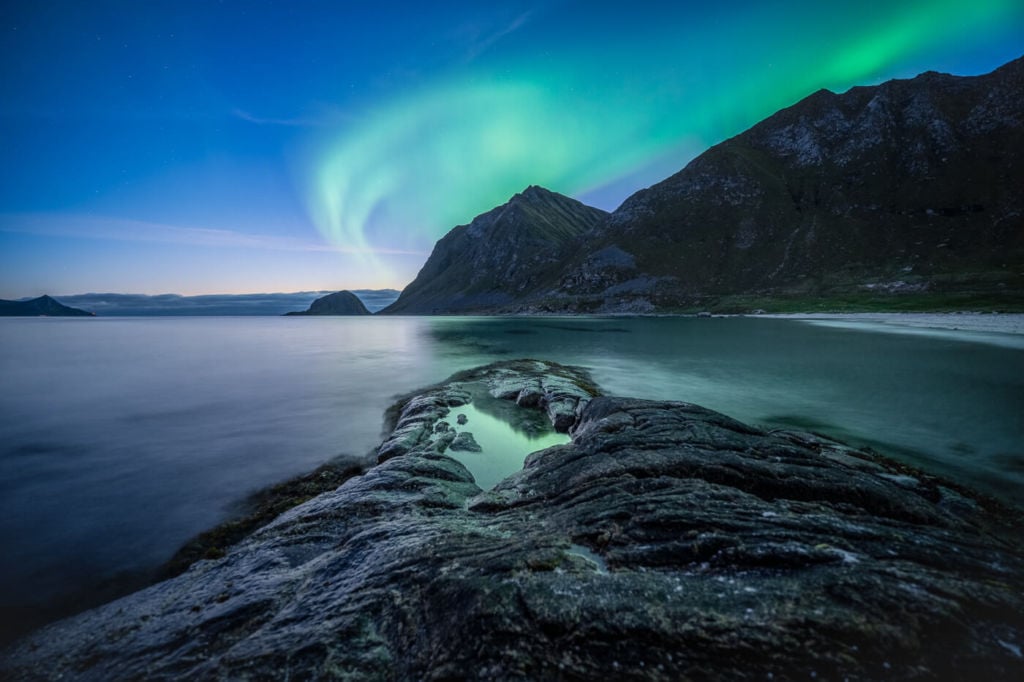
Image taken with a Nikon 7 Z II and Nikkor Z 14-24 f-2.8
Lenses
In terms of Lenses, you will want a wide or ultra-wide lens with the smallest possible aperture. The aperture is also known as the f-stop value of the lens. The smaller the f-stop value, the bigger the aperture. The bigger aperture, the more light will enter the lens (and hit the sensor). As you can see, the light-gathering capabilities are critical for both the camera and the lens.
Zoom lenses with a 2.8 f-stop value are popular because of their flexibility. This is what I currently use for my Nikon, the Nikkor Z 14-24 f 2.8. Another popular choice are wide prime lenses, as those typically have even lower f-stop values, like 1.8.
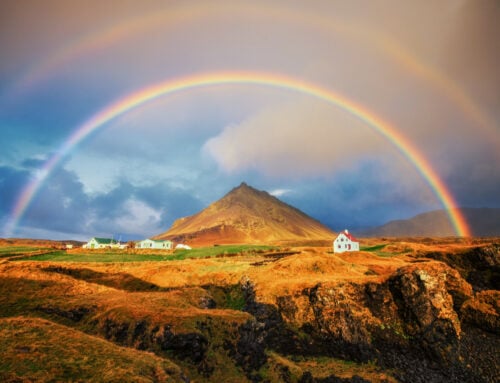
Another popular choice, especially among night and astrophotographers, is the Rokinon/Samyang 14mm f-2.8 prime. I’ve had one myself, and I can confirm it is a fantastic lens. Excellent image quality, lightweight and comes at a fraction of the price. It’s available as a manual focus lens (cheaper) and with auto-focus (a little pricier). Here’s a photo I took with it in Iceland:
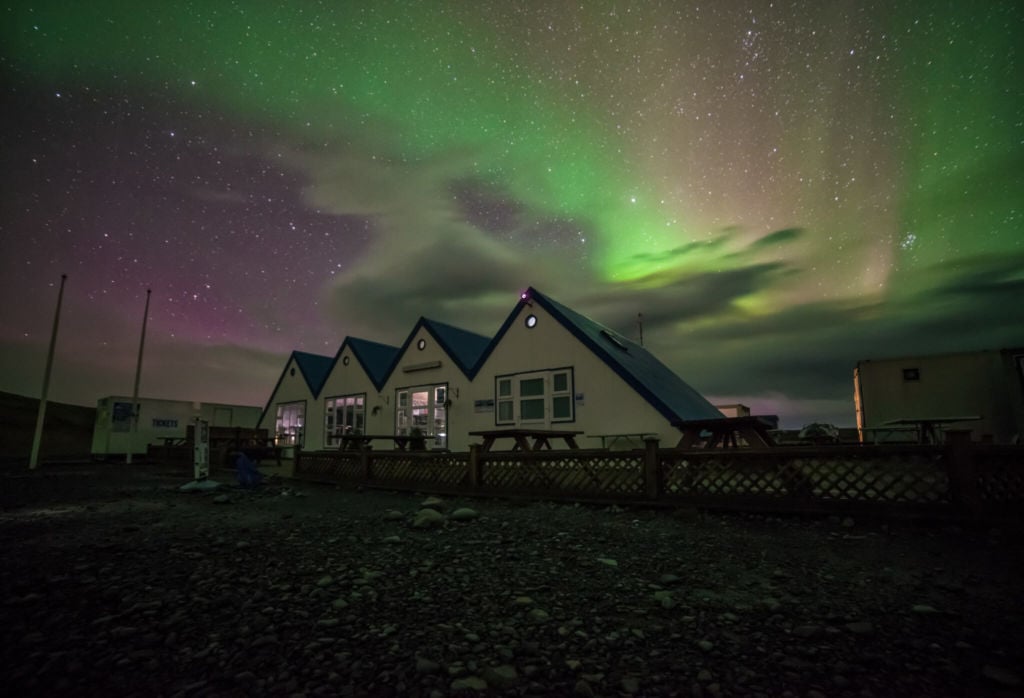
Aurora Borealis in Iceland
I would not recommend anything above 24mm, full frame – or 16mm on an APS-C camera. Anything above that will capture only a small portion of the sky, and with the Northern Lights, you want to capture as much as possible.
To summarize, I recommend getting a camera with the largest possible sensor within your personal preferences and needs. Same for the lens and, if possible, get some wide or ultra-wide lens with an aperture of 2.8 or lower.
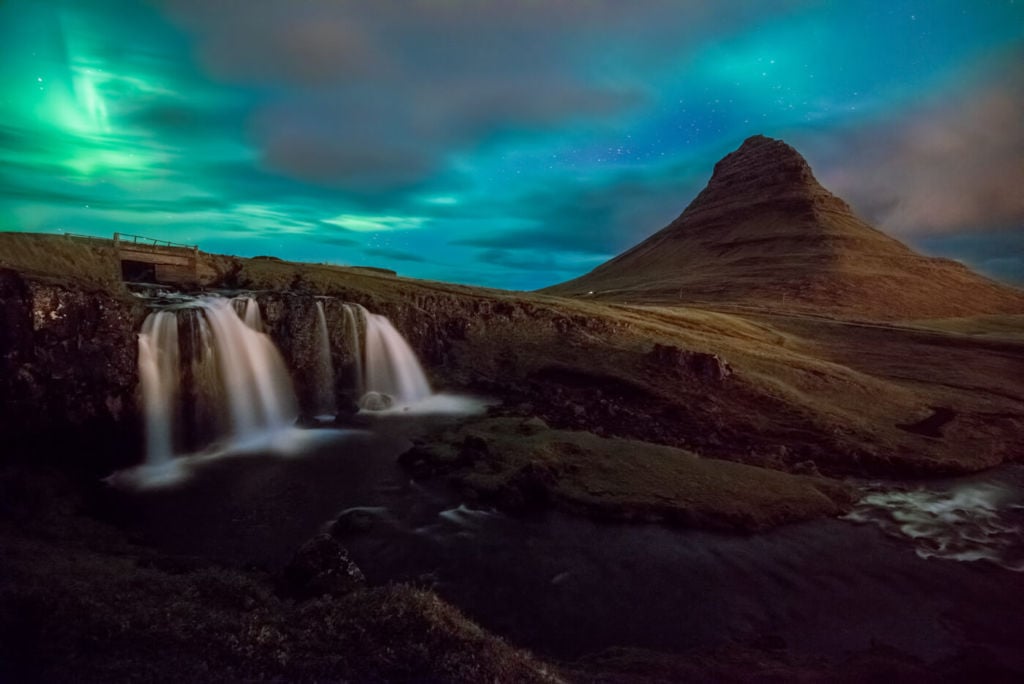
Aurora above Kirkjufell, Iceland. I had forgotten my f-2.8 lenses in the car. Had to shoot with my 16-35 f-4 lens. As a result, I had to increase the ISO, and the image came out noisier.
Best Camera Setting for the Northern Lights
There are a lot of factors to consider when it comes to shooting the northern lights. Not only camera settings but also how strong the Aurora is. The weaker the aurora, the longer the Exposure and the higher the ISO. The stronger the aurora, the shorter the Exposure and the lower the ISO. Intense Auroras tend to move fast across the sky and are also brighter.
You will, of course, need a tripod. It does not need to be expensive but, from personal experience, very cheap ones won’t last long. If you are serious about the hobby, it is worth investing in one. I use a Manfrotto BeFree Advance Carbon fiber tripod. Lightweight and not too expensive, compared to other Carbon fiber tripods.
Northern Lights over Utakleiv beach, Lofoten, Norway.
Going back to the camera settings, if you are not used to shooting in full manual mode, take some time to familiarize yourself with the settings. Best to have complete control over ISO, exposure and aperture.
Ideally, you will want to use the smallest possible aperture value your lens allows:
- ISO: you will need to find a good balance between high ISO and noise. Higher ISO will produce a lot of noise and reduce image quality. So ideally, you want to keep the ISO as low as possible.
- Exposure: as mentioned earlier, this will depend on the strength of the lights. Stronger ones will move fast, so you will want to keep the exposure short to freeze them. Weaker ones will move slower and will be less intense, so you may want to use a longer exposure to capture the movement better.
- Focus: try to focus on a star; once you are sure the star is in focus, switch to manual focus and do not touch it. If you stay on autofocus, the camera will keep trying to focus in the dark, most likely unsuccessfully.
Here are a couple of examples taken with different settings:
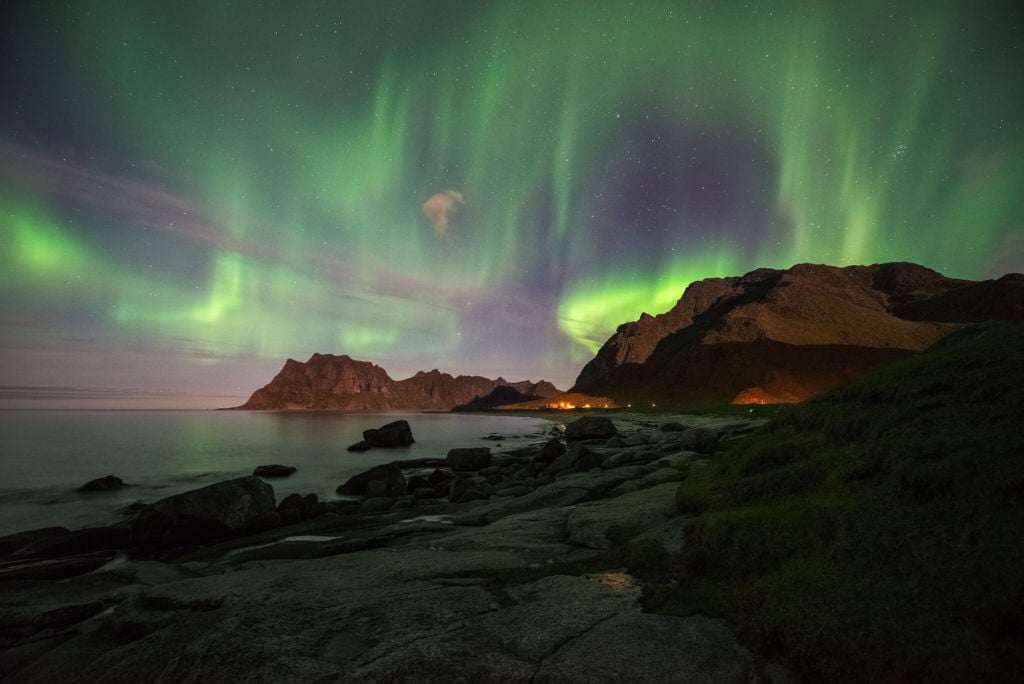
Settings: ISO 2000, 20-second exposure at f-2.8. the aurora here was not very strong and slow moving.
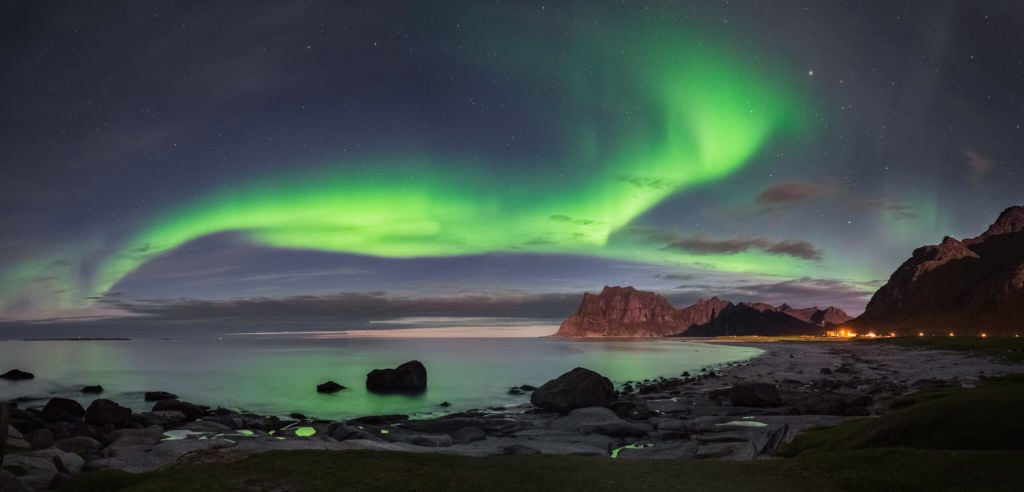
Settings: ISO 200, 3 Seconds exposure at f-2.8. This was taken during a strong magnetic storm. Both the ISO and Exposure were too high. As a result, the lights are a little too blurred.
When the lights appear, keep shooting and reviewing the images as you go. Adjust the settings, if needed, after each shot. Make sure the pictures are always in focus, or go through the focus process again.
Also, a critical note: I highly recommend using a remote shutter release to prevent camera shake. If you do not have one, you can use a timer; this, however, will give you less control over the image you capture since there will be a delay between pressing the shutter release and the actual shot. Also, some cameras have the option to shoot remotely via a proprietary app.
I personally use the shutter release; I only need to look into the viewfinder to frame the shot. Once I’m done with that, I can watch the Aurora and trigger the shutter release remotely. Win-win!
This is one of several shots I used for a timelapse. I just triggered the camera remotely and let it keep shooting until the show was over. I did not want to miss one bit of that show!
How to photograph the Northern Lights with a Smartphone.
Some of the most recent flagship smartphones are starting to offer decent performance for mobile low-light shooting. Up until a few years ago, it was impossible. I remember trying to capture photos of the aurora I could share with friends. I used an iPhone 7, and the results were well below the worst I expected.
Nowadays, low-light capabilities have improved a lot in most top-of-the-line smartphones. This, combined with manual settings on the camera app, should allow you to take good photos (regarding image quality). If I had to choose one, I would probably pick a Samsung Galaxy S22 or an Apple 14 Max Pro. Sony also offers a model with a 1-inch sensor, it is, however almost as expensive as some APS-C cameras not worth it, in my opinion.
Be aware, though: mobile sensors are small and smaller sensors gather less light. This means lower image quality for night shooting. This is not a problem if you are happy with the memories on your smartphone; the quality is probably good enough.

Aurora dancing above the Norwegian Sea, Lofoten Islands.
My experience and tips
If you were looking for information on how to photograph the Northern Lights, I sincerely hope you found something helpful in this post. Before closing, I want to add some extra tips that will hopefully improve your experience even further.
- Find a good overall scene: find a location you like. It’s important to have a good overall scene to go with the lights in the sky.
- Scout for locations during the day: when night comes, you will already know where to go and have a good idea of the best compositions around. This is much better than trying to compose a shot in the dark, in a place you are not familiar with.
- Headlamp: bring a good headlamp, possibly one with a red light. This will give you good visibility without disturbing the scene for other photographers that may be around.
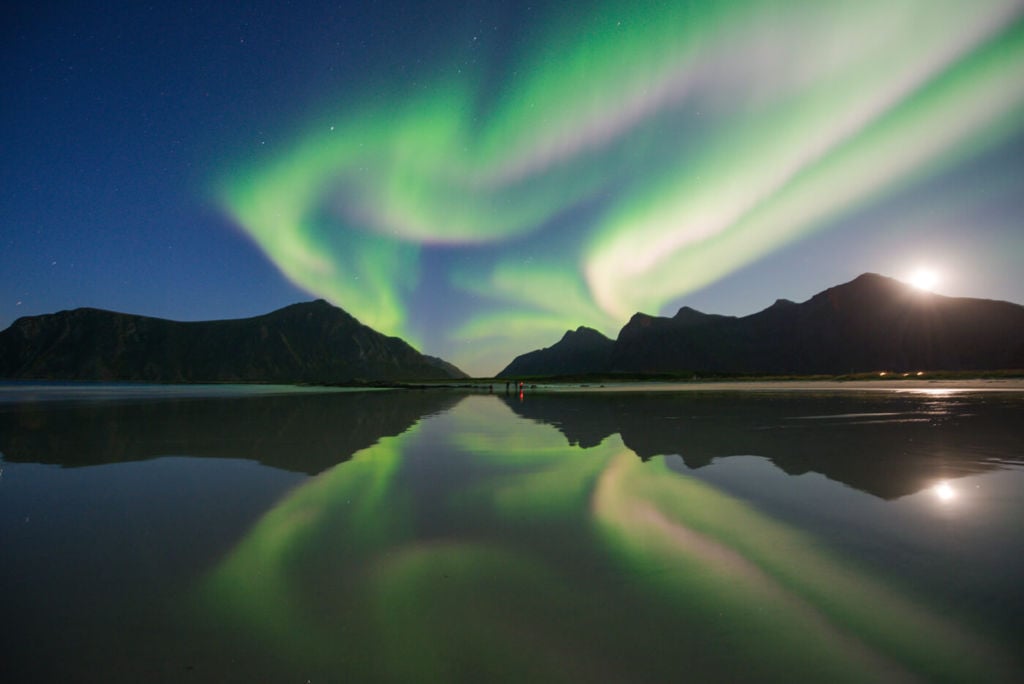
- Watch out for the moon: a strong full moon may affect the intensity of the Northern Lights, especially if the display is a weak one. In most cases, in my experience, the effect is limited. Actually, the moon can provide a good atmosphere and excellent foreground lighting. If you go out shooting, check the expected position of the moon and plan accordingly.

A good example of lighting provided by the moon.
- Wear warm and bring layers: if you stay out a few hours at night waiting for the light, you will get cold. Bring more layers so you can dress up as needed.
- Give it a shot: pun intended. Even if you are not sure if the Aurora is out and can’t see much, give it a try. What your camera can capture may surprise you. When I got this shot, the sky looked empty to my eyes, apart from the little bit behind the mountain:
Northern Lights over Utakleiv beach, Lofoten, Norway.
Last but not least: if you see the lights, also remember to take some time away from the camera to enjoy them. The Northern Lights are a unique phenomenon and a once-in-a-lifetime event for many. Take your time to watch and enjoy the show!
I hope you enjoyed this post and you were able to find useful information o how to photograph the Northern Lights.
Northern Lights Photography Tours.
If you prefer to join a Northern Lights Photography tour rather than hunting them yourself, there are several companies or guides that offer this service. While I do not provide this service myself, there are several great options to choose from on sites like GetYourGuide or Viator you can search for in your area. Typically in a photo tour, they will also show you some basics on how to photograph the Northern Lights.
If you have questions or feedback, let me know in the Comments section below. Thanks for reading!
Hi, can you please tell me what to have my iPhone set at to try and capture pics
Hi Collette,
If your iPhone has a night mode (11 or later models), try using that one first. The best settings for the aurora will also depend on how strong the aurora actually is, and the phone in night mode should adjust automatically. Try to play around with the exposure, increasing or decreasing it with each photo and reviewing the results.
Also – find a stable surface to keep the phone steady, as the exposure will probably last a few seconds. If the hone moves during those few seconds it is taking the photo, the image will be blurred.
For better results, try using the manual camera mode if your iPhone model has it – or an app that offers a manual mode. In this mode, the same recommendations as for any other camera apply. There are no exact settings that will work in every condition, so you may need to play around a bit for the best results.
Also, if I can give you an extra tip: practice night photography a few times before heading out to take photos of the northern lights. In the end, the aurora is just another light source like any other around. If you practice photographing different light sources at night, you will familiarise yourself with the controls better, and you will spend less time adjusting the settings when the light comes!
Hope this helps!
I do high-altitude mountain photography in Nepal. This is a very informative article. Thanks for the useful tips for my photography.