
Loma de las Pizarras Hike, Patagonia, Argentina
The hike to Loma de las Pizarras is one of the lesser-known hikes in El Chaltén and Los Glaciares National Park, and one that offers jaw-dropping views. Though I can’t fully vouch for the very best of them, since I had to stop short of the summit and the main viewpoint. Still, you get impressive views of the Fitz Roy massif and Glacier Grande along the way.
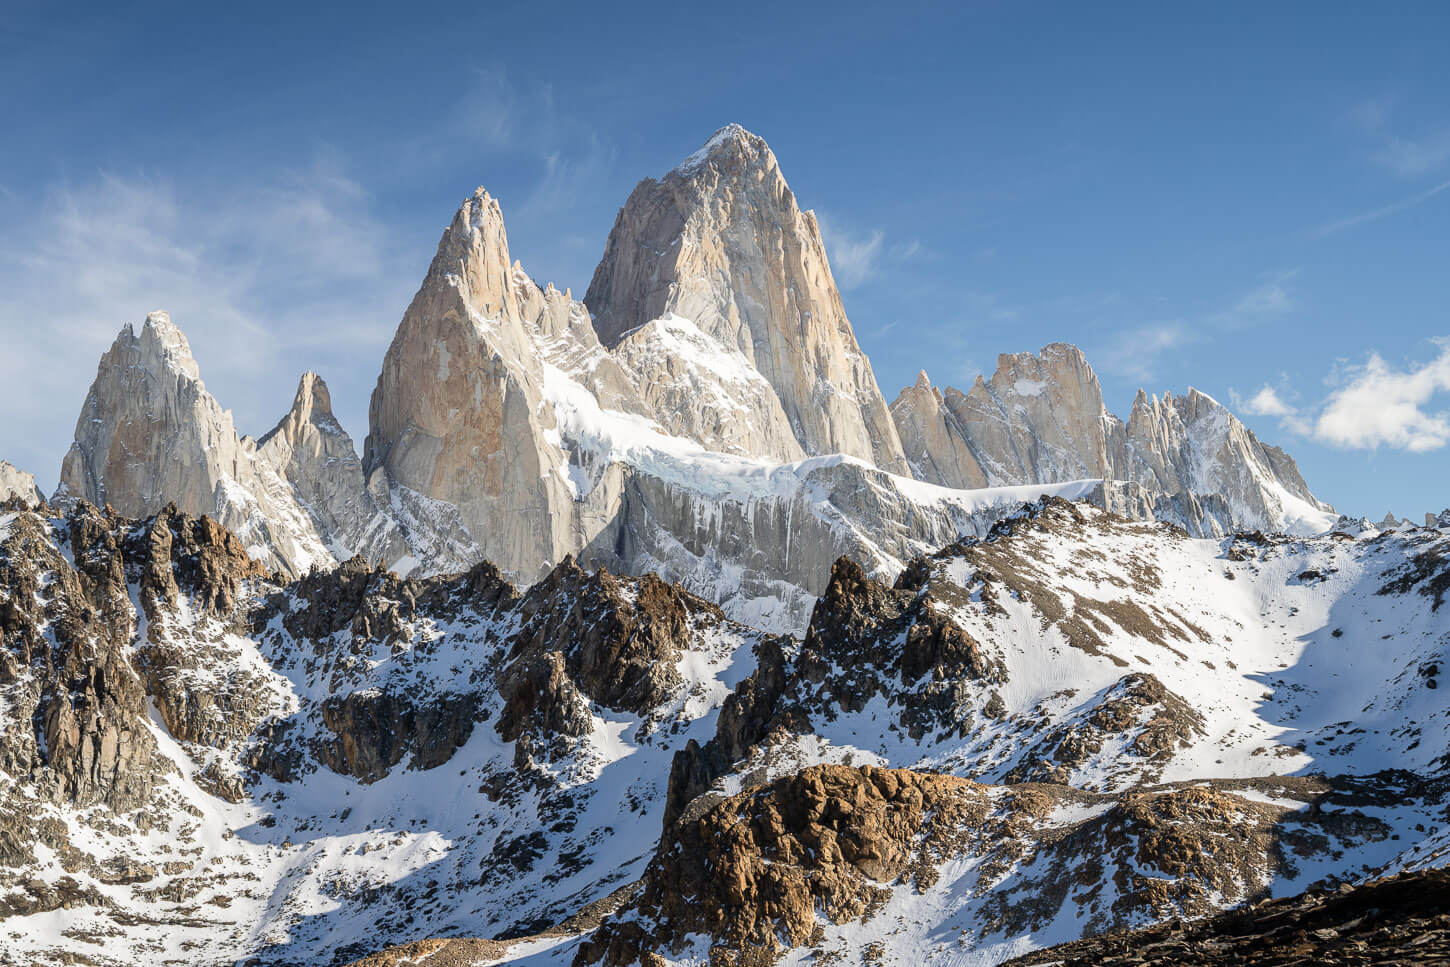
Even before reaching the summit, you have imposing views of the Fitz Roy – although partly obstructed by Loma de la Pizarras itself.
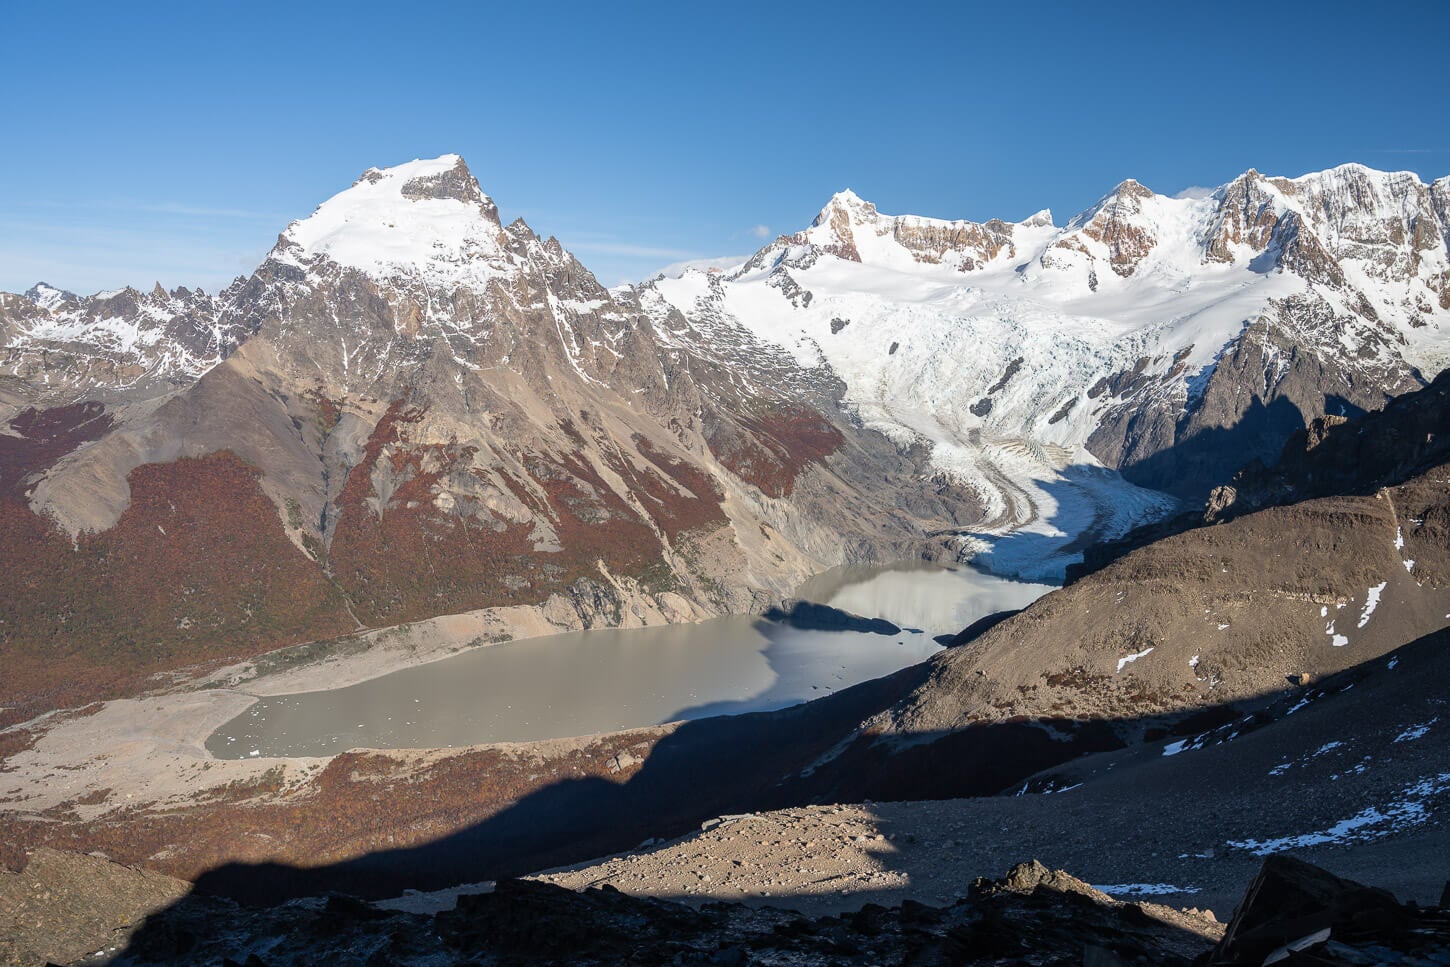
However, the trail provides unique and unobstructed views of Laguna Torres and the Grande Glacier.
Even before reaching the summit, you have imposing views of Fitz Roy — although partly obstructed by Loma de las Pizarras itself. The trail does, however, provide unique and unobstructed views of Laguna Torre and the Grande Glacier.
| Loma de las Pizarras Hike: Quick Overview |
| • Distance: 25.2 km / 15.8 mi (Out & Back, without the summit) | Time: 8h 00m–9h 00m | Difficulty: Hard / Demanding | Trail: Laguna Torre and Laguna Madre e Hija trails to Loma de las Pizarras. Partly unmarked |
| • Start & Access: El Chaltén Trailhead (Los Glaciares National Park entry pass required) |
| • Best Season & Light: November to March / Early Morning Start, for clear views of Fitz Roy, Laguna Torre & Glacier Grande |
Literally meaning “slate hill,” Loma de las Pizarras isn’t a tall mountain at 1,691 meters (5,548 feet), but it’s slow going thanks to the slate, scree, and loose rock in the second half, combined with the elevation gain.
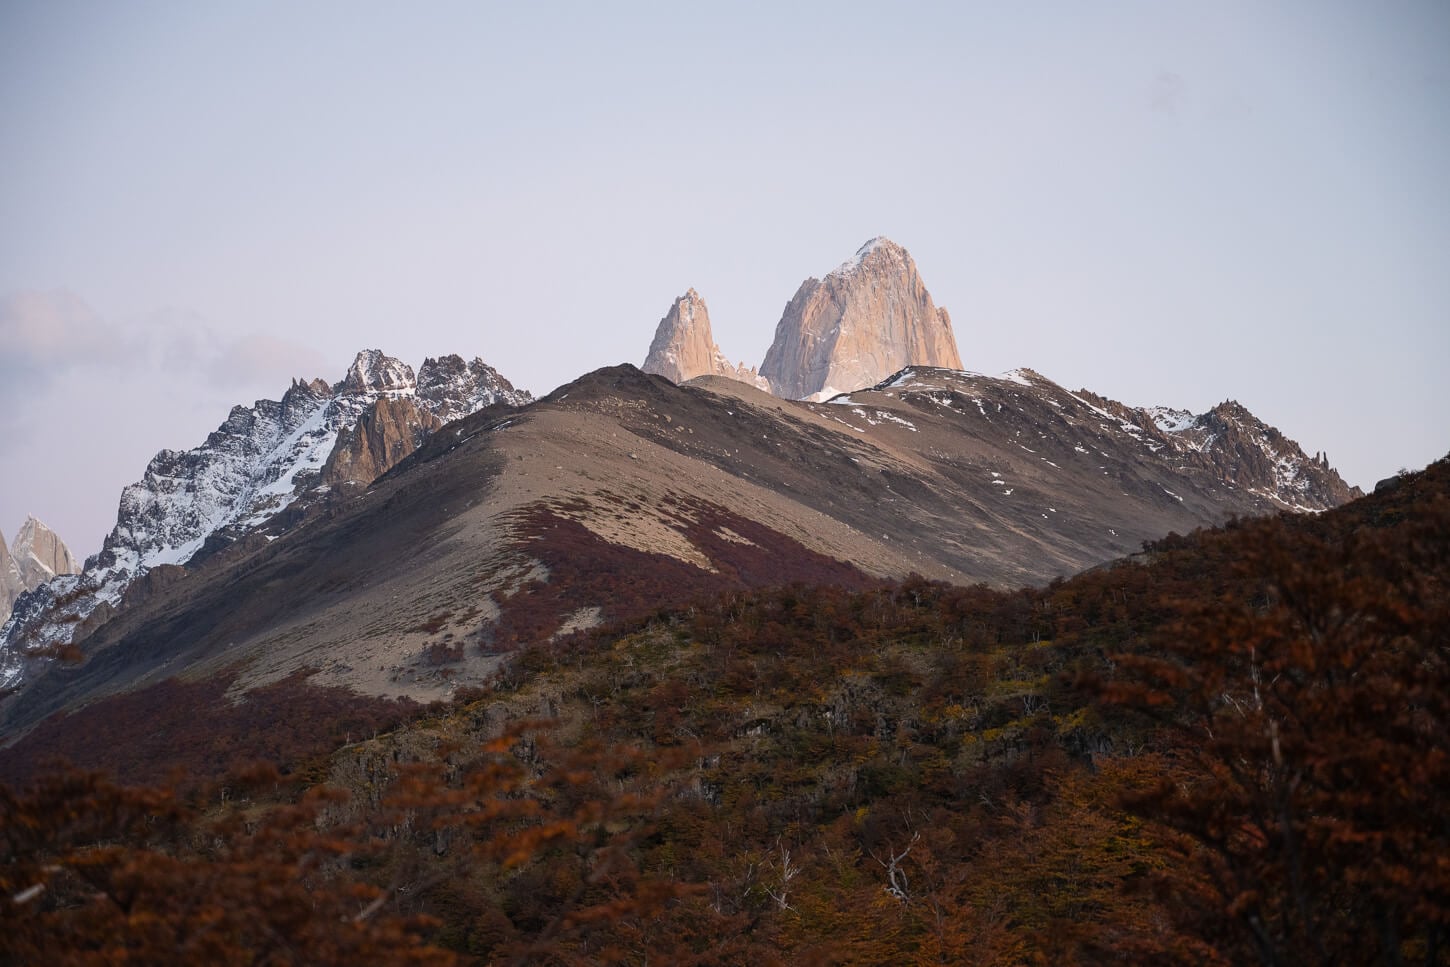
Loma de las Pizarras. The trail more or less follows the crest all the way to the opposite side of the mountain.
Overall, it’s a fun hike away from the main trails that, after crossing an exposed ridge, is supposed to lead to one of the best viewpoints in Los Glaciares National Park.
I couldn’t confirm that myself, unfortunately; the trail was too icy to safely continue without crampons and an ice axe. Nonetheless, here’s my account if you’re considering the hike too.
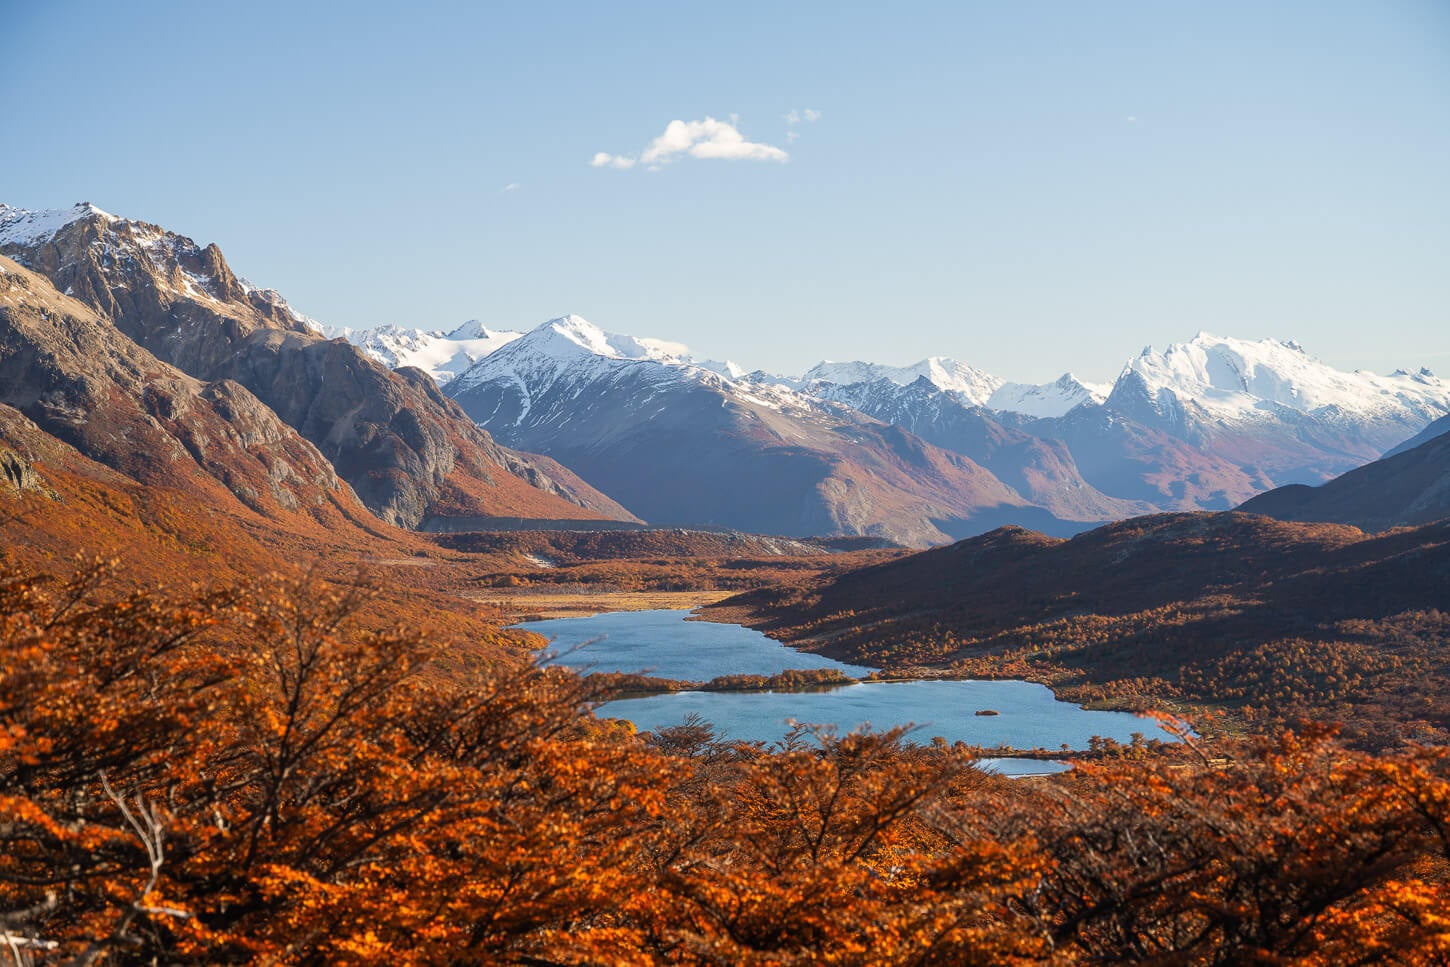
Above the tree line, the trail offers fantastic views of the surrounding landscape.
Table of Contents
Overview of the Loma de las Pizarras Hike, Map & GPX File
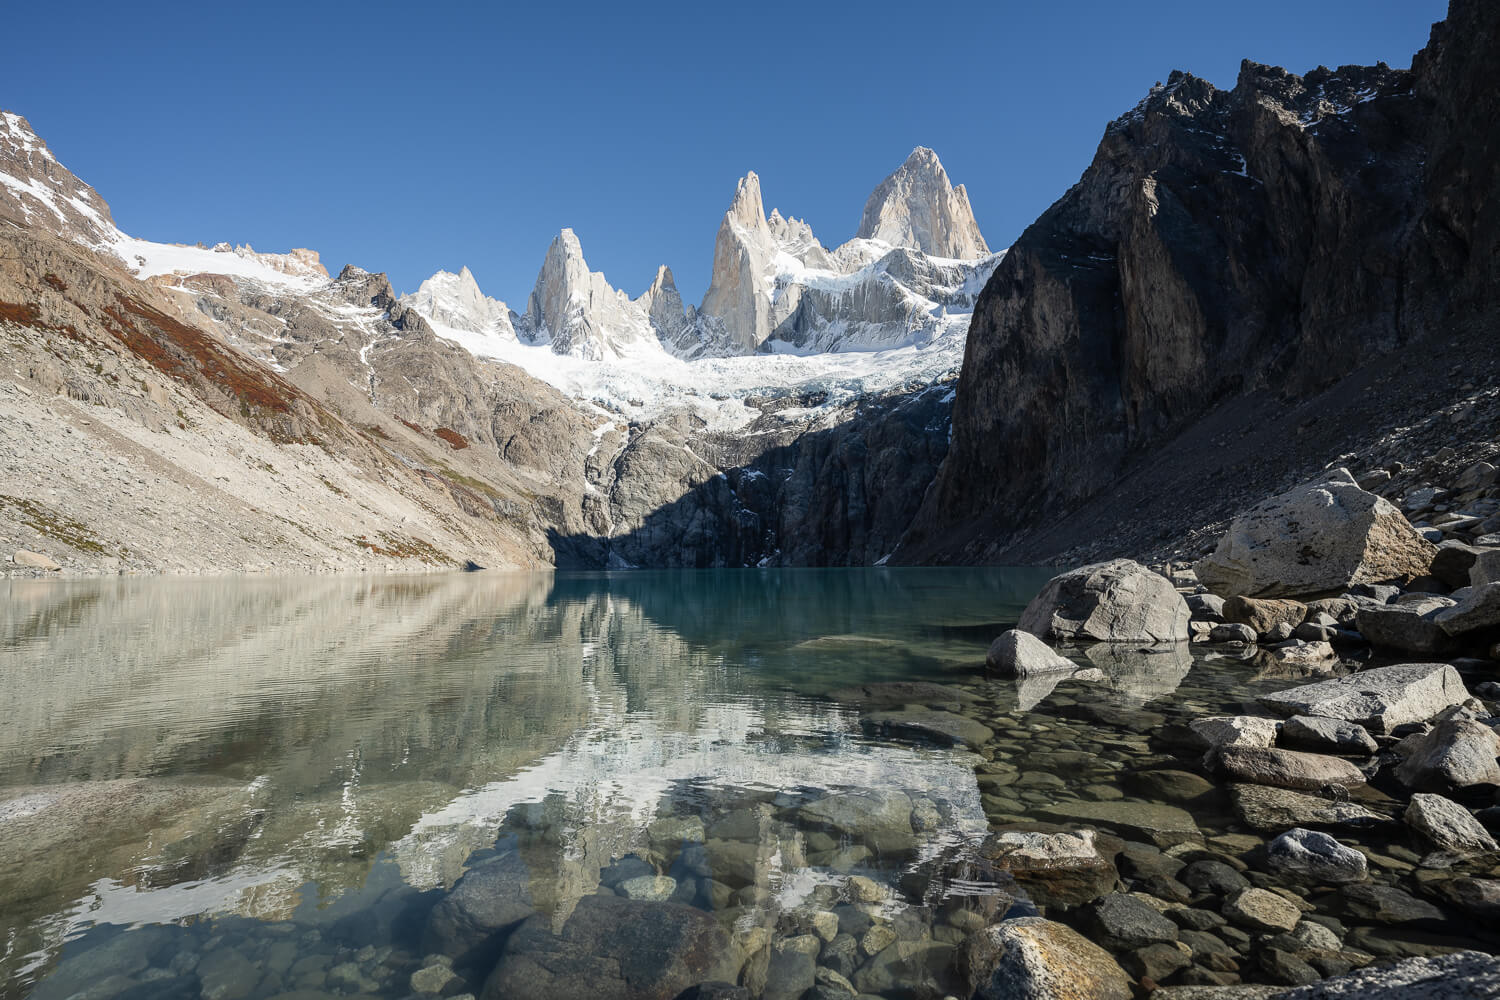
Overall, the hike to Loma de las Pizarras is quite demanding. It’s an out-and-back trail of more than 25km with more than 1,500m of elevation gain involved. The endpoint is a lookout just below the summit, where you can see Fitz Roy towering above both Laguna Sucia and Laguna de los Tres. That is supposedly one of the best viewpoints in the park for non-mountaineers.
Supposedly because I could not make it there. The last few hundred meters were already covered in a layer of ice that I would not have tackled without both crampons and an ice axe for safety.
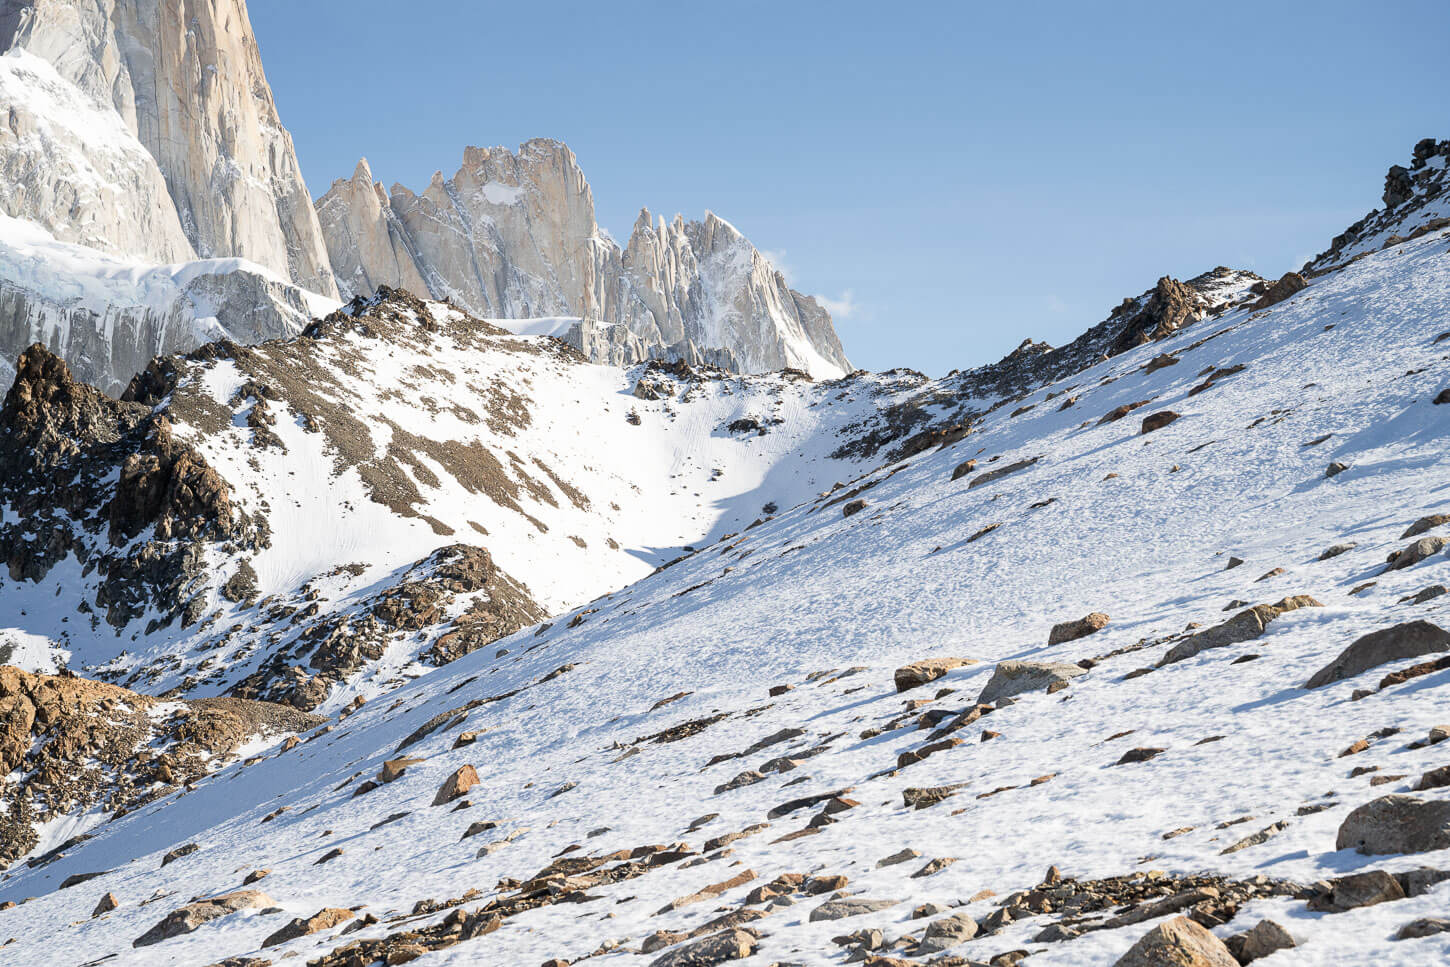
The last stretch involves crossing an exposed ridge, but it was covered in ice and unsafe on my attempt.
For the first 6.5 km, the trail is the same one for Laguna Torres. For that first part, the trail is easy to follow.
In the second part, however, there is pretty much no visible trail. Only a few cairns here and there show the way, but they are easy to miss. So some route finding is involved, and a GPX track is necessary. Going off track too far can get you into some exposed places. You can use mine, linked below. There are some tracks available on Wikiloc for the main viewpoint, but I can’t endorse any, since I could not make it to the viewpoint, and some seem to cut off-trail through the forest in places.
Also, hiking this trail requires a pass, like all the trails in Los Glaciares National Park. You can purchase the ticket online before entering the park for ease of access.
Lastly, there is no real scrambling involved, but in some places, you may have to use your hands for balance. Keep in mind, however, that the stretch I could not complete is supposed to be both rather exposed and requiring some scrambling. Class 3/T4 rating or equivalent. How much I don’t know; that’s what I wanted to check myself.
You can download the GPX file for free from the activity linked below. I do recommend taking the GPX file with you if you are planning to do this hike.
| Max Altitude | 1,560 m turnaround (Summit: 1,691 m / 5,548 ft) |
| Distance | 25.2 km / 15.8 miles (Out & Back) |
| Elevation Gain | 1,500 m ↑ / 1,500 m ↓ (4,921 ft) |
| Hike Duration | 8.0 – 9.0 hours |
| Hike Difficulty | Hard (Mostly unmarked off-trail navigation over loose slate/scree; exposed final ridge with Class 3 / T4 scrambling) |
| Trailhead Coordinates | El Chaltén Trailhead (49.3314° S, 72.8931° W) |
| Required Gear | Sturdy alpine boots, offline GPX track, trekking poles, windproof layers, crampons/axe (if ice/snow present) |
| GPS Track | Download Loma de las Pizarras GPX Track |
Here is the map of the hike.
How to get to the Loma de las Pizarras Trailhead and Parking
As it initially follows the same trail to Laguna Torre, the directions are the same for the first part of the hike. Which means the Cerro Torre Trailhead is the main option. However, you could also join the Laguna Madre e Hija trail from the Laguna de Los Tres hiking trail. Though that makes it a much longer hike to an already long one.
- Driving Directions: If you are coming from out of town, i.e., from El Calafate, you should drive right through El Chaltén on road 41, right to the opposite side of town. Then to the “upper” part of town, a part of town built on a higher plateau, to the dirt road where the small parking area is. But really, you could park almost anywhere you find in El Chaltén and walk.
- Parking: There is an “unofficial” parking area right by the trailhead. Space is somewhat limited, probably good for 15-20 cars.
- Public Transport: If you are arriving by bus in El Chaltén, the terminal station is on the opposite end of town. It would take approximately 20 minutes to reach the trailhead on foot.
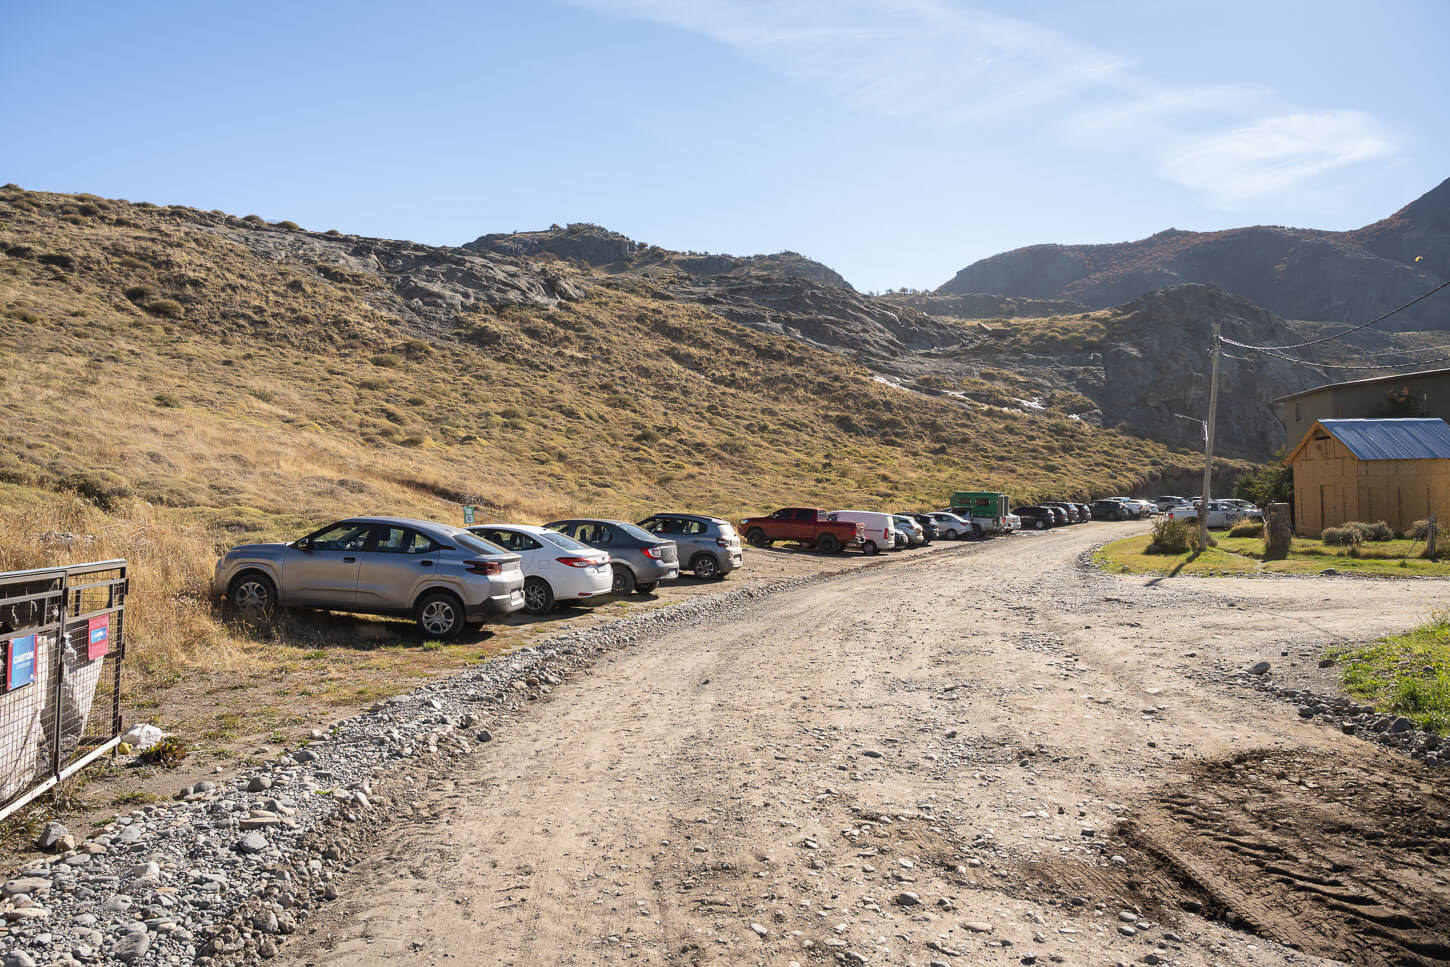
The trailhead is in El Chaltén and is the same one as Laguna Torre.
The Loma de las Pizarras Hiking Trail
From El Chaltén, you can initially follow the same hiking trail as if you were going to Laguna Torres. For a good chunk of the hike, about 6.5 km, you’ll follow that trail. It’s quite easy going, compared to the ascent to Loma de las Pizarras.
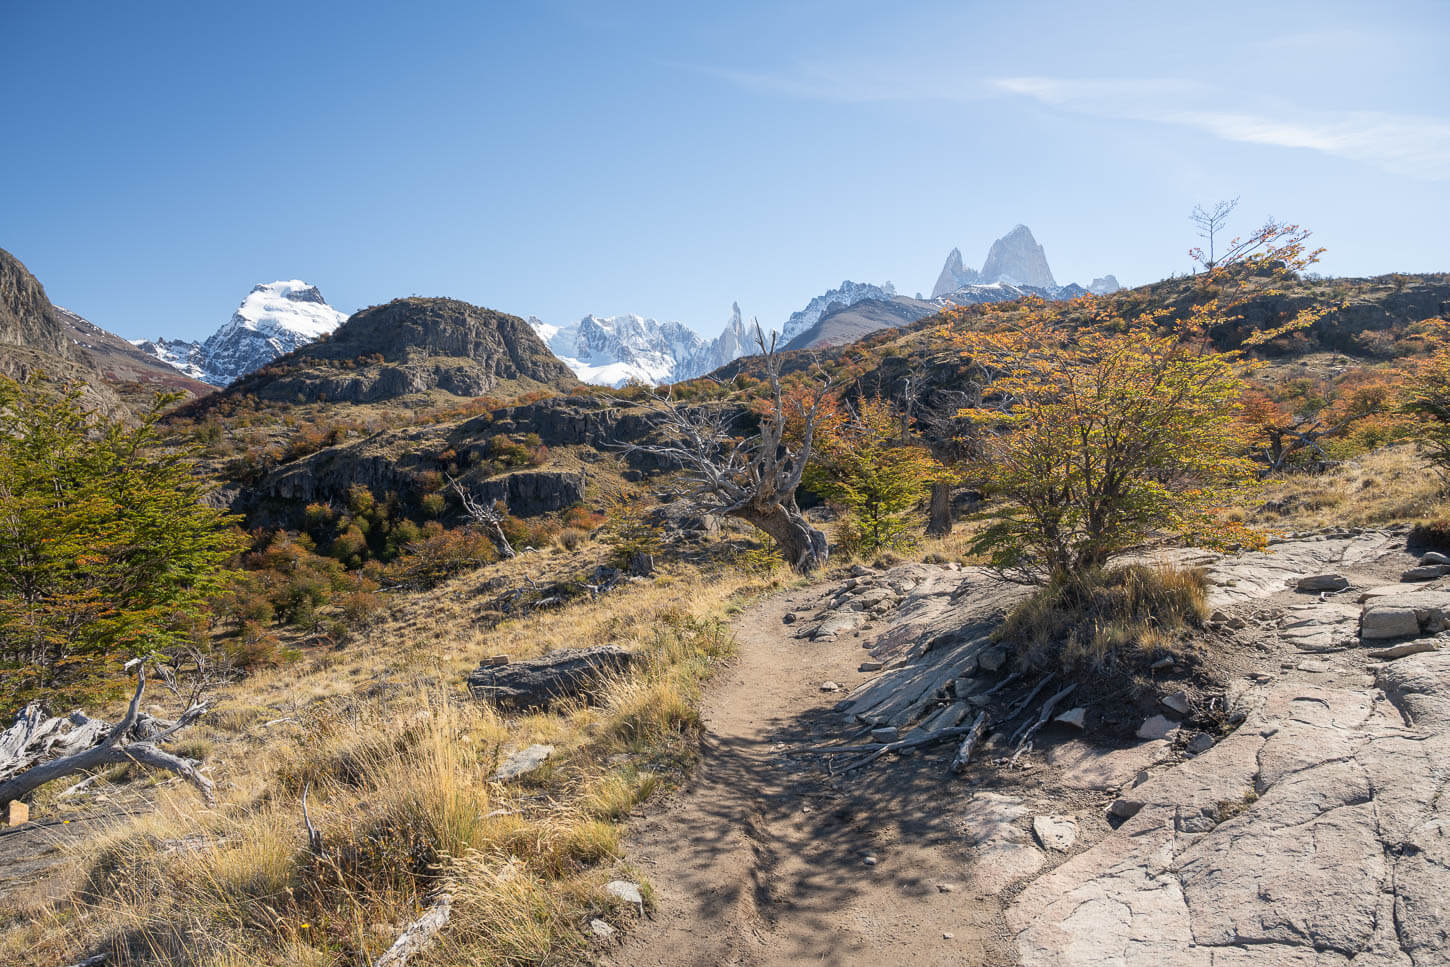
For the first 6km or so, the trail is the same as that of Laguna Torre.
In this initial stretch, most of the elevation gain is in the first 4 kilometers, when you reach the Mirador Cerro Torre. Up until that point, it is quite an easy hike. A well-marked trail, rather wide in most places.
The Mirador Cerro Torre is always worth a stop. My recommendation would be to plan to be at the Mirador for sunrise if you are planning to hike to Loma de las Pizarras. So you can leave El Chaltén a little earlier than one hour before sunrise, spend some time there to watch the first light of the day hit the Cerro Torre, and then continue.
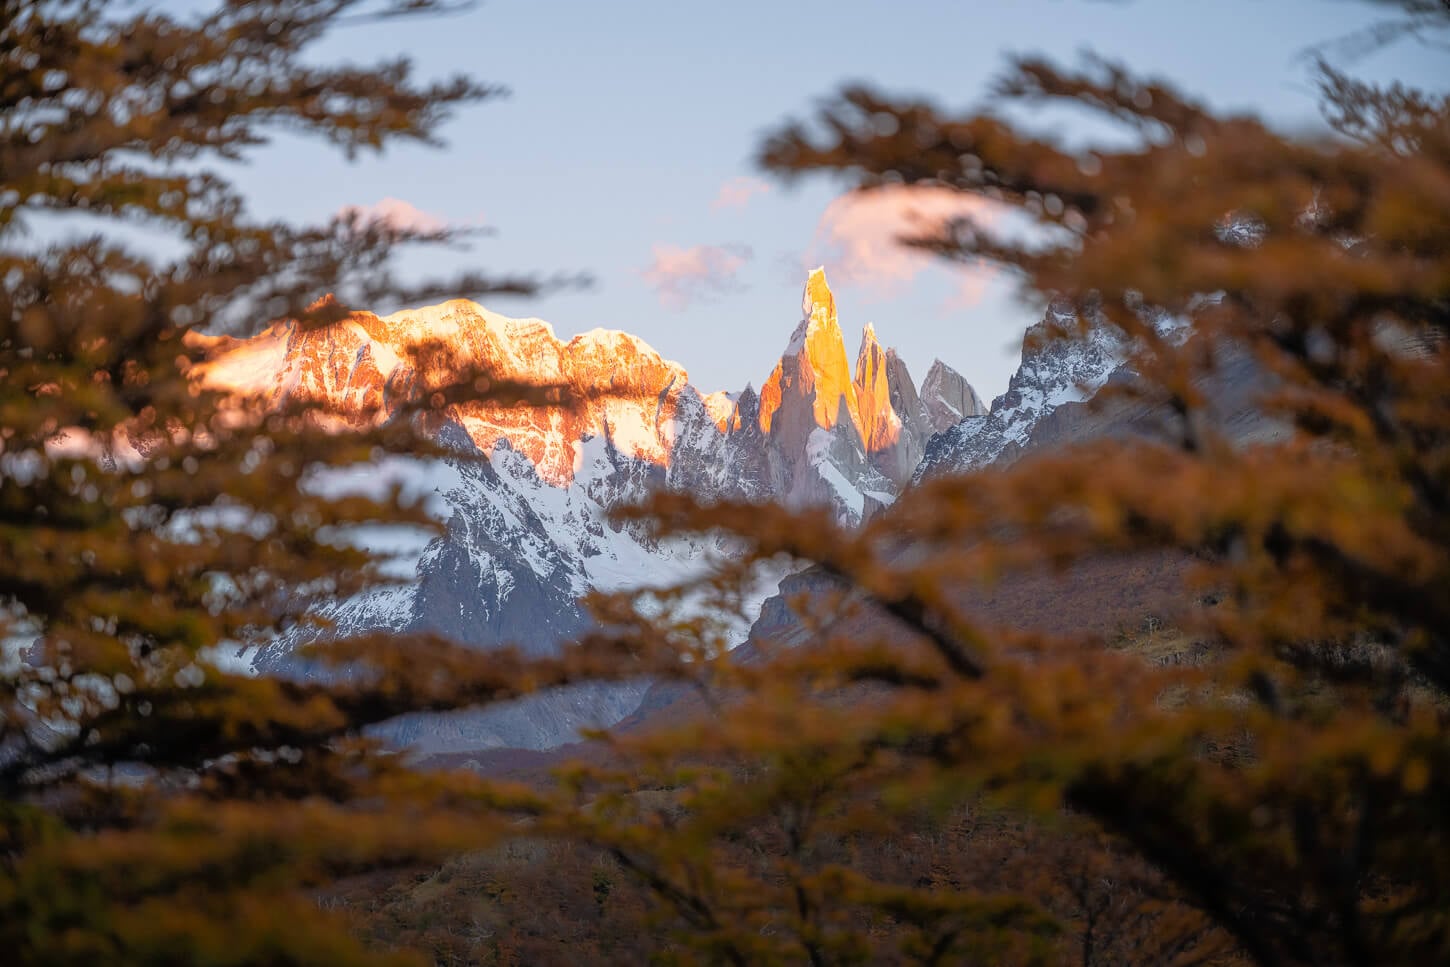
If you are doing this hike, it’s worth planning to be at Mirador Cerro Torre for Sunrise, to catch the first light of the day in Cerro Torre.
Lagunas Madre e Hija Trail to Loma de las Pizarras Junction
When you leave the Mirador Cerro Torre, the trail continues to follow the Laguna Torre trail for another 2.5 km or so. As you come across the sign and junction between the Laguna Torre Trail and Lagunas Madre e Hija, take the latter.
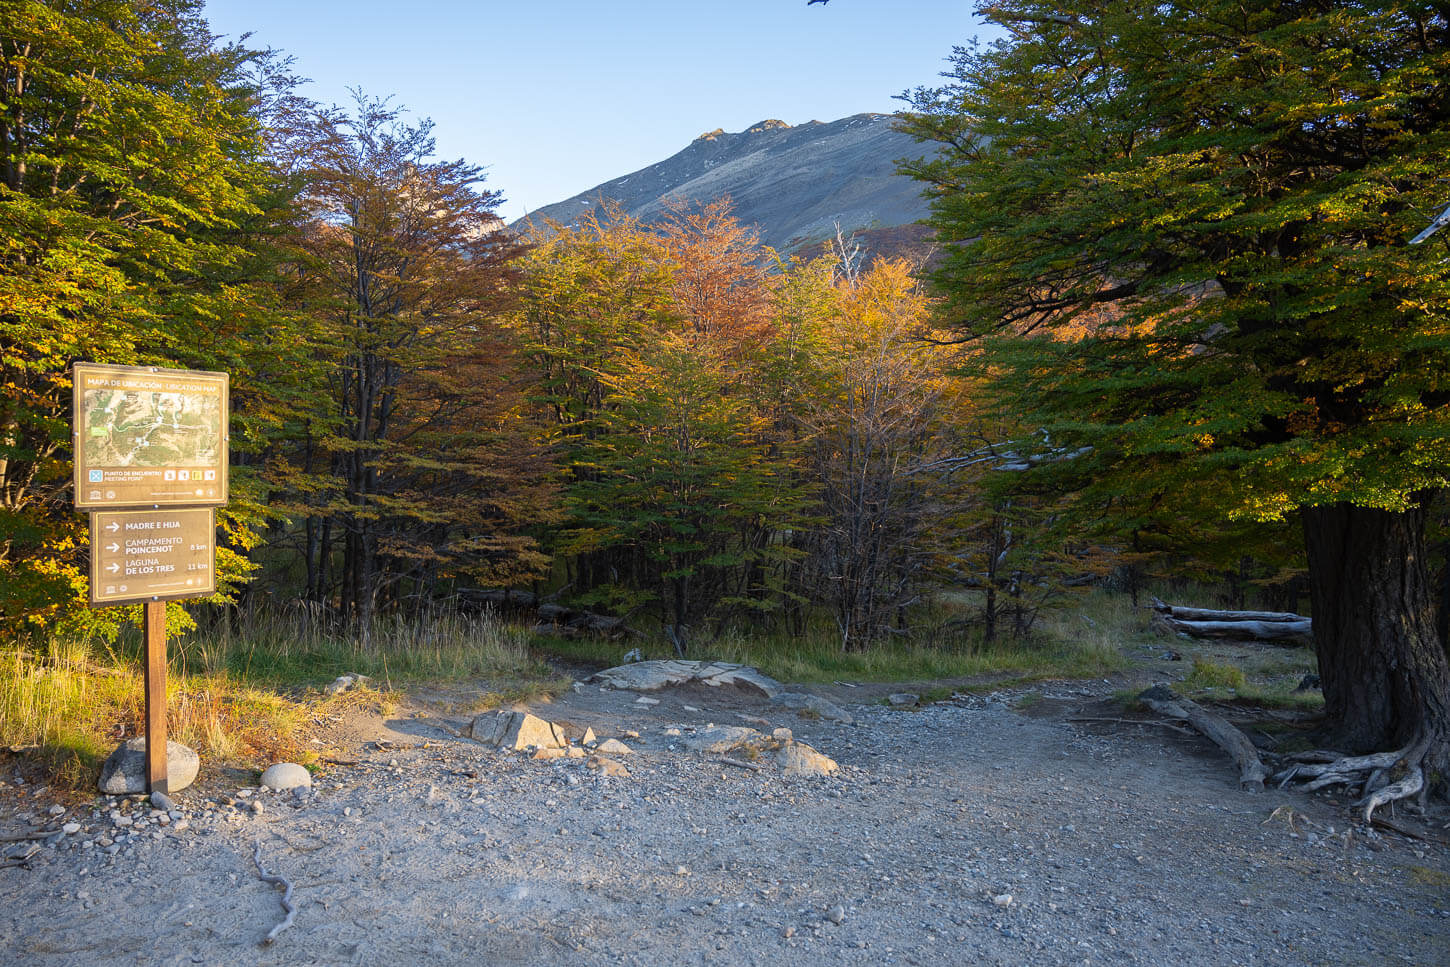
From the Junction, the trail follows a gently uphill slope. Less than one km into this trail, you will pass by an “unmarked mirador. There, the views open up again to Cerro Torre. It’s quite a beautiful view, and I spent some time taking photos there on a couple of occasions.
If you are doing this hike early in the morning, it’s better to visit on the way back, as Cerro Torre will catch better light.
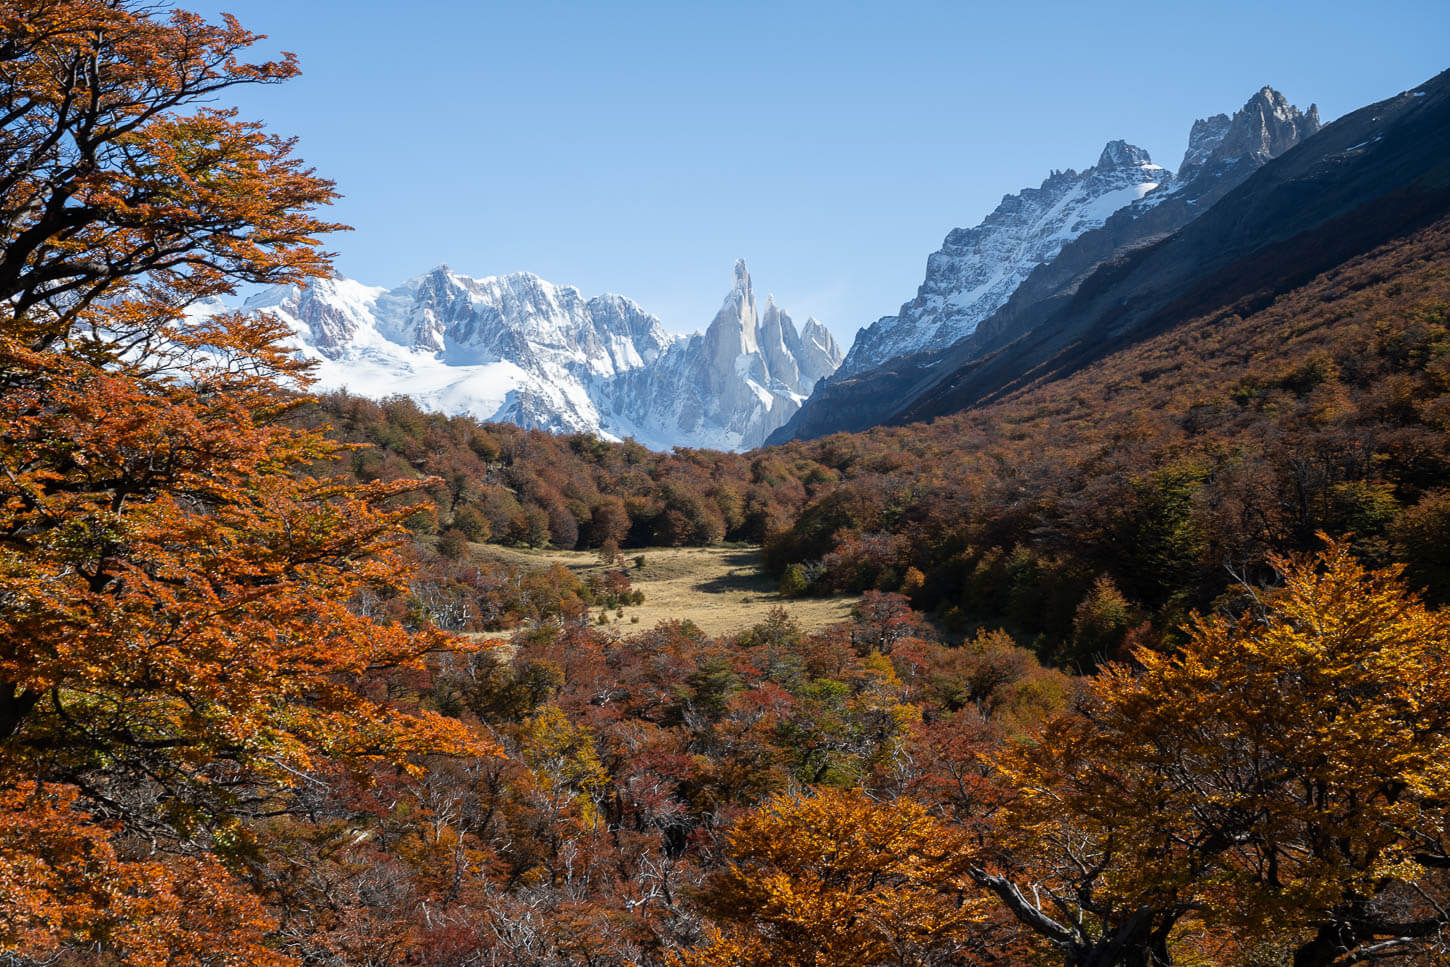
Shortly after the Junction with the Lagunas Madre e Hija, there is a great lookout toward Cerro Torre.
But back to the trail – at about 8.5 km in total, you should spot a partly overgrown trail to your left. It’s an unmarked turn. You can use the GPX coordinates from the file I linked above to follow it. The reason I am saying this is that many trail planning apps show different trails in the area, but there is only one, as far as I could tell.
Others may have existed, but Park rangers could have closed them to let the areas regrow.
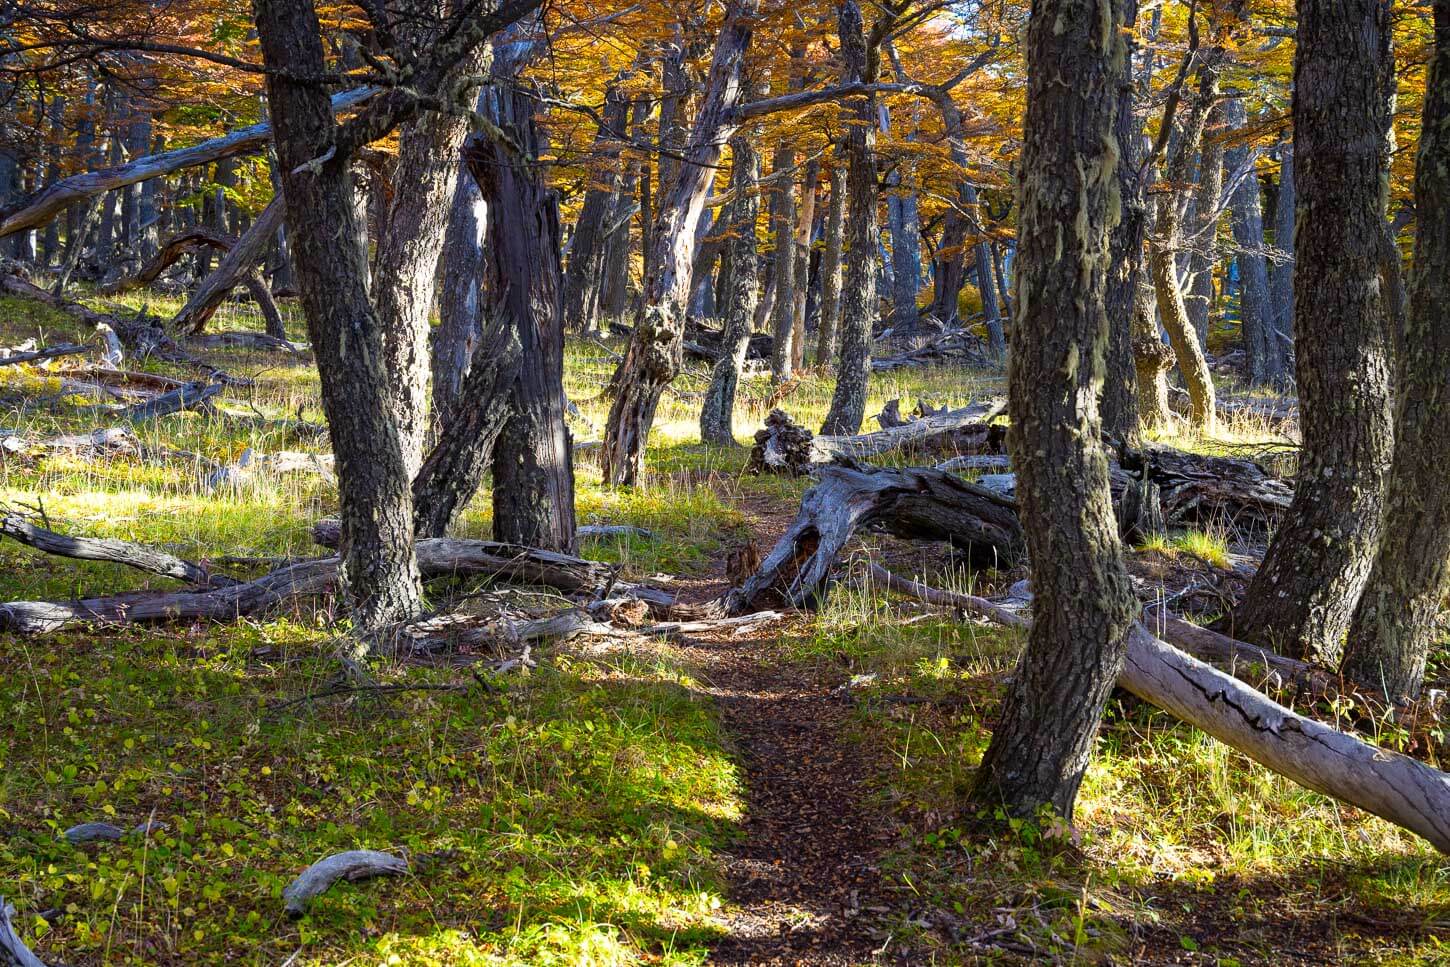
After about 8.5 km, look for an unmarked trail that veers into the forest.
Loma de La Pizarras Trail
From this second junction, the trail keeps going uphill, through the forest, and gradually increases in steepness. The views here only occasionally open up, and you do have the feeling of being in a very remote area.
Then, as you reach the tree line, you’ll gradually gain views on either side of the mountain, toward Laguna Torre and toward Lagunas Madre e Hija.
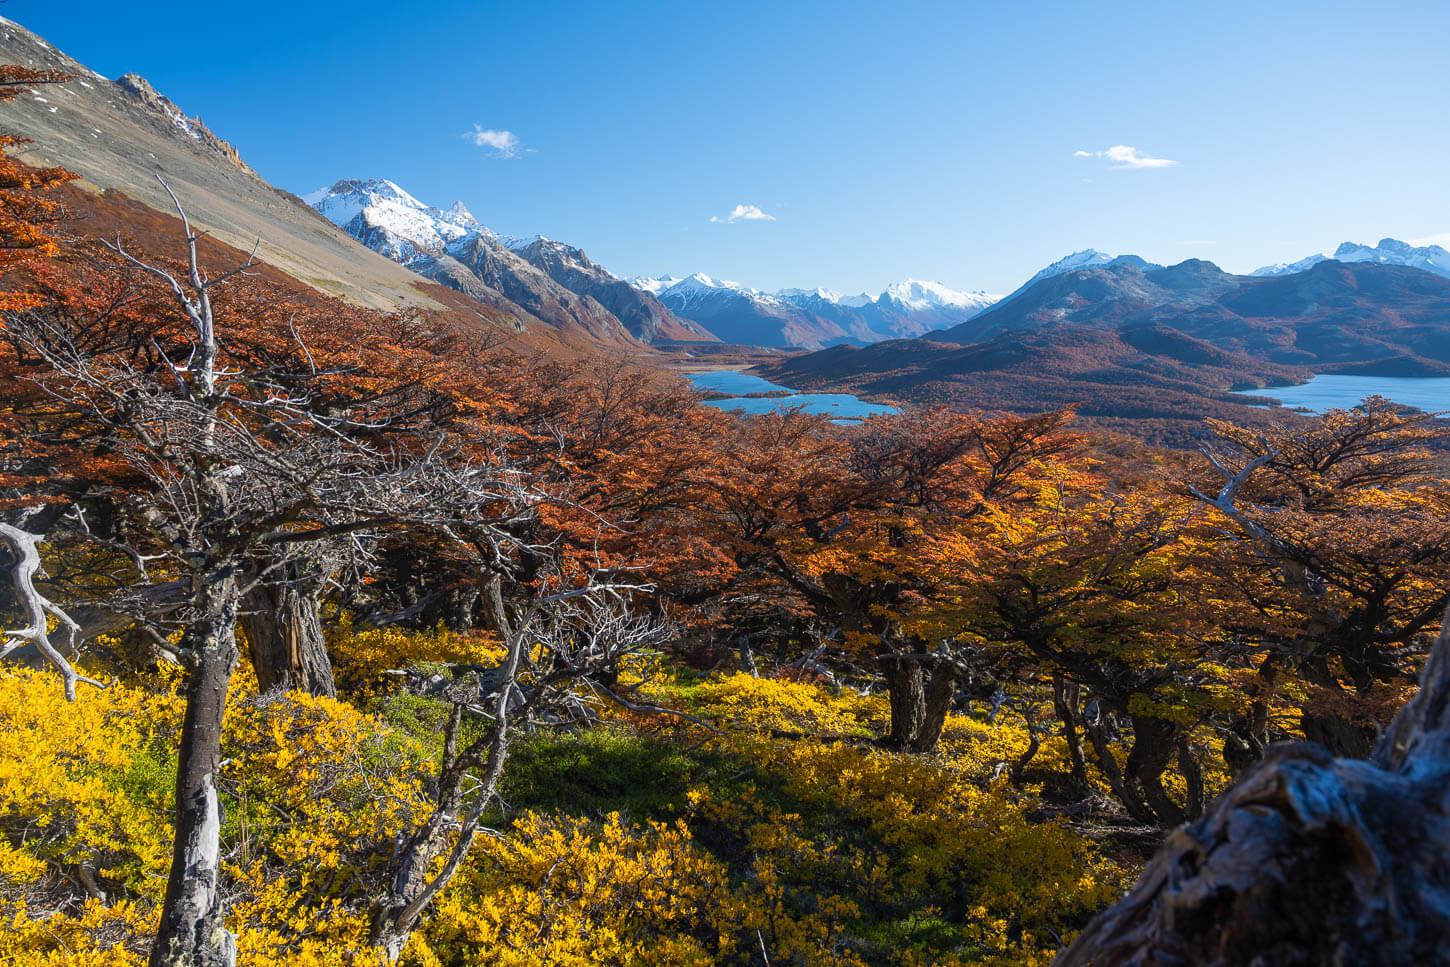
As soon as you clear the tree line, you have sweeping views of the beautiful landscape around the mountain.
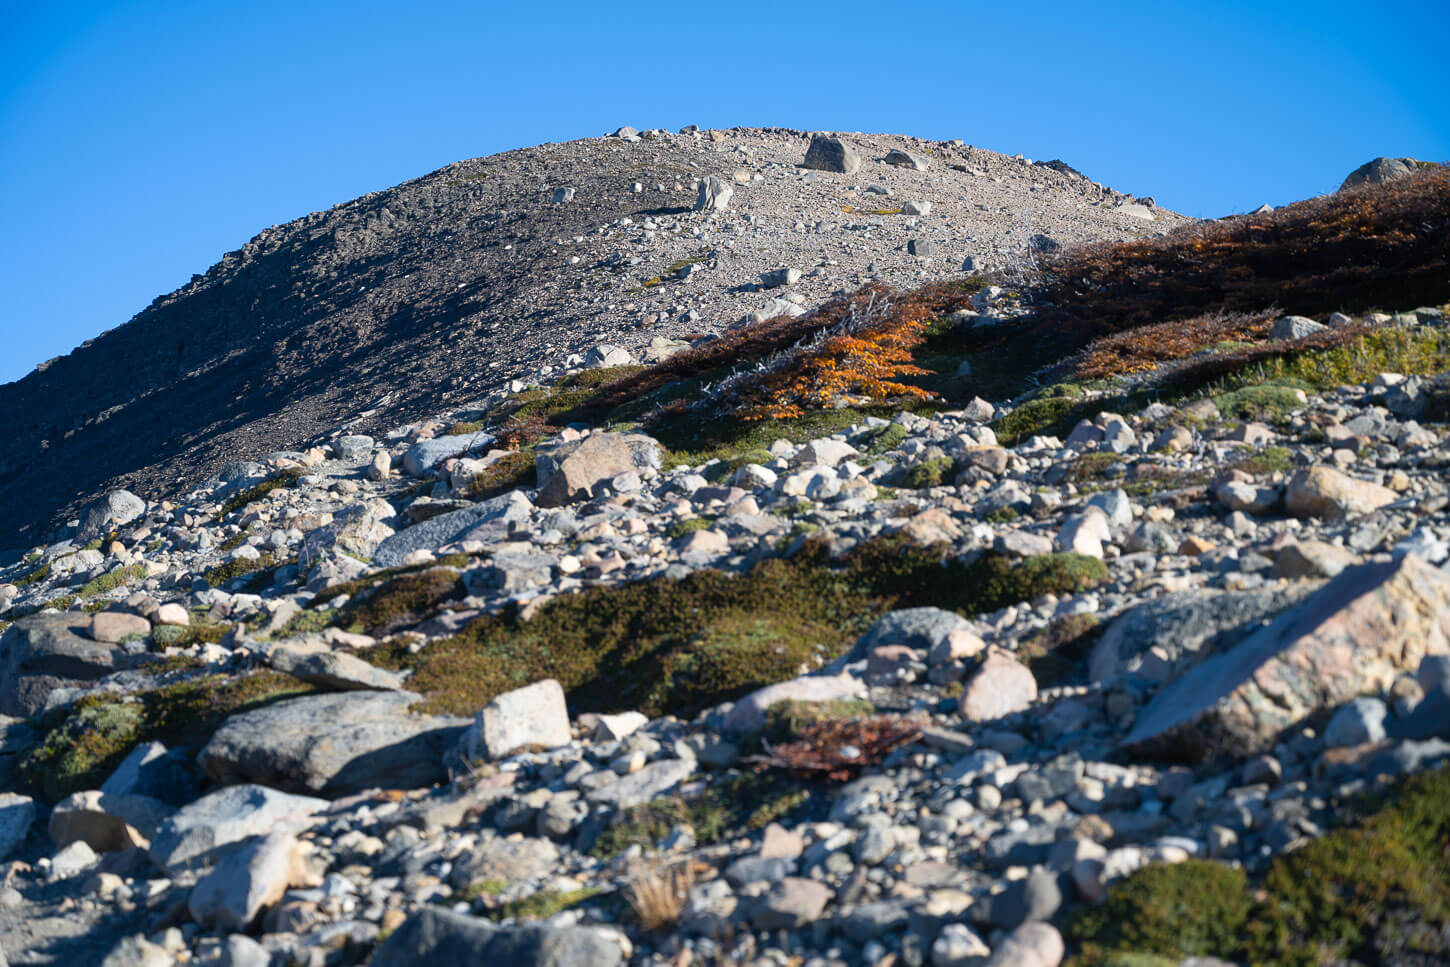
The first false, rock-covered summit is already in view from here.
You also have a good view of what’s ahead. A rock-covered peak with boulders scattered here and there. It’s not long before you reach the top of this small peak, where you will see the next one.
An even rockier peak ahead of you. So, onto the next one.
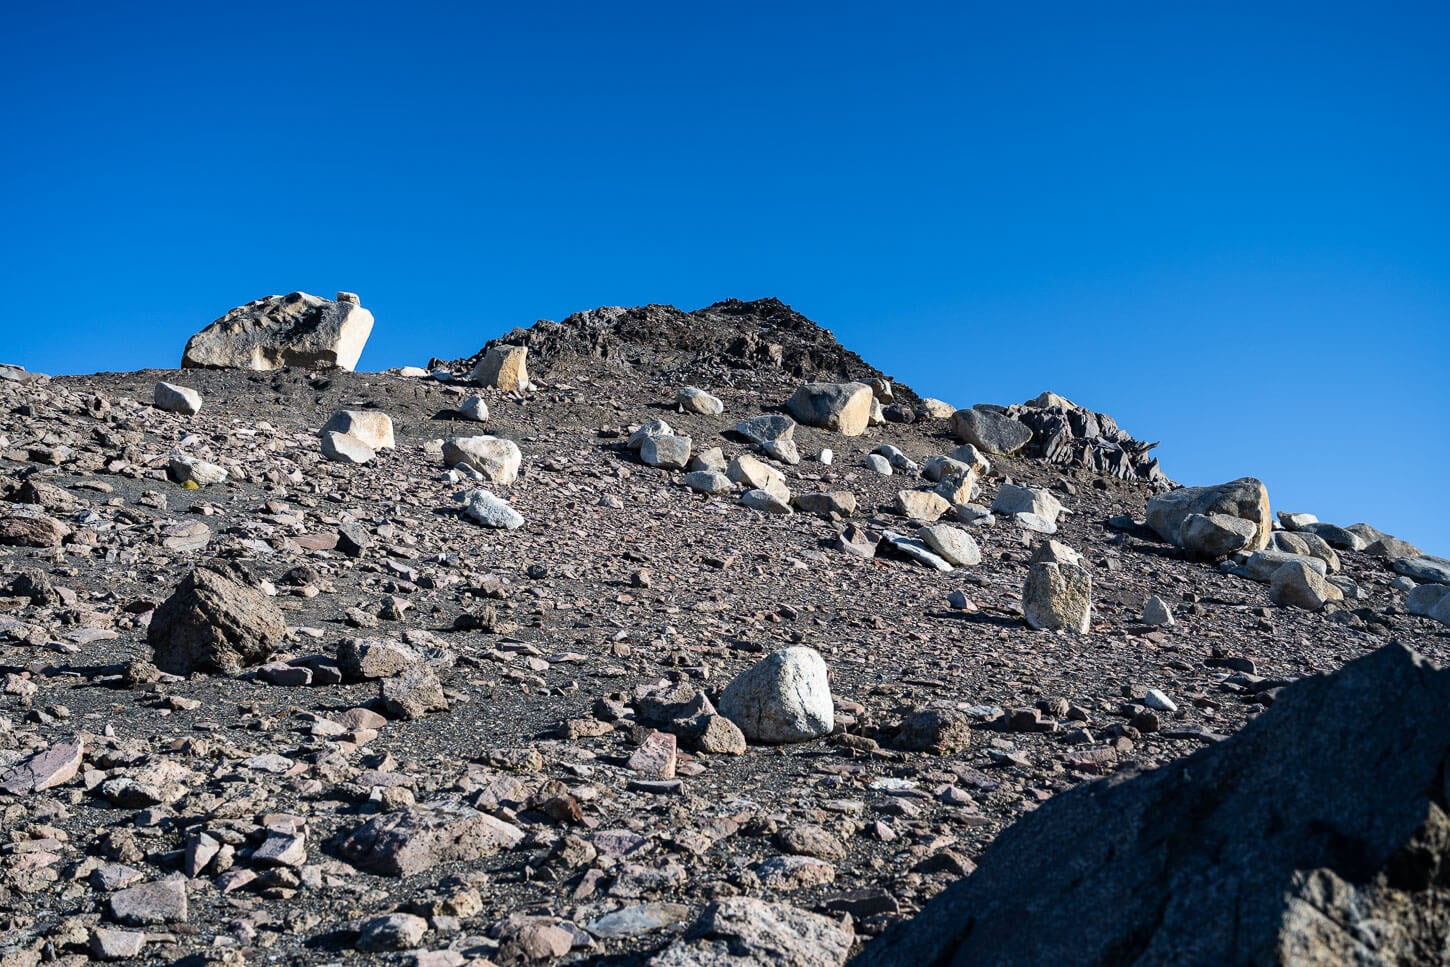
The second false summit.
This second peak is a little more technical, with no visible trail at all, and you need to find your way through some sharp, dark rocks. Take your time to find the easiest way through. It’s slow going, but again, it won’t take all that long to pass through this section, too, and reach the top of this small summit.
And, on the way up, you can enjoy the panoramic views all around you – absolutely enjoyable panoramic views. As far as the eye can see on clear days.
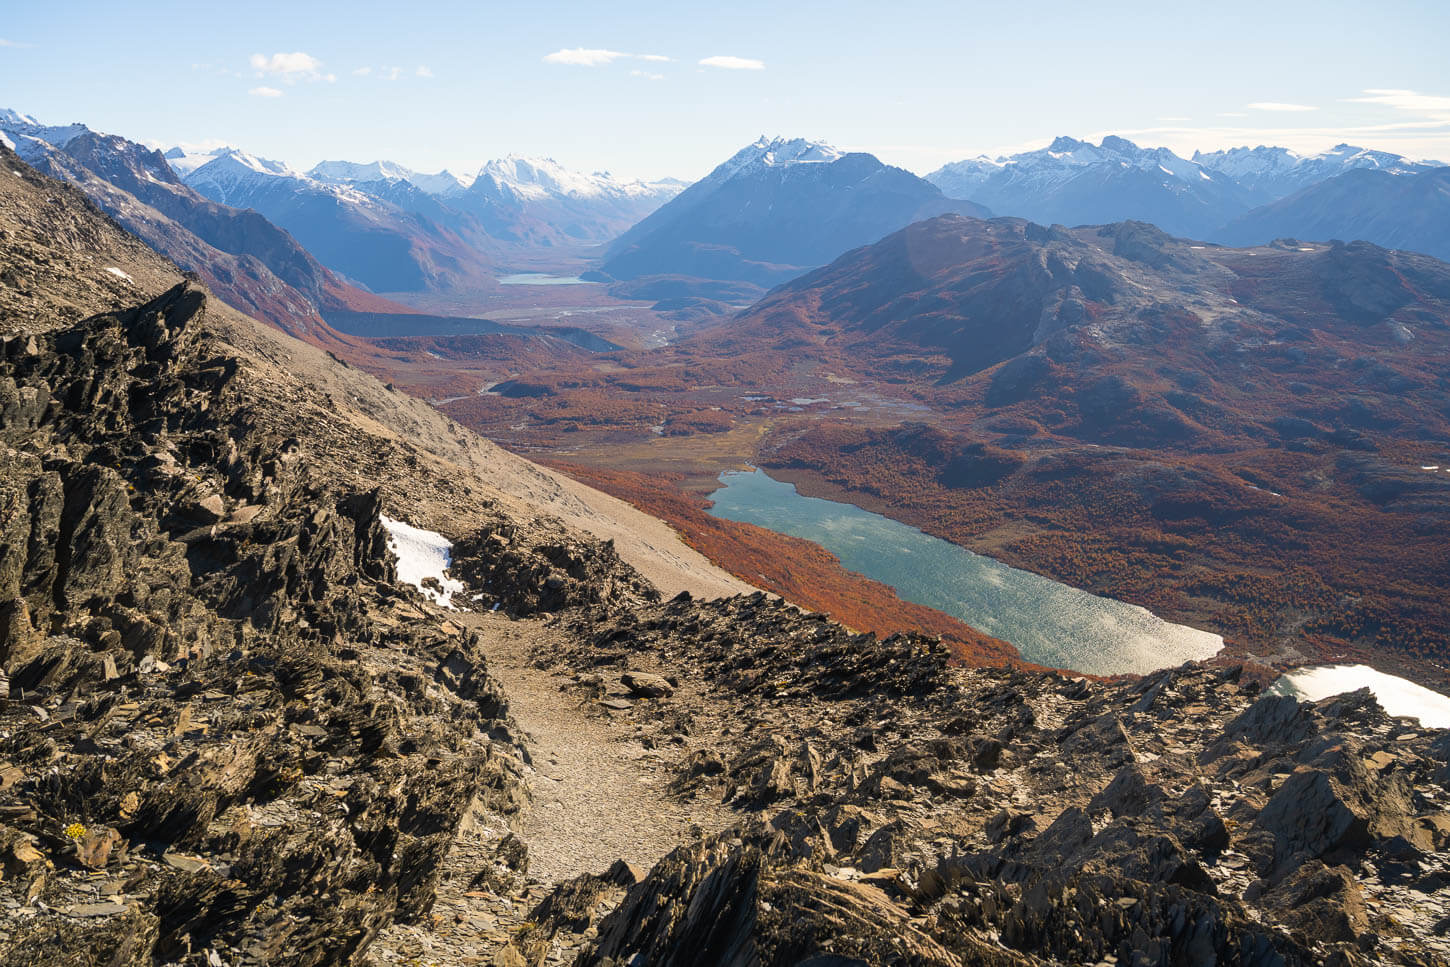
As you get higher up, the views get better and better. Here on the right, Laguna Madre e Hija.
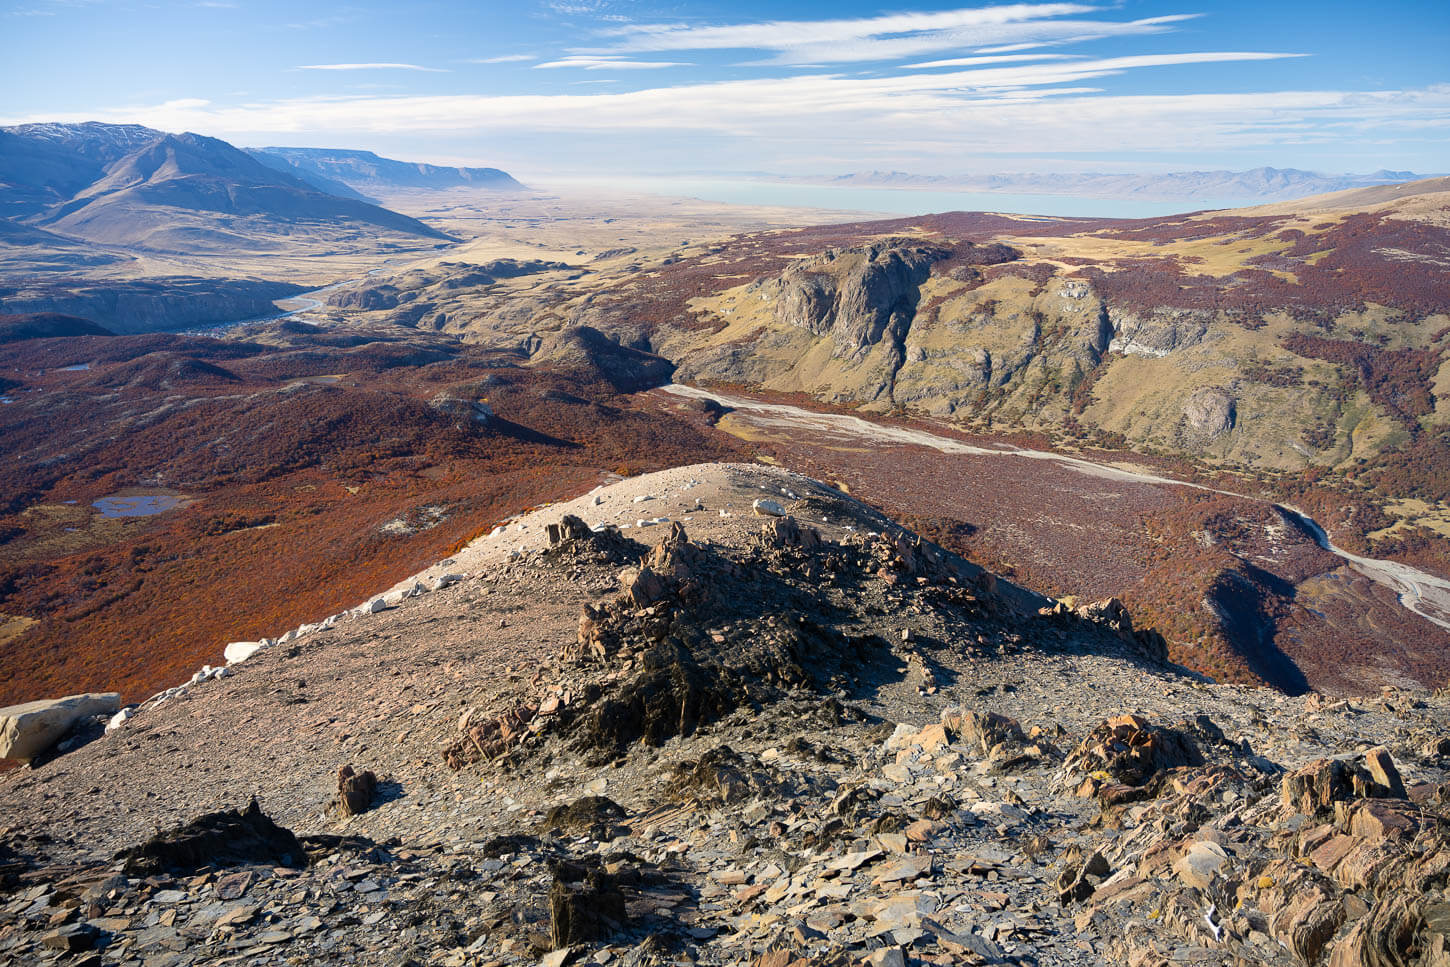
The sweeping view toward El Chaltén, with Lago Viedma in the distance, on the left.
Laguna Torres and Glaciar Grande Viewpoint
From what I saw, this is already a hike in itself. People stop here to enjoy the view of Laguna Torre from above before turning back. And it’s a mighty view. You can see the entire Glaciar Grande from there, as well as Laguna and Cerro Torre.
So even getting up to this point, it’s worth it, assuming you’ve already done the other major hikes and are looking for something different off the beaten path. For reference This Laguna Torre viewpoint is about 11km/6.8 miles into the hike to Loma del las Pizarras.
Laguna Torre and Glaciar Grande lookout, abut 11km/6.8 miles into the Hike.
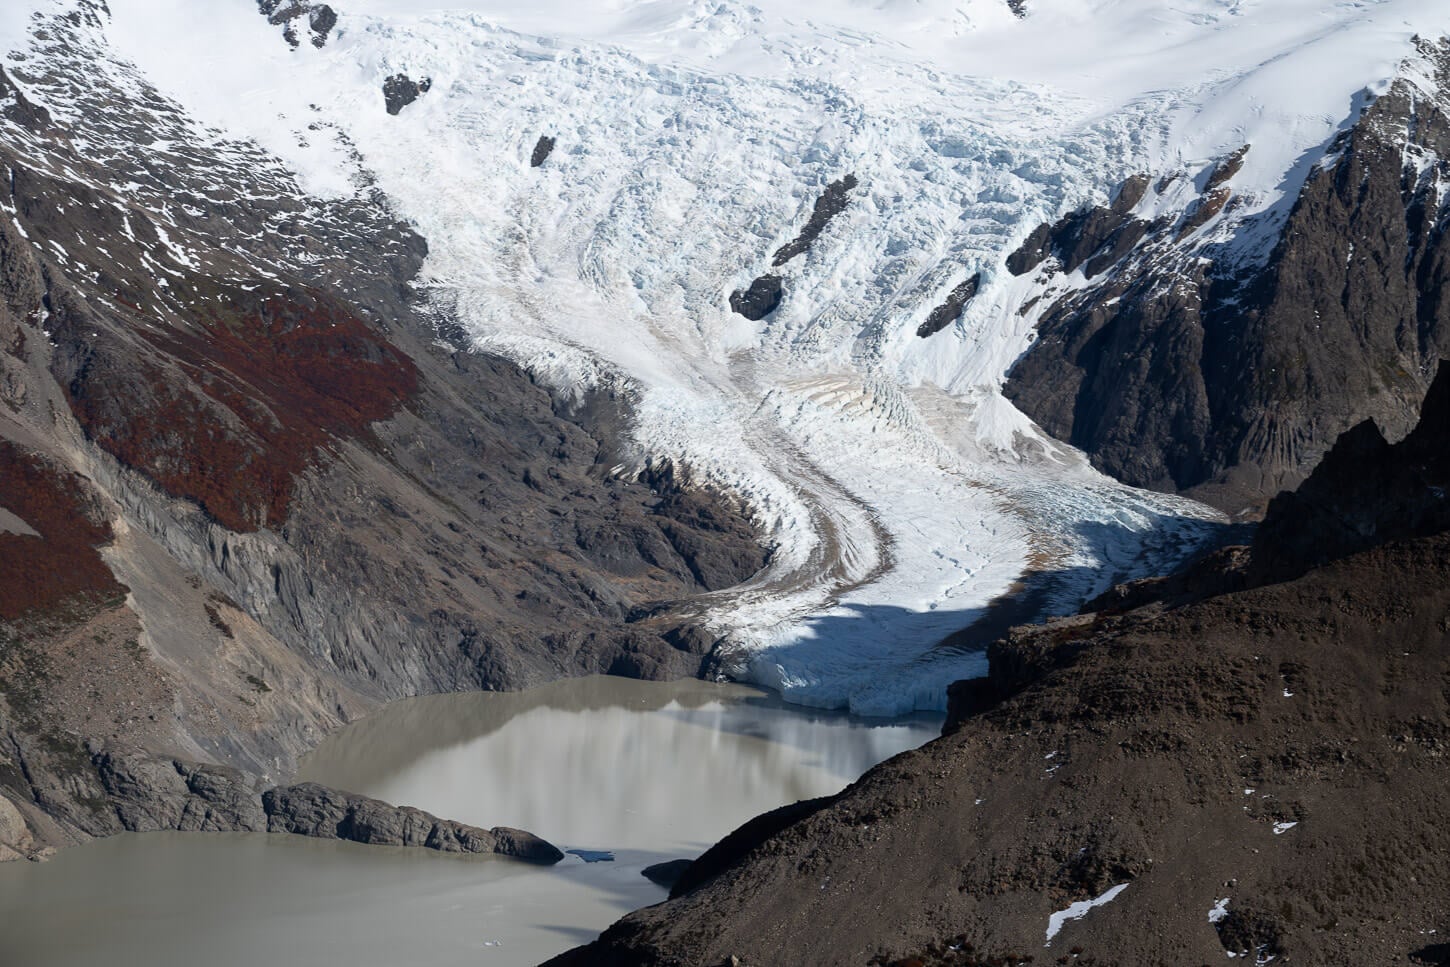
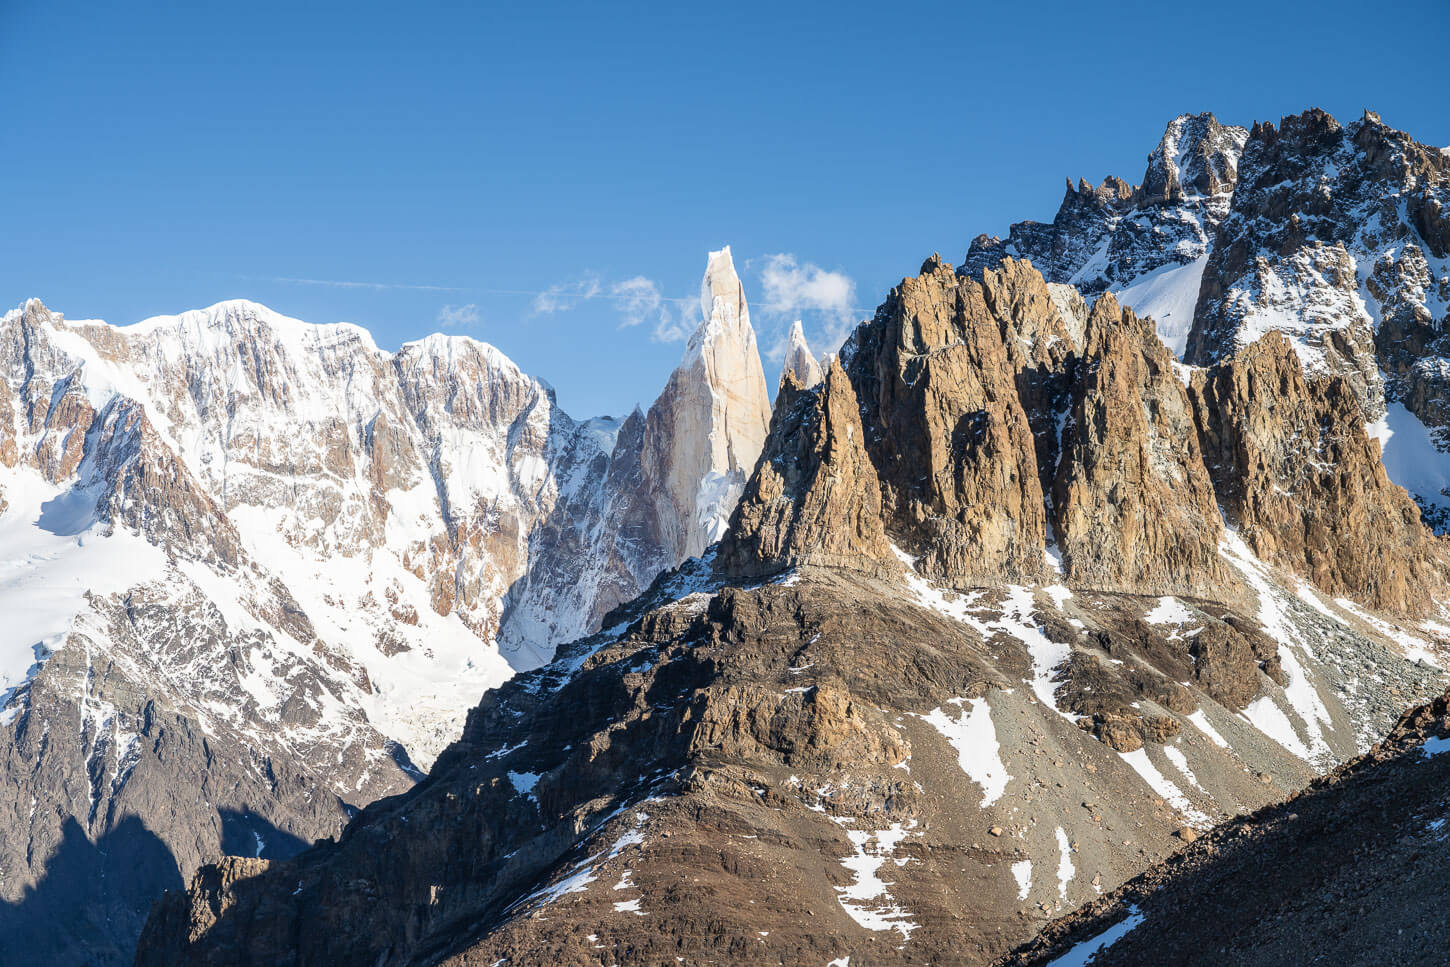
From this viewpoint, you also have good views of Cerro Torre
From there, you will also see the next small peak ahead of you. You may be tempted to think it’s the top – but it’s not yet. This third small summit is much rockier and has more unstable scree compared to the previous two.
The best way is to skip the summit and keep it to your left, passing just below it.
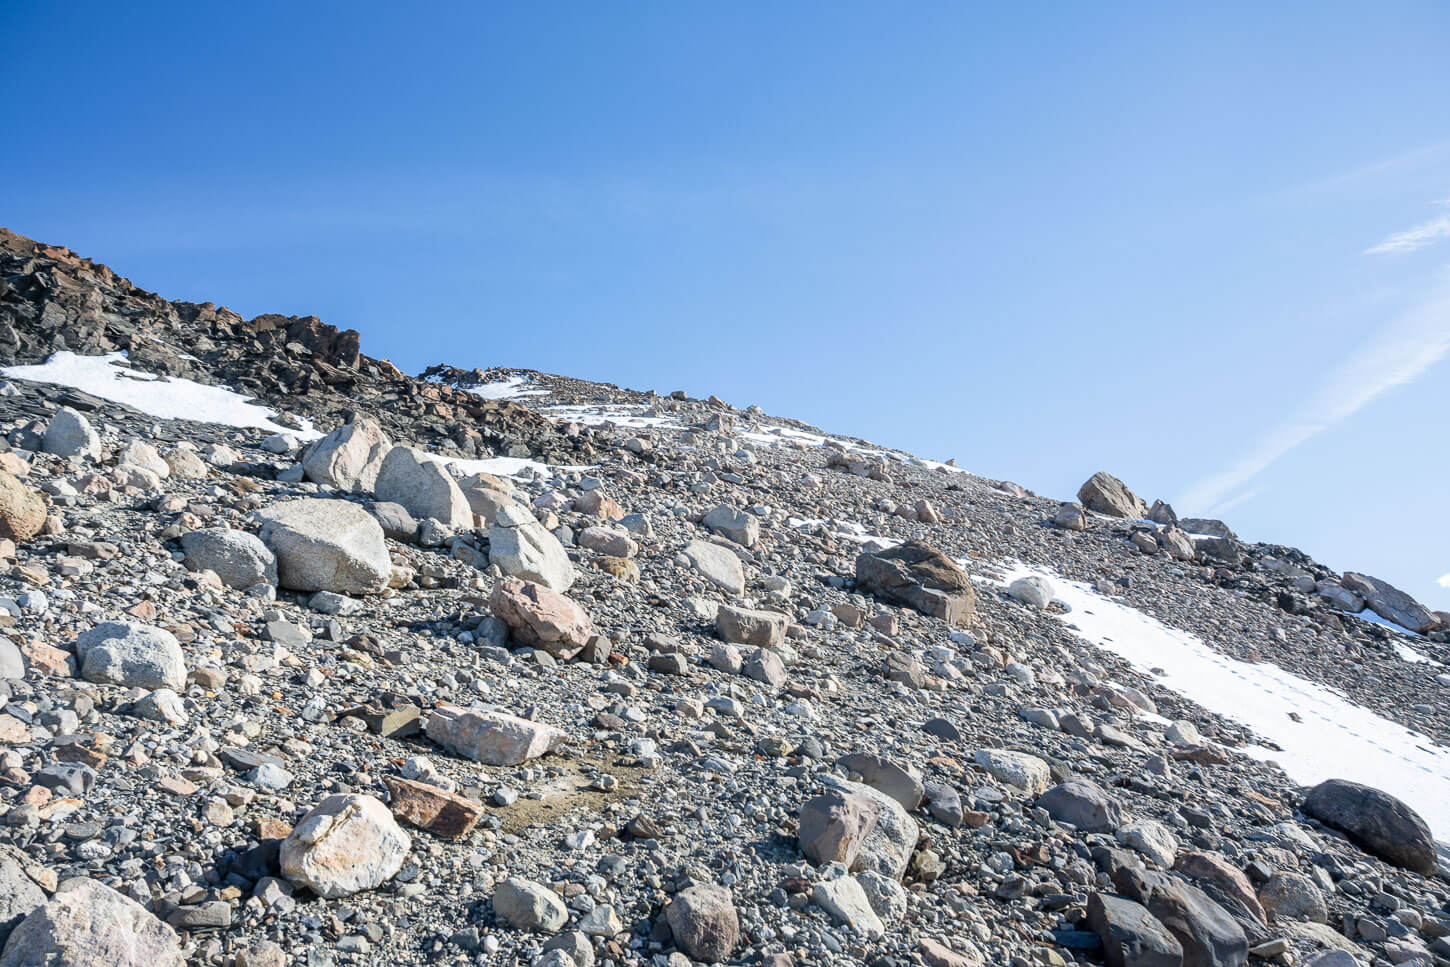
Another, rocky false summit follows.
The next summit you’ll see will be Loma de la Pizarras, finally. As you approach it, the views of Fitz Roy will get better, and…my hike ended here, just below the summit.
The snow that had fallen in the previous days had already melted and refrozen a few times, and it turned into a very slippery sheet of ice.
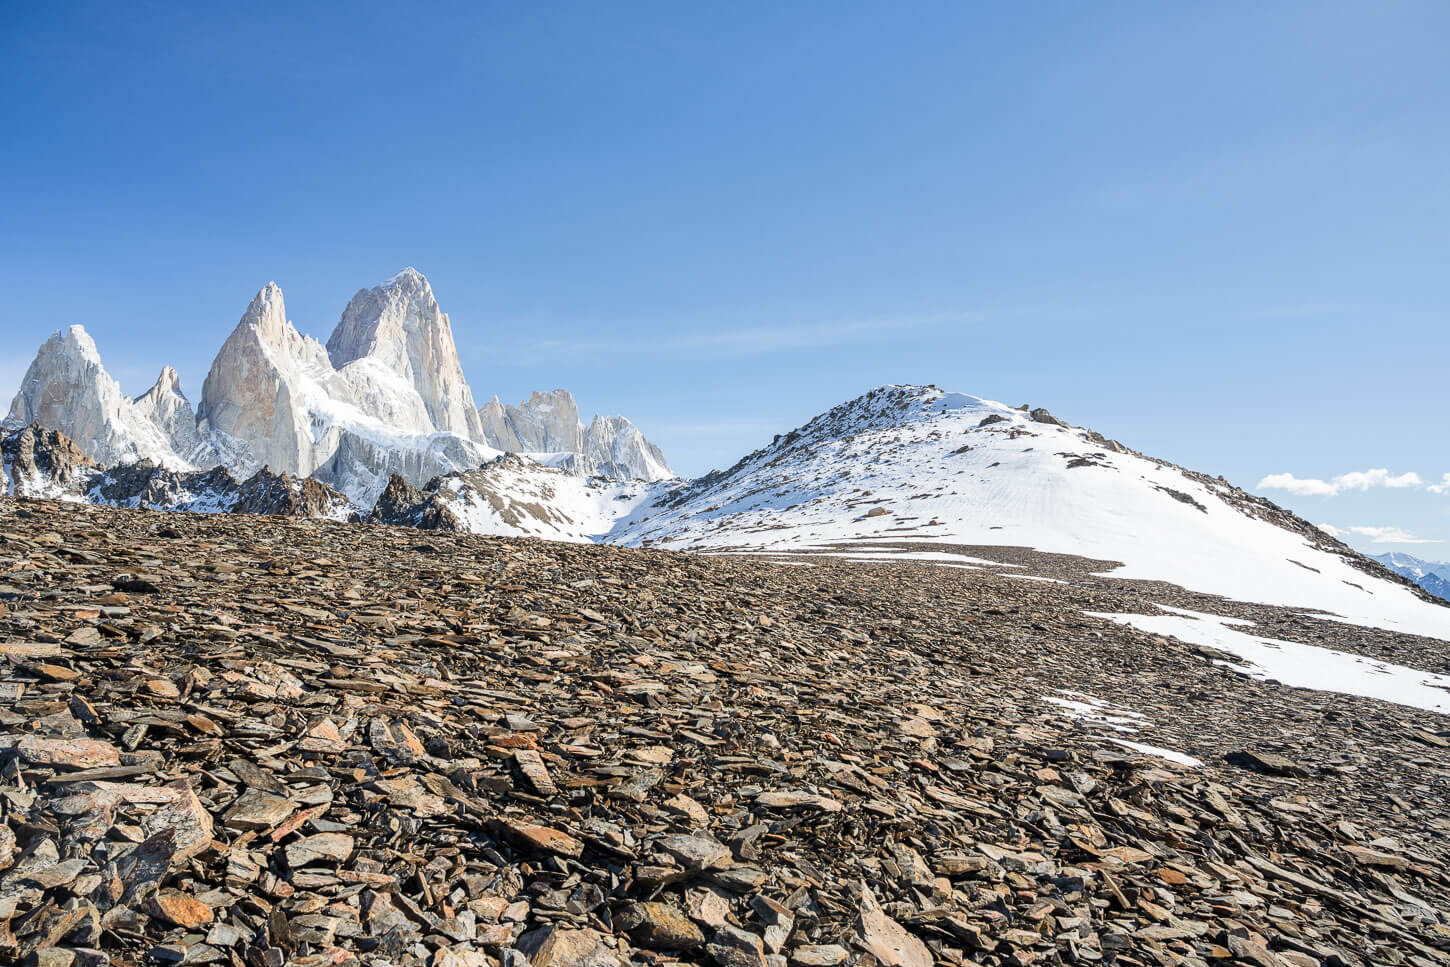
the the last stretch and Loma de Las Pizarras’ summit comes into view.
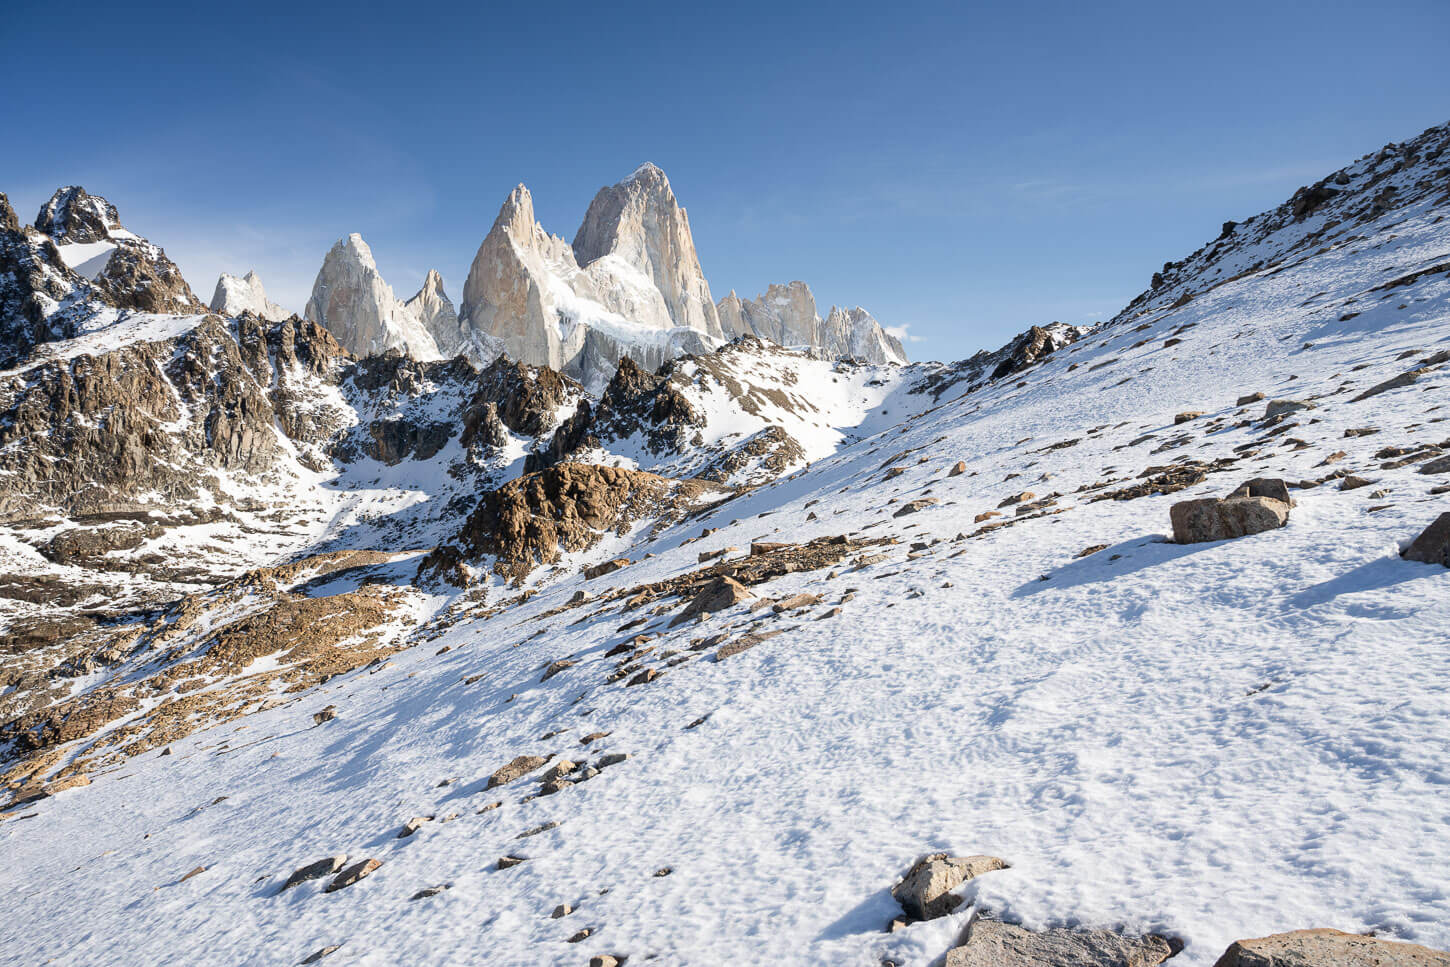
the slope and the peak were covered in a layer of ice, unsafe to attempt without crampons and ice axe.
While I had micro spikes, this was more a terrain for crampons and an ice axe, and even then, it was quite sketchy. This is considering the main viewpoint I wanted to get to wasn’t the summit, but a viewpoint right below it on the opposite side. And to get there, you’d have to cross an exposed section. No go for me in those conditions.
By the looks of it, had I attempted it and slipped, I would have probably ended up somewhere down the mountain near Campamento De Agostini.
The last stretch would invoice crossing an exposed ridge to get to the opposite side of the peak to gain the unobstructed view of Fitz Roy.
But I am planning to do it again in a couple of years when I’ll visit the area again.
On that day, I sat down on one of the many rocks around and had my lunch while enjoying the view of Fitz Roy towering above Loma del las Pizarras, in the total silence and solitude of an early autumn day.
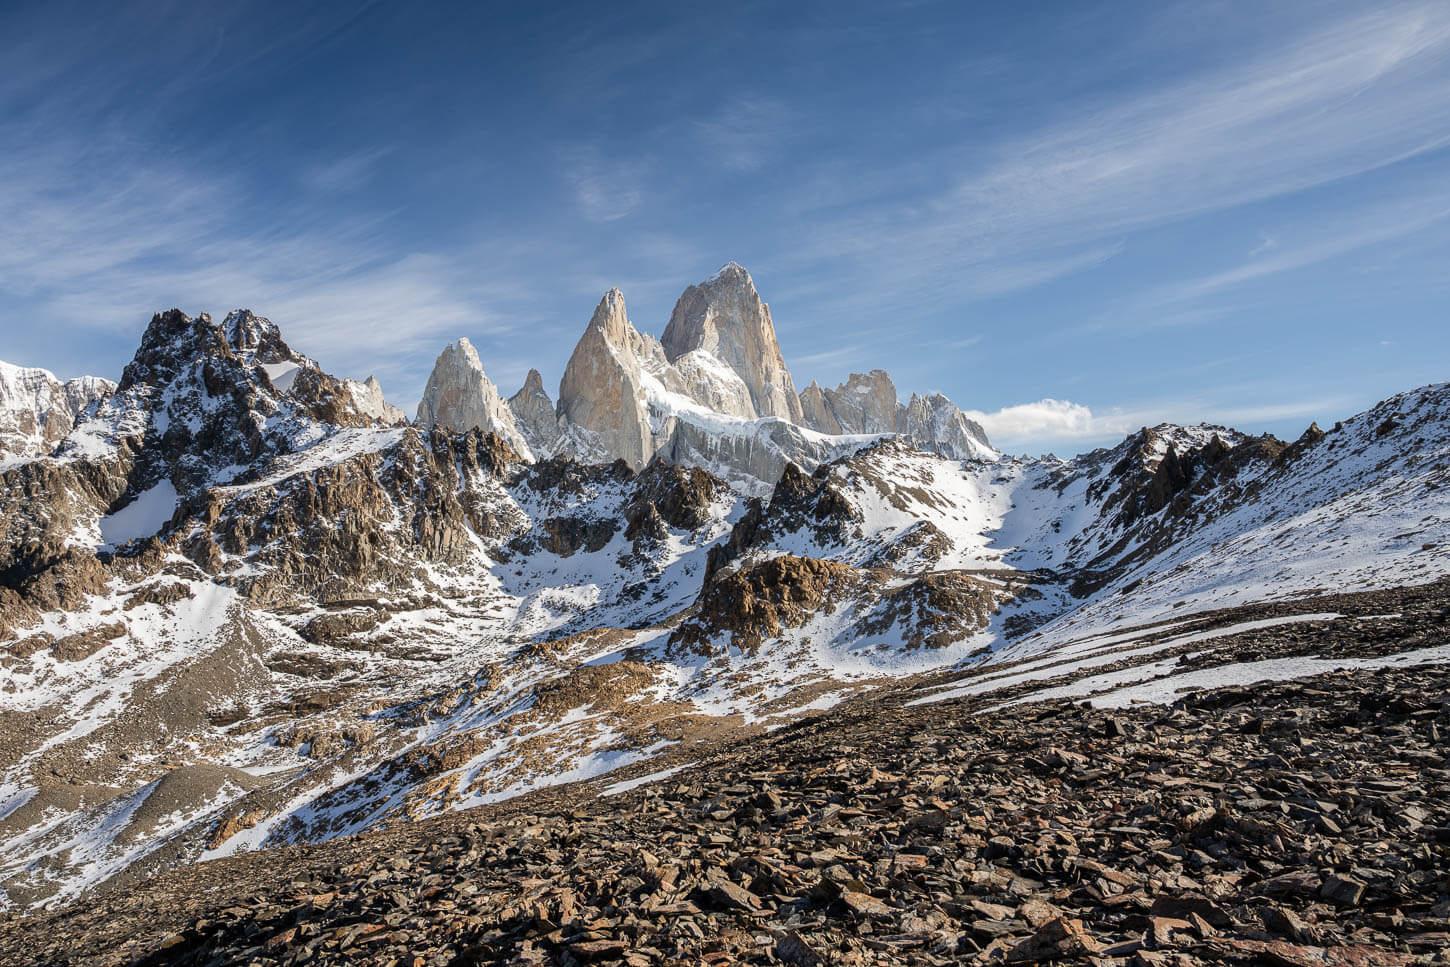
from this pre-summit area, you still enjoy good views of Fitz Roy.
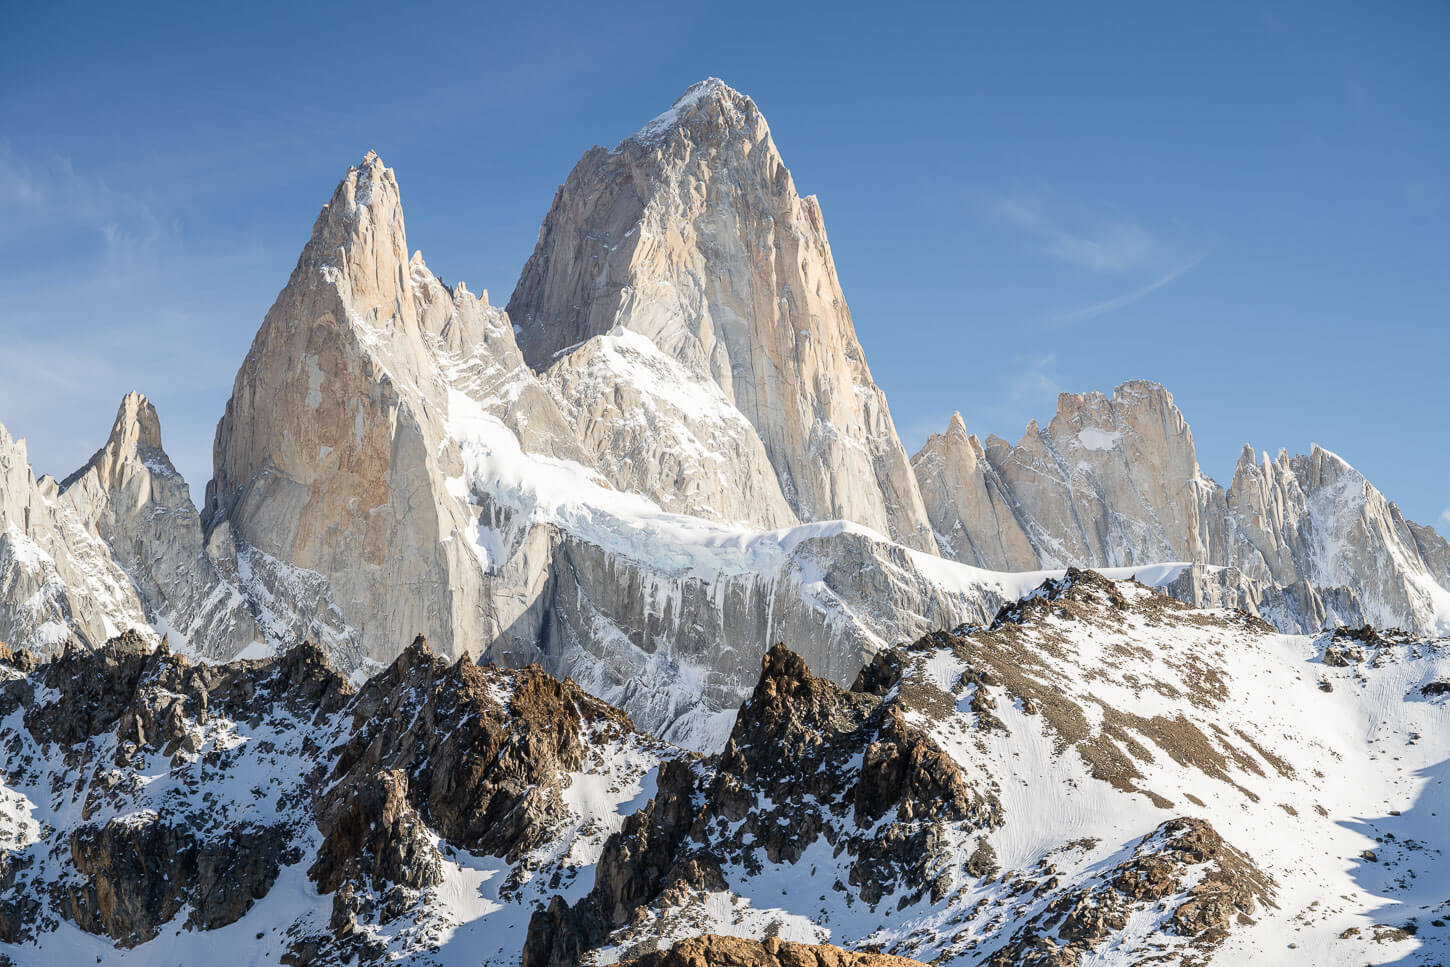
Loma de las Pizarras Photos and Photography Tips
This is a trail you can see very few photos of. I get it, a very demanding hike, with an exposed ridge at the end. And, if you want to take some photos, you would prioritize the classic spots, like Laguna de Los Tres, the Hidden waterfall, Laguna Torre, and so on. No shortage of epic locations here.
Yet, supposedly, some claim this to be one of the best views of Fitz Roy, if not the best view for non-mountaineers. That’s what I heard and what I wanted to check for myself, but could not. Still, once I’m back, this would be my number one sport for the next sunrise hike in Chaltén – now that I know the terrain.
But as far as the hike goes, there is no shortage of photo opportunities on this trail either.
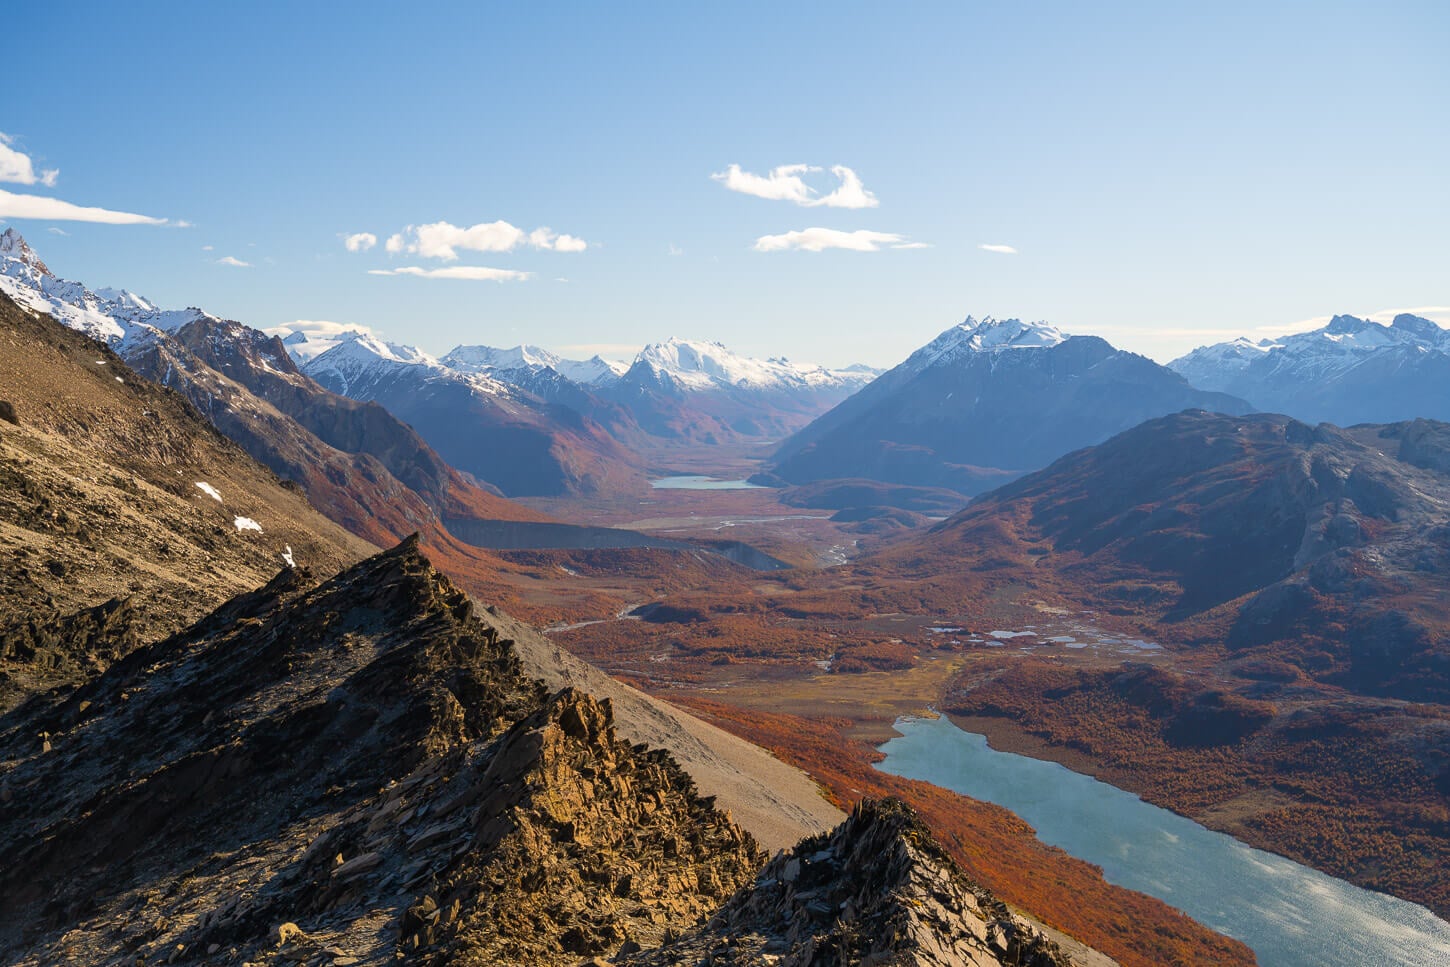
First, you’ll pass by Mirador Cerro Torre. Then the other Cerro Torre (unmarked) Mirador, on the trail to Laguna Madre e Hija.
After that, the views from the crest leading up to Loma de La Pizarras.
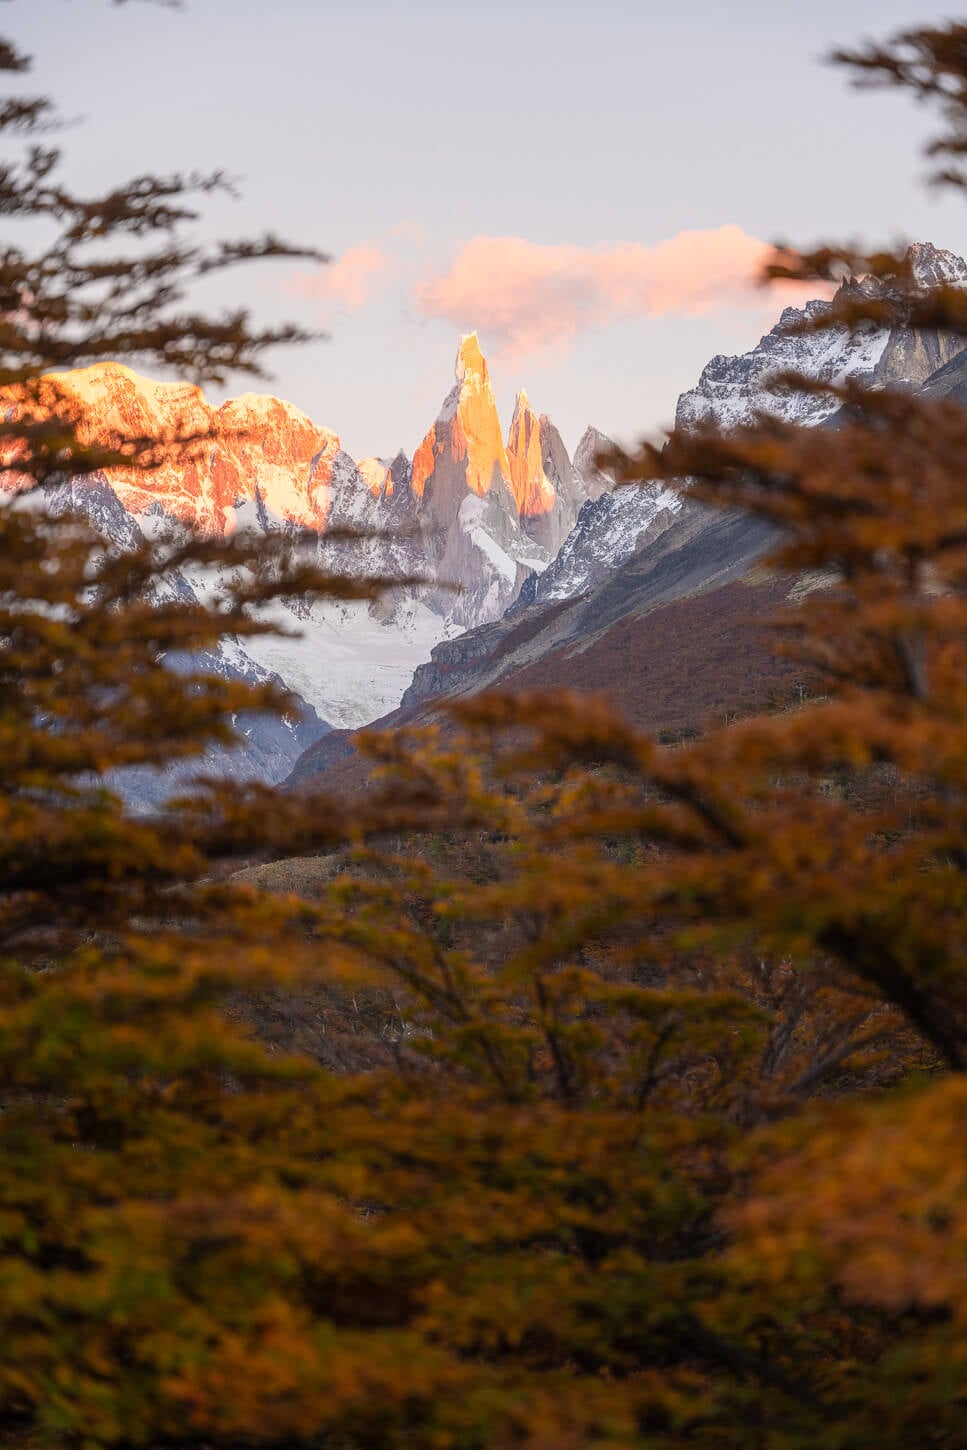
Mirador Cerro Torre is the first lookout.
The second sport is another unofficial lookout with more scenic views of Cerro Torre
Then, the view of Laguna Torre and Glaciar Grande. And, the view of Mt. Fitz Roy from just below the summit. All great photo spots. So even without the “icing on the cake” for that last viewpoint, it’s worth it both as a hike and from a landscape photography perspective. And if you can safely get some shot of that last viewpoint I missed, all the better.
the trail also offers some of the best views of Laguna Torre and the Grande Glacier.
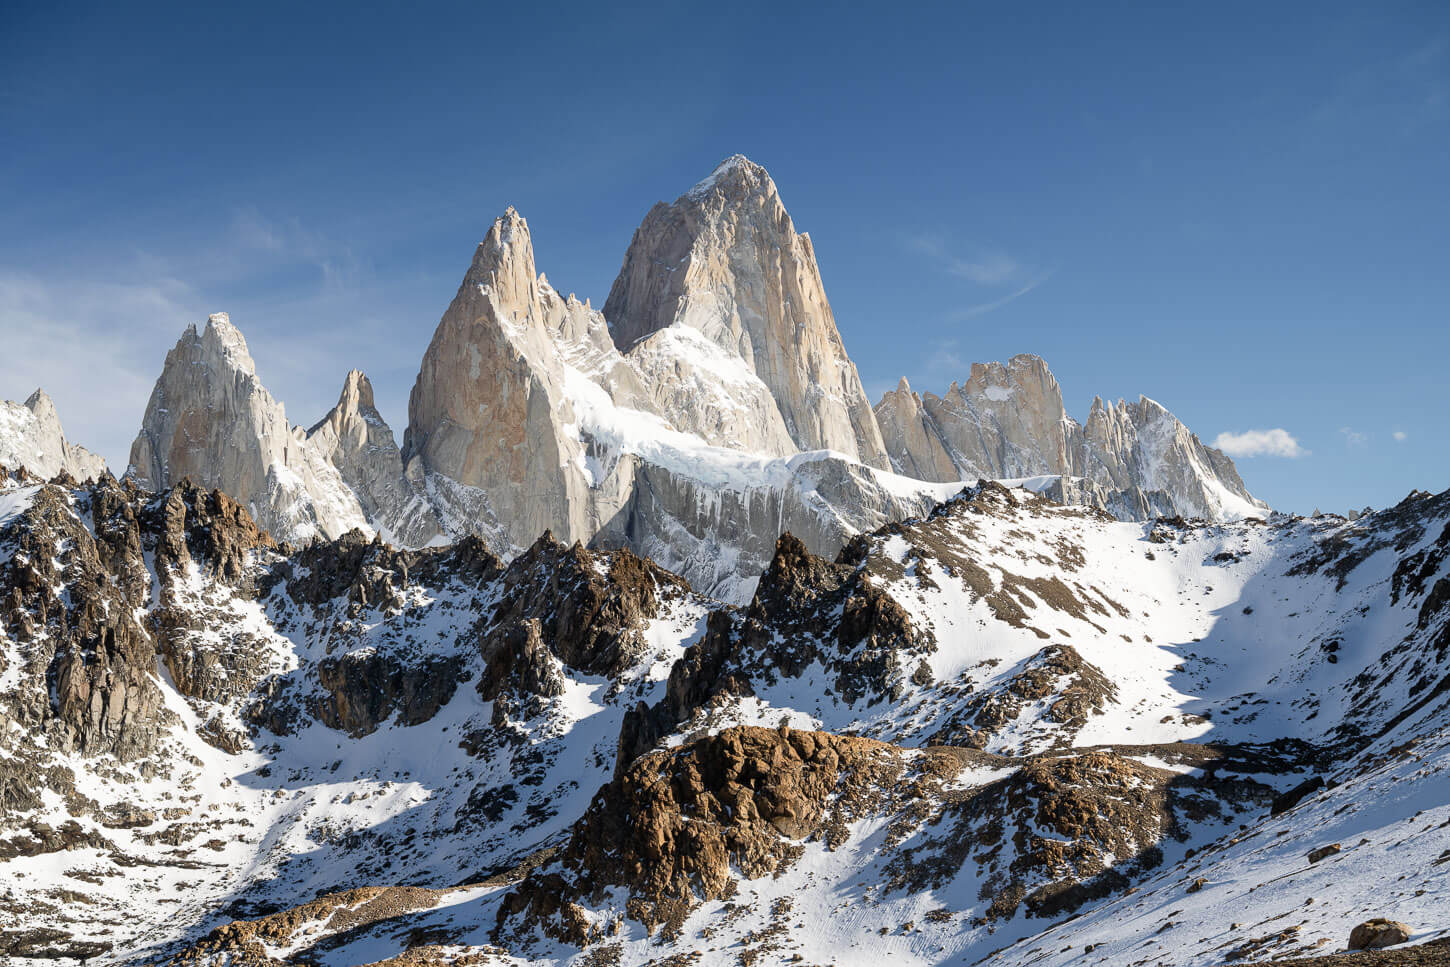
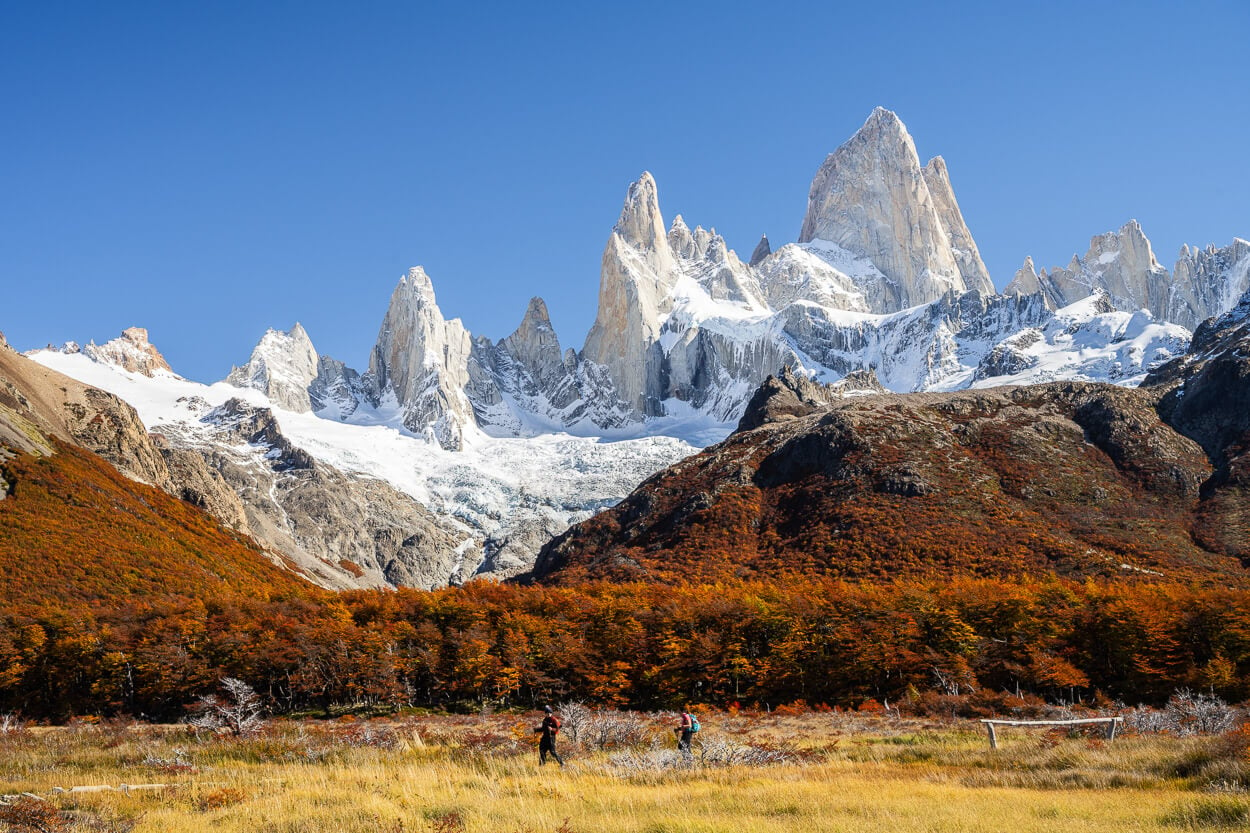
Last – the views of Fitz Roy.
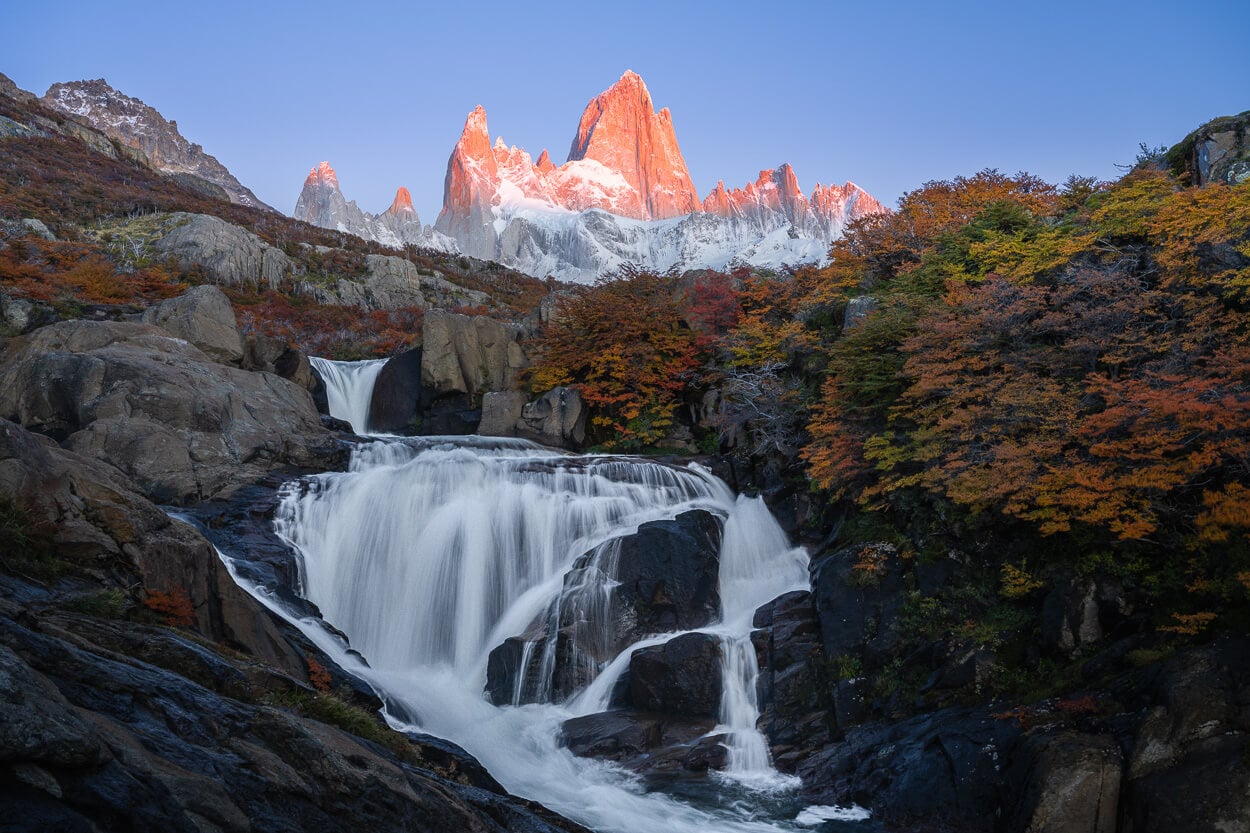
This would also be my next choice for a sunrise hike, and catch an alternative viewpoint of the “Fitz Roy Fire” as the sun rises.
In terms of lenses, I almost entirely used my 24-70mm f/4. I did have a 14-24 too. While the 24-70 was the one on by default. However, I used the 14-24 at the end of the trail. I’d recommend going wide there, as you are relatively close to the massive Fitz Roy, and a wider lens will allow for more compositional freedom.
Where to Stay
El Chaltén, of course! It’s a lovely small town. Accommodations vary from Hostels to high-end hotels and private houses or “Tiny Houses”, which are quite a popular accommodation type. I stayed in one of those, too, and would not change it for a hotel. Personally, I just loved the feeling of getting out the door after breakfast and walking directly to one of the many trails for a day out.
Alternatively, if you are planning a hike to Laguna de Los Tres and staying at Campamento Poincenot for the night, you could start the hike from there too.
Additional Resources
- You may also want to read my full El Chaltén Hiking and Landscape Photography guide if you are planning a trip to the area.
- For a general overview of hiking and landscape Photography locations in Argentina, check out my main Argentina page.
- If you are planning a trip to this beautiful corner of Patagonia, you may also want to check out my Laguna de Los Tres and Loma del Pliegue Tumbado, or Laguna Torre hiking guides.



Leave A Comment