Mælifell Volcano Hike, Highlands, Iceland
Like most of the isolated peaks deep in the highlands of Iceland, the hike to the top of the Mælifell Volcano is one that offers unforgettable views. Yes, not only it is a very beautiful mountain in itself, but also the views from the top are breathtaking. On a clear day, you can enjoy the beauty of the Icelandic highlands as far as the eye can see.
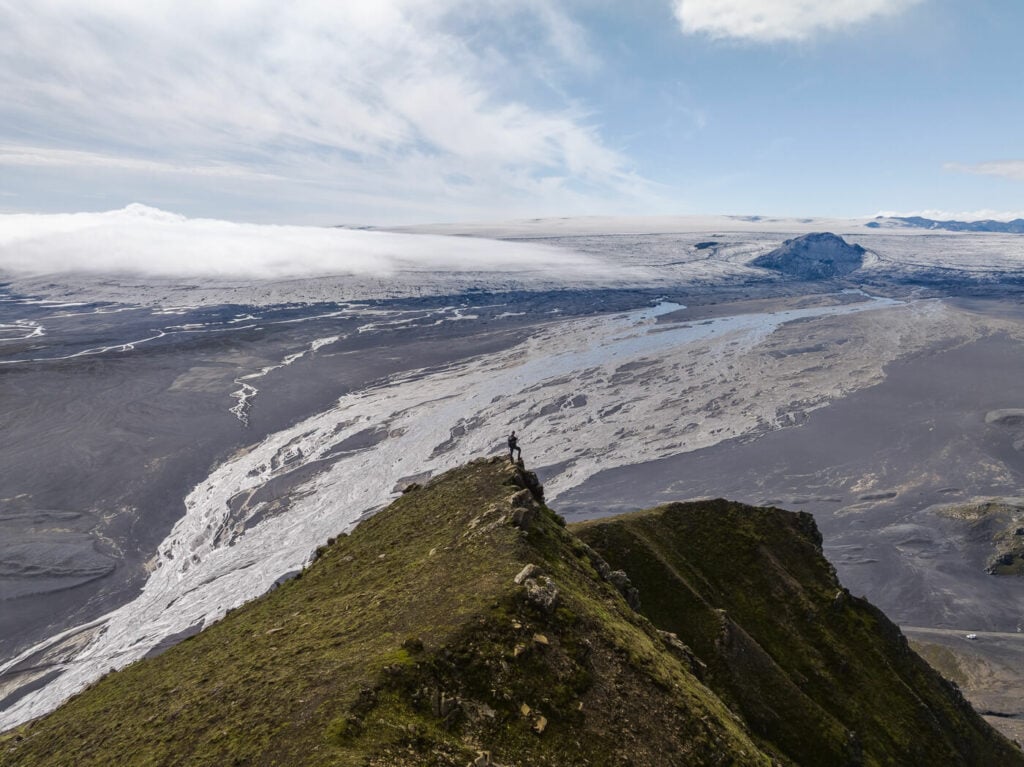
Hiker on top of Mælifell
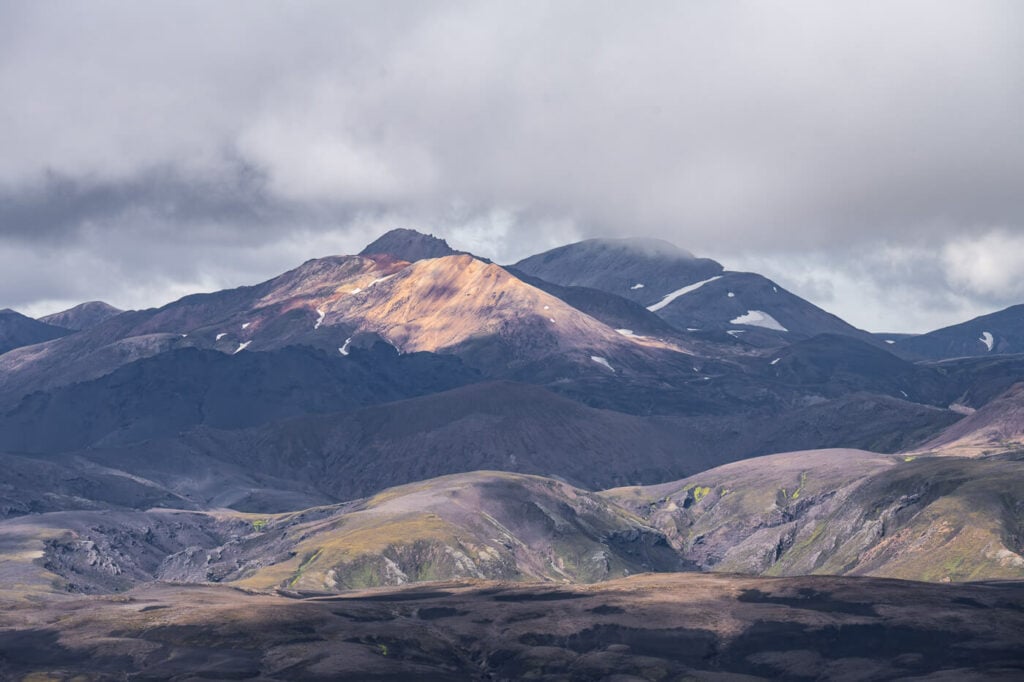
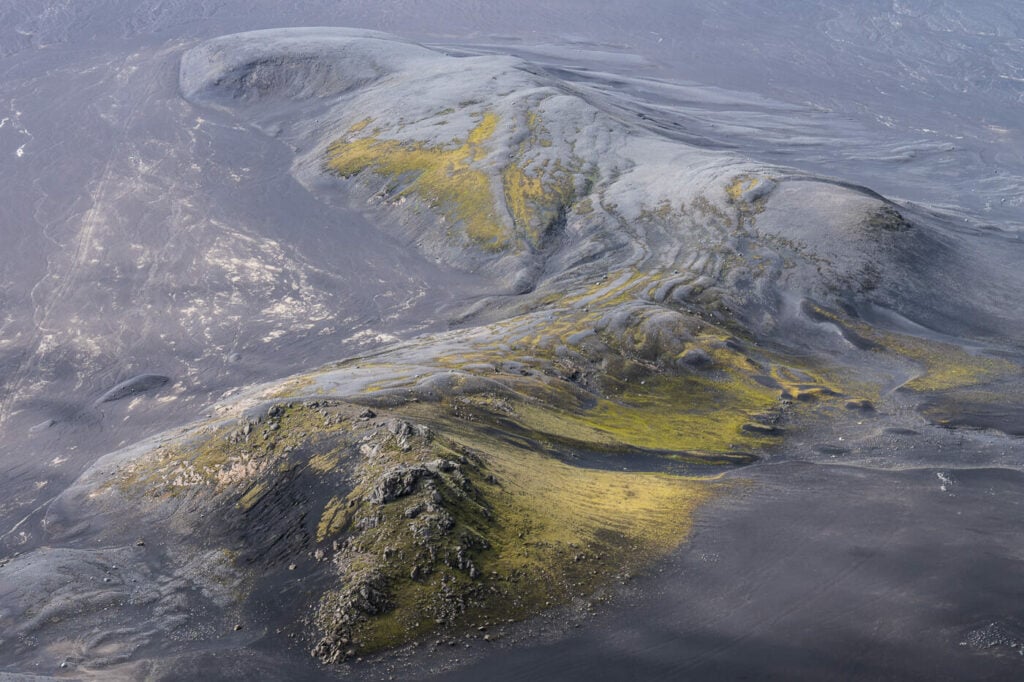
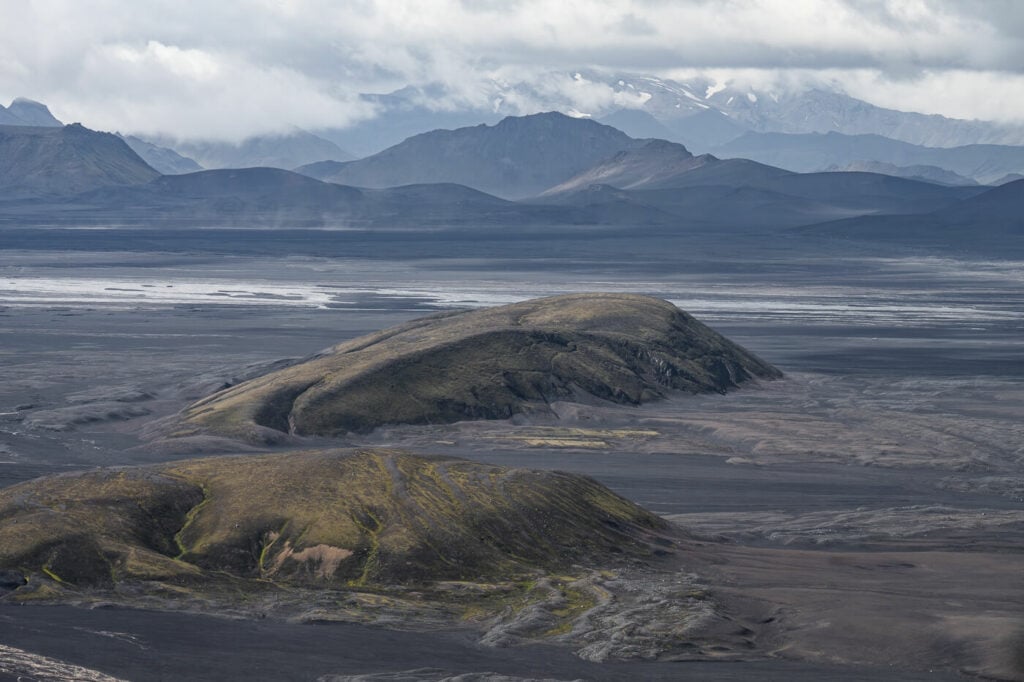
Sure, most have seen photos of this beautiful mountain, rising with its green slopes from the dark, volcanic sands of the Mælifellssandur plains.
But how is the actual hike? Can you even hike up there? Turns out yes, there is an unmarked trail to the top. Whether you are passing by on Road f210 or Road F232, the hike to the top is absolutely worth a short-stop hike to the top of Mount Mælifell.
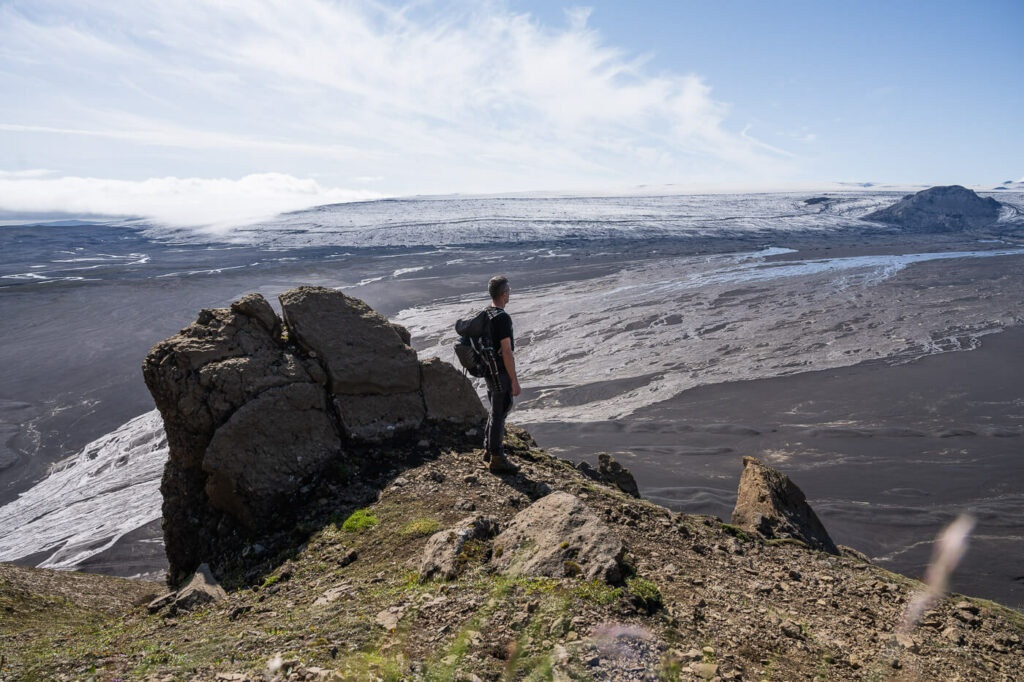
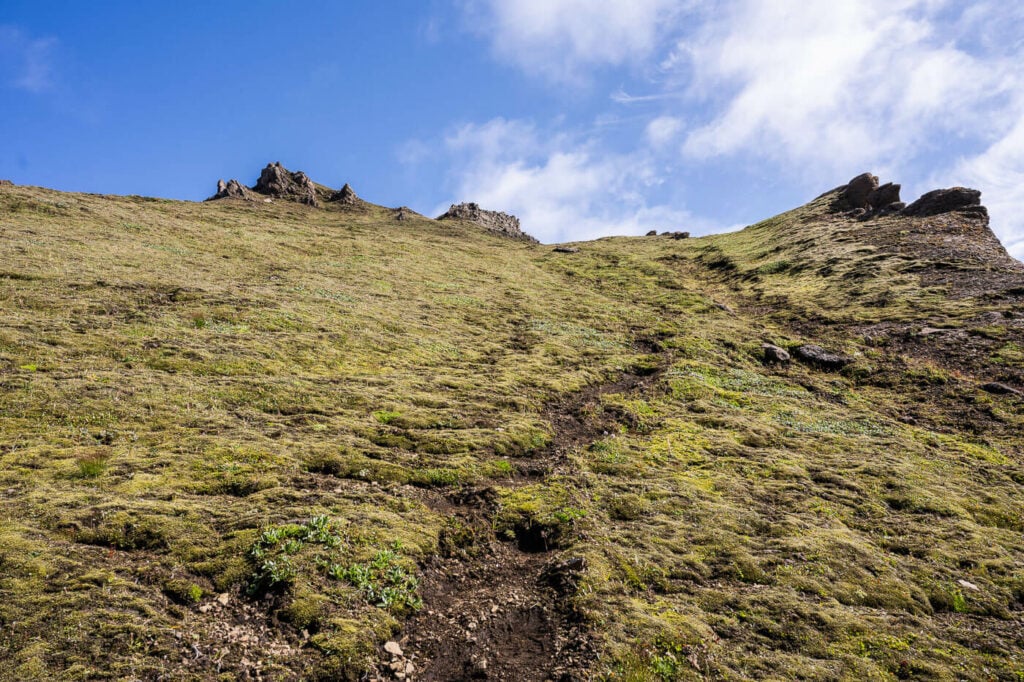
Watching the amazing landscape from the trail.
Going to Iceland? Blue Car Rental Discount!
As a reader of The Photo Hikes, you get a 5% discount on your car rental when booking with Blue Car Rental through this website. The discount will be automatically applied to the booking through the following link
Table of Contents
Overview of the Mælifell Volcano Hike
This is a rather short hike. It took me about 40 minutes to get to the top at a relatively slow pace while taking photos. However, it took me just 15 minutes to get back down.
The elevation gain is small, but the trail is steep all the way to the top, with a few moderately exposed areas.
| Max Altitude | 791 m |
|---|---|
| Distance | 1.42 KM |
| Elevation gain | 270 m ↑ / 270m ↓ |
| Hike time | 00:45/ 1:00 Hours |
| Hike Difficulty | Easy, but steep and moderately exposed |
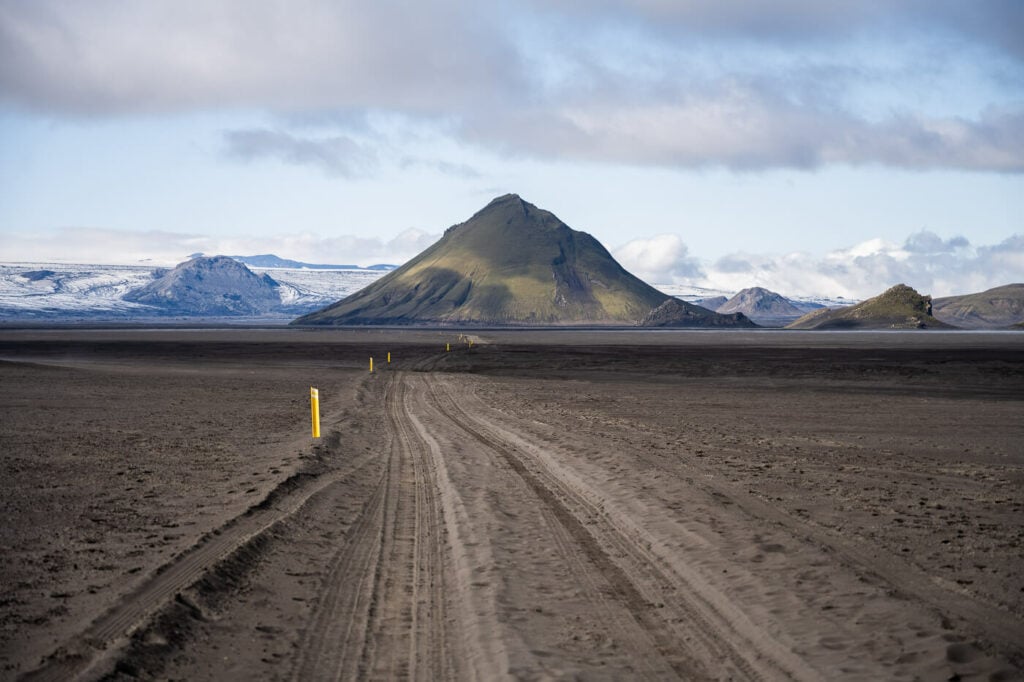
Road f210 with Mælifell in the background.
How to get to the Mælifell Volcano and Parking
This is a hard-to-get-to location. The drive will take about one hour and a half in each direction as a detour from Road 1, or the Ring Road.
On a good day, the drive should be feasible in most F-road-approved vehicles, but make sure you can actually cross the rivers before attempting it. As you know, no rental company covers water damage to the engine, and you definitely do not want to get stranded out there. Also, practice caution on rough parts of the roads, so as not to damage the undercarriage.
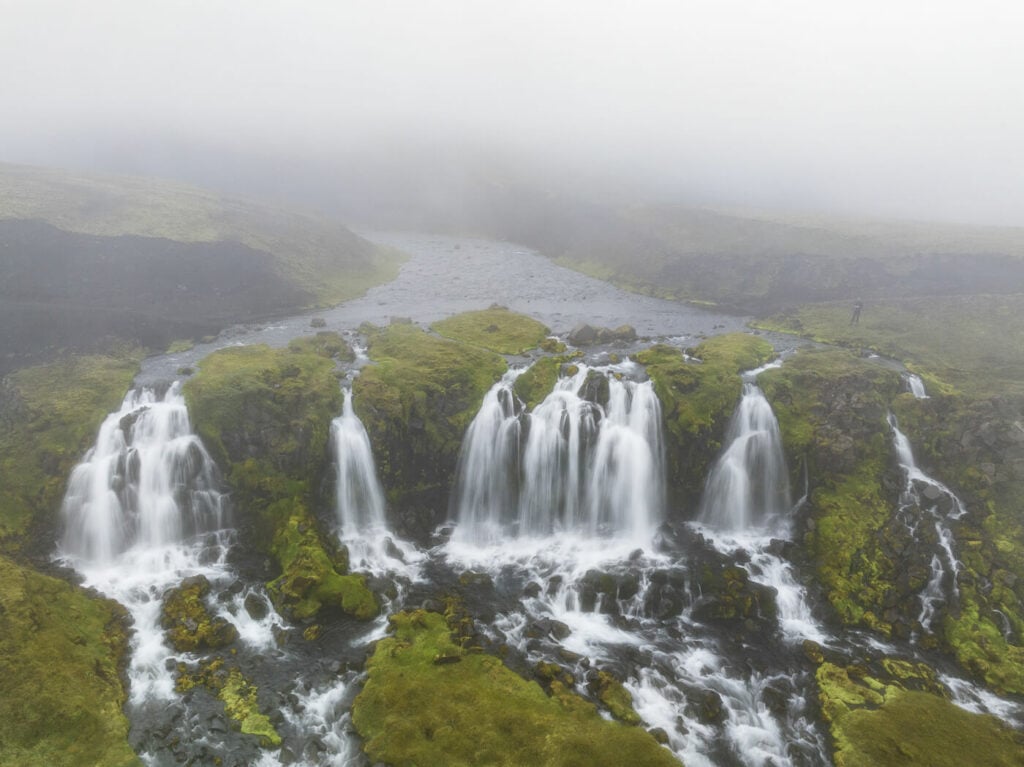
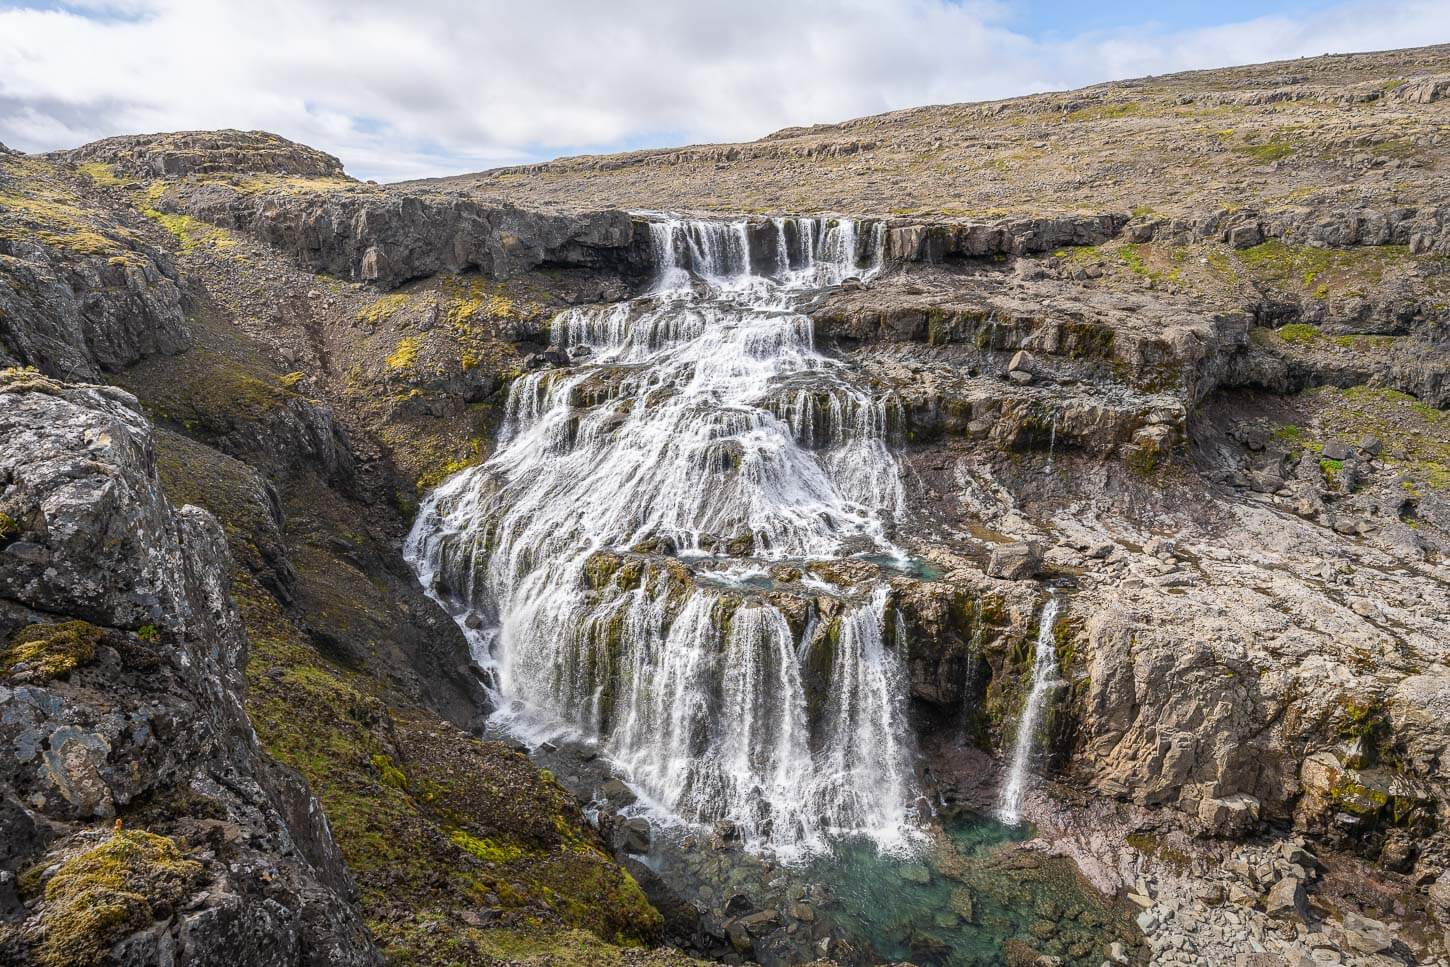
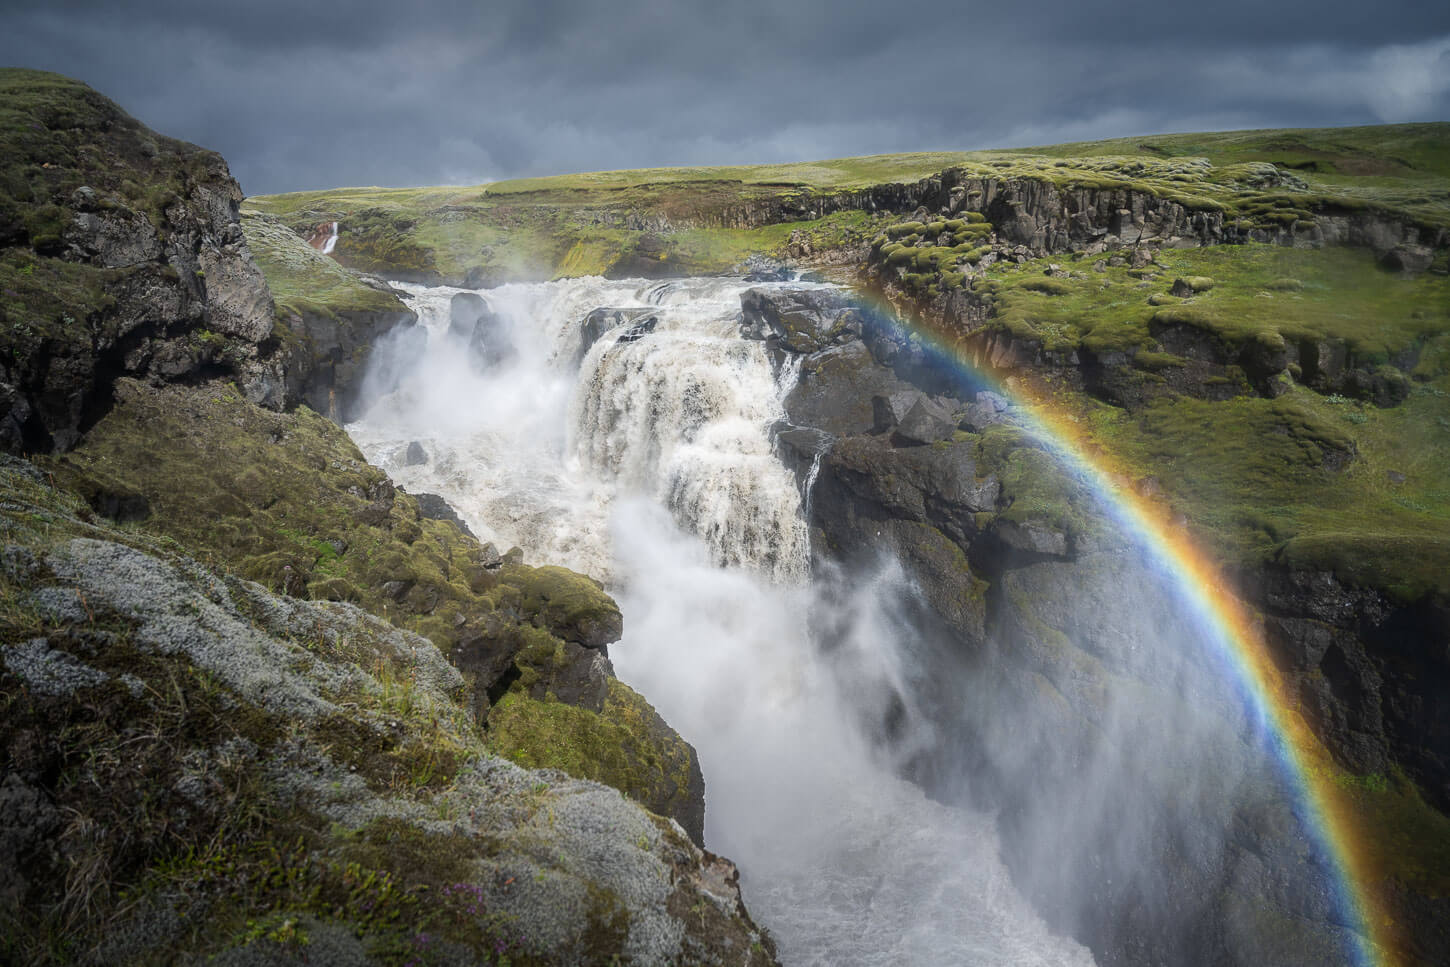
Bláfjallafoss, a river crossing on road f232.
Also note: as of 2023 Google Maps will not show you directions via road f0232 but only via f210, which is a much more dangerous road because it will require you to cross the Hólmsá river, a large and deep river, not to be attempted in smaller 4wd vehicles.
- Driving Directions: the best way to get to Mount Maelifell is through road F232 Öldufellsleið, out and back. The road is only suitable for F-roads vehicles only. It is a rough road and there are a few small rivers crossing, the biggest of which is Blafjállafoss, on the Bláfjallakvísl river. After this last river crossing, there may be sandy areas on the track.
- Parking: there are a few, small pullout areas next to Mount Mælifell. Just make sure to make on those and not randomly on the side of the road, as that would be considered illegal off-road driving.
- Public Transport: no public transport is available, but if you prefer a guided tour, there are some available on GetYourGuide and Viator.
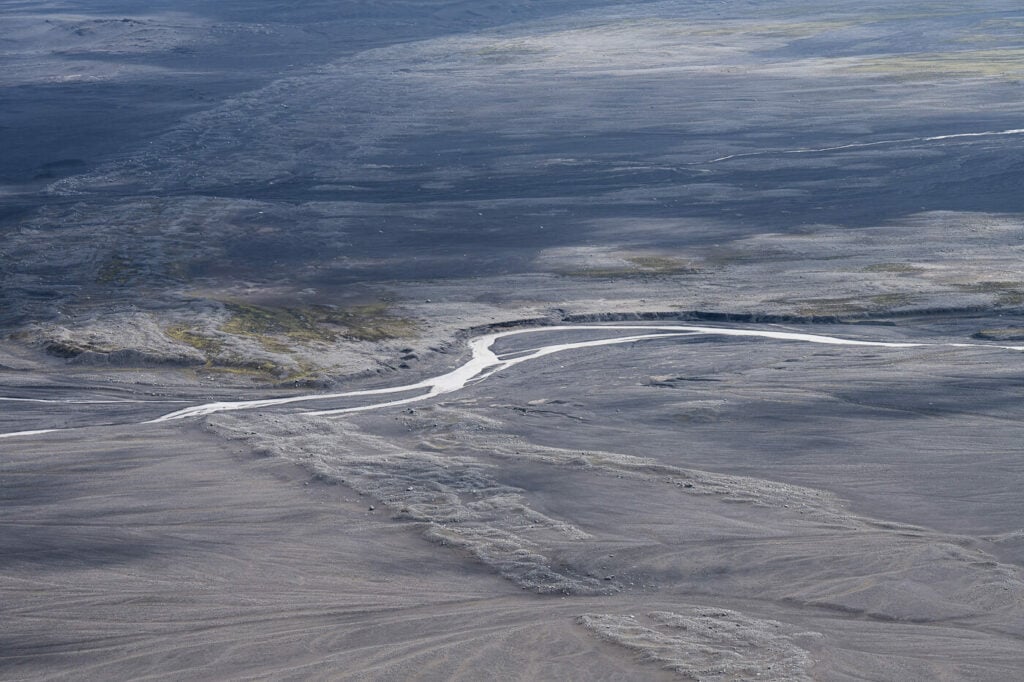
Tip: It’s best to do this hike in the morning. The Mælifellssandur plains can get rather swampy in the afternoon as they are crossed by small glacial streams.

The outwash plains of Mælifellssandur.
The Mælifell Volcano Trail
Once you parked the car, you’d need to locate the hiking trail as it is not marked. This is not super easy and you should avoid walking randomly on the mountain to not damage the existing vegetation.
I actually almost did not find it and was about to give up the hike. I did not want to walk on the grass and the moss, so I was ready to give up the hike unless I could locate a trail.
But after having spent about 20 minutes walking around the mountain, I finally located a track on the west side of the Mountain. However, once you find the track, it is quite easy to follow.
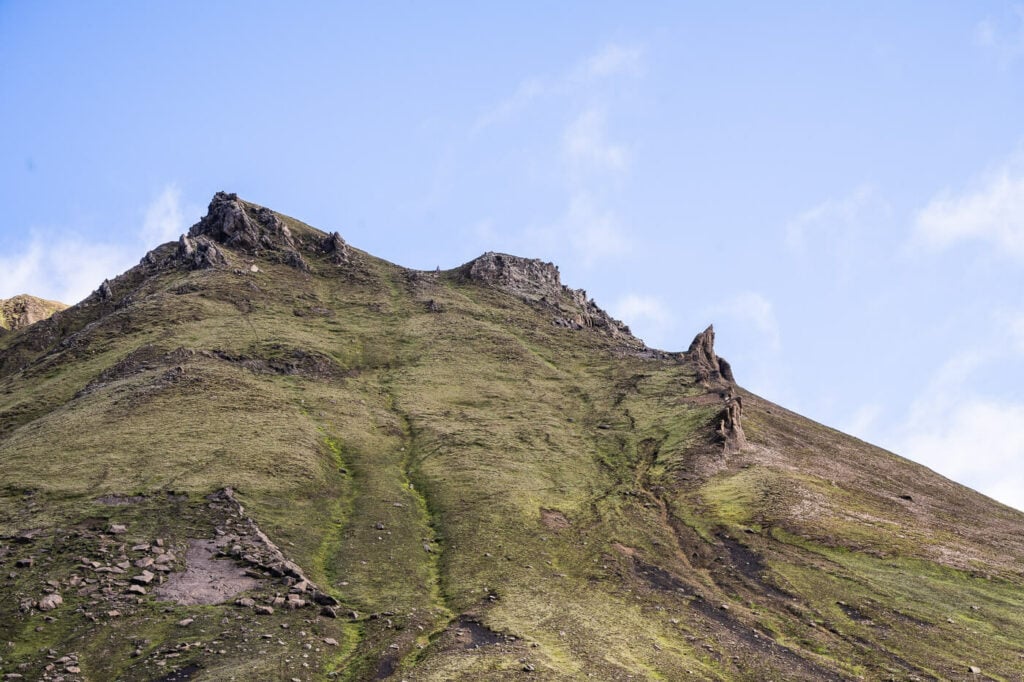
Can you see the trail? It’s only visible from halfway up.
the trail is quite visible and easy to follow once you are on it.
The trail is quite steep although not overly so. Still, it is relentlessly steep to the top. I guess you can figure that out by looking at the mountain as it appears almost like a perfect cone.
You’ll have to cross or hike around a few rocky areas toward the top. The views will get better and better as you go. Once you get to the top you’ll enjoy spectacular 360 degrees panoramic views all around you.
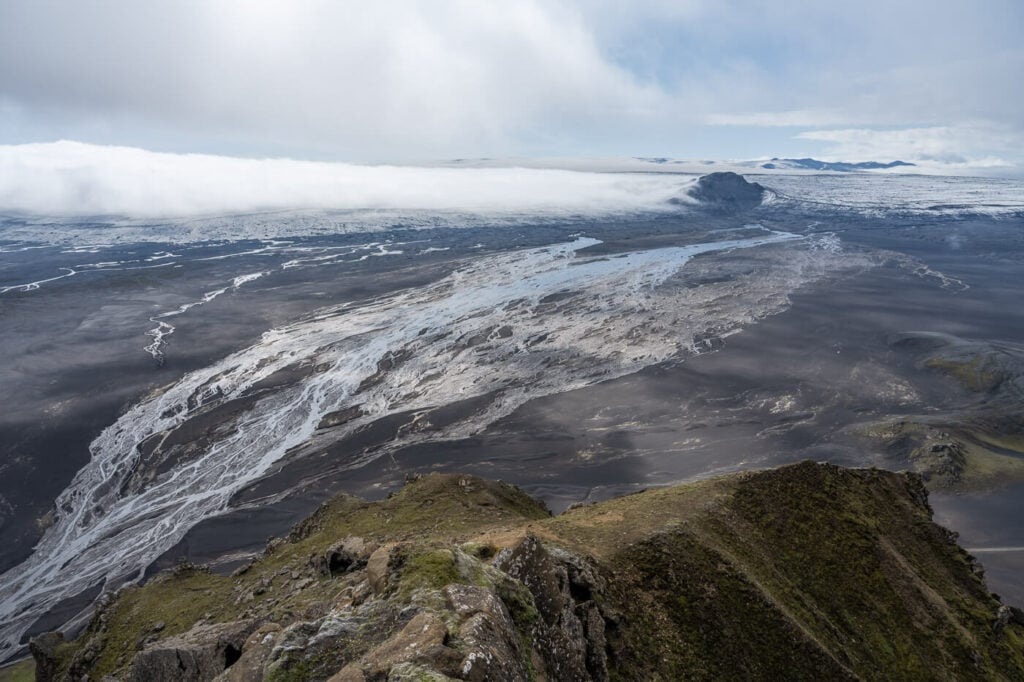
View from the top of the Mælifell toward the Mýrdalsjökull glacier.
The Mælifell Volcano Hike Photos and Photography Tips
Well, not much to say about Mælifell itself. It is one of the most photographed, remote mountains in the highlands of Iceland.
As such it is best photographed from afar, either from the road on with a drone. When you get close to it, it’s not as impressive as from afar. It’s too big to be a meaningful subject when you are standing at its feet. You can get good shots of it from road f210.
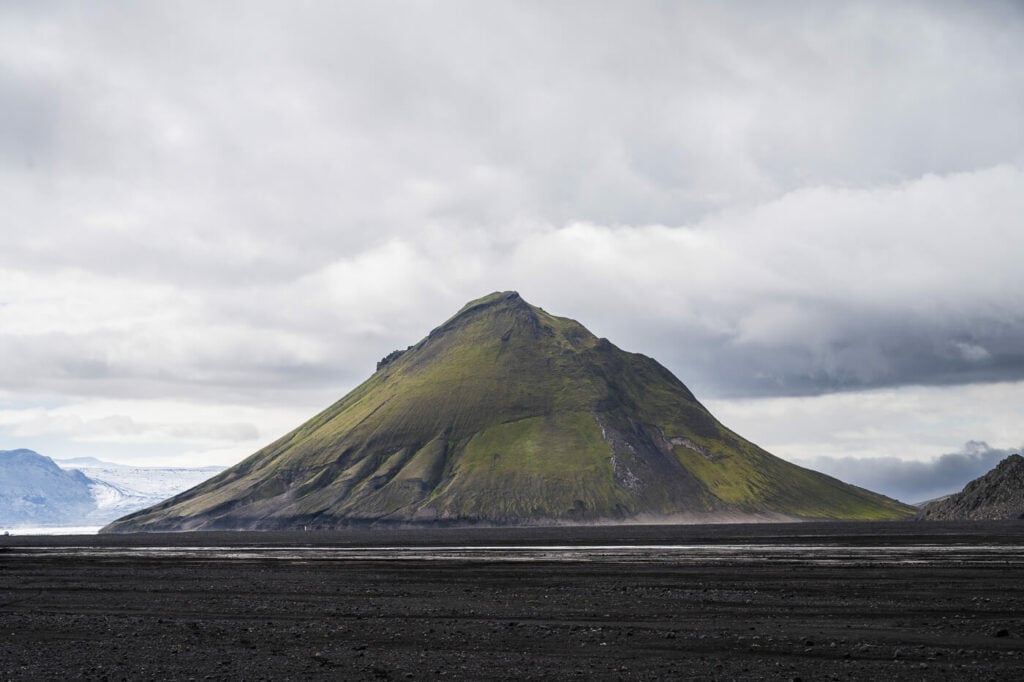
Maelifell, from Road 210.
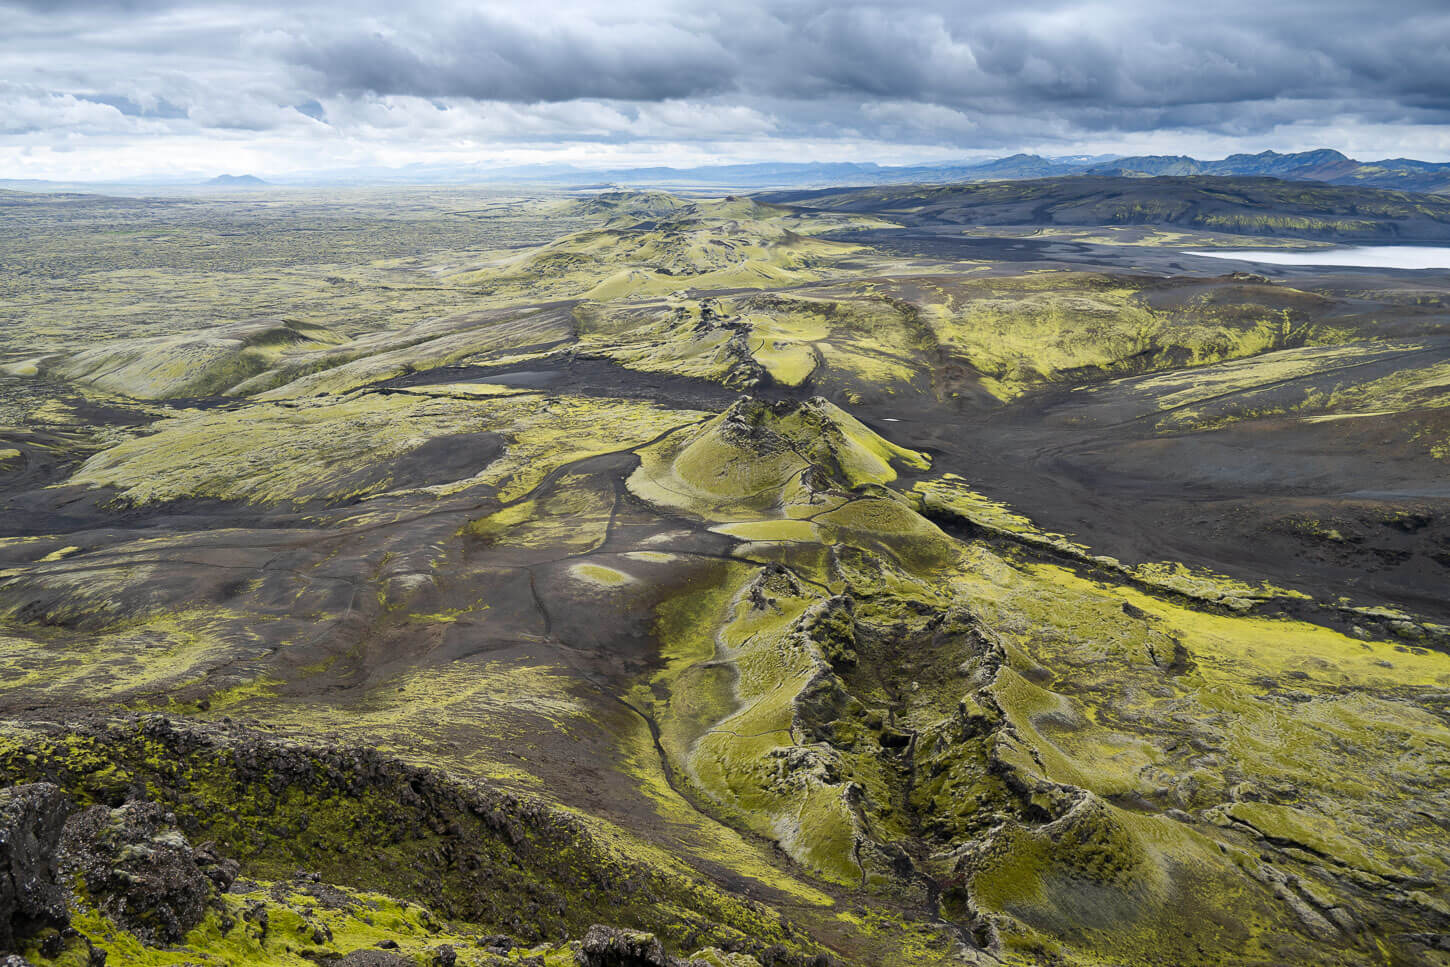
When you get on top though, a whole world of photo opportunities opens up. The Mýrdalsjökull glacier and its water streaming down on the Mælifellssandur outwash plains, the Fjallabak mountains in the distance, strange rock formations… there definitely isn’t a lack of subjects.
Some of the colourful mountains in the Fjallabak Nature Reserve. Landmannalaugar is behind those mountains. 200mm shot.
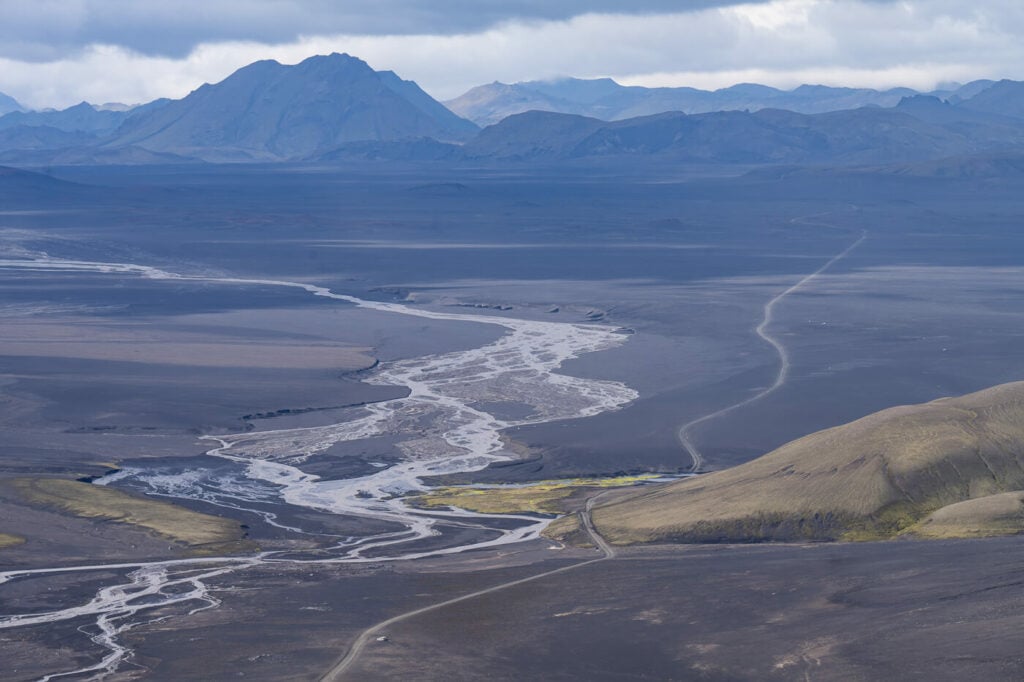
Road f210 and the immense landscape around it
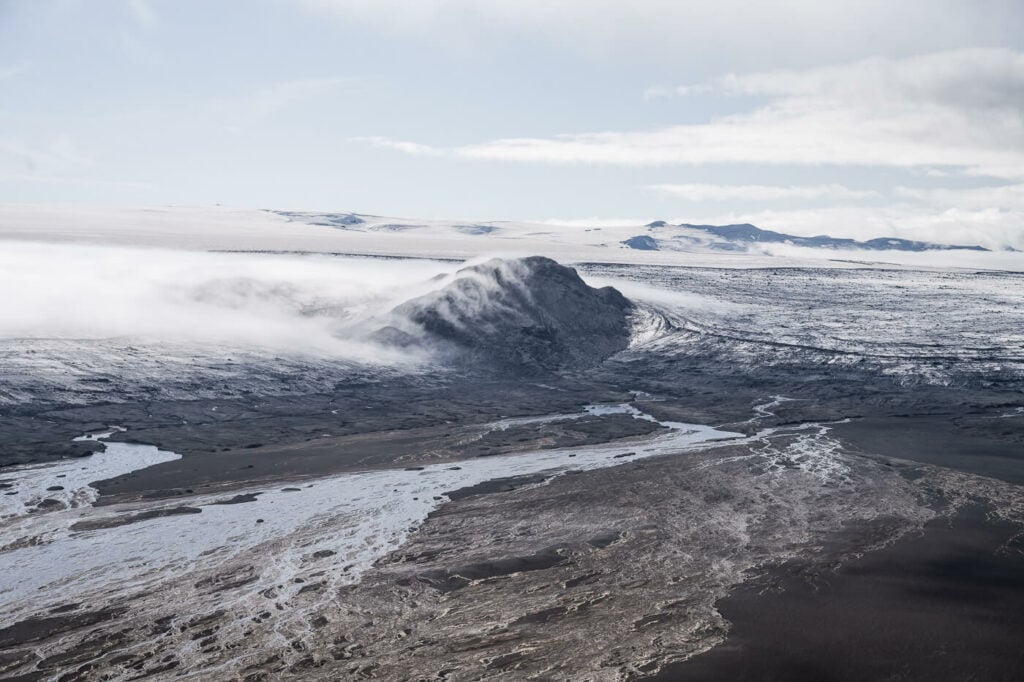
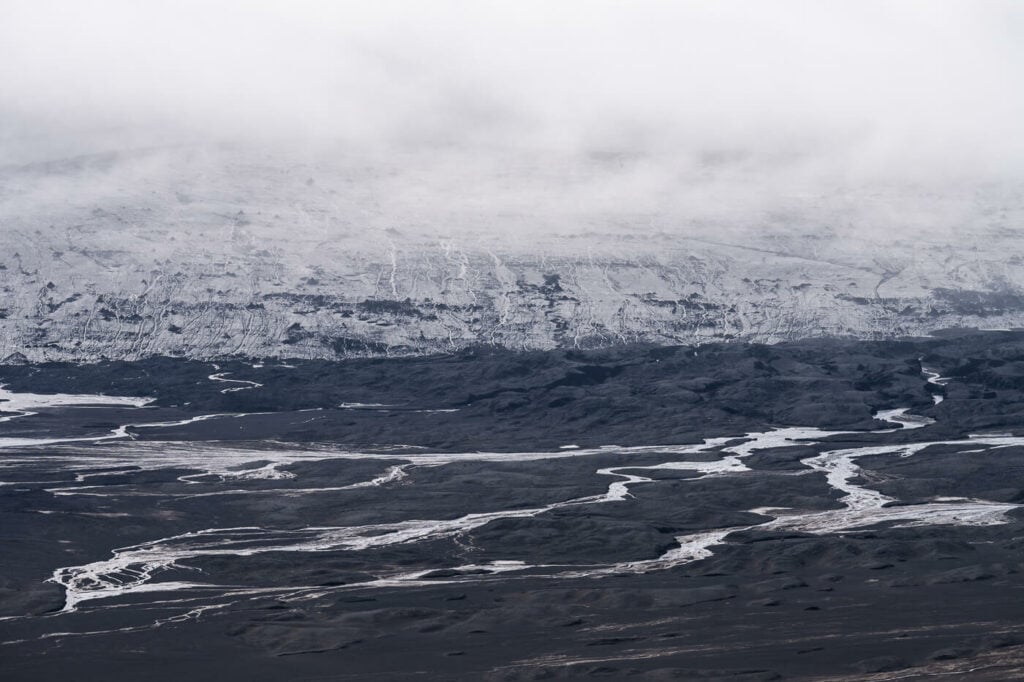
Details of Mýrdalsjökull
Another detail of Mýrdalsjökull
You’d really need a telephoto lens to capture most of it. I’ve mostly used a telephoto up to 200mm. Generally speaking, I did not find much use for an ultra-wide lens up there as the surrounding landscape would appear rather small at 14mm. So for the rest, I’ve used my 24-70 and that was more than enough.
Some of the amazing rock formations scattered around Maelifelssandur are only noticeable from higher up
A high circular pattern emerges from the sands.
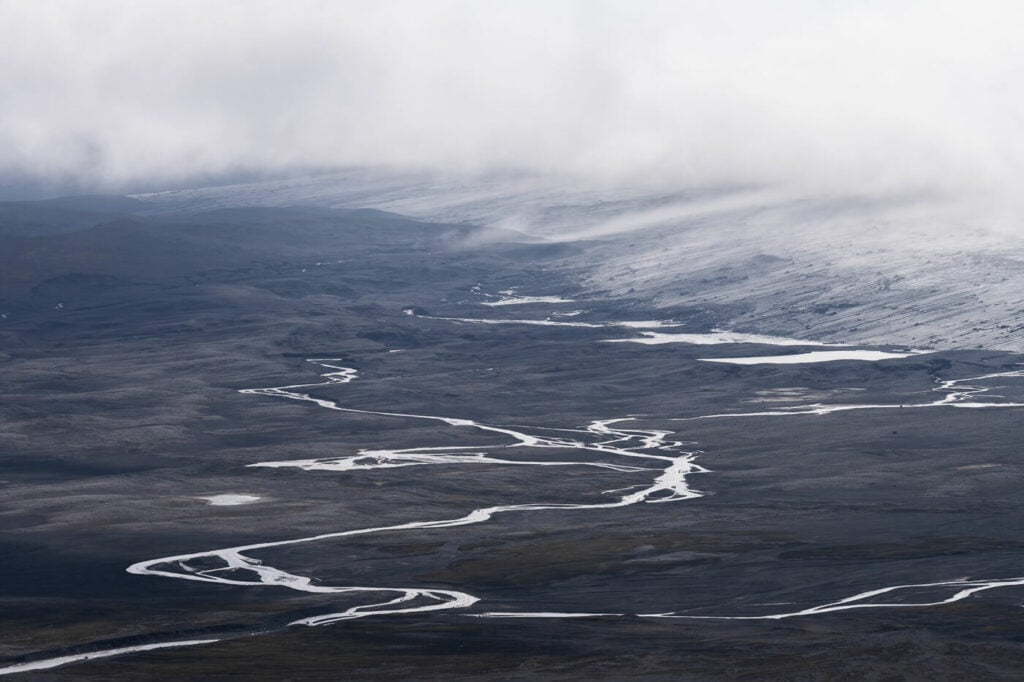
Rivers from the Mýrdalsjökull meltwater
Yet another one of Mýrdalsjökull, 200mm
More of the vast landscape. 70mm shot.
View from the top of the Mælifell toward the Mýrdalsjökull glacier. 24mm shot.
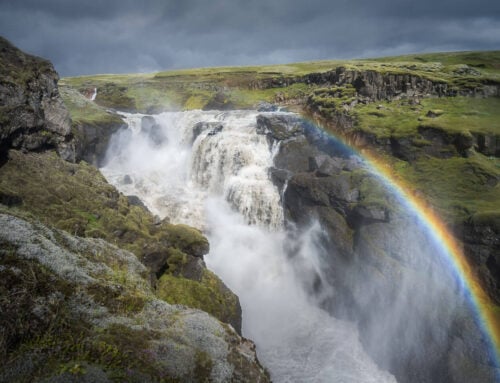
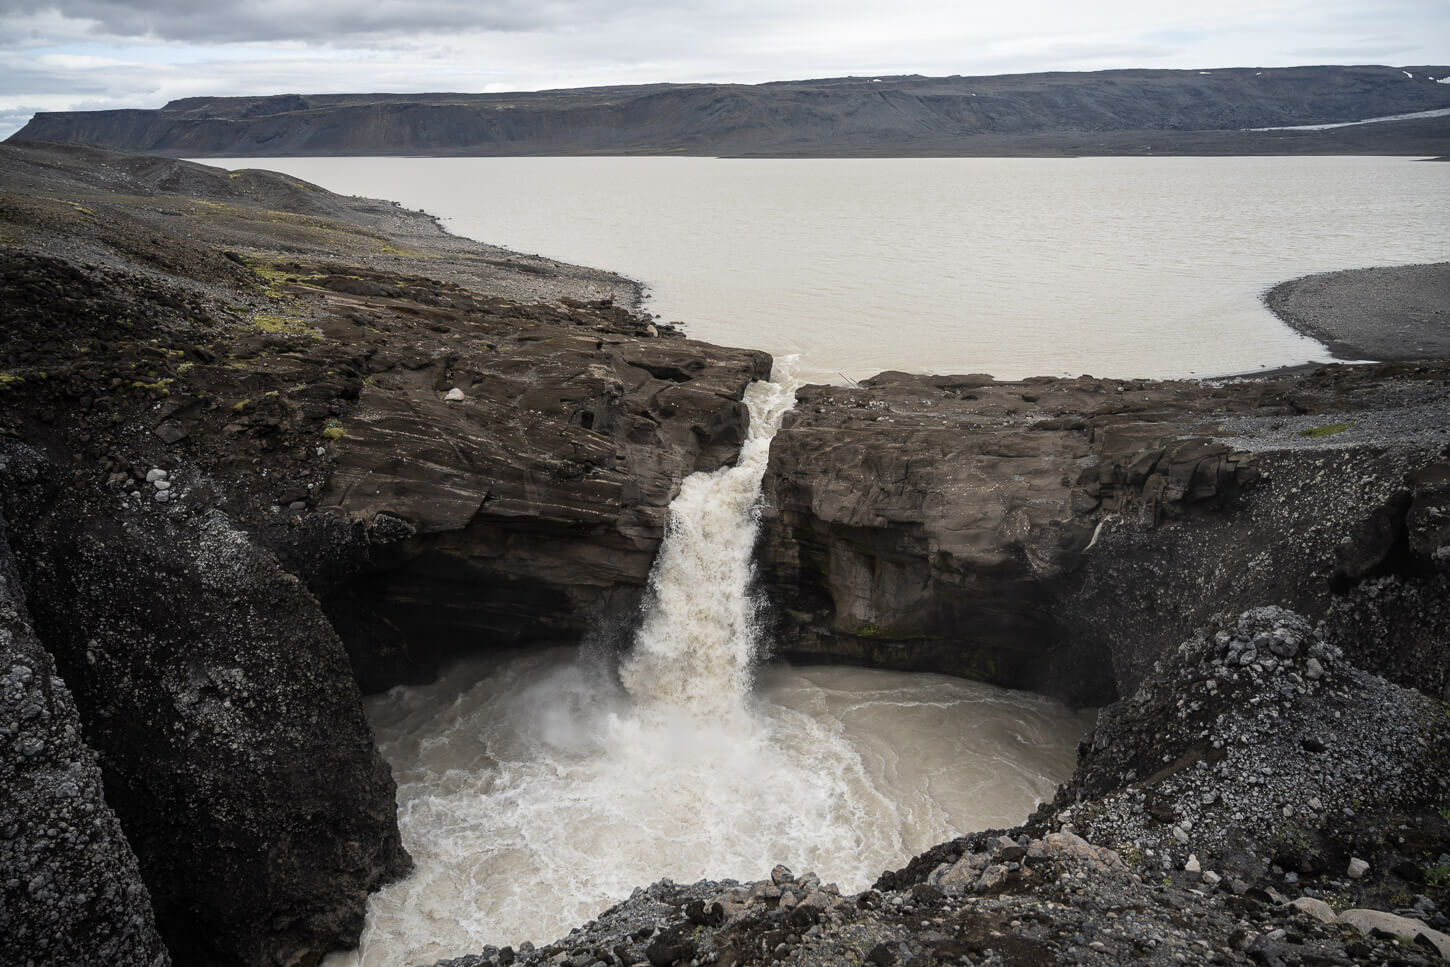
If you are getting here via road f232, you’ll also want to stop at the very scenic Bláfjallafoss.
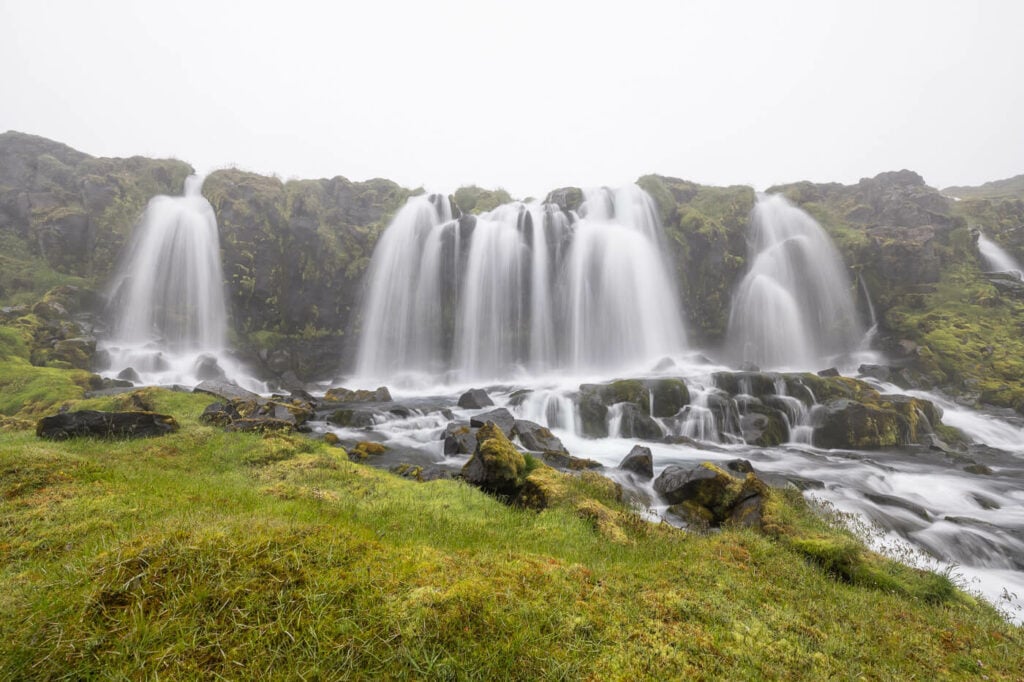
Bláfjallafoss, 14mm.
Video of the Hike
Here is a video of the hike, including some parts of the drive to get there, and a final drone clip.
Map of the Mælifell Volcano Hike
Here is the GPs track of my hike. You can download the GPS file from the Komoot activity by clicking on it.
Where to stay
The only nearby location where you could stay/camp is the Strútur hut. There also is Hólaskjól Highlands Center, but that would require crossing the Hólmsá River on road f210, which I don’t recommend unless you exactly know what you are doing.
Additional Resources
- For a similar experience, I can definitely recommend also checking out the Sveinstindur Hike, on road F235
- Check out more Photo Hikes in Iceland here.
- Discover the best hiking books and guides on Iceland.
-
Car or Camper Van Rentals
I can definitely recommend two companies here:
- Cars: Blue Car Rental, which is the largest Car rental company in Iceland, and for good reasons. Free Cancellation, Unlimited mileage, 24-hour breakdown assistance, SCDW, CDW, TP, and GP insurance are included in the price. Blue Car Rental is also located within walking distance of the Keflavik Airport, so you can be on your way to explore Iceland right away. I’ve always been happy with my rentals there, which is why I’m happy to recommend their services here on my blog.
- Camper Vans: CampEasy. With CampEasy, you can rent 2WD or 4×4 campers alike. With a raised Chassis, larger tires, and extra insurance with reduced liability for river crossing, their 4X4 campers are the best choice for your trip into the Highlands. Their Website also provides extensive information about roads you can take and instructions on river crossings. Perfect choice for a hiking holiday in the highlands!
These are my two favorite companies in each respective rental area, which I why I am happy to recommend both here. If you also like this blog, booking through them is a great way to support it. I’ll get a small commission fee at no additional cost, so you can essentially support the running costs of this blog for free too.


Hi Marco,
I’m an spanish photographer and I’m planning our trip to Iceland (first part of September) and we want to have 2 or 3 days in the Highlands.
We are going to sleep in Landmannalaugar Camping one night and the day after we are leaving the highlands we would like to visit Ofaerufoss, Rauðibotn and Maelifell, and finishing in Vik or somewhere around Þakgil, to visit it the next day. We would rent a Dacia Bigster. Do you think we could visit those three places the same day?
Thanks, Luis.
Hi Luis – it’s going to be a long day but it’s doable, weather permitting. You’d have to drive from Landmannalaugar to F208 South, which has many river crossings. Check water levels or ask a ranger in Landmannalaugar before setting out. First you can get to Ófærufoss, then to Rauðibotn, but don’t take road F233 to get to Rauðibotn, it’s a difficult river to cross with big boulders. Take the longer detour via F210 and park before crossing the Hólmsá River. Again, I’d recommend not attempting to cross the Hólmsá River to get to Mælifell from there, but taking the longer detour via F232. You don’t want to drown a car there. I am mentioning this because if you are planning the drive on Google Maps, it will most likely send you to those difficult river crossings. Much safer and easier to take those detours, even if longer, rather than risking it. Stay safe and have a great trip!
Thank you Marco, we have thought on that, asking to the rangers in Landmannalaugar to see what they say abpout our plans, if we can perfect, if not, next time we’ll try it. Thanks for you advices on which roads to take because Google Maps doesn’t know how these roads are.
The rivers in F208 south are easily passable with a Dacia Bigster? or they are very deep?
Thanks, Luis.
Depends on the water levels which can vary quite a lot, river by river. Having said that, I have seen plenty of dusters and similar cars doing road F208 south. So with average water levels and with the right fording technique it is usually doable. Definitely read as much as you can on how to cross a river, how to assess depth, how to create a bow wave, and so on, there’s plenty of good info available on the net.
Also, if the water levels are too high and can do it in two days, you can consider taking the long way around instead, so from Landmannalaugar to Vik, then to Mælifell via F232, then Rauðibotn and Ófærufoss. But as you said, if you can’t then the next time. It’s always handy to have an excuse to go back to Iceland :)!