
Upper Grindelwald Glacier Hike, Bernese Oberland, Switzerland
Located in the heart of Lütschine Valley (Lütschental) in the Bernese Oberland, the upper Grindelwald Glacier hike offers a challenging day on the trail with some fantastic views of this high-altitude glacier.
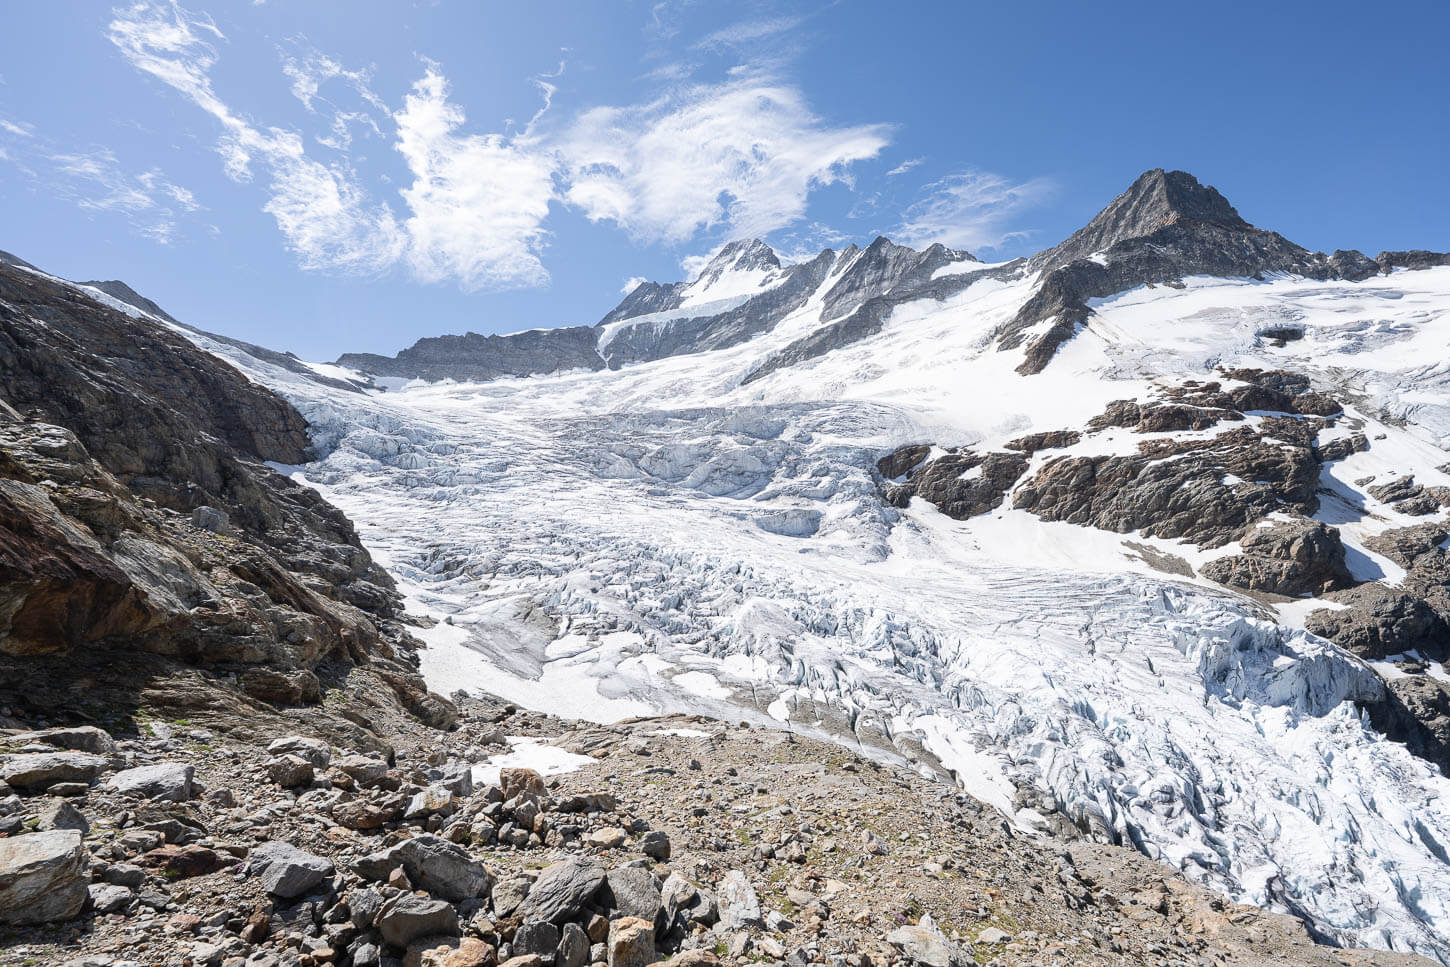
Upper Grindelwald Glacier.
The Oberer Grindelwaldgletscher, in German, originates from a massive snowfield between the Schreckhorn and Wetterhorn peaks. Its icy tongue narrows as it descends toward the valley, forming several crevasses. It’s not uncommon to see smaller calving episodes.
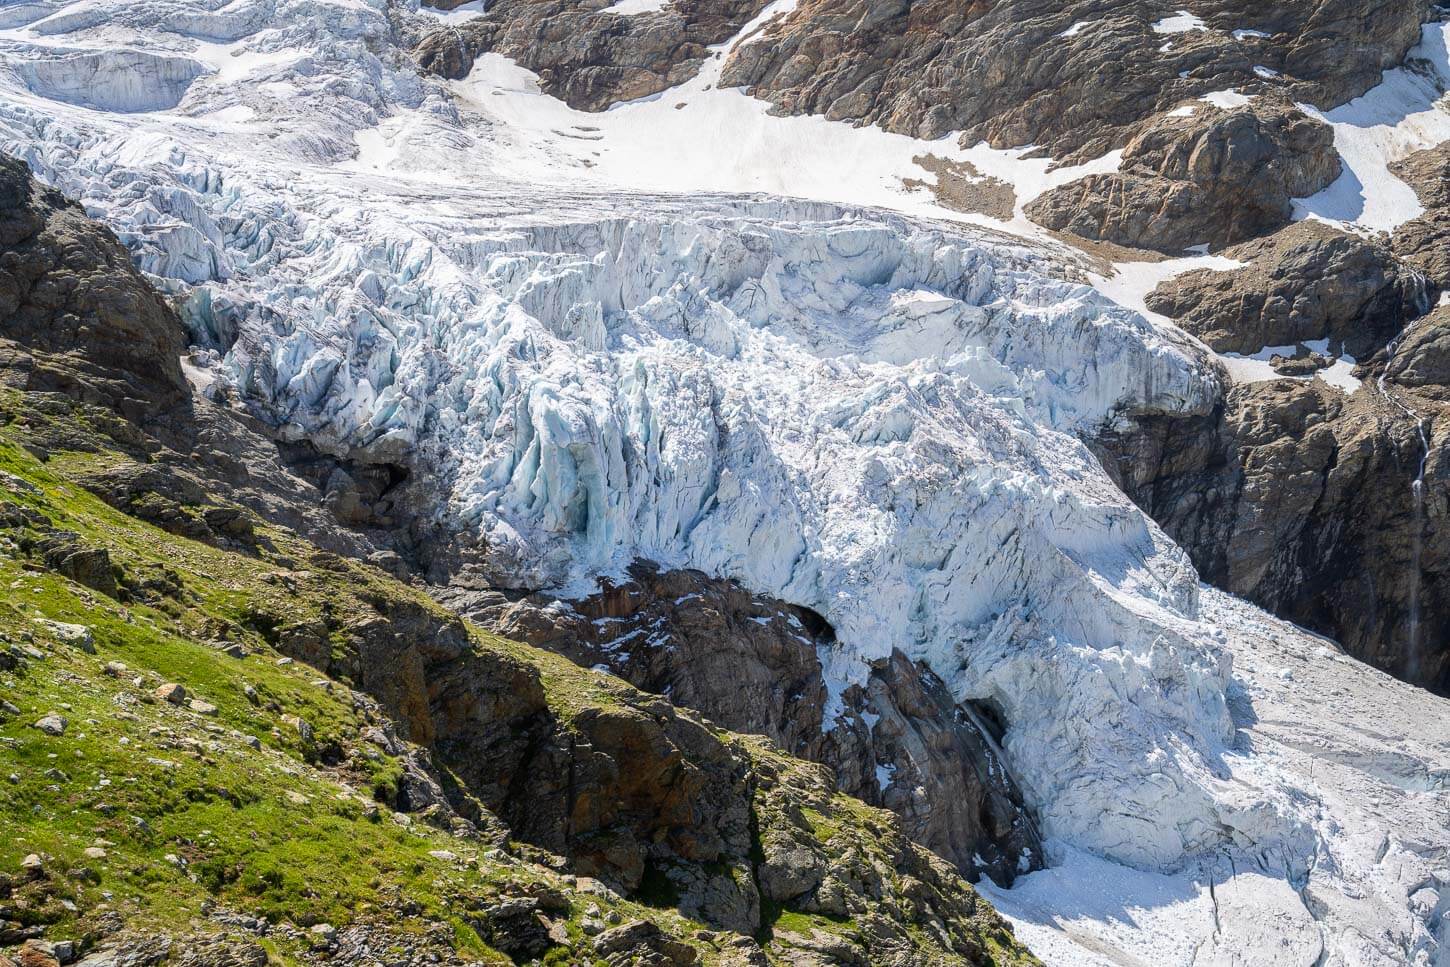
The Glacier’s tongue has relatively frequent, small calving episodes.
| Upper Grindelwald Glacier Hike: Quick Overview |
| • Distance: 15.5 km / 9.6 mi | Time: 7h 00m–8h 00m | Difficulty: Hard / Alpine Exposure | Trail: SAC T3 (to Glecksteinhütte) / SAC T4 (to Upper Glacier viewpoint) |
| • Start & Access: Hotel Wetterhorn, Grindelwald (Lütschental, Bernese Oberland) |
| • Best Season & Light: Late June to September / Morning Start |
Reaching the viewpoint at the end of the trail will require hiking about 15.5km with 1,700m of elevation gain, but the hike can roughly be split into two parts. From the trailhead to the Gleckstein Hut (Glecksteinhütte), and from the hut to the Upper Grindelwald Glacier viewpoint. The former is a T3 trail, with some moderately exposed sections, that already offers great views of the glacier’s front. The latter is a T4 trail with considerable exposure in places and a couple of technical passages.
So if you are in Grindelwald and are looking for a long, demanding hike with some technical sections and beautiful views away from the crowds, this is one of your best bets – not many people venture onto the T4 trail, as it does require alpine experience.
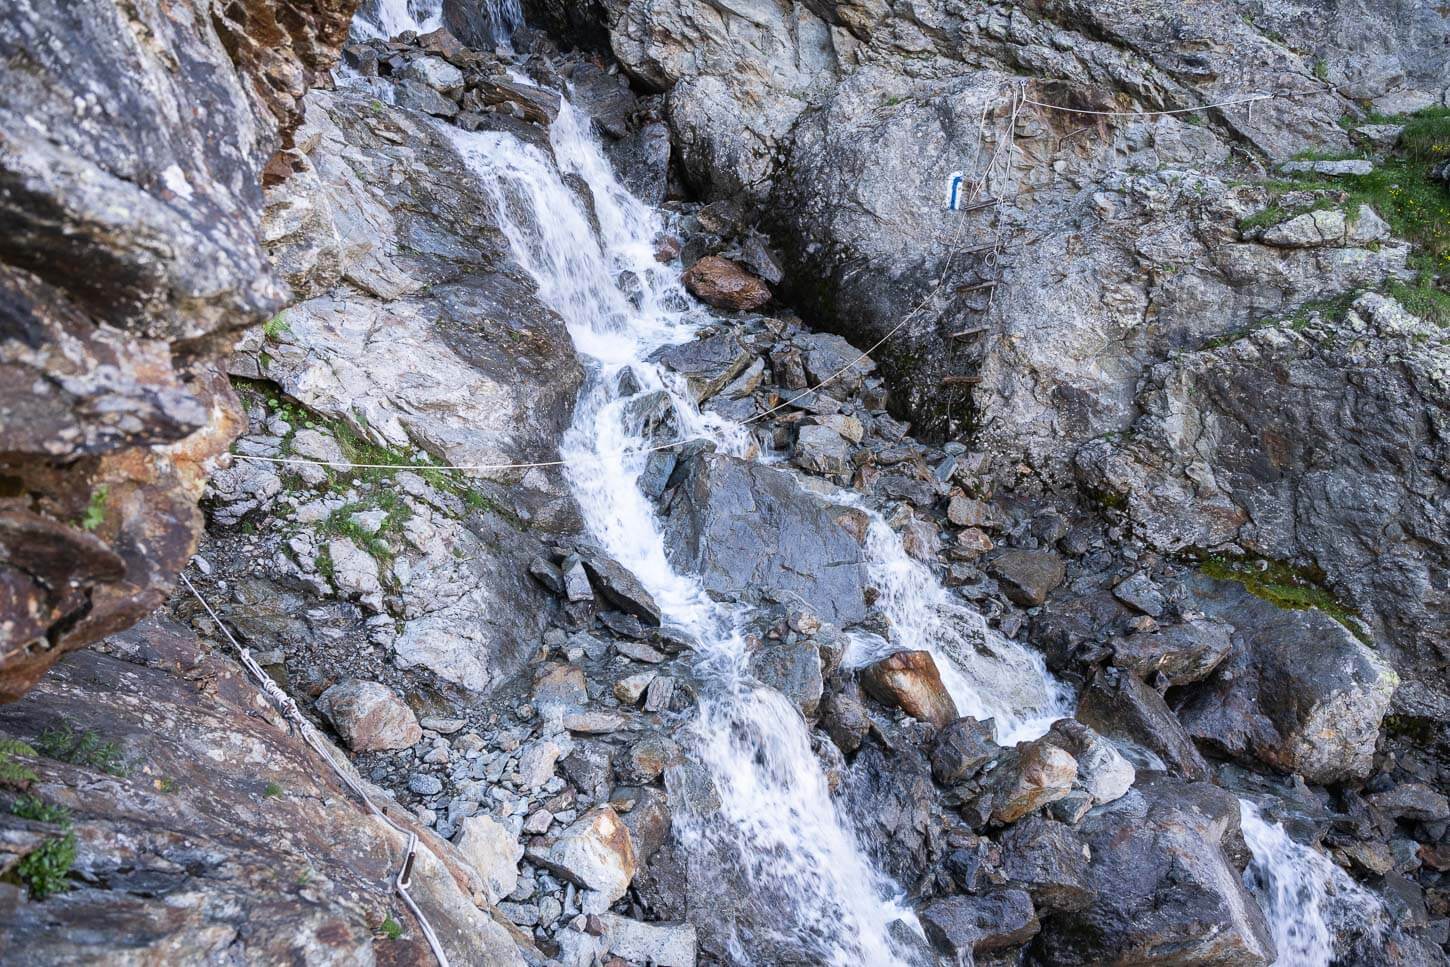
Reaching the upper part of the glacier does require crossing some tricky sections.
Table of Contents
Overview of the Upper Grindelwald Glacier Hike & Map
As mentioned in the intro, the trail has T3 and T4 sections.
If you are not familiar with the Swiss rating system, it rates trails from 1 to 6, easy to hard. T3 is essentially a mountain hike on visible paths that can have exposed sections, usually with cables or handrails for balance. T4 is already alpine terrain with sections that may require scrambling, considerable exposure, and route-finding abilities.
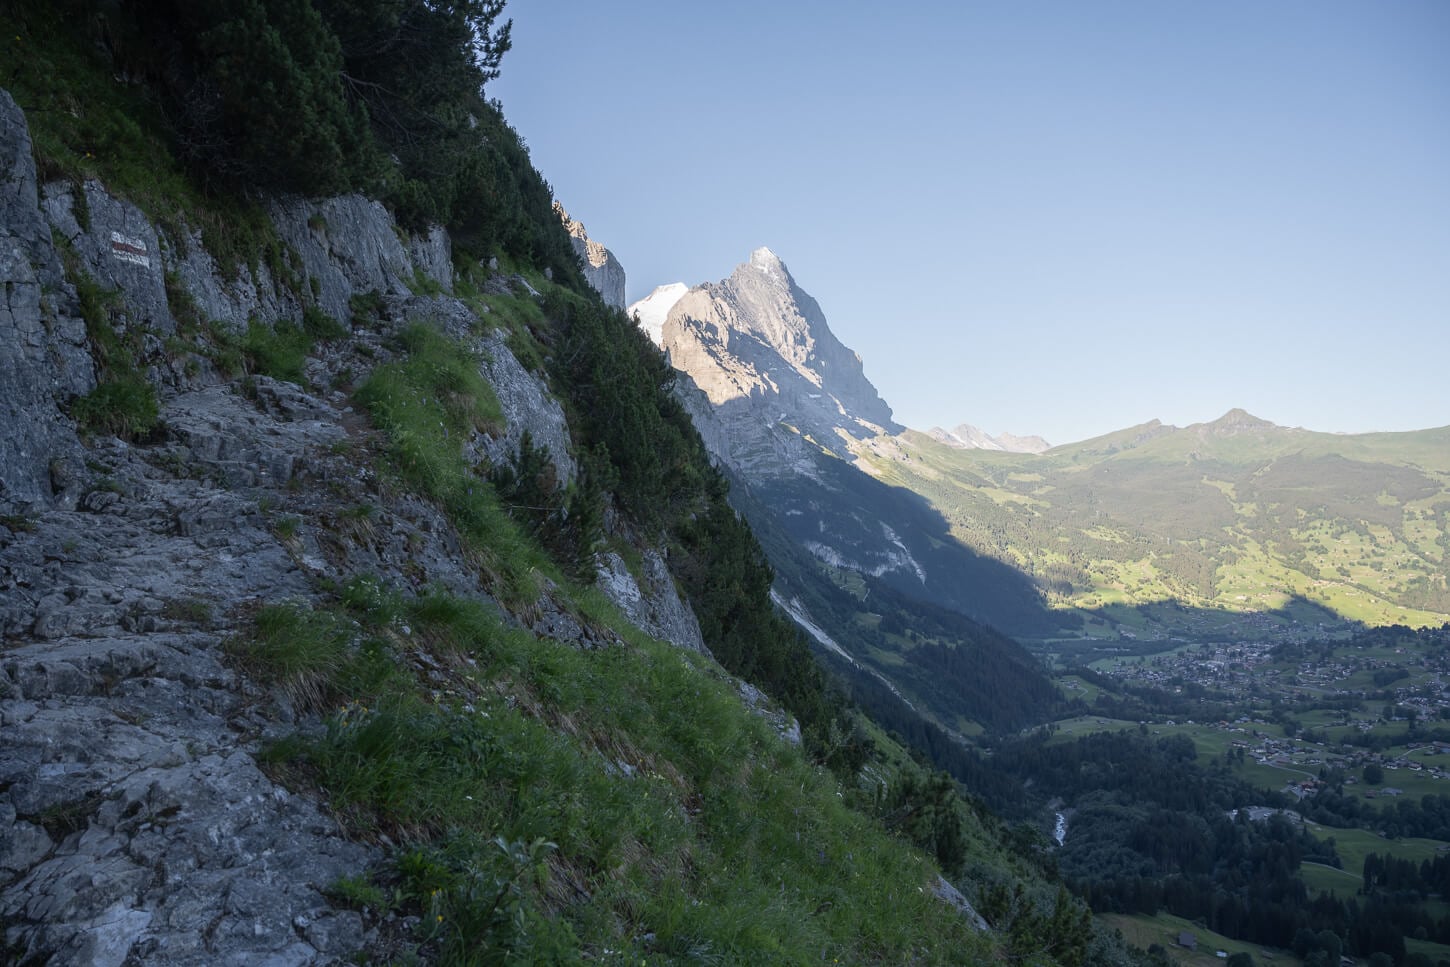
The T3 section of the trail also has some moderately exposed sections and requires a good head for heights.
So it is also a hike that requires a good head for heights and some scrambling ability, and has considerably exposed sections.
The distance is also quite deceiving. Only 15.5km, but with 1,700 meters of positive elevation gain and a few sketchy sections, it takes longer than you might imagine to complete.
Here are the full details of the hike. You can download the GPX file for free
| Max Altitude | 2,646 m / 8,681 ft |
| Distance | 15.5 km / 9.6 miles (Round Trip) |
| Elevation Gain | 1,750 m ↑ / 1,750 m ↓ (5,741 ft) |
| Hike Duration | 7.0 – 8.0 hours |
| Hike Difficulty | Hard / High Alpine (SAC T3 to Glecksteinhütte; BeesiBärgli Trail SAC T4) |
| Trailhead Coordinates | Hotel Wetterhorn, Grindelwald (46.6319° N, 8.0709° E) |
| Required Gear | Sturdy alpine hiking boots with good grip, alpine sure-footedness |
| GPS Track | Download Upper Grindelwald Glacier GPX Track |
Here is the map of the hike.
How to get to the Upper Grindelwald Glacier Hike Trailhead and Parking
The trailhead is within easy reach from anywhere in Grindelwald, as it is located at the far end of the village toward the road to Grosse Scheidegg. For the most part, the drive is the same to go to Lauterbrunnen, until you have to take a turn to the left to reach Grindelwald.
- Driving Directions: If you are driving by car, you will initially have to drive toward Interlaken, which is where the nearest highway is. From Interlaken, follow the exit for Lauterbrunnen/Wengen/Grindelwald. From the exit, it takes about 25-30 minutes to reach Grindelwald. It’s a normal two-lane road, so not one of those narrow, sketchy single-lane mountain roads. Once you’re in Grindelwald, drive all the way across town until you reach the parking area.
- Parking: Paid parking is available by the trailhead, in front of the Wetterhorn hotel.
- Public Transport: You can reasily each Grindelwald by train from all the major towns. There is also a bus stop in the same parking area, which you can reach by car. Buses 121 and 128 stop there.
The Upper Grindelwald Glacier Hiking Trail
From the parking lot, it’s about 5.5 km to reach the Glecksteinhütte with an elevation gain of about 1,100 mt. Then from there, it’s another 2.25 km to reach the Glacier viewpoint via the T4 trail.
Do note that two different trails lead to the same Glacier viewpoint, both T4. The upper and the lower trail. I took only the lower, out-and-back, as there still was a bit of snow on the trail, and I wanted to avoid most of it – especially on a T4 trail.
However, if you wish, you can do it as a loop hike. It’s a circular trail known as BeesiBärgli that starts and ends at the hut.
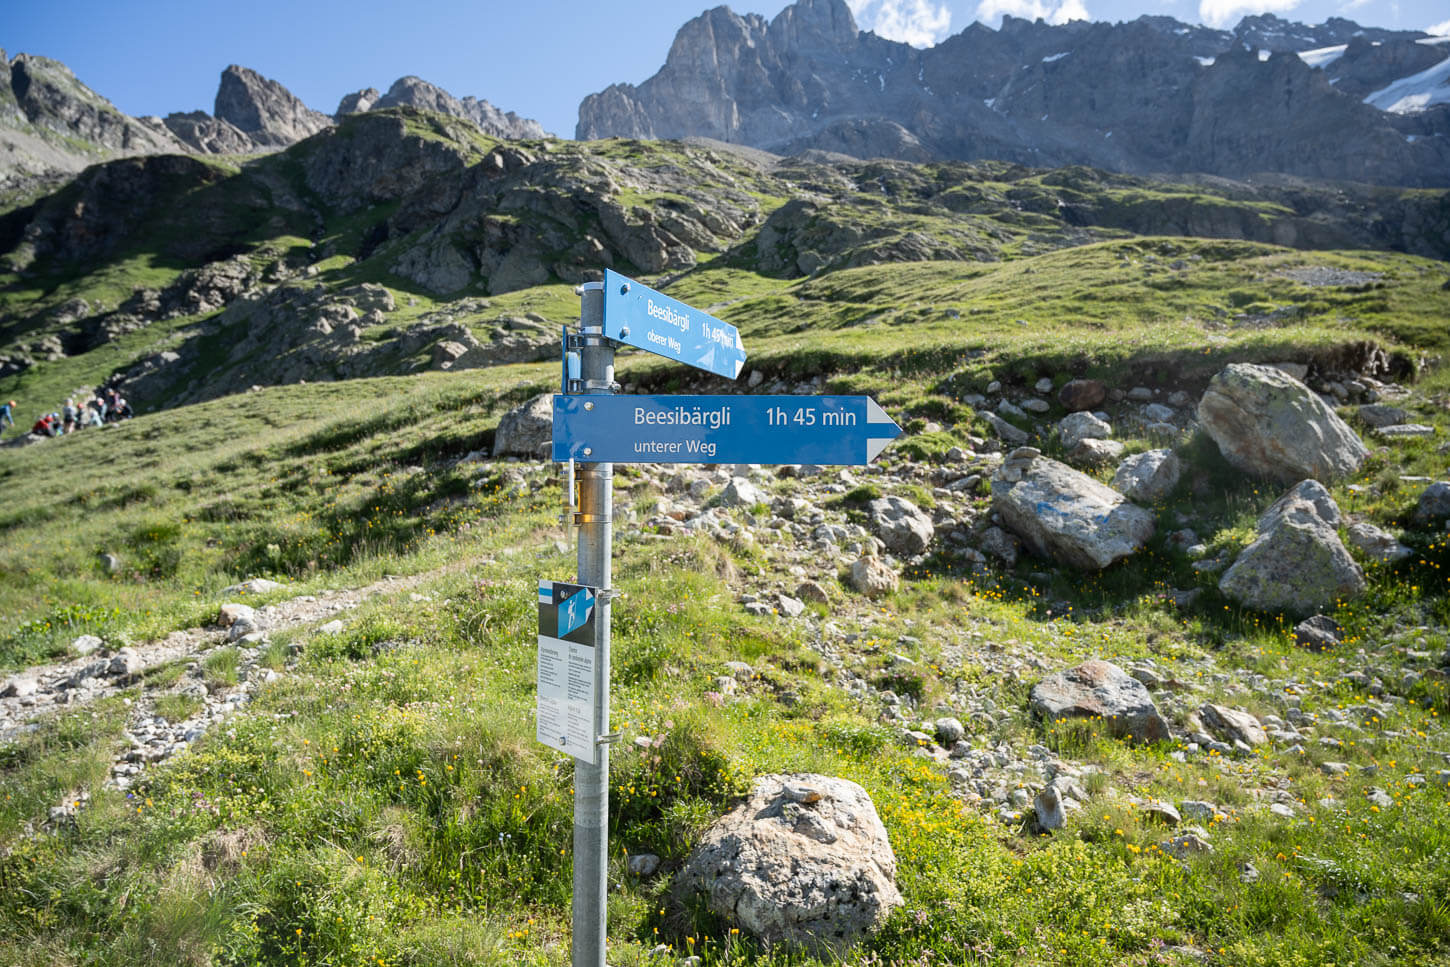
BeesiBärgli unterer and oberer Weg (lower and upper) trail signs. From Glecksteinhütte, the trip could be done as a loop via the lower/upper trails.
Hiking to the Glecksteinhütte
From the parking area, the trail initially follows the road to Grosse Scheidegg uphill, passing by a few huts and pastures. After about 1km, the view starts to open to the Lütschine Valley, Grindelwald, and the mountains on either side. On the left side, the Eiger’s presence commands the view.
The trail slowly but constantly gains elevation until you approach the vertical rock face you’ll need to cross. As you get closer and closer, however, you’ll start to see the narrow path carved on the side of the mountain.
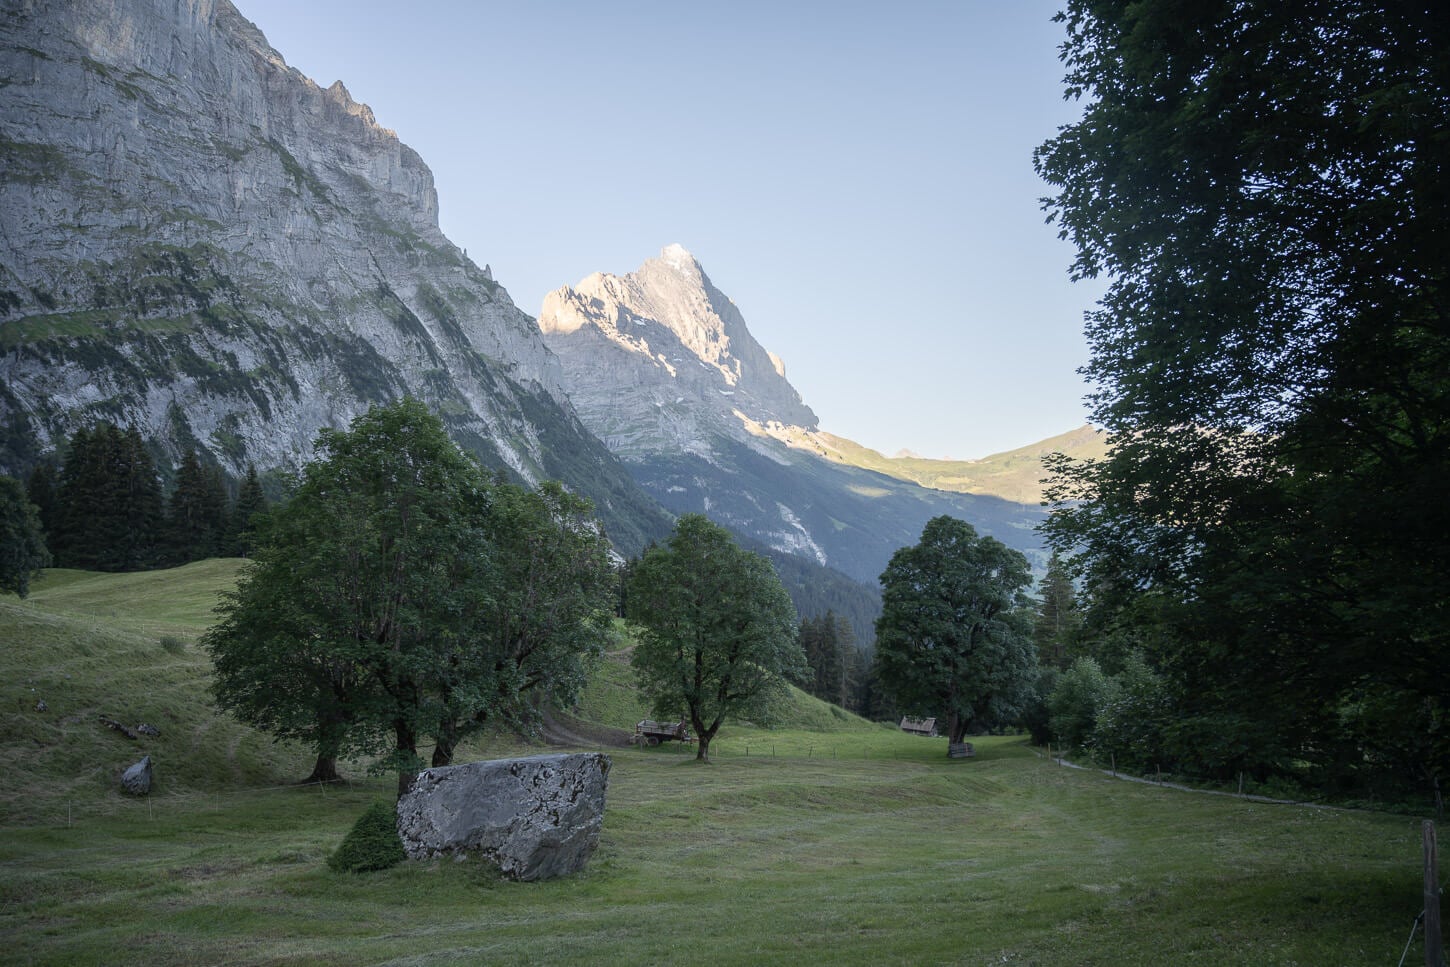
The first part of the trail crosses some pasture, with the Eiger in full view.
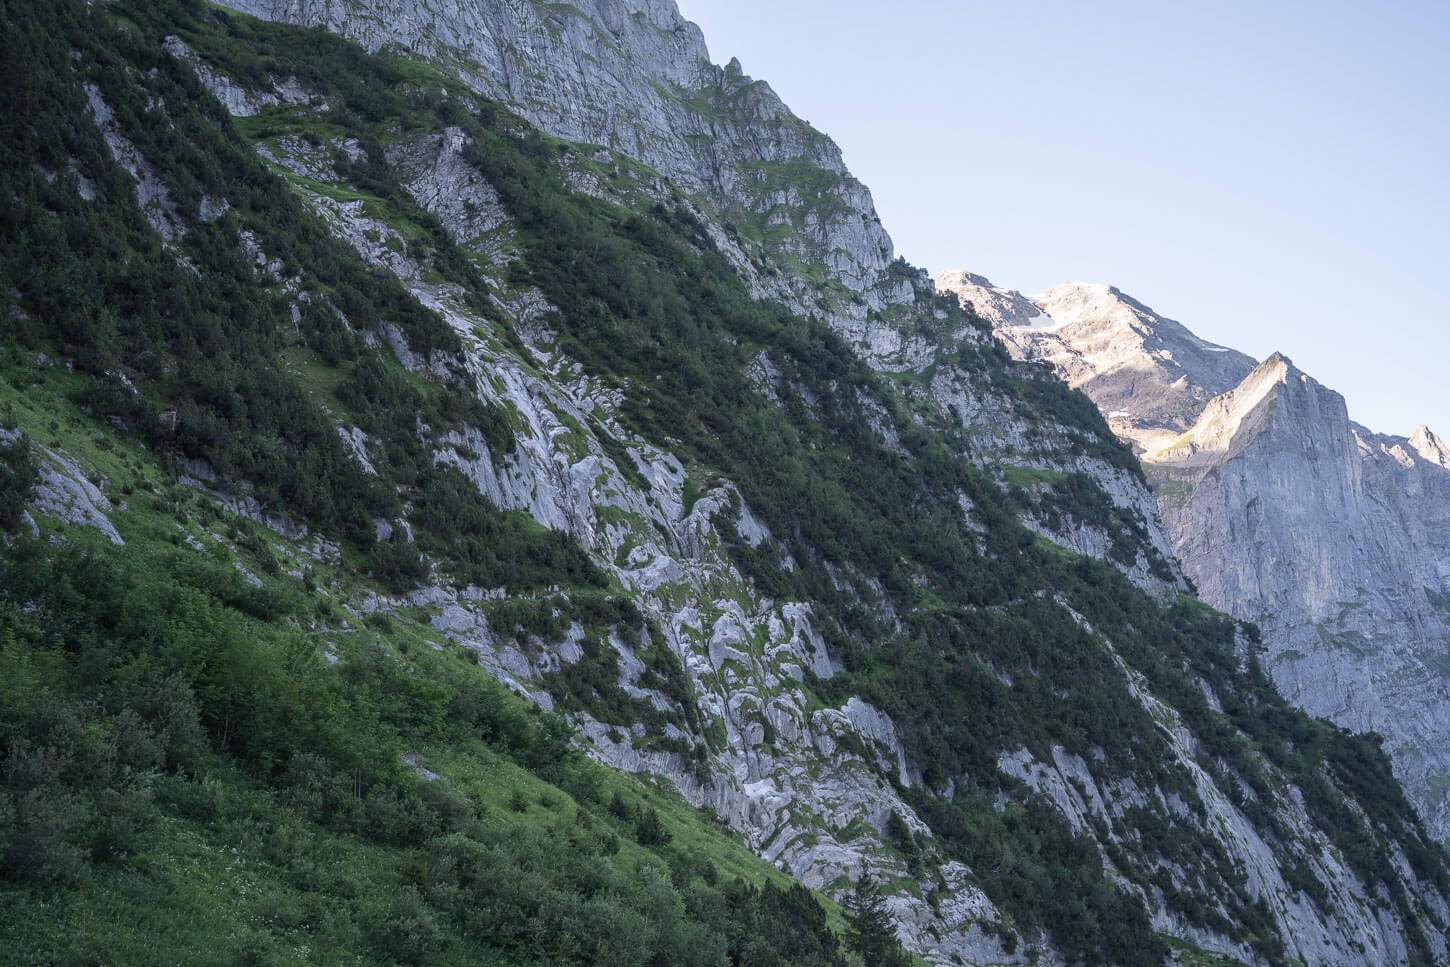
After the first climb, the trail cuts through the mountainside.
The T3 section of the trail also has some moderately exposed sections and requires a good head for heights.
It’s a long stretch on this rocky path. Several sections are already moderately exposed, but there are chains or handrails in place to help with balance and stability. However, there are also protruding rocks or roots that demand particular attention.
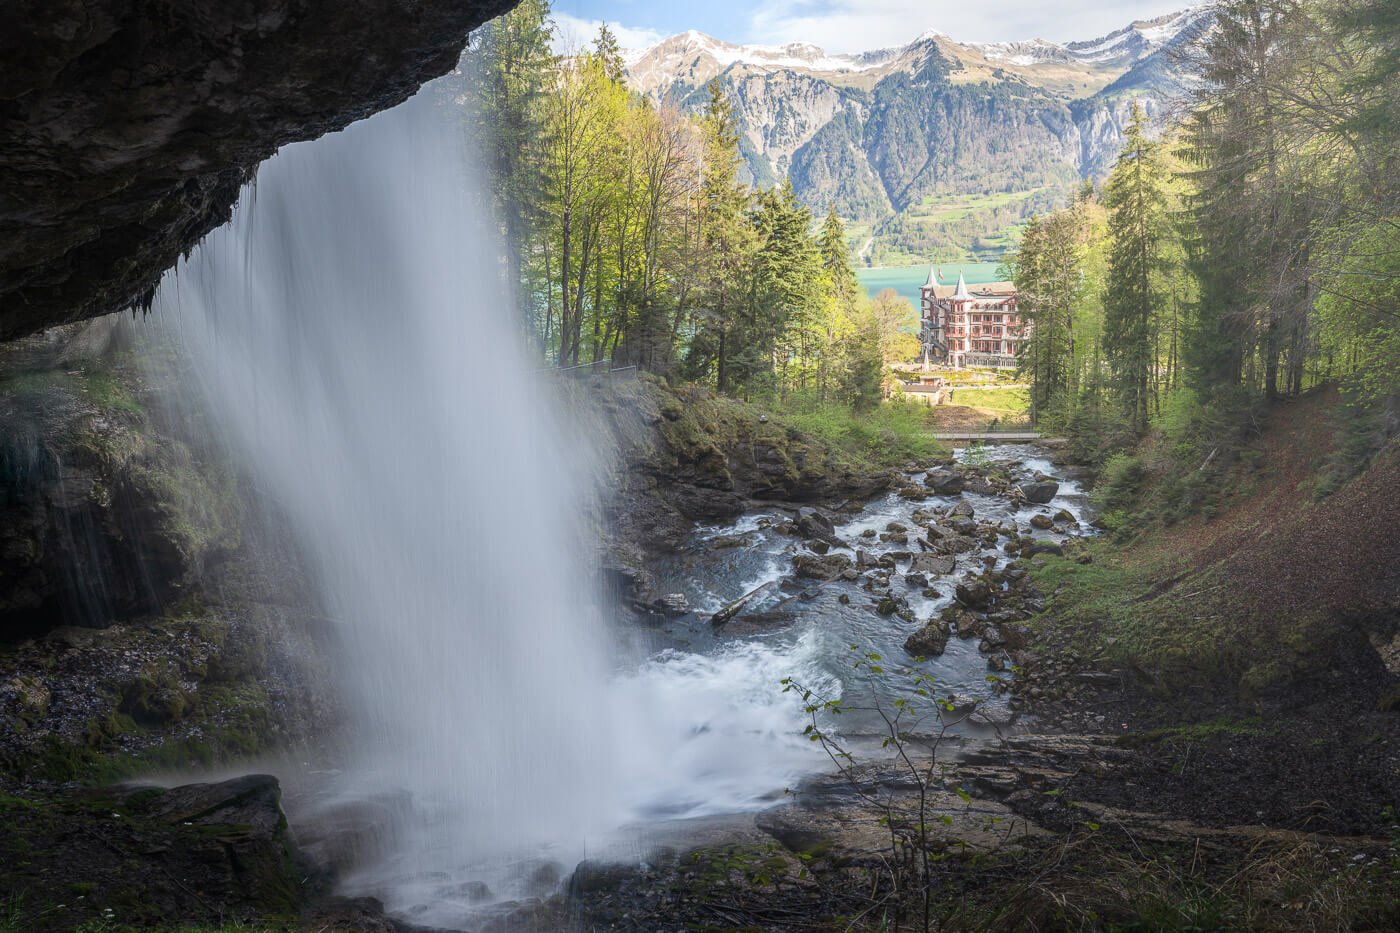
Once you pass this section, the trail turns into the valley of the glacier and follows it uphill, before losing elevation again. After 3km, you’ll have to pass under a small waterfall, where you’ll likely take a short but refreshing shower while passing.
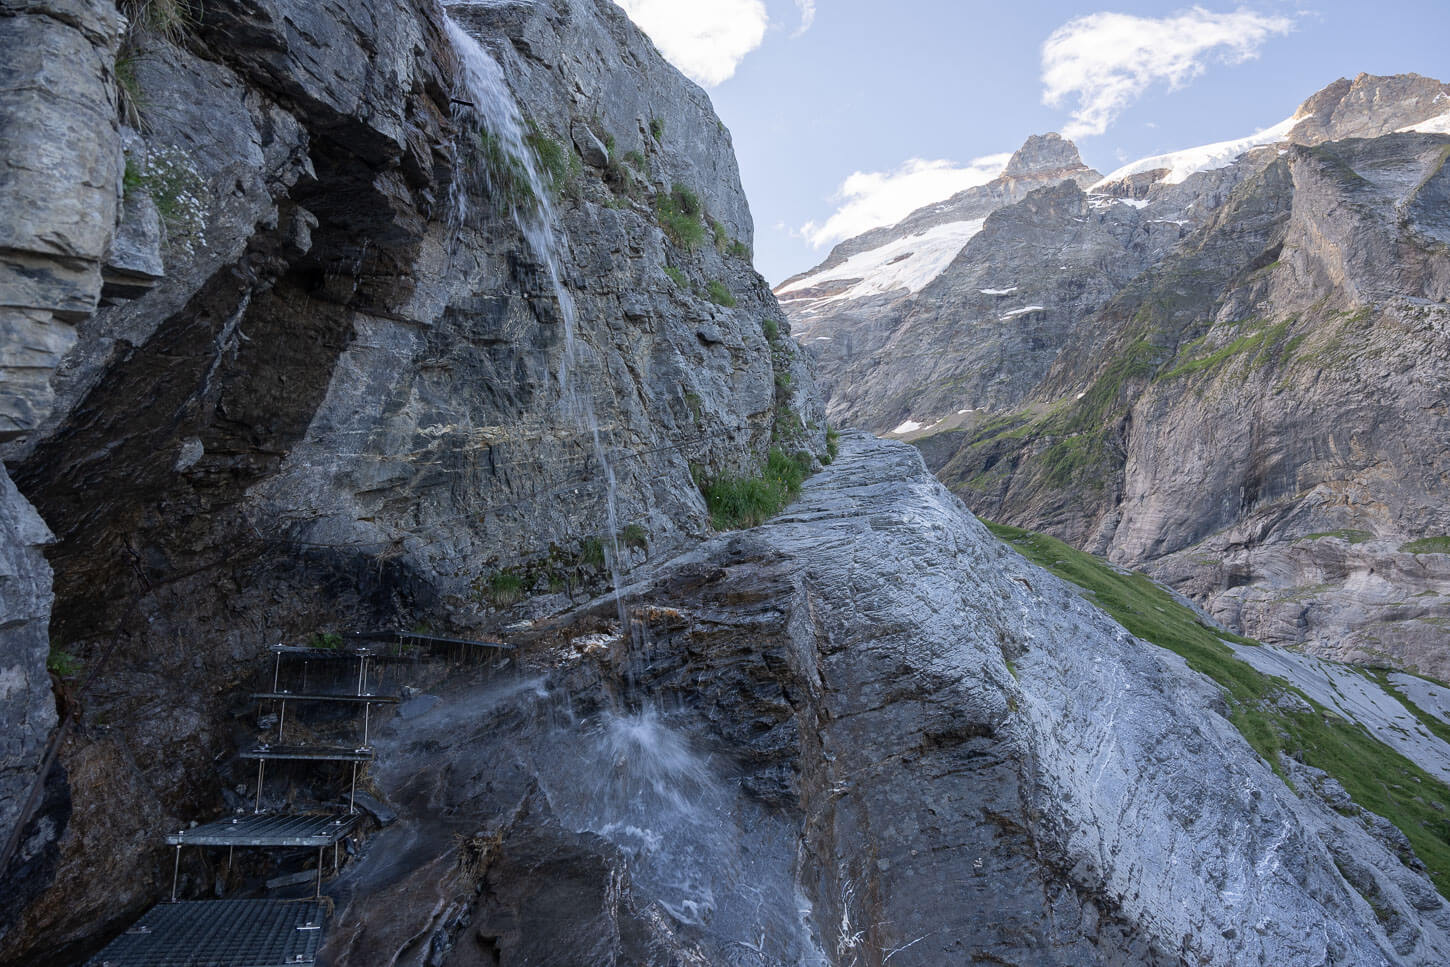
The trail passes through a small waterfall – a “refreshing” section.
It’s not long before the trail starts gaining elevation once more. Much of the trail in this section is on bedrock, too, so it requires particular attention when it is wet. Then, after about 5 km, you’ll have the first glorious view of the upper Grindelwald glacier from below.
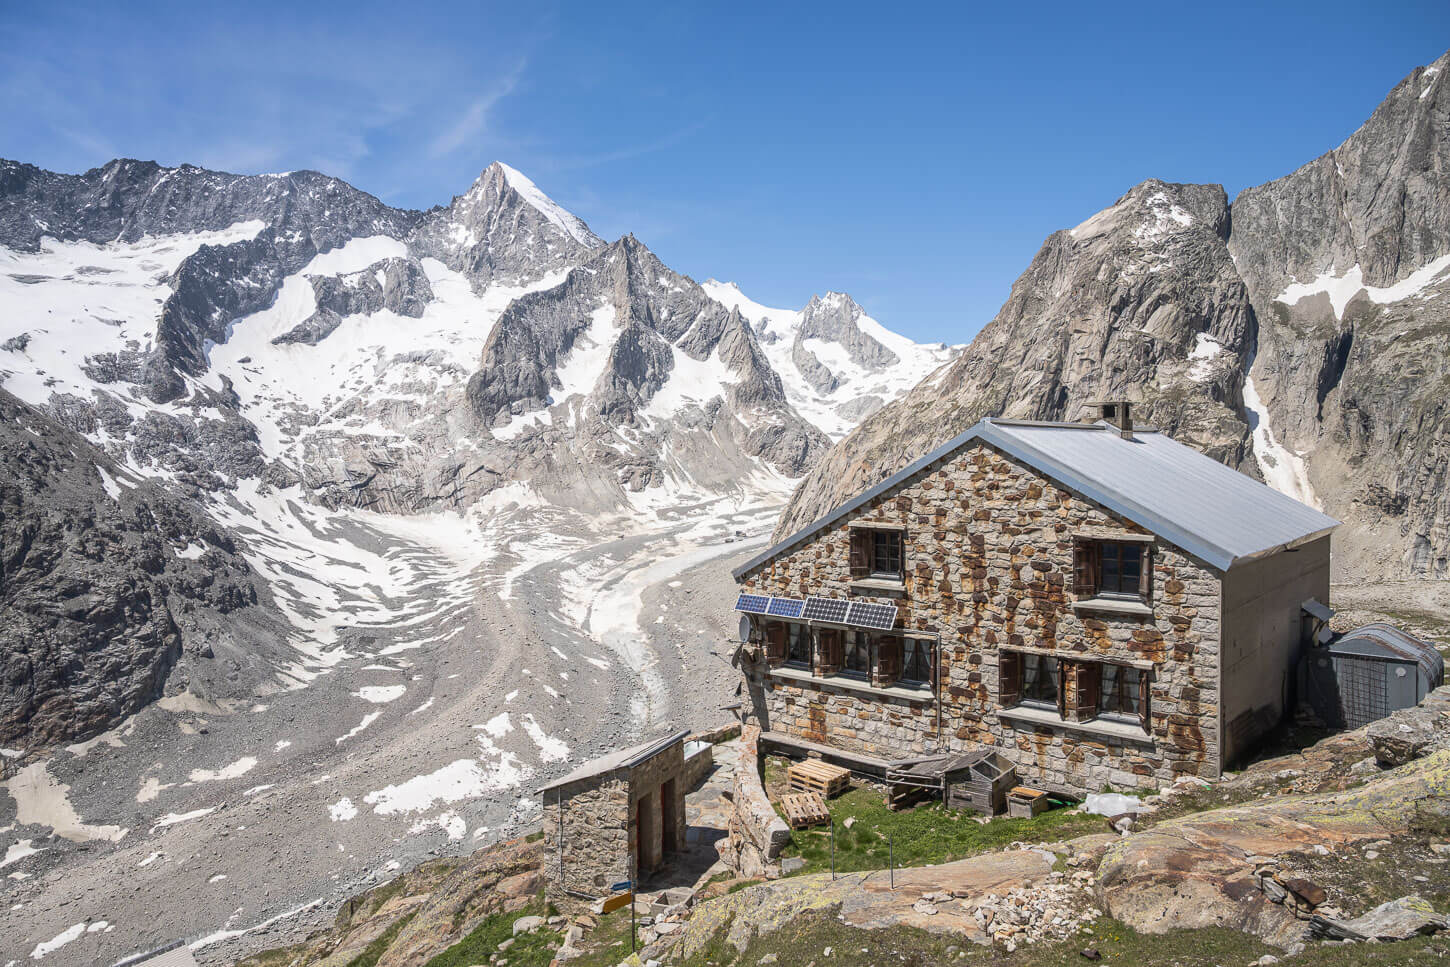
The hut is not far from here. A nice spot to take a break, soak in the views, have a snack, and rest a bit before tackling the more challenging part of the hike.
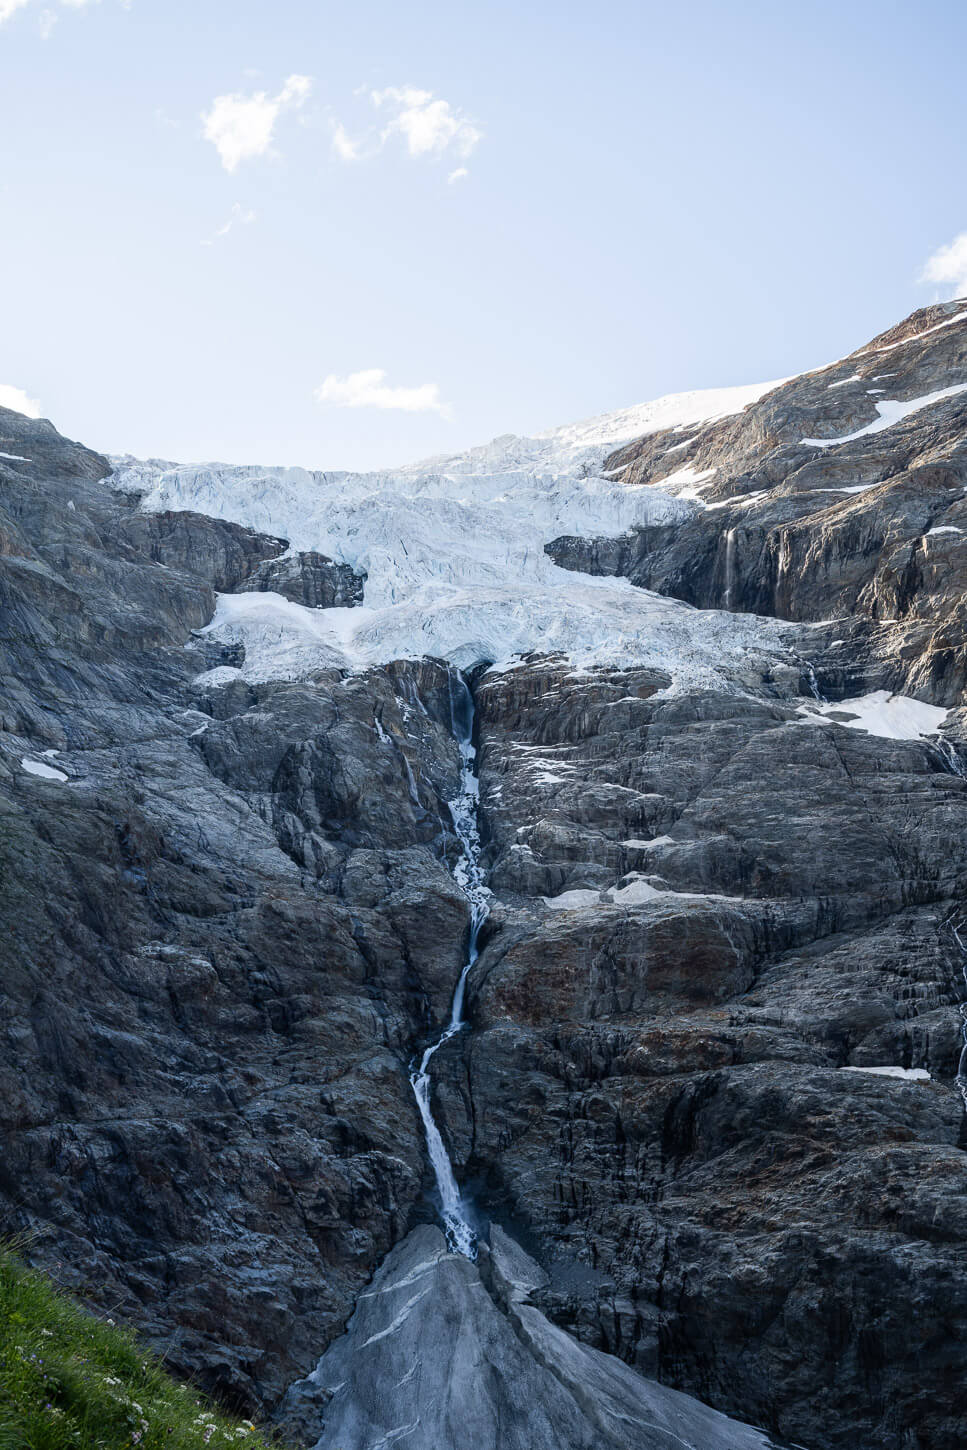
About 5km into the hike, the first view of the glacier’s tongue.
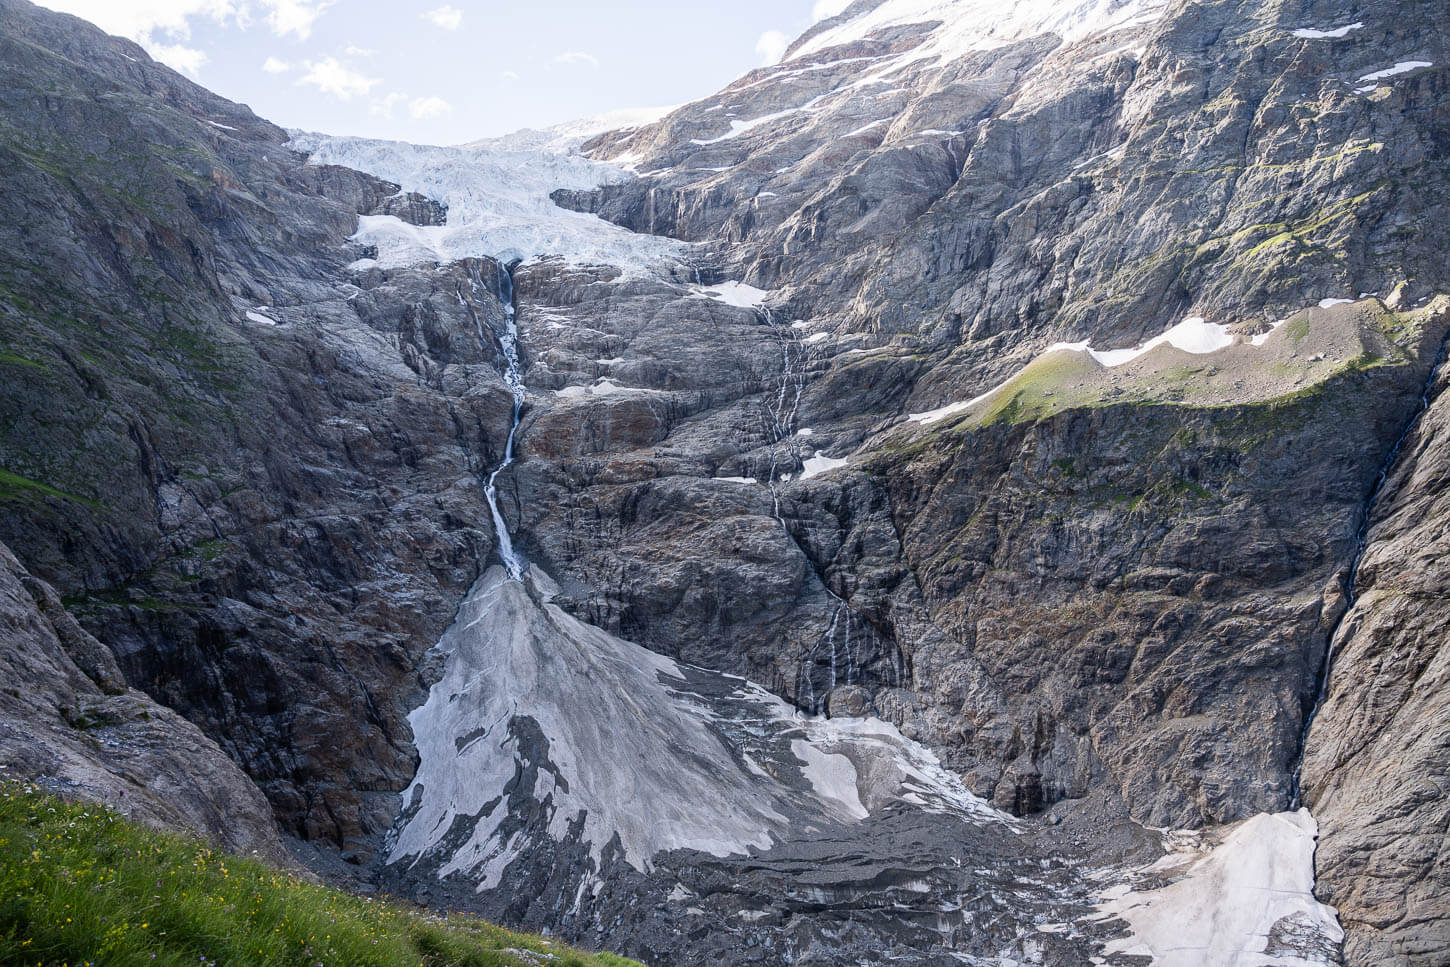
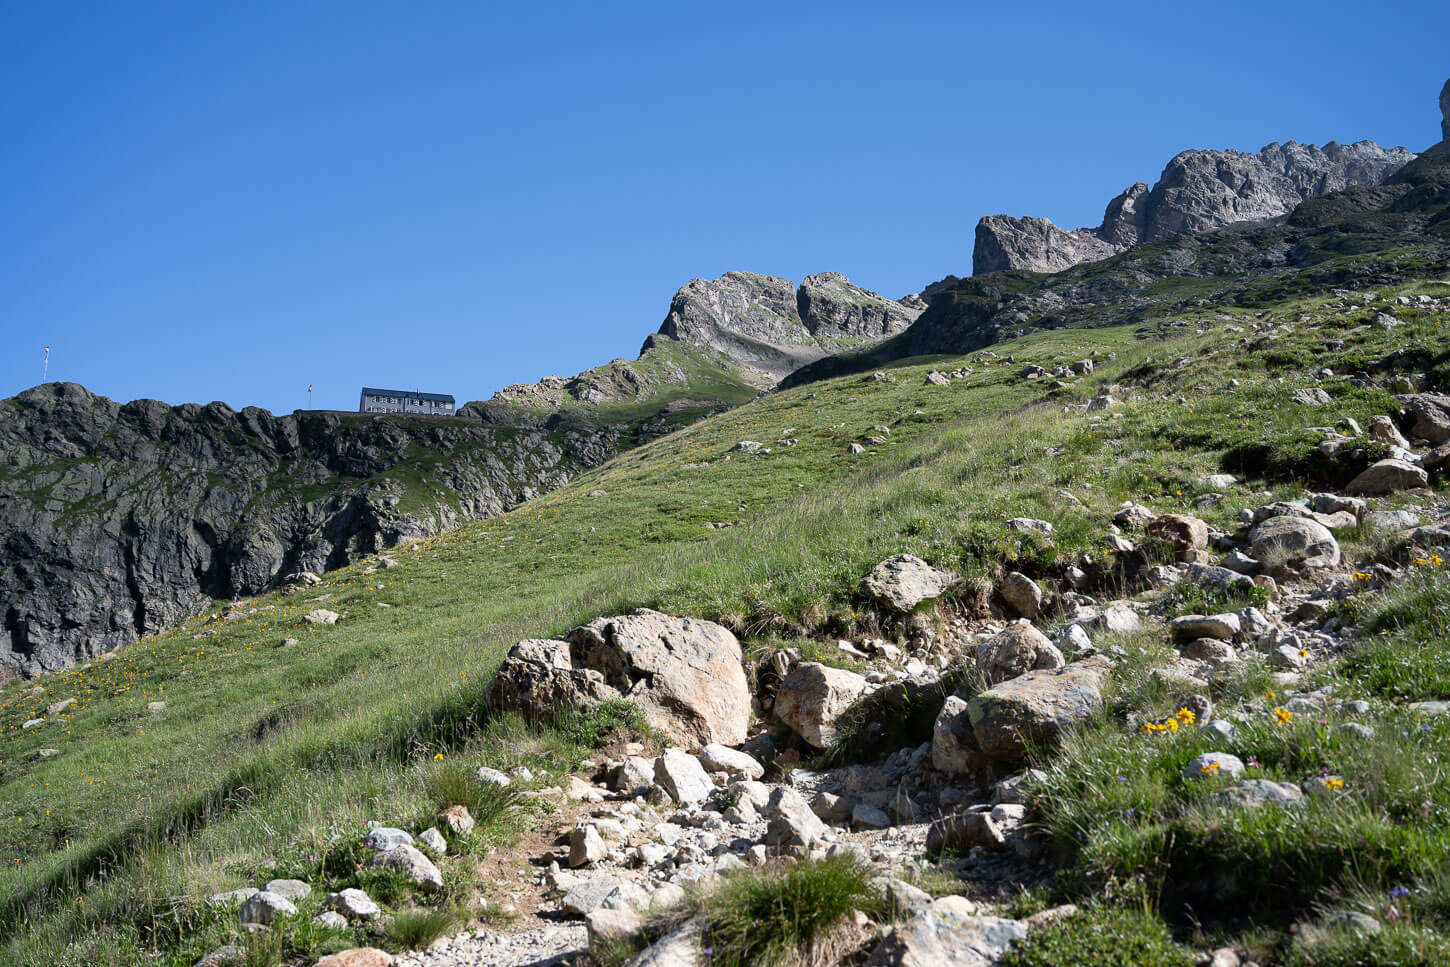
The Glecksteinhütte is not far from this viewpoint.
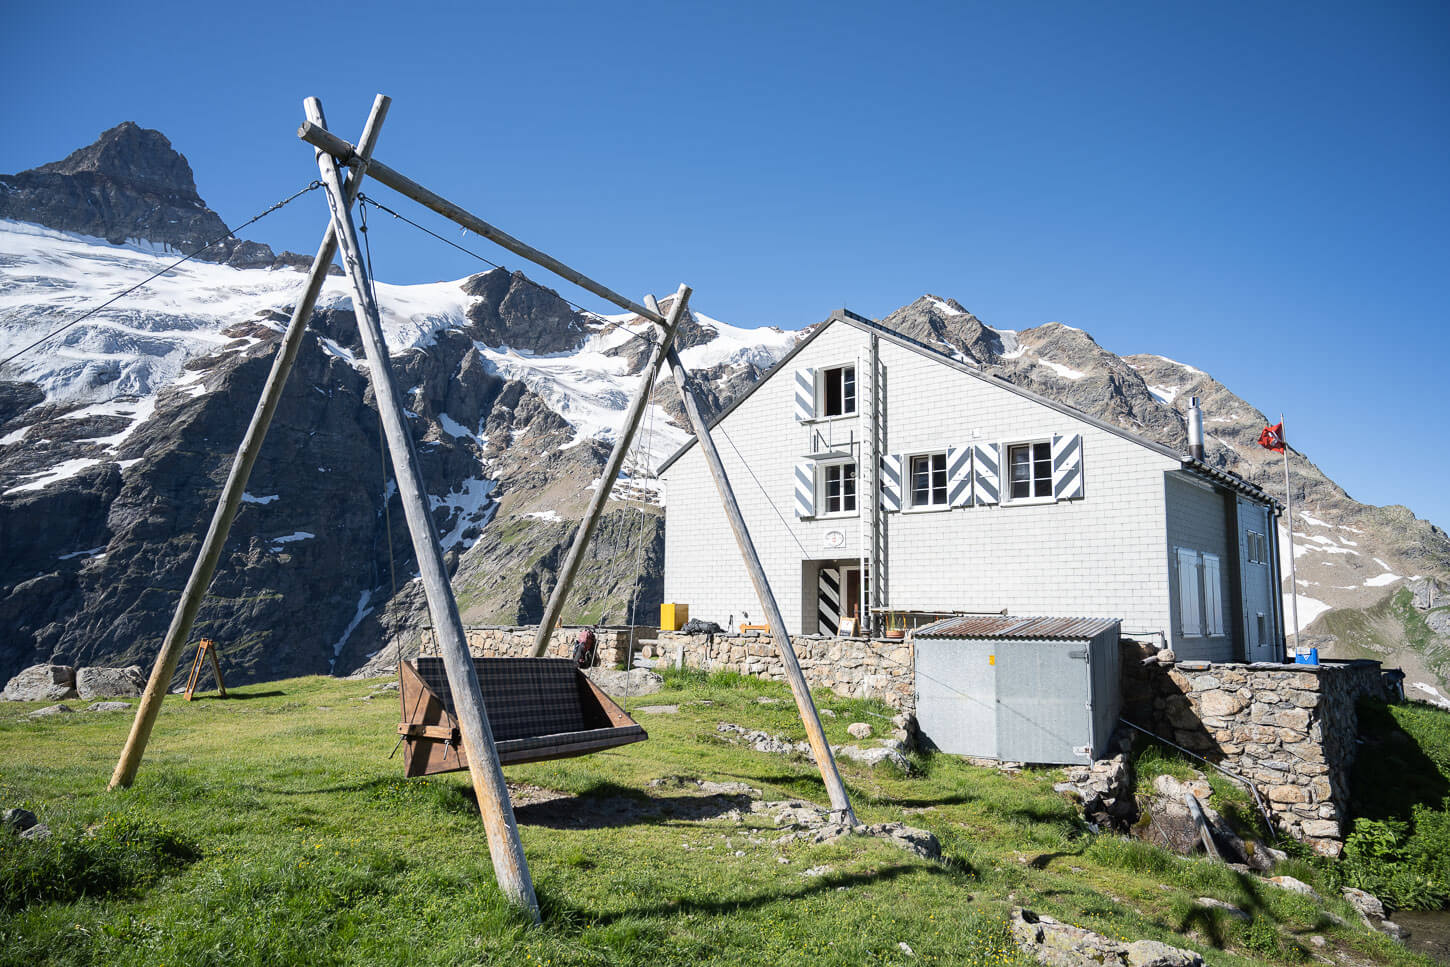
Glecksteinhütte and its swing that offers panoramic views over Grindelwald
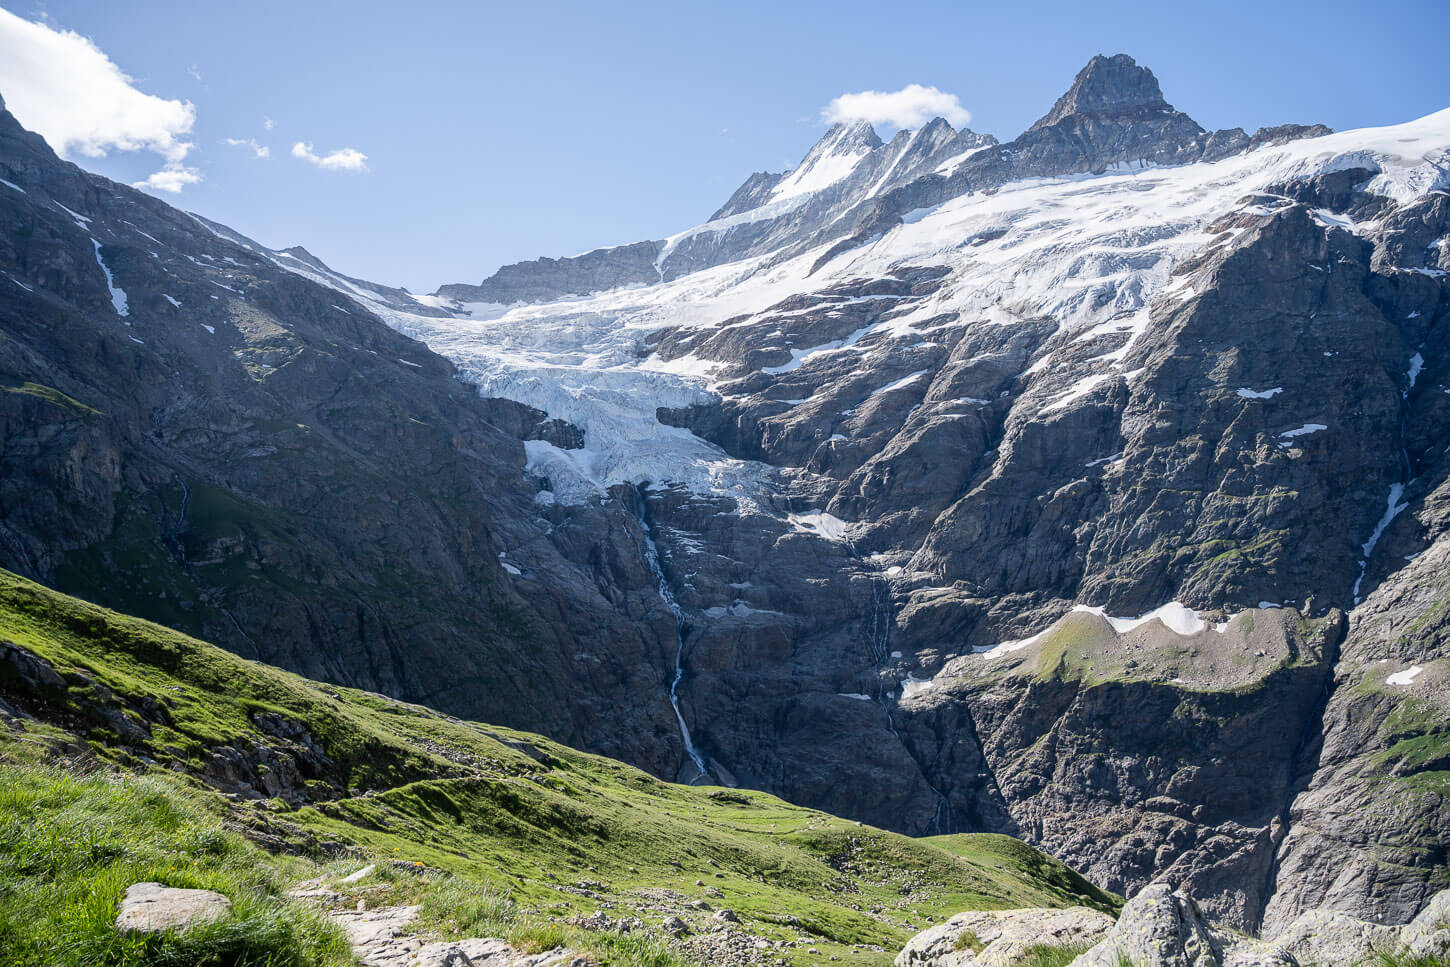
From the hut, you can also enjoy great views of the upper Grindelwald Glacier.
From the Glecksteinhütte to the upper Grindelwald Glacier viewpoint
From the hut, you can easily spot the white-blue-white BeesiBärgli trail signs, the ones you’d need to follow. I only did the lower as it was early in the season and I did not want to risk having to turn back because of too much slushy snow on the trail. If in doubt, ask at the hut.
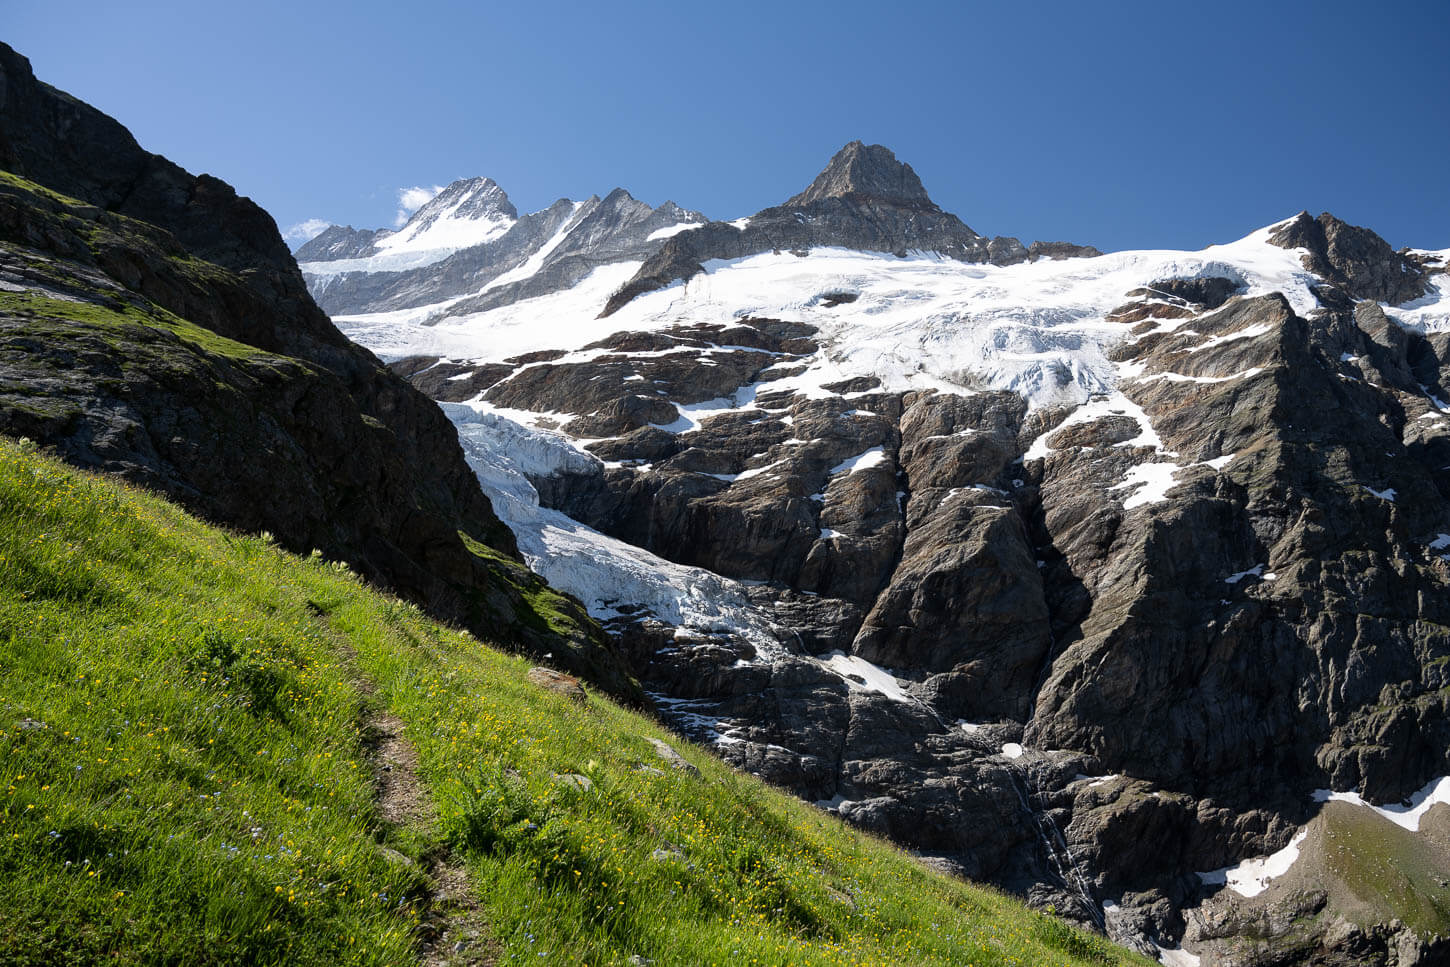
The unterer (lower) BeesiBärgli trail initially crosses some grassy fields.
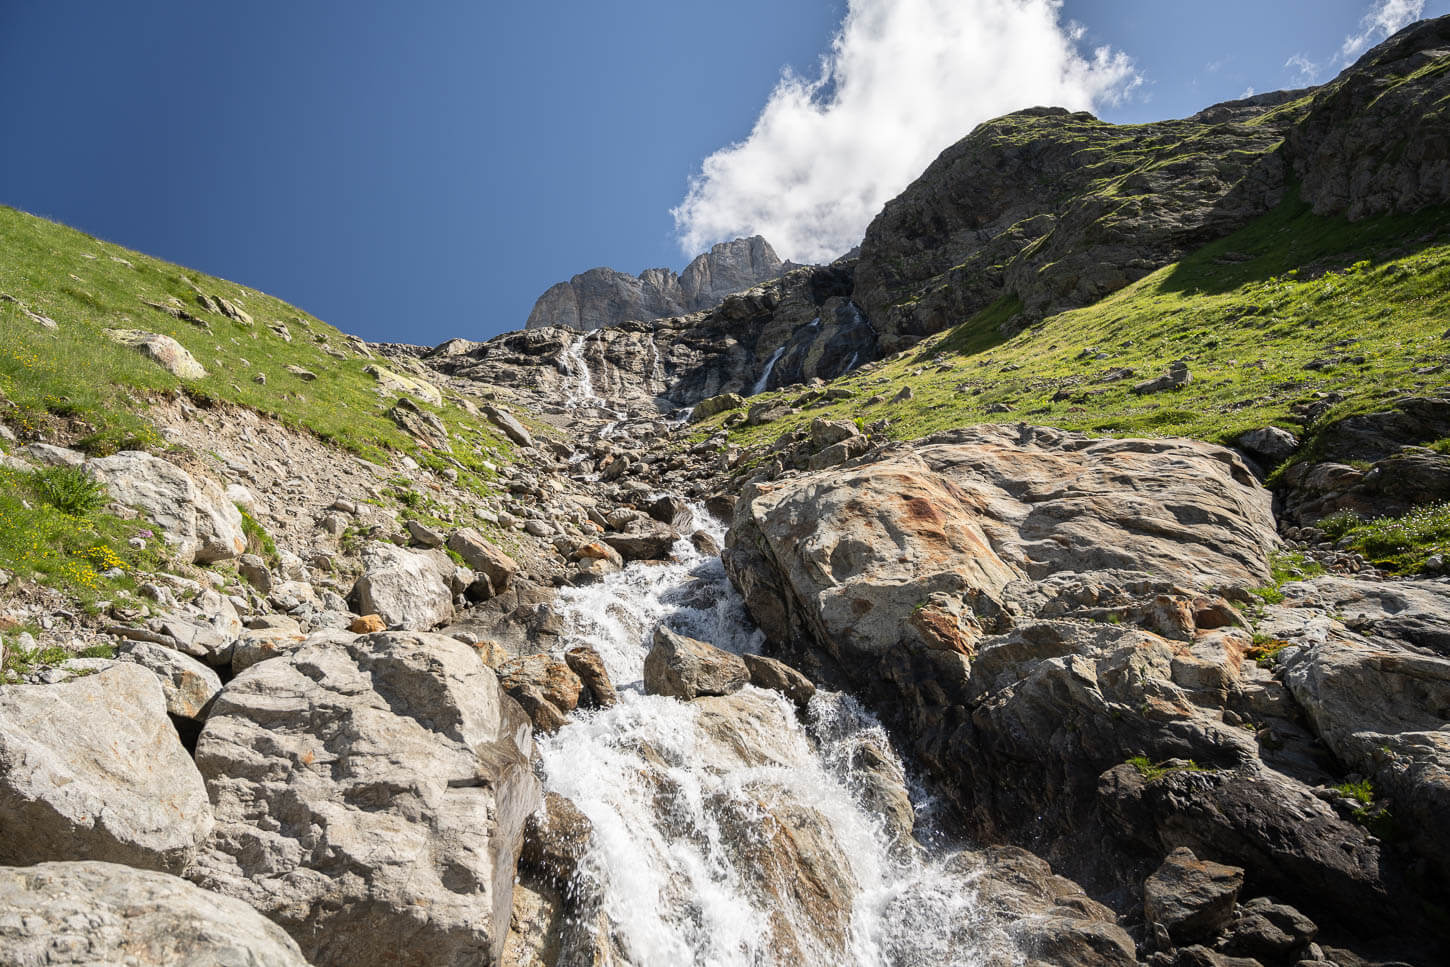
The T4 trail requires crossing a few small creeks, nothing that would get you wet boots, though.
Initially, the trail is easy walking, and you can tell it’s less frequented, as it’s partly overgrown in places. After a grassy stretch, the trail crosses a few creeks, which were probably subject to a recent landslide or small flooding.
Then, all of a sudden, the T4 fun begins, as the trail enters a narrow gorge that has to be crossed. First, you’ll have to descend two sets of exposed steps bolted in the rock. After that, you would need to cross a small rocky creek, with the help of a rope for balance. Once on the other side of the creek, climb back up the rope ladder and exit on the other side of the gorge, to an exposed section with a handrail for safety.
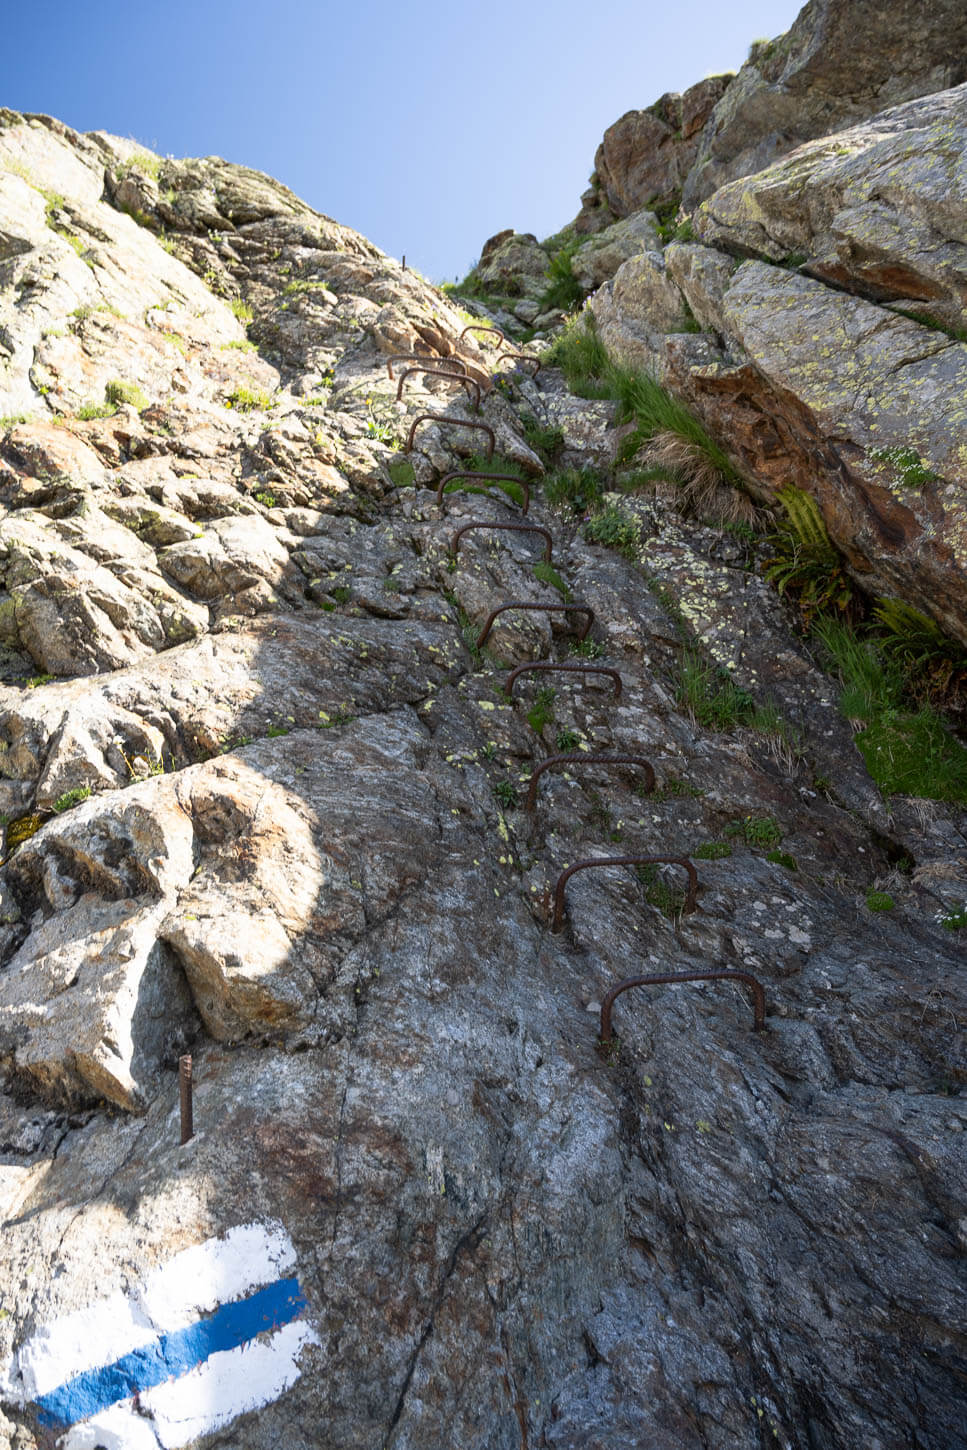
There are also a few steep sections where you need to climb down the rock using steps bolted into it.
After the previous section, there’s another creek crossing that requires using a rope for balance, and a rope ladder to climb on the opposite side.
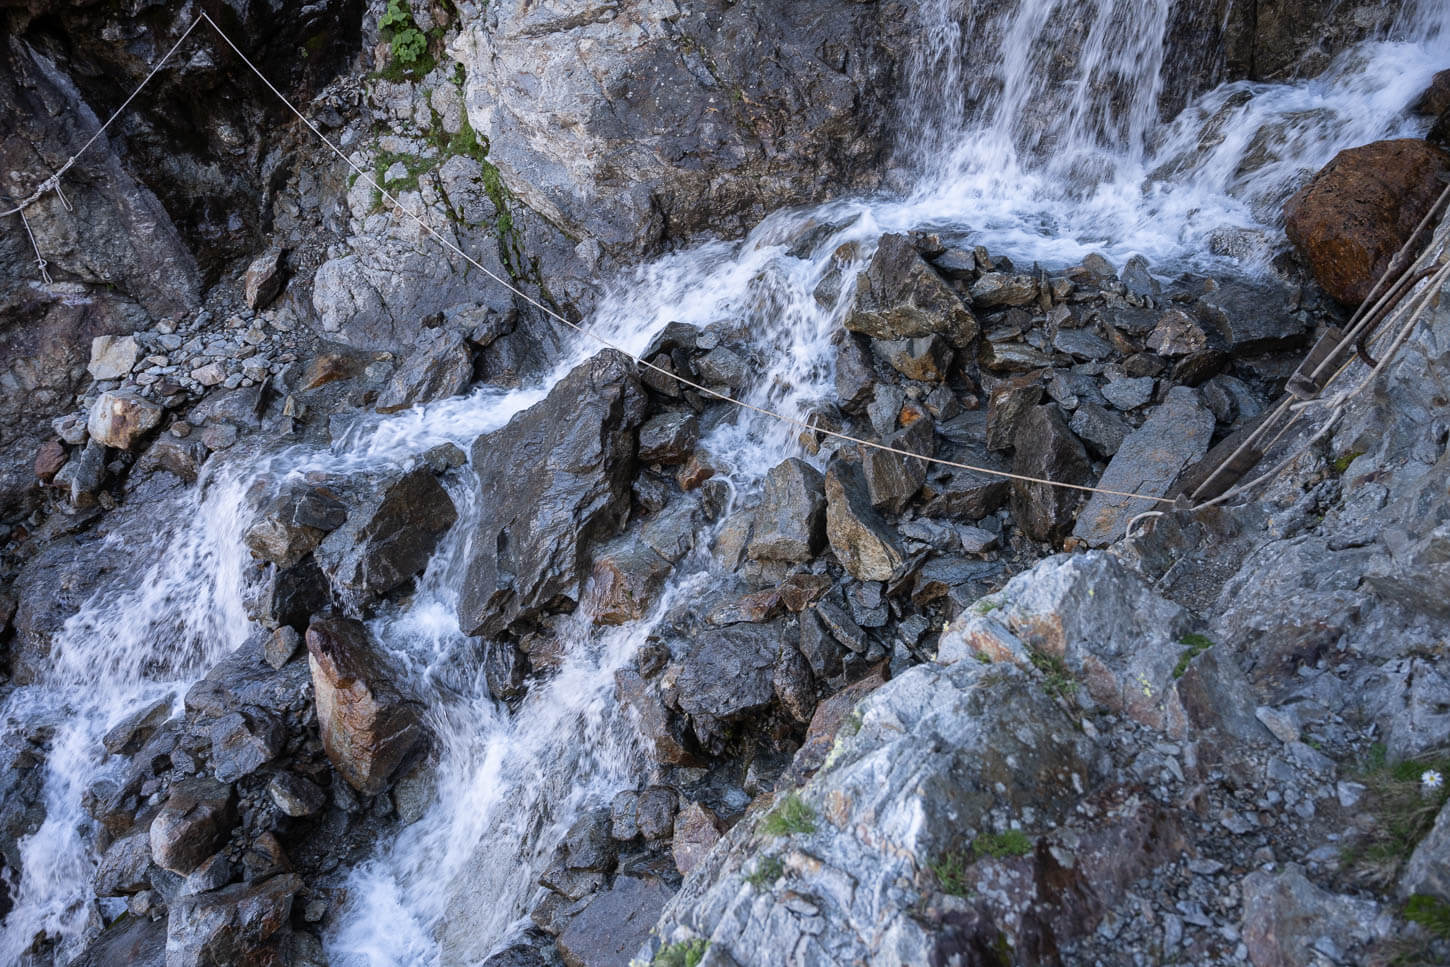
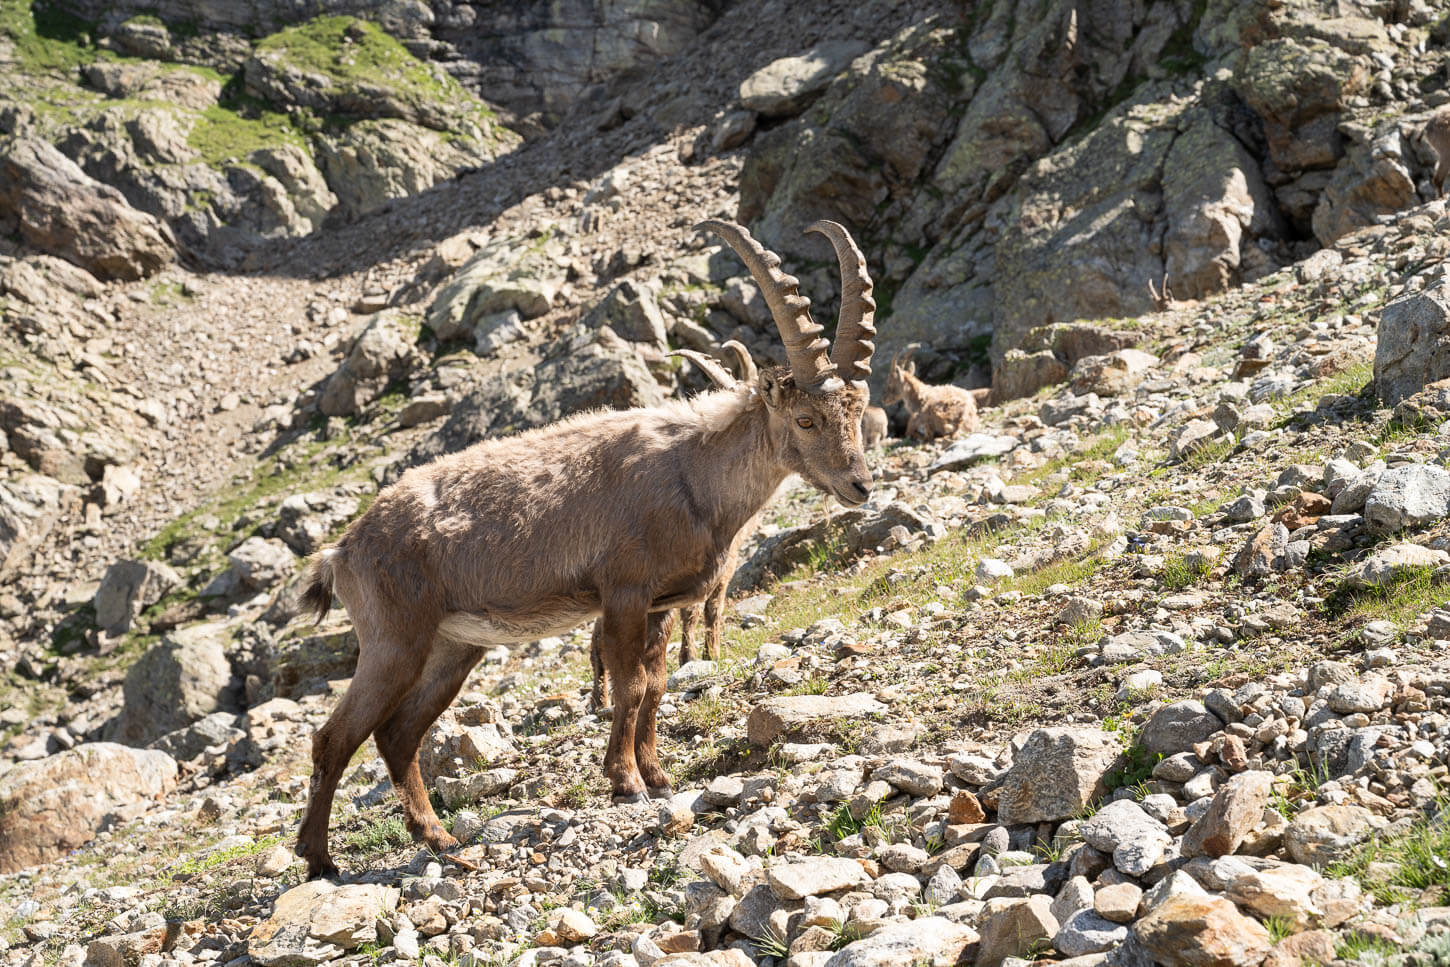
Past this point, you’re past the most technical section of the trail, with only one more ladder to climb. In this section, it is also not uncommon to spot Ibex or Marmots.
The last part of the trail is largely uncomplicated, with flatter sections alternating with short climbs. There is a good panoramic point before the entrance of the trail, where you have clear views of the glacier’s front, an ideal spot if you want to wait for a bit and possibly catch small collapses.
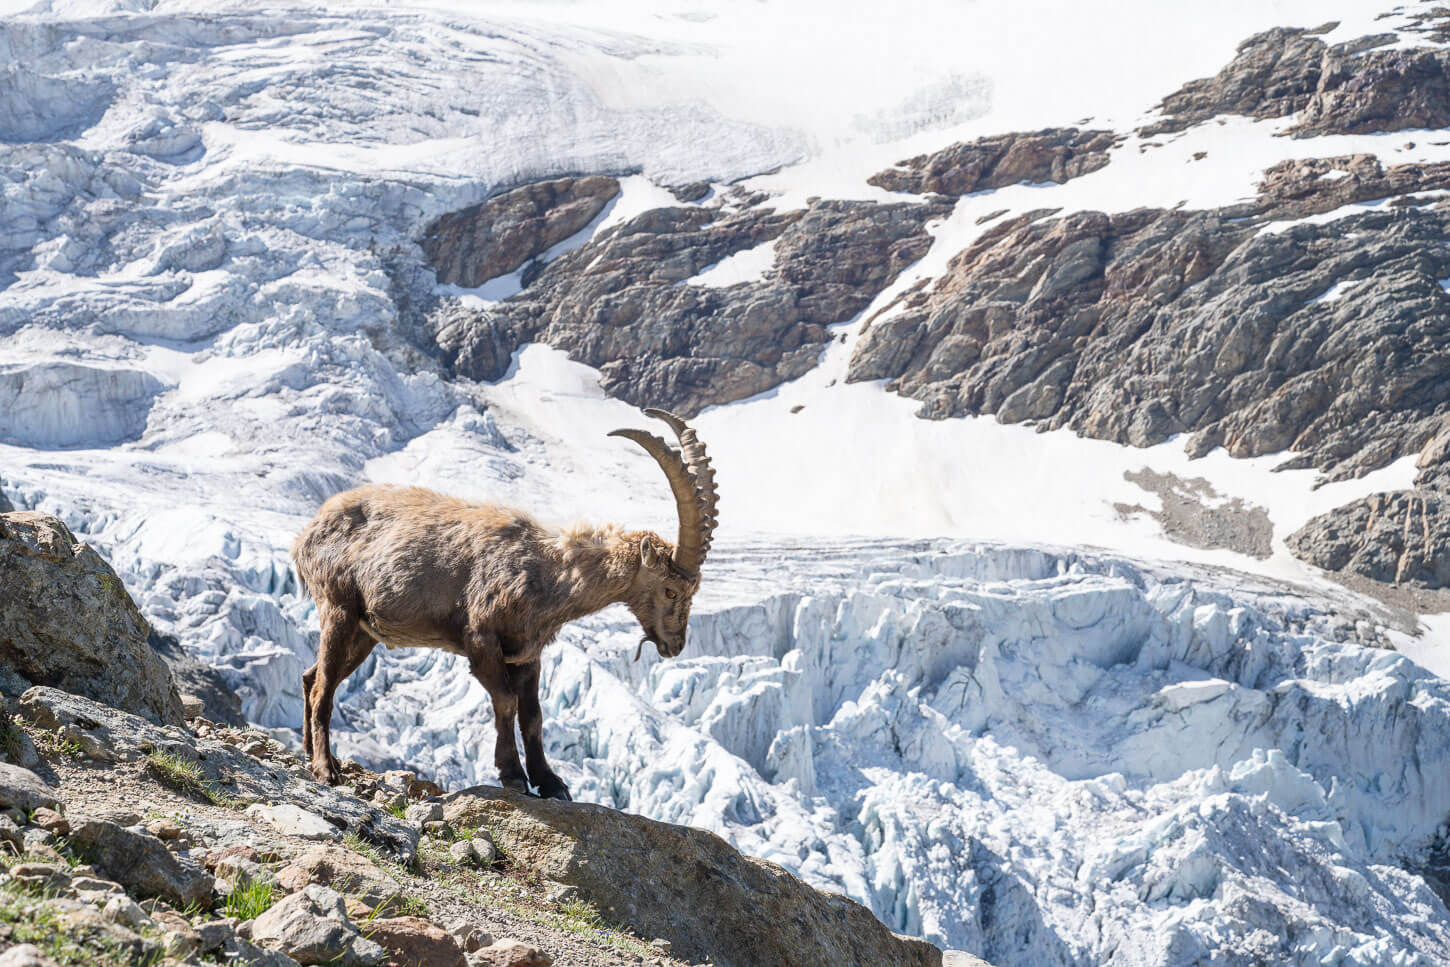
Ibex, with the glacier in the background.
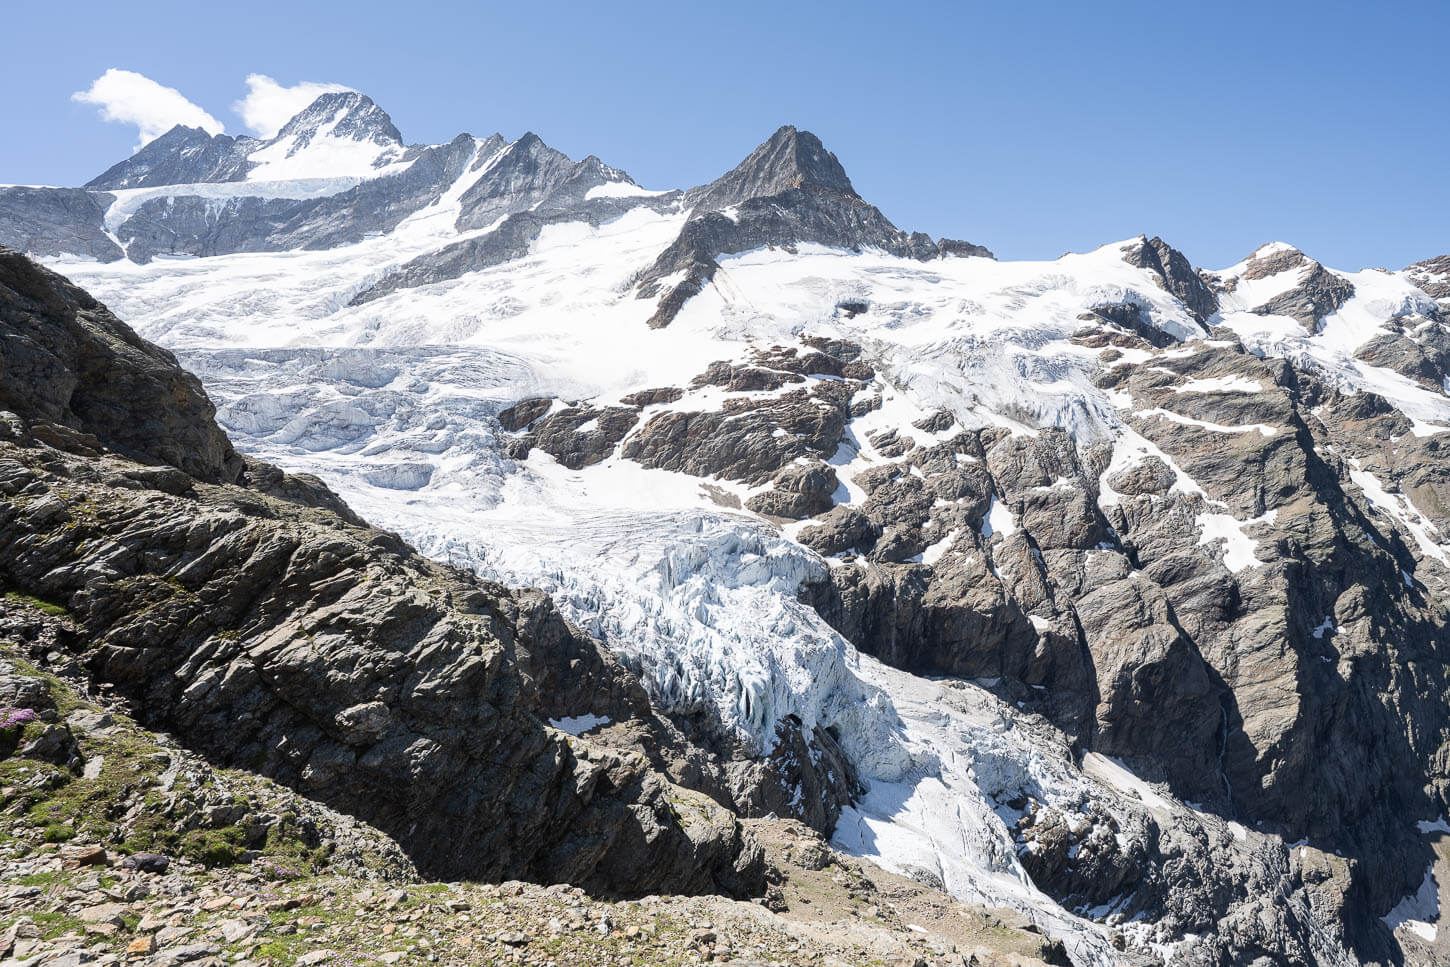
Viewpoint of the glacier tongue on the way to the main viewpoint, higher up on the mountainside.
Upper Grindelwald Glacier Viewpoint
Before long, you will reach the end of the trail, the viewpoint above the glacier. A vast expanse of ice, dotted with crevasses and rocks, under the towering height of the Schreckhorn (4078 m.a.s.l.), the northernmost four-thousander in Europe. A fantastic view of this large glacier, with the “soundtrack” of the semi-continuous rock or ice fall farther down the valley, as it echoes its way up.
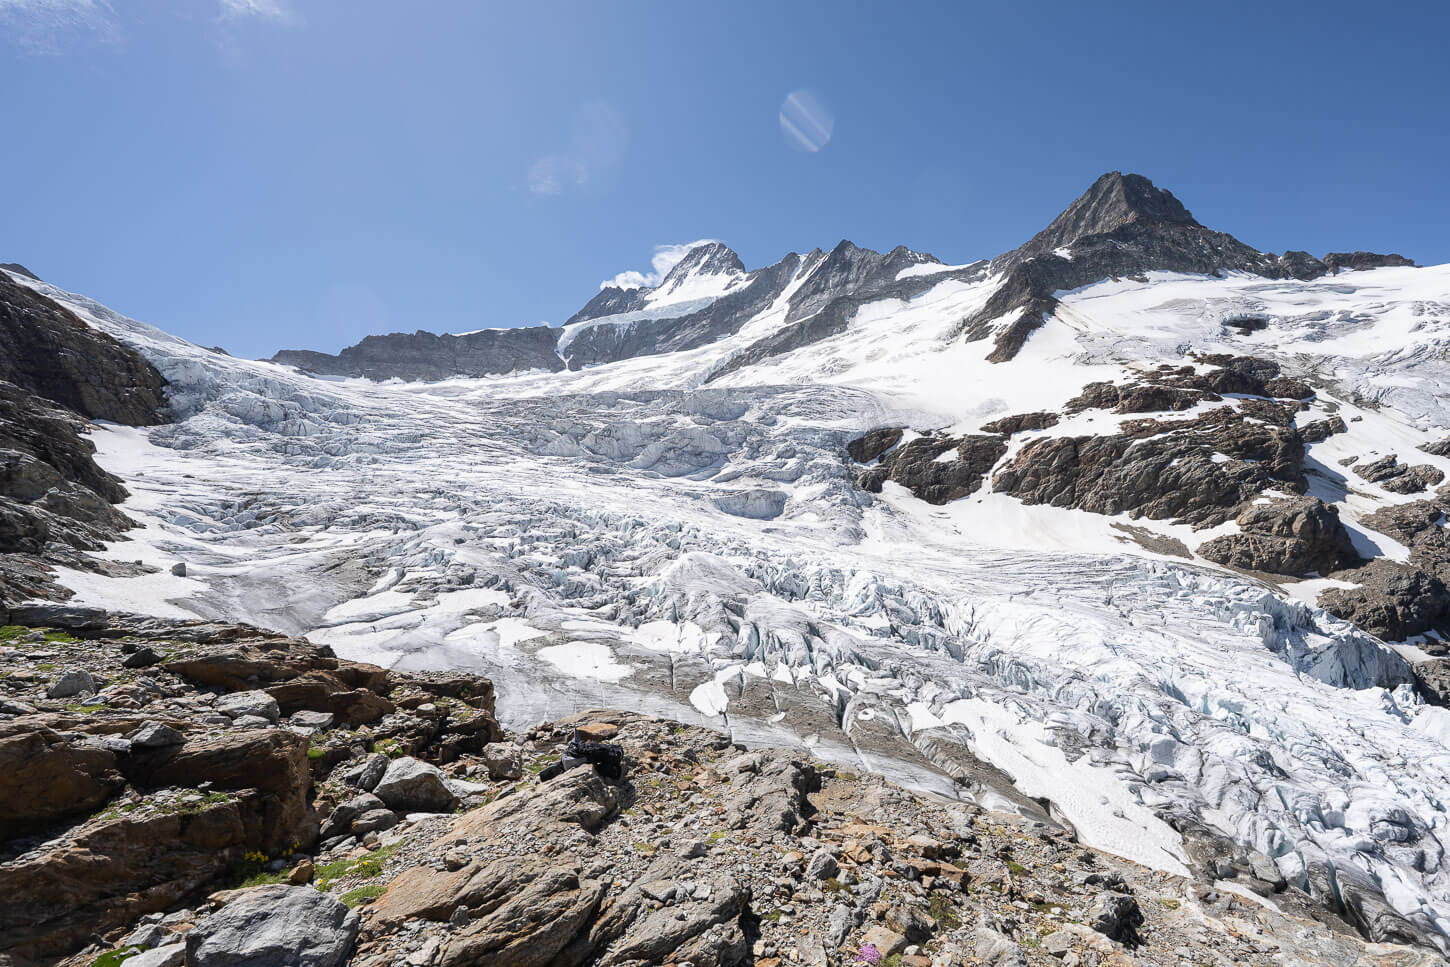
Upper Grindelwald Glacier viewpoint – end of the hike.
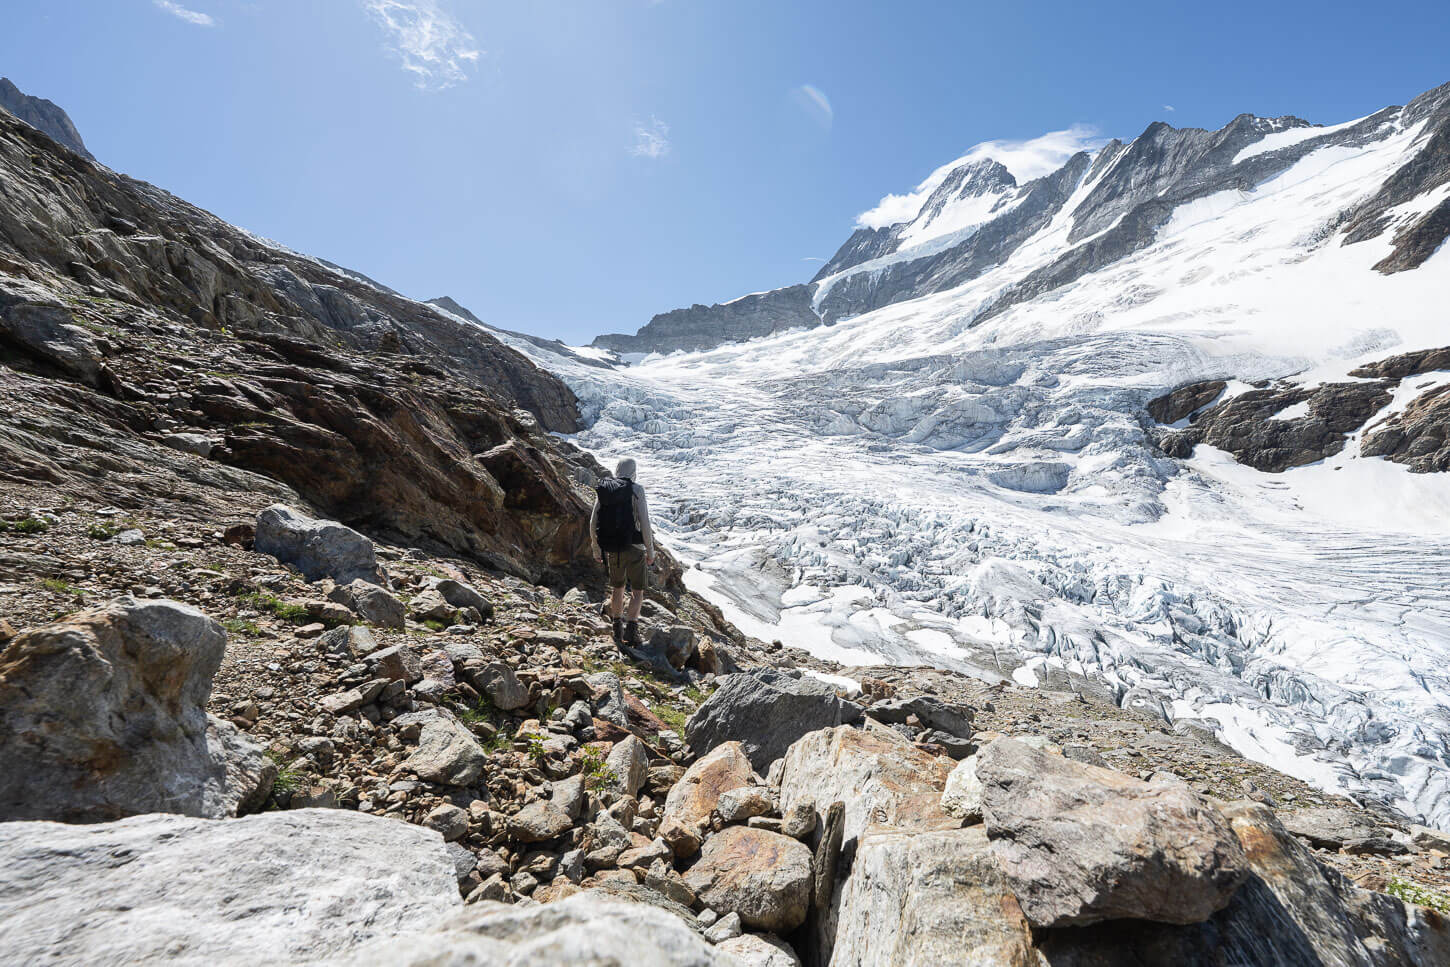
From this viewpoint, it’s possible to walk a little farther toward the glaciers’ edge.
Upper Grindelwald Glacier
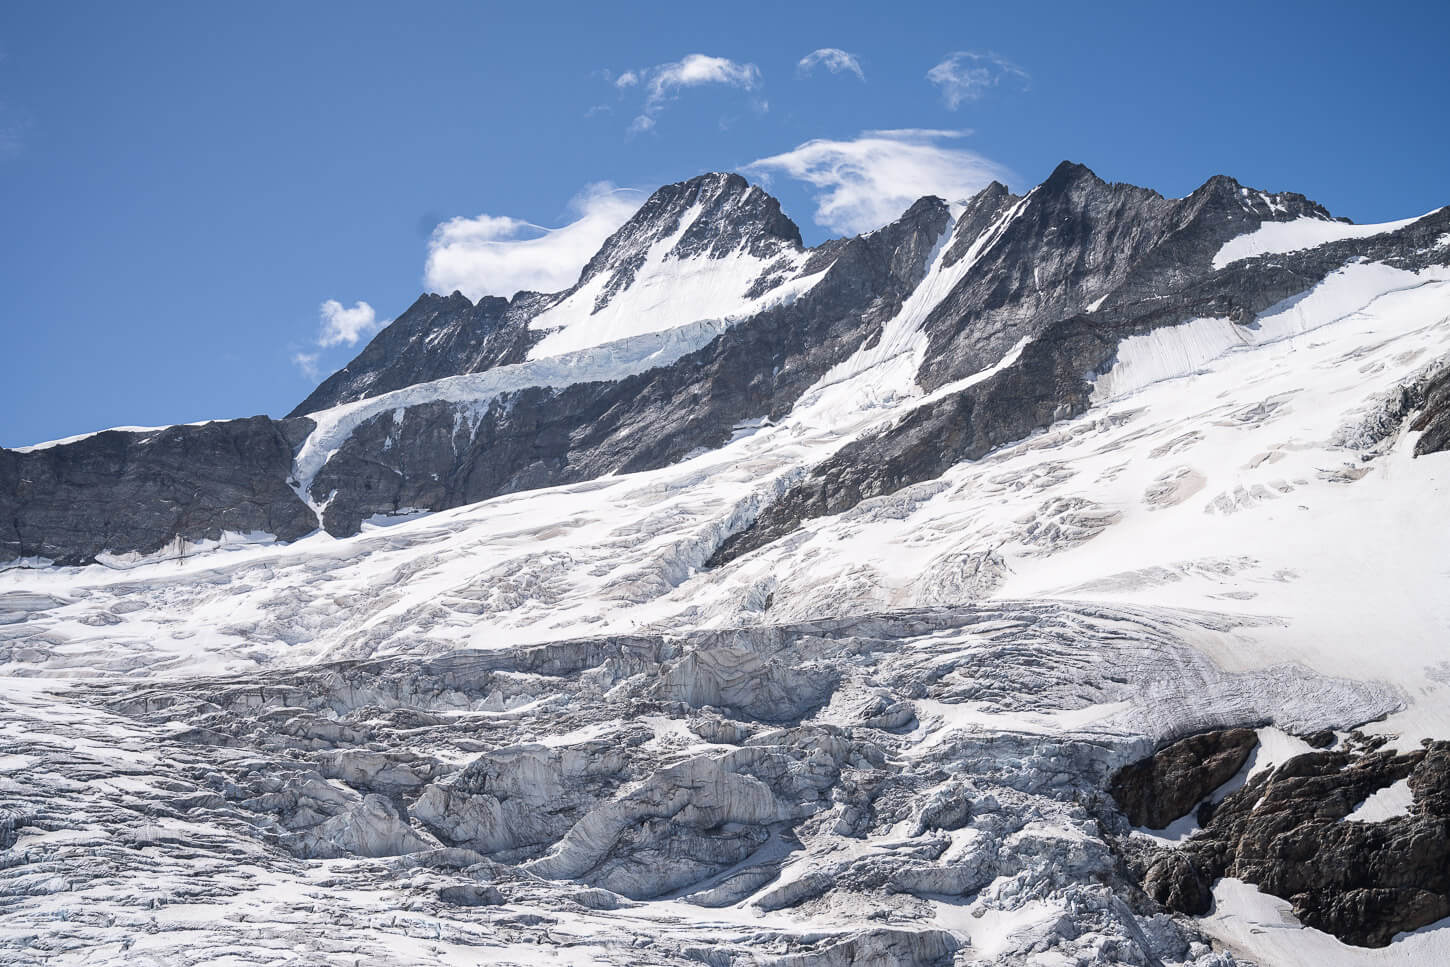
Mt. Schreckhorn.
A blue-white circle on the rock marks the trail’s end, so you have the feeling of having arrived as far as you can go on the trail. However, it’s possible to walk a little farther to a viewpoint right above the glacier. Lots of loose rocks here, so you’d have to be mindful of where you set foot.
It’s hard to convey the scale of the place, but a great place to spend some time enjoying the views: the many crevasses, the different shades of ice, and the towering peaks above them. I spent almost an hour there in blissful solitude before heading back down the valley. Again, I took the same trail (the Unterer Weg), but you also have the option to follow the other, depending on which one you took to arrive here. It’s fully marked from there too.
Upper Grindelwald Glacier Trail Photos and Photography Tip
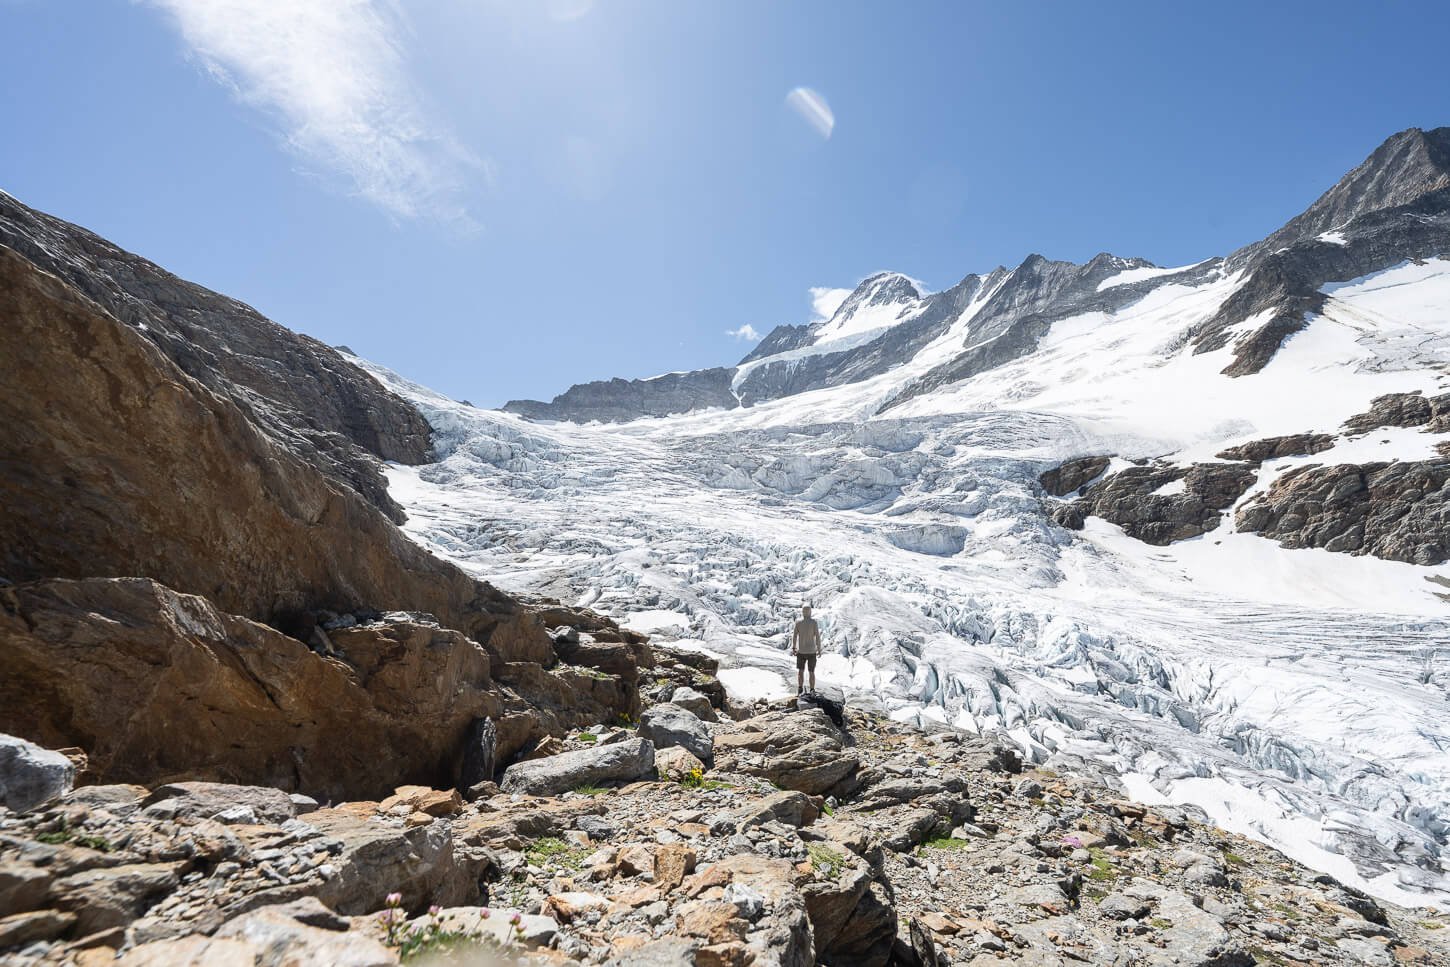
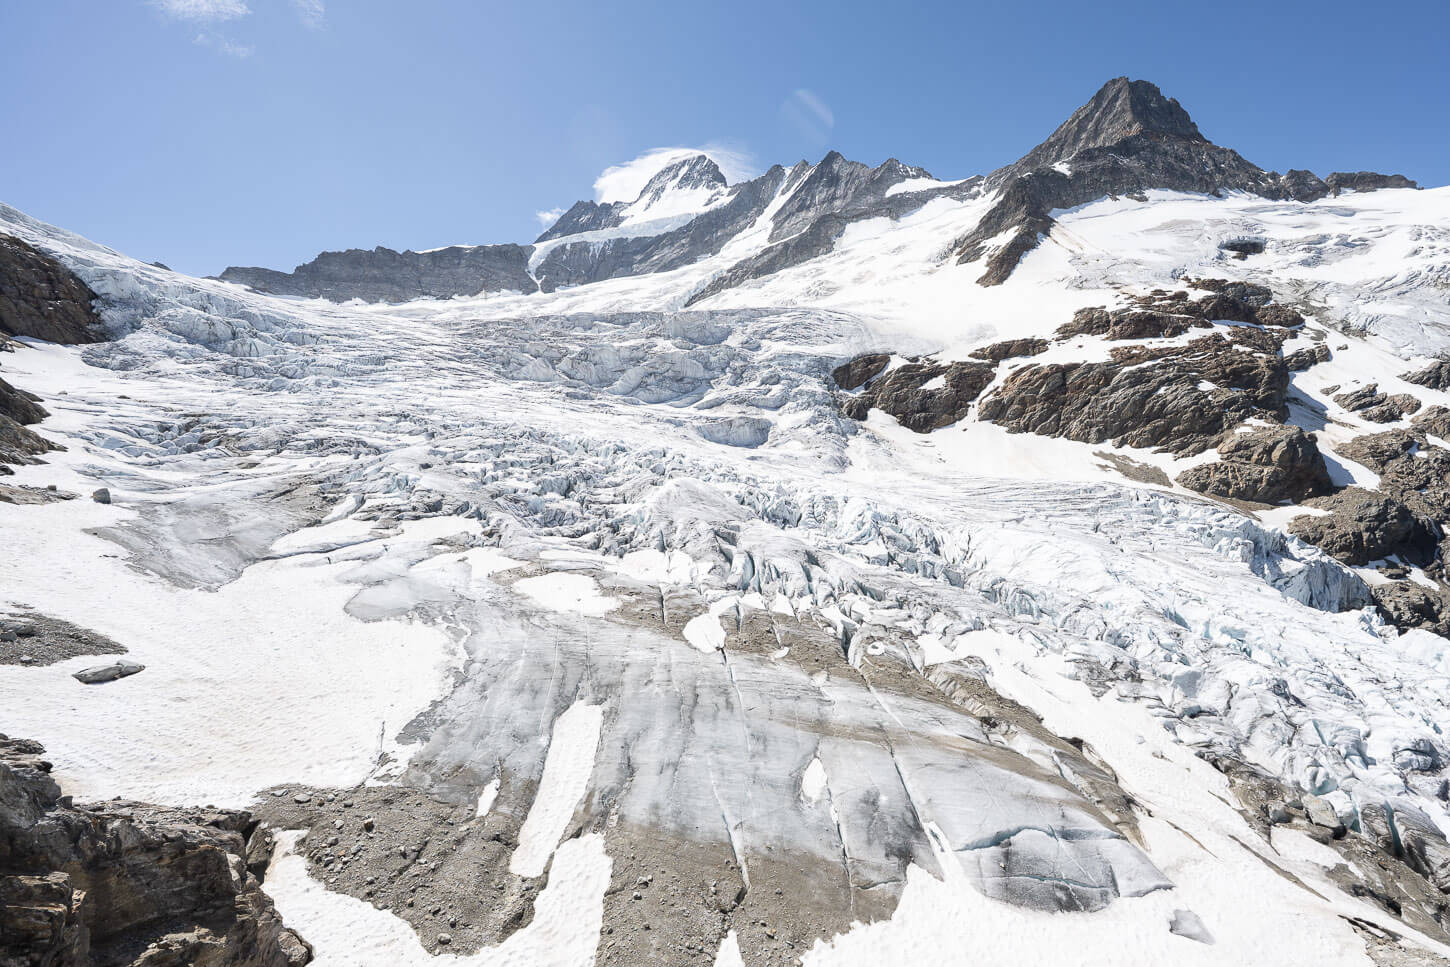
In terms of landscape photography, the glacier and its features are the main attraction on this hike. There are several great viewpoints along the trail, all valid for landscape photography.
The first one, below the hut, where you have a great view of the glacier and its waterfall. From the hut, you get equally great views. The third and the fourth are the viewpoints past the narrow gorge crossing, and the final viewpoint above the glacier.
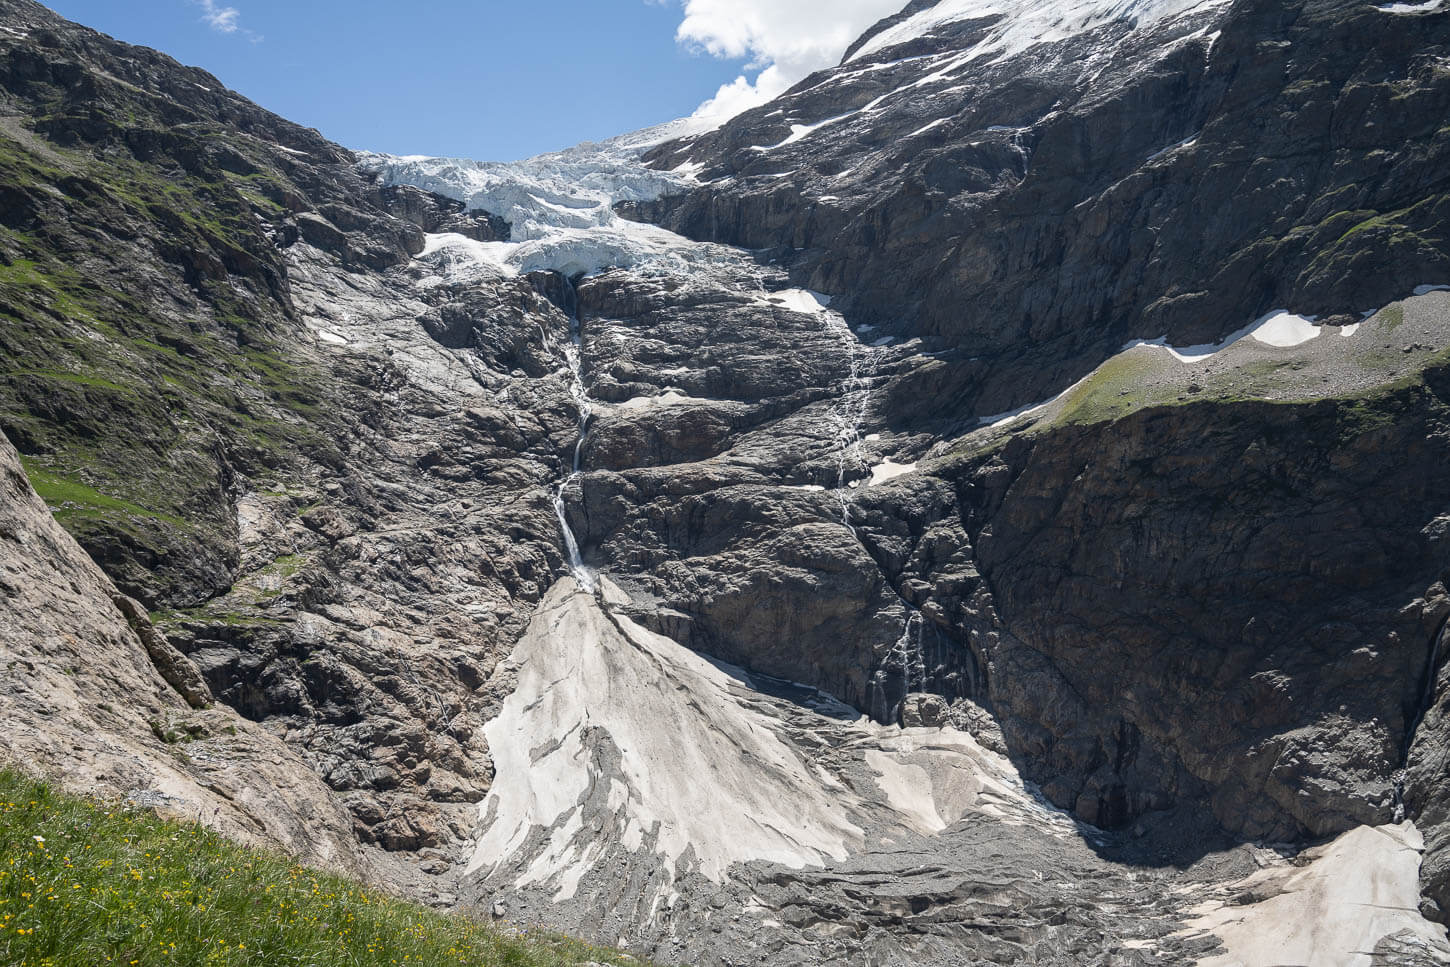
First viewpoint, about 5 km in.
Second viewpoint, from the Hut.
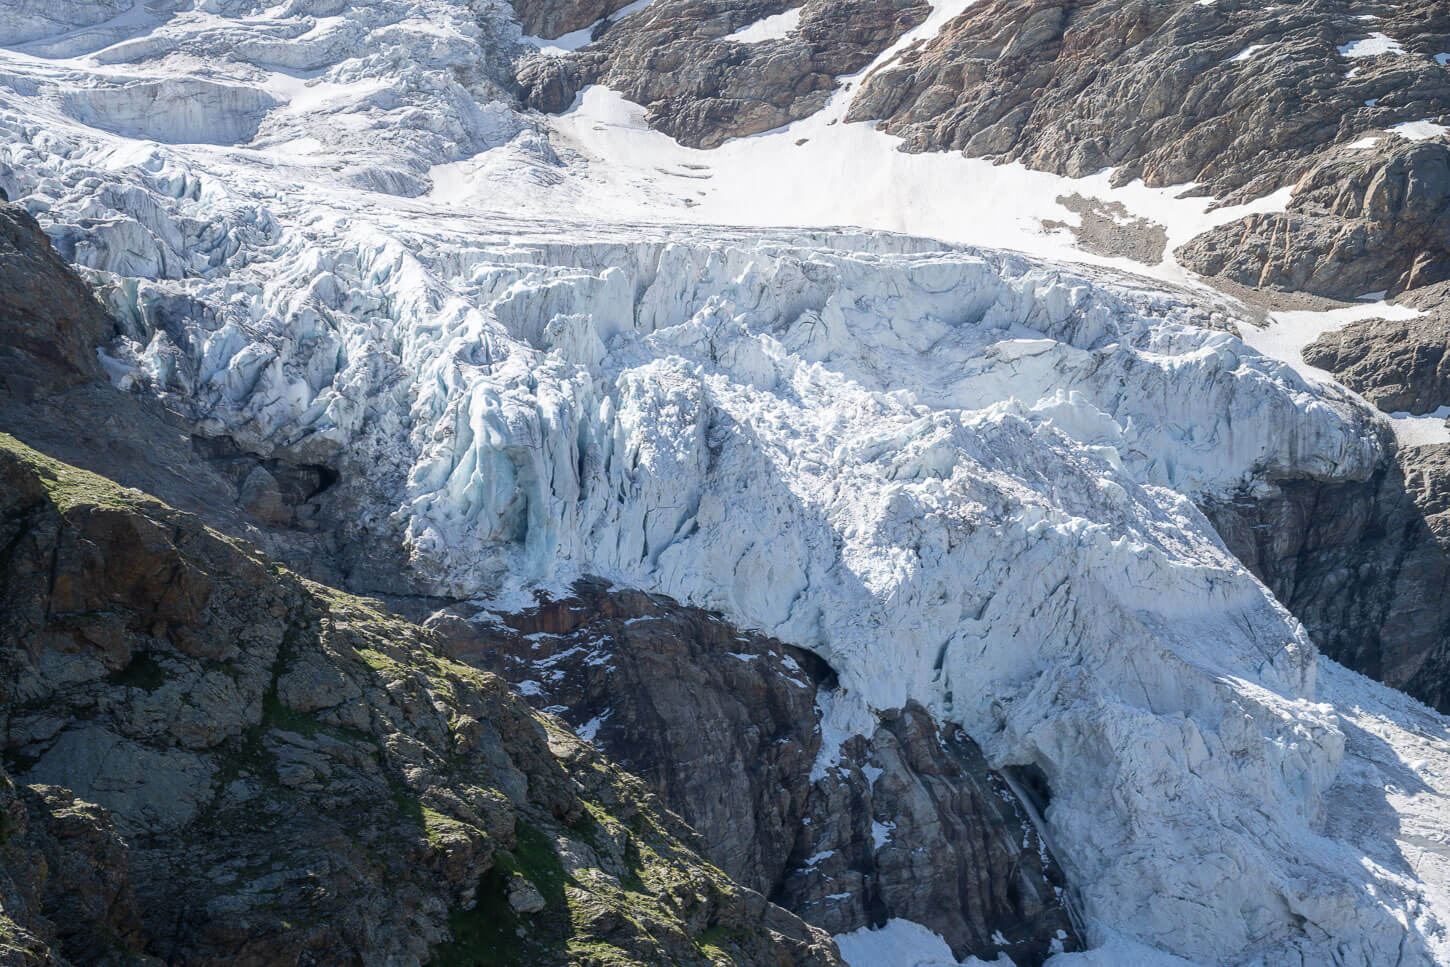
Third viewpoint, on the T4 trail, before reaching the end of the trail.
Final viewpoint, at the end of the glacier.
The glacier’s tongue, the lower part, does not catch much light unless it is in the middle of the day. It’s on a north-facing slope, surrounded by tall mountains. So when you get there early in the morning or later in the afternoon, it would be in the shadows. So for the first two viewpoints, it’s better to be there around midday to catch them in full light. The upper part, however, catches light for longer.
Around midday, in early July.
Early in the morning, around 9 am, the glacier’s tongue is still largely in the shadows.
If you are staying at the hut, that’s a good occasion to try to photograph the first warm light of the day hitting the Schreckhorn. Or some color behind it at sunset, if the weather collaborates.
Also, if you are into wildlife, this is a good location to try to photograph some ibex or marmots. I did see a herd of ibex, and while I am not much into wildlife photography, it is always fun to photograph them – and they are always a beautiful sight, of course.
In terms of lenses, I brought with me a 14-24mm, full-frame, and a 24-70mm. They were more than fine for the landscape part, even for the details of the glacier. So, unless you don’t want to get really into the finer details – or more wildlife – 70mm is fine on the longer range. Better to stay wide on the other side, at the final viewpoint; the 14mm allowed to capture almost the entire view.
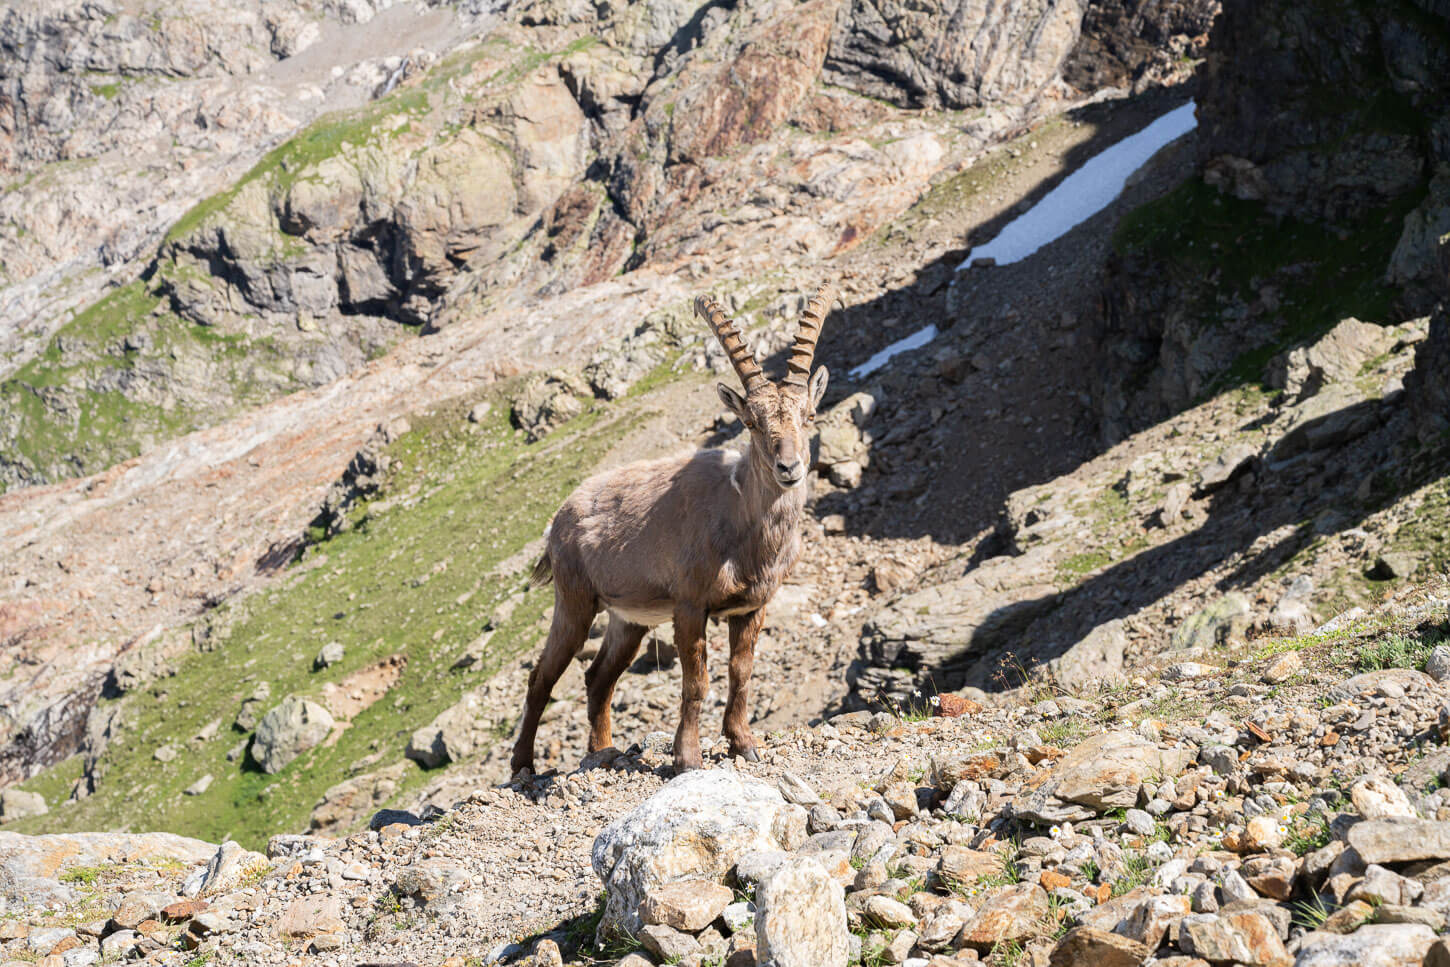
Ibex are not an uncommon sight in the area.
Video of the Upper Grindelwald Glacier Hike
Here is also a short video of this hike. Just some music and the views. Views of the trails, the glacier, and the ibex!
Where to Stay
While Hotel Wetterhorn is the closest option, right at the trailhead, realistically, anywhere in Grindelwald is within easy reach. As one of the most popular tourist destinations in Switzerland and in the Alps, the area has no shortage of Hotels and accommodations. And restaurants. And shops. And Bars. However, I can’t honestly recommend any specific hotel in the area, as I live within driving distance to do day hikes there.
Interlaken is also a very popular option, because you can easily do day trips and hikes to other locations, like the Lauterbrunnen valley, the Brienzer Rothorn, or the Augstmatthorn, for instance.
Overnight stays in Vans/RVs are not allowed in the parking area in front of the Wetterhorn Hotel, but the Hotel does have a Park’n’Sleep area.
Additional Resources
- For a comprehensive overview of Hikes in Switzerland, check out my main Switzerland page.

Leave A Comment