
Romsdalseggen Ridge Hike, Norway – Trail Guide
The Romsdalseggen ridge hike is one of the most scenic and popular hikes in Norway. Easy to see why, with views such as these.
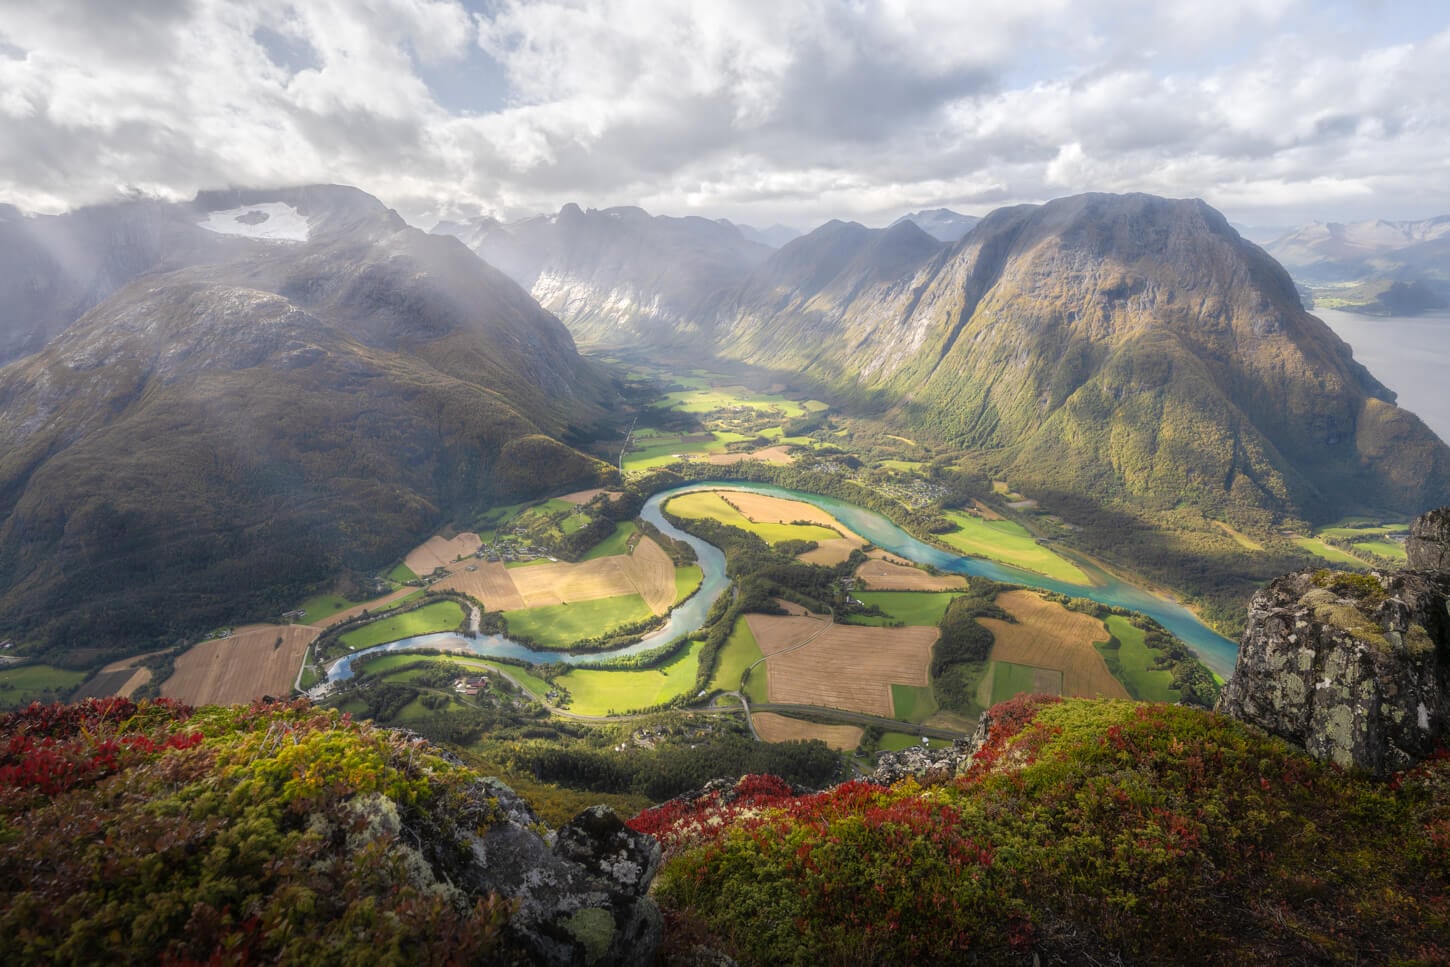
Romsdalen Valley from Romsdalseggen.
| Romsdalseggen Ridge Hike (From Åndalsnes): Quick Overview |
| • Distance: 13.2 km / 8.2 mi | Elevation Gain: 1,400 m / 4,593 ft. | Time: 5-6 Hours | Difficulty: Moderate/Exposed | Trail: Fully marked trail with a red T |
| • Start & Parking: Vengedalen or Åndalsnes |
| • Best Season & Light: Early Summer to Early Autumn |
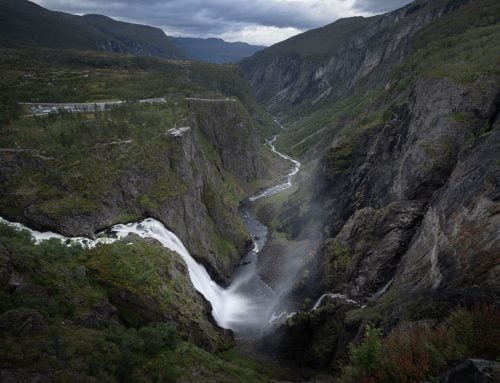
On this trail, you can enjoy the best views of the Romsdalen Valley and the meandering Rauma river, the Rampestreken viewpoint, and several beautiful mountains such as Trollveggen, Europe’s tallest vertical rock face, at about 1,110 meters.
Located in Western Norway’s Møre og Romsdal county, the hike across the Romsdalseggen ridge can be done in a few different ways. Most commonly, as a point-to-point hike from Vengedalen back to Åndalsnes using the shuttle bus to get to the trailhead. Alternatively, as an out-and-back hike from Åndalsnes.
I’ll cover the three ways to hike it below, with a few additional safety notes.
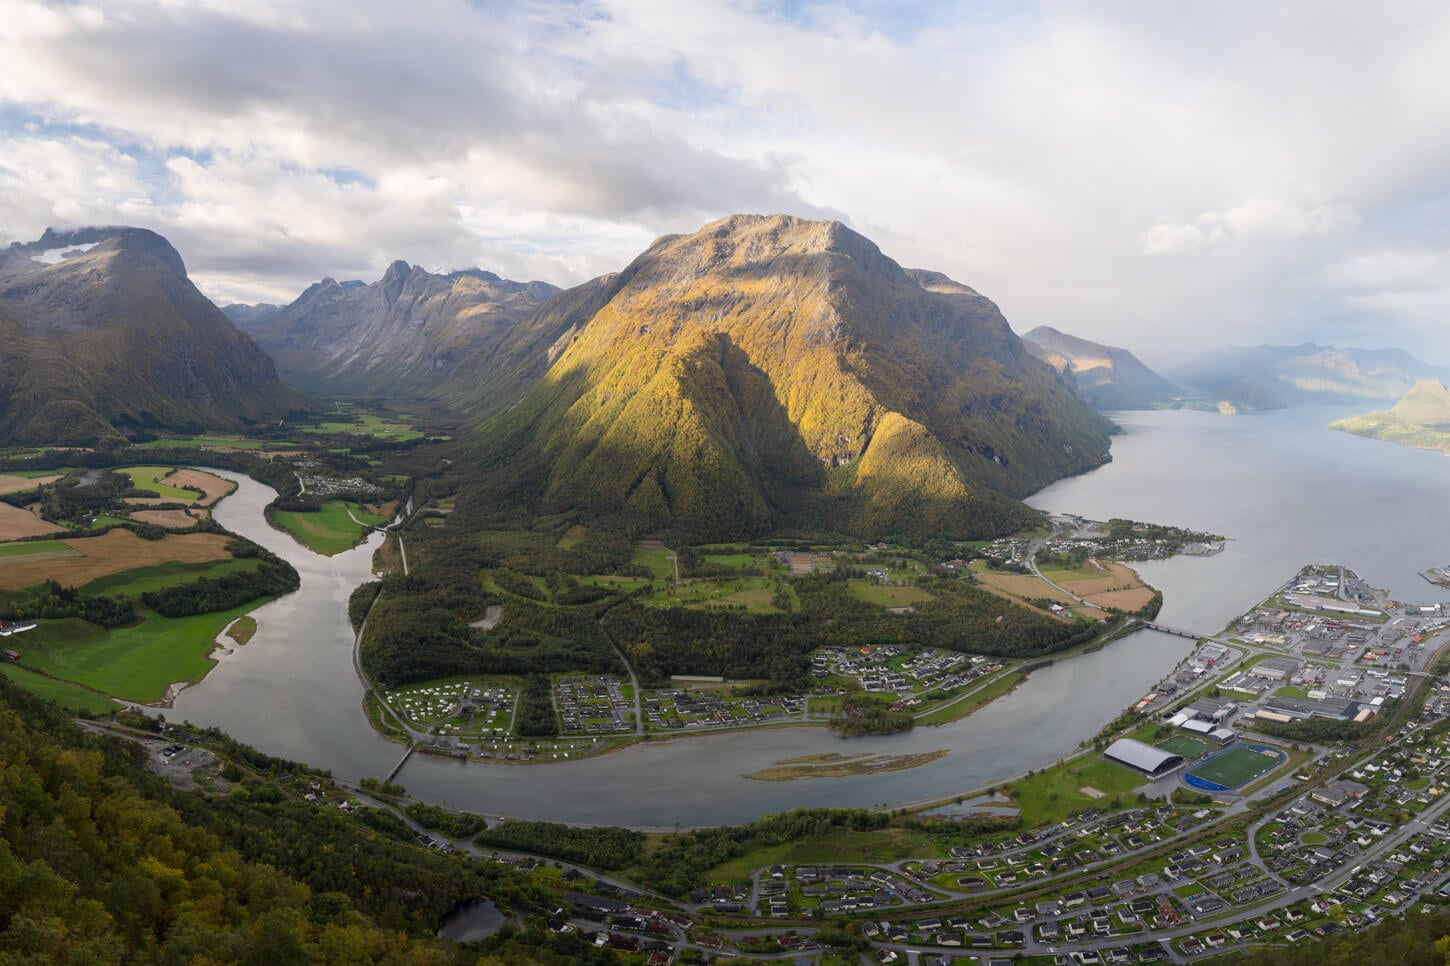
View from Rampestreken.
Table of Contents
Overview of the Romsdalseggen Ridge Hike, Map & GPX
Overall, the hike is not technically difficult, even though the overall elevation gain is quite demanding. However, it does have narrow, exposed sections that are potentially slippery in wet conditions and require particular sure-footedness and a good head for heights. There really is no room for mistakes in the narrowest section.
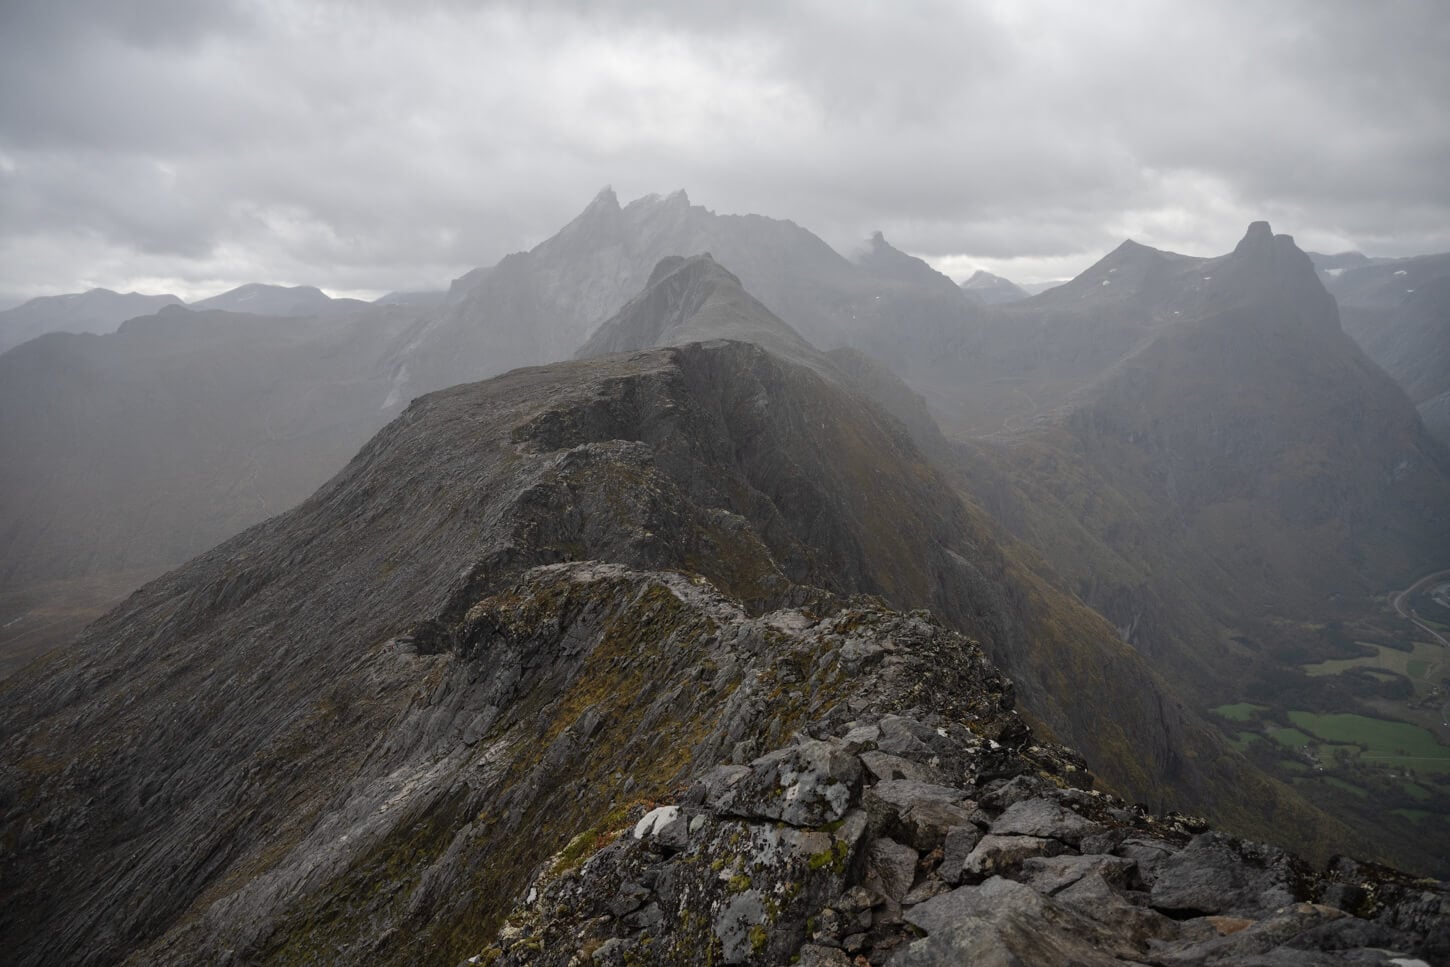
The most exposed section of the trail; there is a vertical drop of about 1,000m. A fatal accident occurred here in September 2026, on the day I hiked.
Romsdalseggen hike Logistics & Trail options
Here’s the overview of the main options to Hike the Romsdalseggen Ridge:
- Point to Point from Vengedalen back to Åndalsnes, using the Shuttle Bus, hiking back down to Åndalsnes via Rampestreken. Alternatively, you can take the Romsdalsgondolen gondola and skip Rampestreken. This is the most common way to hike the Romsdalseggen ridge. For the point-to-point hike, you should pre-book the Romsdalseggen Bus to Venjedalssetra here. This version of the hike is 12km with 910m of elevation gain.
- Out-and-back from Åndalsnes: you can hike up Rampestreken and hike toward the ridge from there. The recommended turning point is Mjølvafjellet for safety reasons (more on that below). This is also what I did. This version is 13.2km long, with 1,400m elevation gain.
- Loop from Vengedalen: if you want to pay for the toll road Venjedalsveien, you can drive to the Vengedalen trailhead and do a loop hike from there. Romsldalseggen on the way out, and turn back at Nesaksla via another peak, Høgnosa, on the way back. This option is 16.9km long, with 1,330m elevation gain. However, there are very limited parking spots in Vengedalen. The other reason why this is not a good option is that you will have to face the incoming traffic on the narrowest, most exposed ridge on the trail. Same reason why the previous option stops at Mjølvafjellet.
To be fair, the recommende ddirection of travel from Vengedalen back to Åndalsnes, is also the one that offers the best views. that’s simply because once on the ridge, you have the Rauma valley in front of you all the time.
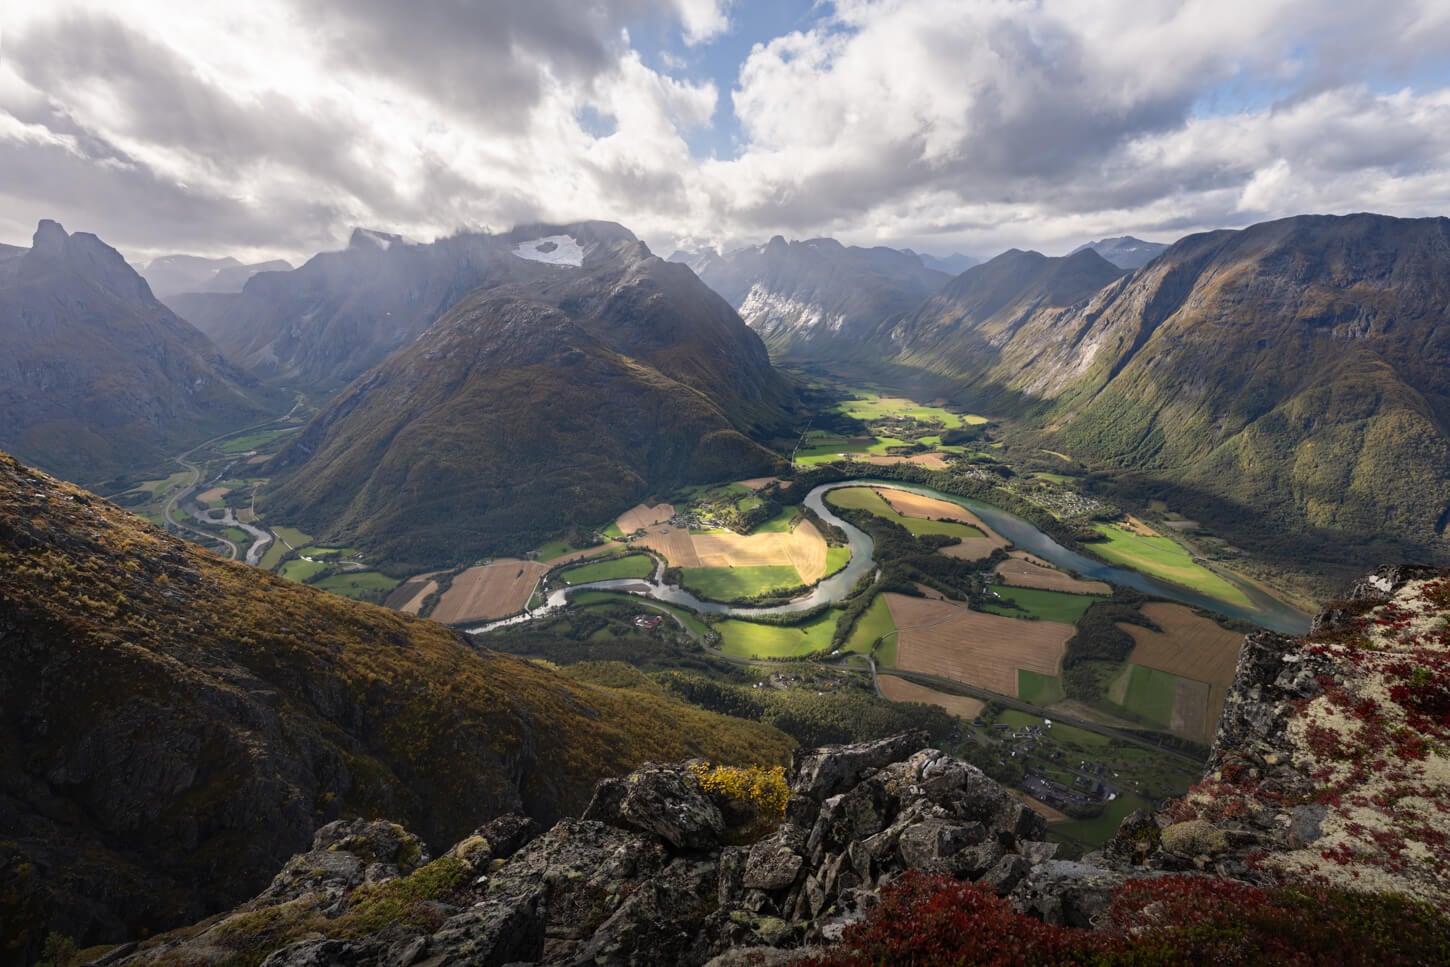
Hiking from Vengedalen back to Åndalsnes also offers the best views, with the Rauma valley in front of you.
The reason why I chose to do it as an out-and-back from Åndalsnes was to have two passes on the most scenic viewpoints instead of one. I also wanted to follow the ridge all the way to Blånebba initially, so I started the hike very early, to pass the most exposed section of the trail before the arrival of the incoming foot traffic from Vengedalen. However, I skipped that part due to a fatal accident that happened on the mountain that day.
Important: You cannot take the bus from Vengedalen back to Åndalsnes. It’s only one way.
Details & Map of the hike
Do note that the GPX file below only shows my hike from Åndalsnes to Mjølvafjellet. This is a good option if you want to avoid the narrowest, most exposed passage, too. It also pretty much covers all the most scenic views.
Here is the map of the hike. You can download the GPX file for free from the activity linked below.
How to Get to the Romsdalseggen Trailhead and Parking
Unless you are already in the region, it takes a bit to get to Åndalsnes, where the Romsdalseggen trailhead is easily reachable via highway E136 from the south. The closest airports are either in Ålesund or Kristiansund
- Driving Directions: From the south, the best option is to drive Highway E6 until Otta, and take the scenic highway E136 until Åndalsnes. From the North, you can follow Highway E39 until Molde, then take Road 64 and the ferry from Sølsnes. From there, it’s a short 20-30 minute drive to Åndalsnes.
- Parking: In Åndalsnes, there is an “official”, paid Rampstreken/Romsdalseggen parking Area, which is the closest to the trailhead. However, a few hundred meters down the road on the opposite side of town, there is a large, free parking area in front of the Sport Center, the Romsdalshallen parking. This is also where I left my van. There are also two more parking areas by the Train and Gondola stations, one of which is a long-term parking area that allows Overnight stays in Vans or RVs. If you are planning to start the hike from Vegnedalen, you can park at the Vengedalen Parking on the toll road Venjedalsveien.
- Public Transport: By bus, there are lines directly from Ålesund, Kristiansund, Geiranger, and Molde. You can also reach Åndalsnes by train from all the major towns. Then, you can catch the bus to Venjedalssetra from Mountaineering Centre (Norsk Tindesenter)/ Åndalsnes train station, which is one in front of the other.
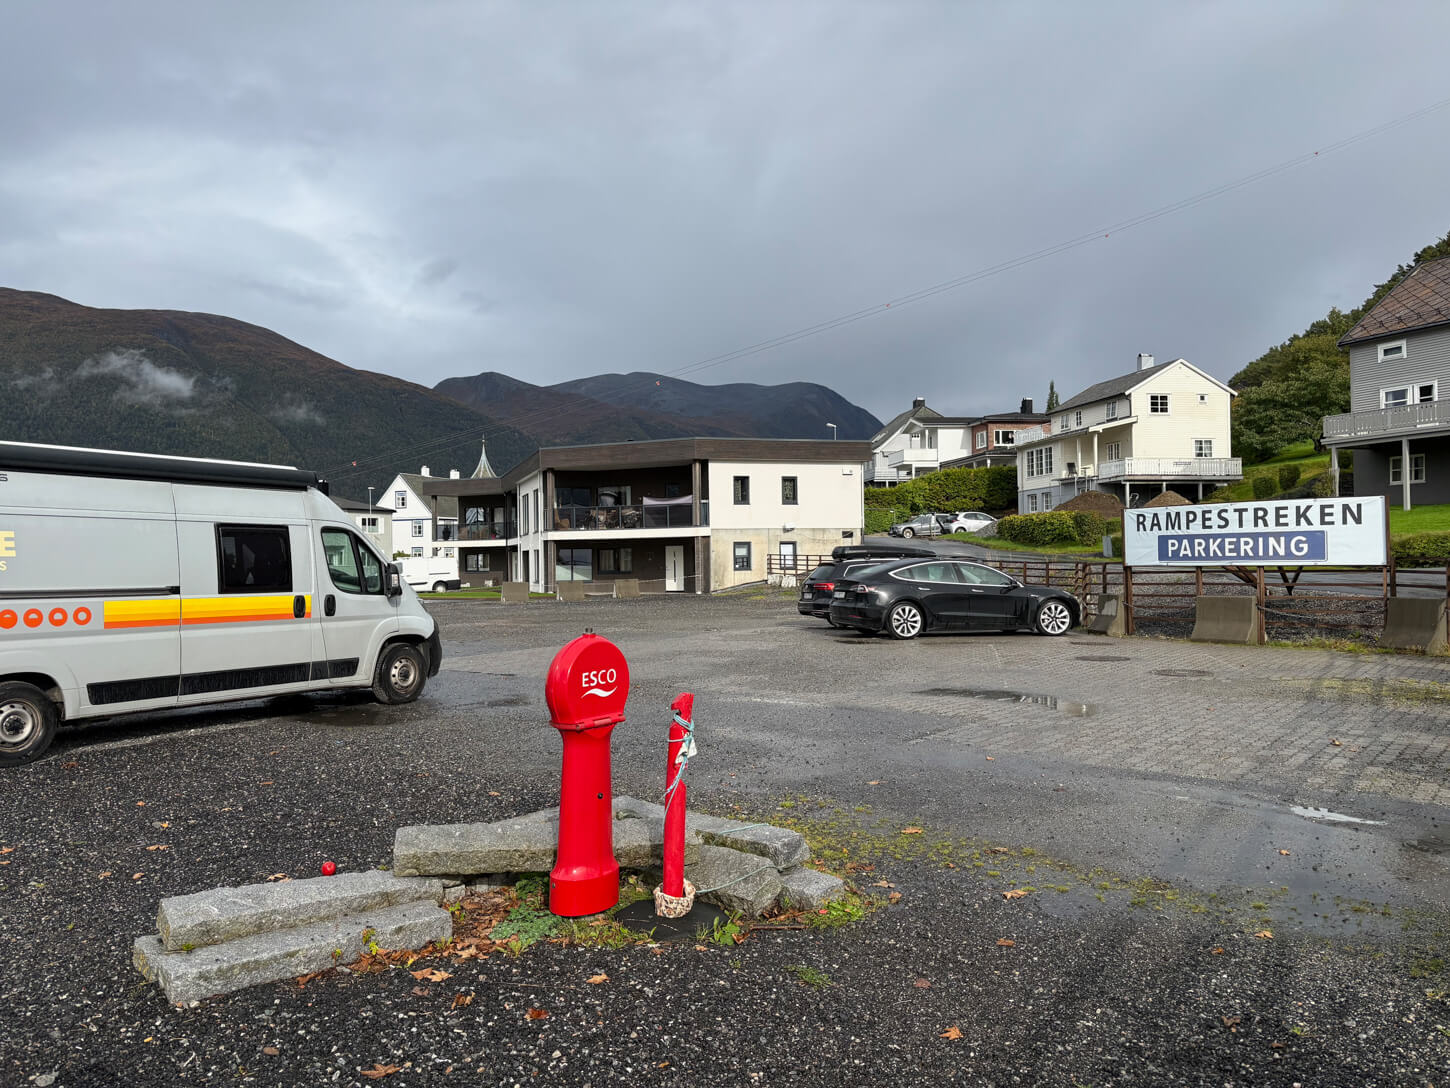
Rampestreken (paid) parking area.
The Romsdalseggen Hiking Trail
The trail can be divided into two main sections, which can also be hiked separately, regardless of the direction of travel. From Åndalsnes to Rampestreken and Nesaksla, and to the ridge from there. I’ll describe the trail in the direction of travel I followed, so from Åndalsnes to Mjølvafjellet. Keep that in mind if you are going to hike it from Vegnedalen.
From Åndalsnes to Rampestreken and Nesaksla
If you start the hike from Åndalsnes, Rampestreken is the first major viewpoint you will reach on the trail. From the trailhead, it is about 1.75km, with a total elevation gain of about 500m. From Rampestreken to Nesaksla, it’s another 700m with about 80m additional elevation gain. This section is quite steep with a couple of moderately exposed sections equipped with chains or cables for balance.
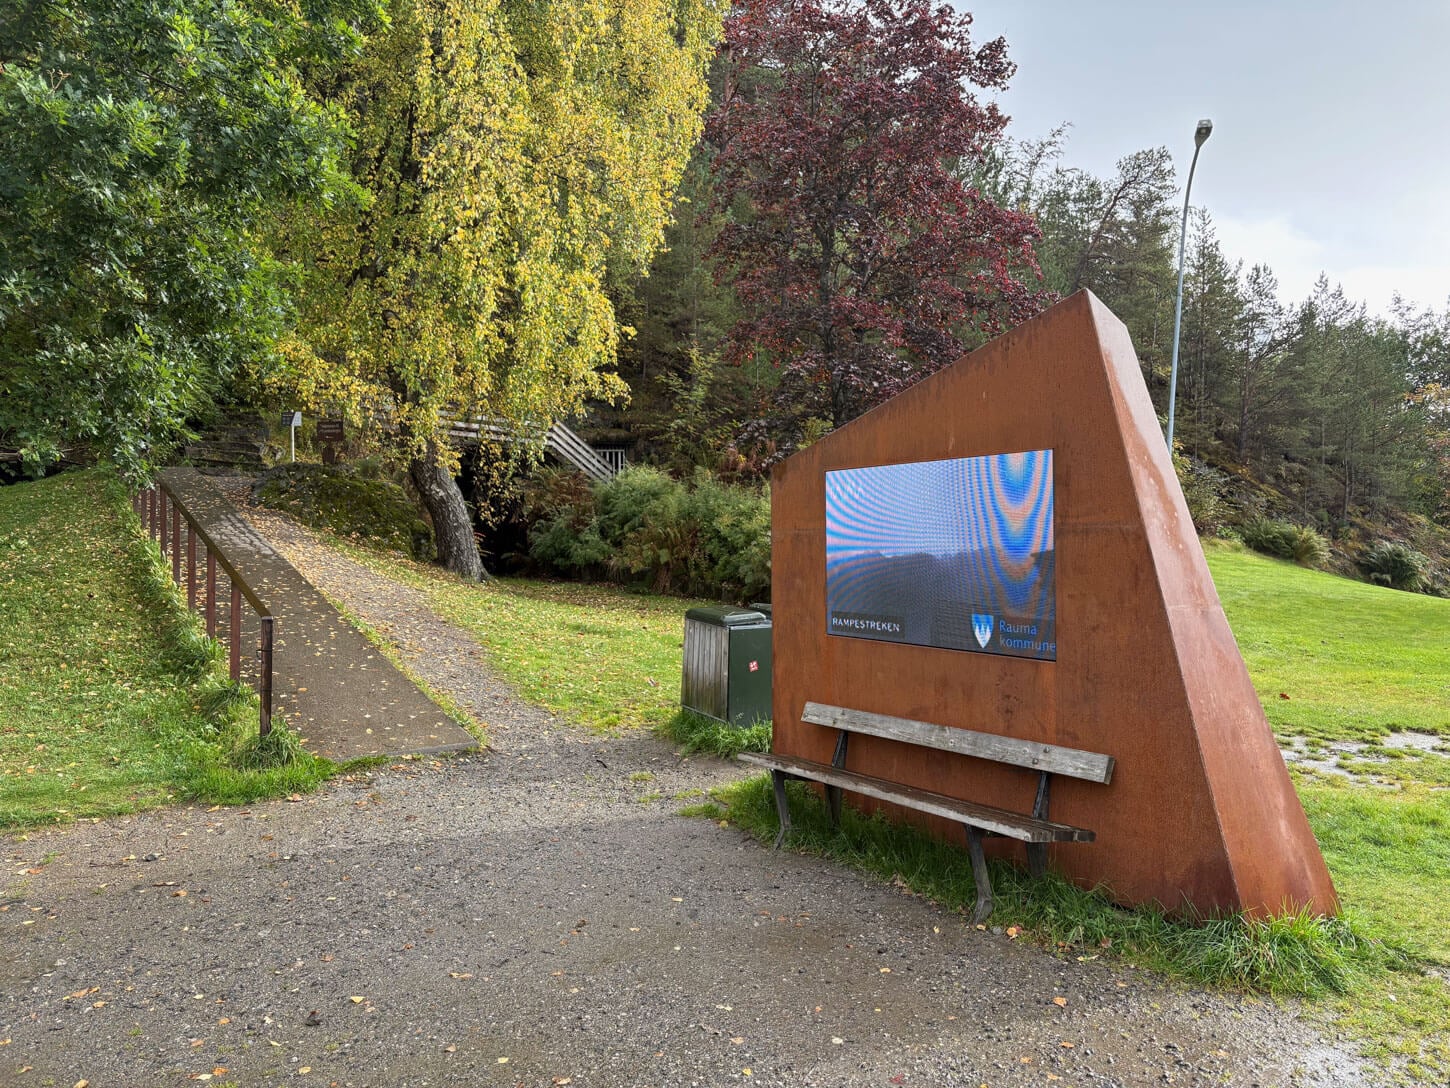
The Rampestreken trailhead.
From Åndalsnes, the trail is well marked both as the arrival point of the Romsdalsselggen ridge hike and as the starting point of the Rampestreken. At the beginning, there is both a metal ramp with handrails and an old dirt path you can take. The trail has markers, showing you the total elevation gain behind and ahead of you.
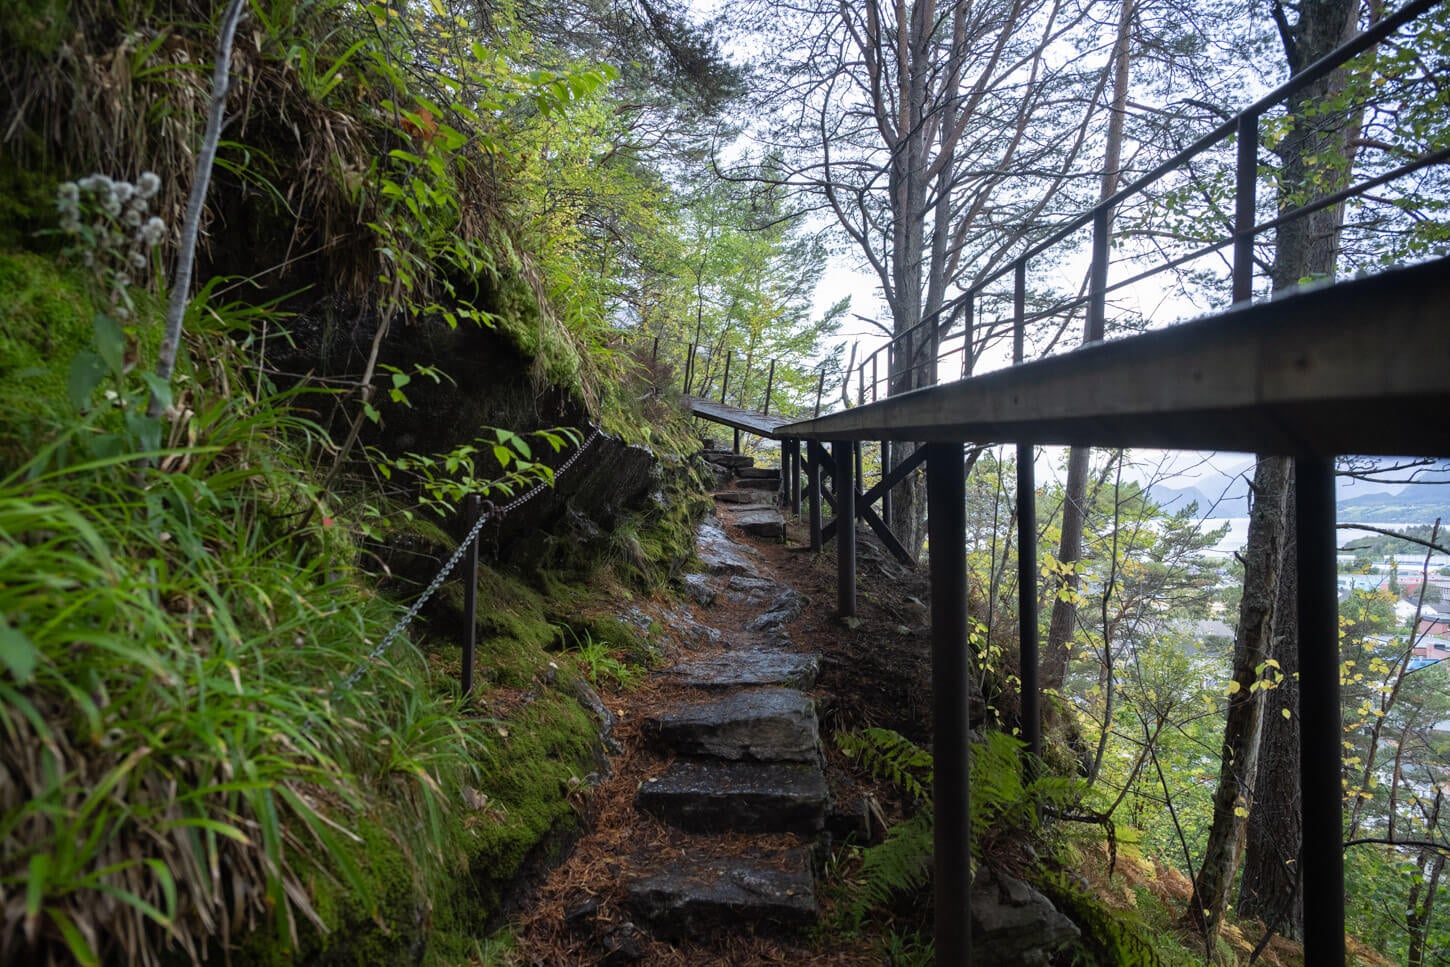
The first part of the trail can be followed either on a metal ramp or on the old trail.

The Rampestreken trail has markers every 100 meters of elevation gain.
The two paths criss-cross each other a few times before converging at the beginning of the climb to Rampestreken. From here, it is rather slow going. The trail is almost entirely in the forest; it is quite steep at times, and it is a carpet of exposed, potentially slippery roots. For the most part, there isn’t one single defined path.
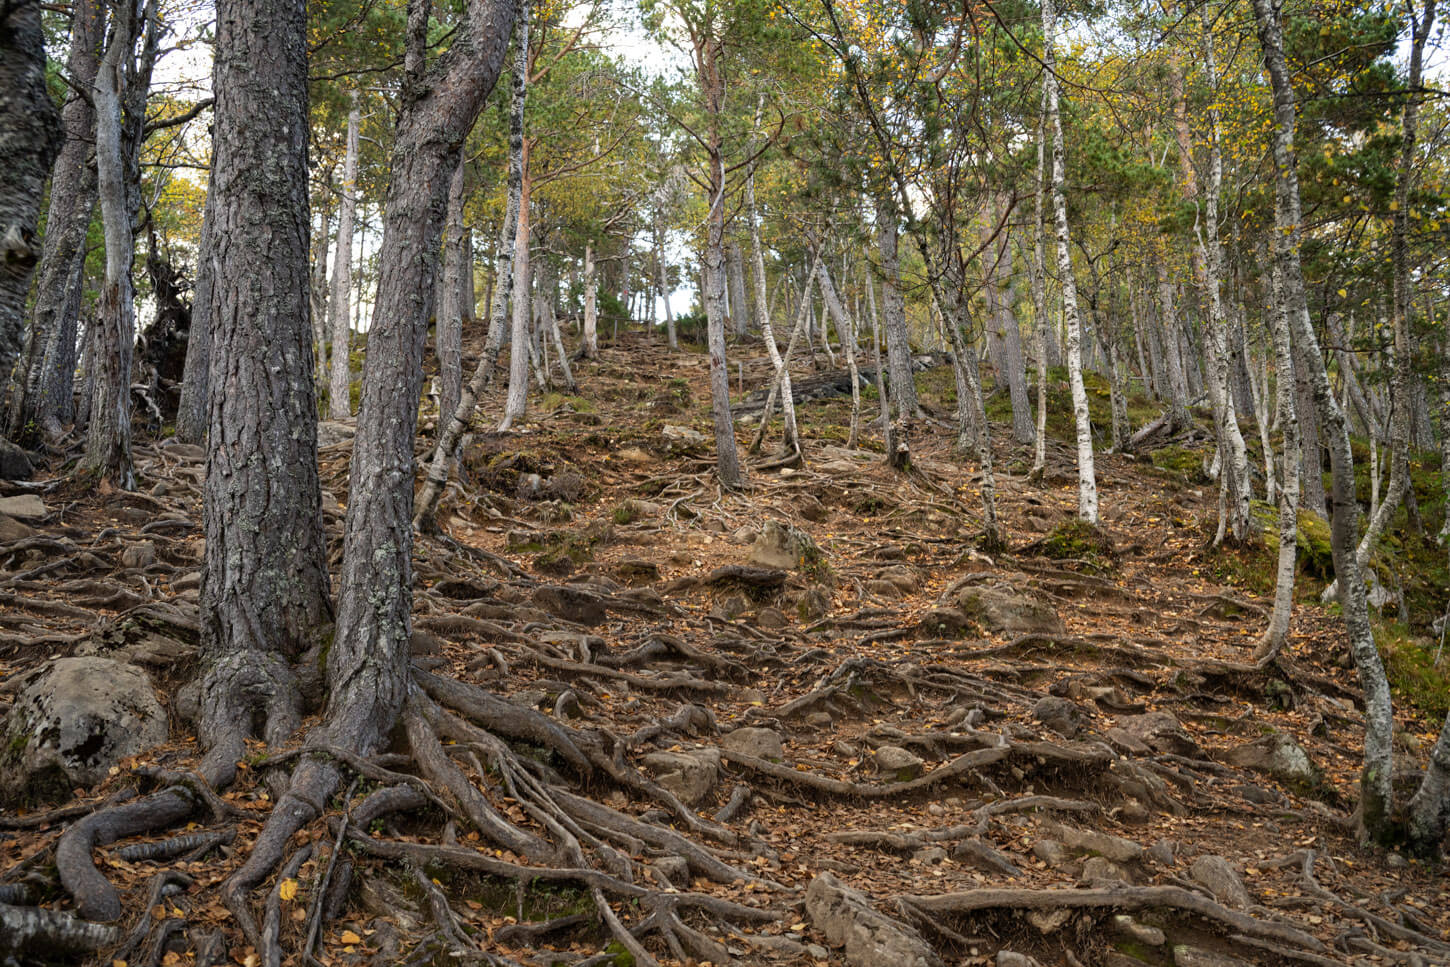
For the most part, the trail to Rampestreken is in the forest on exposed, slippery tree roots.
The very last section is on stone steps, the Romsdalstrappa, built by Sherpas, like at many other trails in Norway. The Rampestreken metal platform will be to your left. Well worth the views, though there will be a queue on busy summer days.
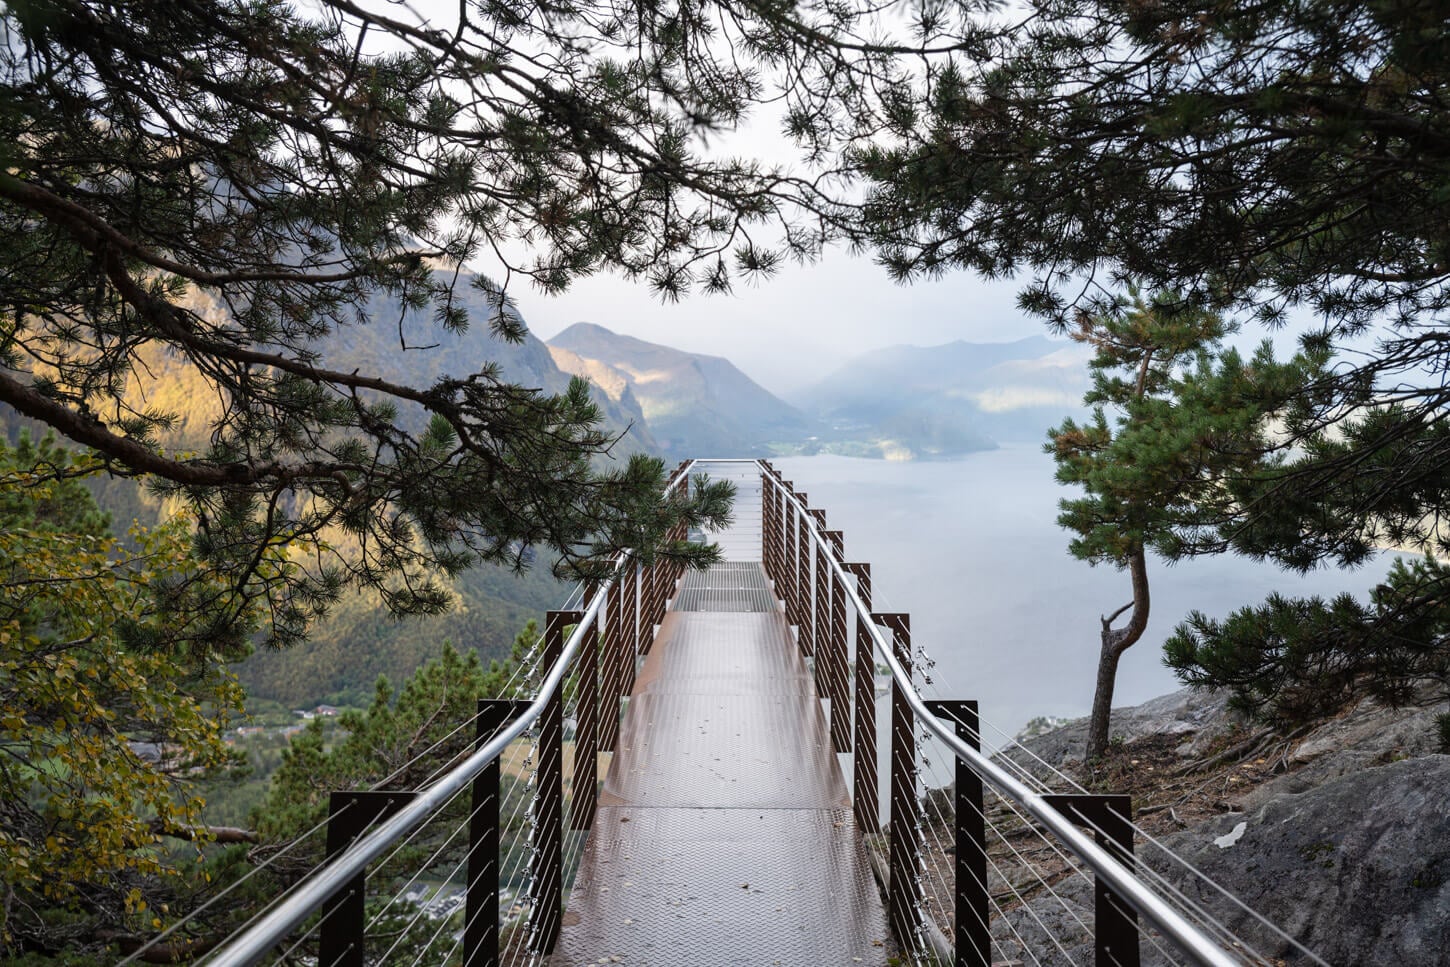
Rampestreken
View from Rampestreken.
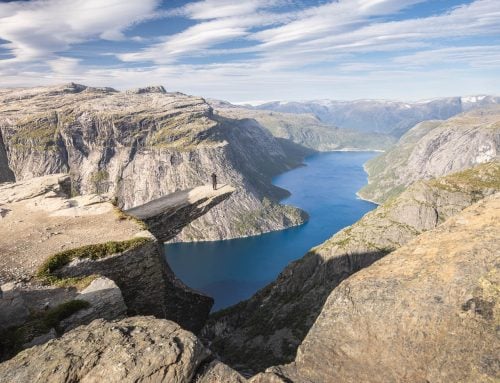
The next viewpoint, Nesaksla, is a short walk away on the Sherpa’s stairs. Steep initially, but the trail flattens out as you reach the mountain station of the cable car first, and the Nesaksla viewpoint second. I think the views from Nesaksla here are better than Rampestreken, and this is also the easiest viewpoint to reach if you take the gondola up the mountain.
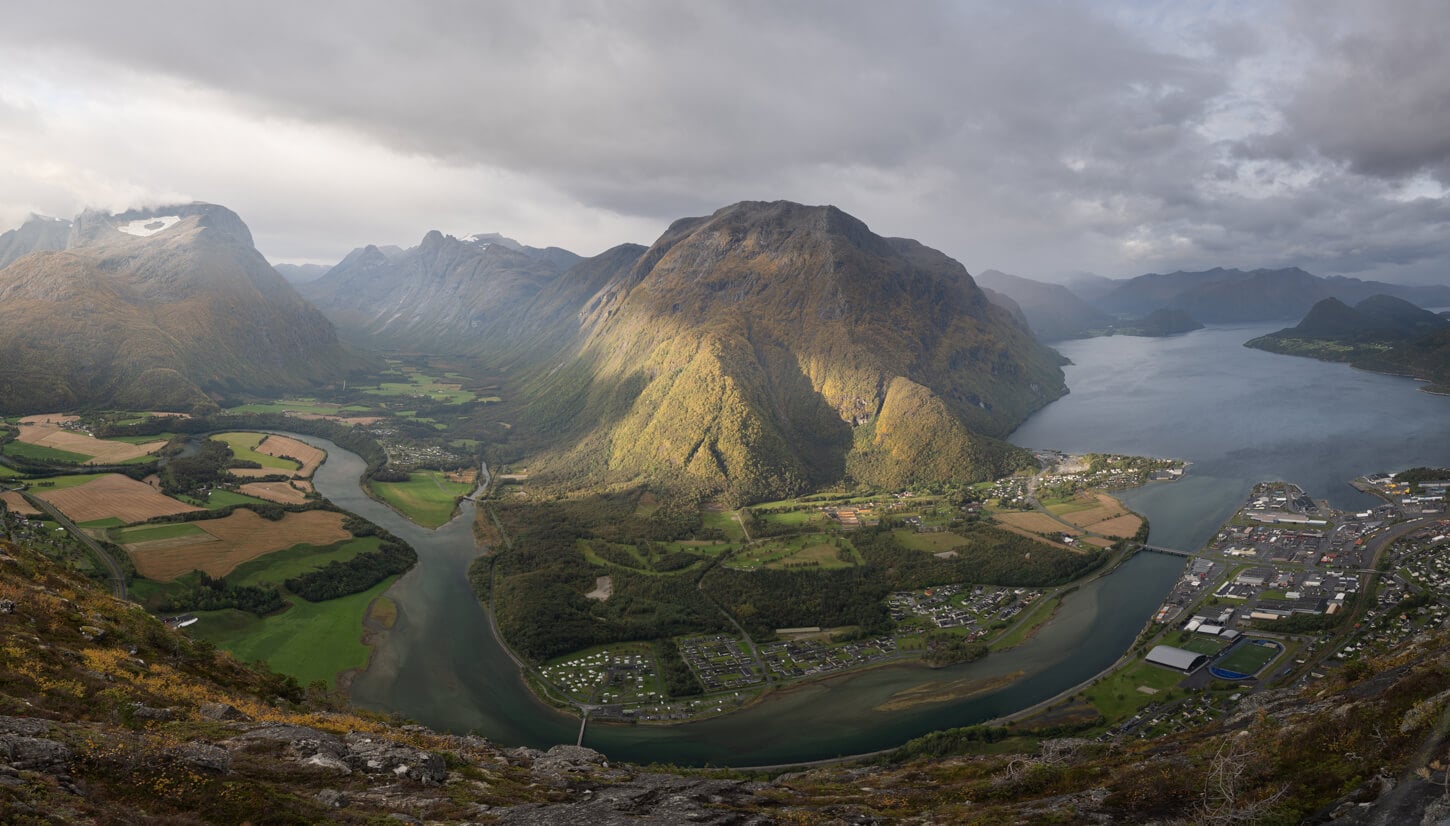
View from Nesaksla.
From Nesaksla to the Romsdalseggen & Mjølvafjellet
Past Nesaksla, you can follow the main trail up the ridge. Quite flat initially compared to the steep climb to Rampestreken, the trail meanders up and down Romsdalseggen a few times. There is a series of peaks you will cross: Vikånøsa (860m), Høgaksla (990m), Mjølvaskaret (1,060m), Aksevarden/Aakseskaret (1,140m), before reaching Mjølvafjellet (1,216m).
As you approach the first peak, Vikånøsa, the trail steepens again and becomes increasingly rockier. That means relatively slow going. The view here will open up to the north side of the Romsdalseggen ridge, too, and these are some of the best views of that side from this trail.
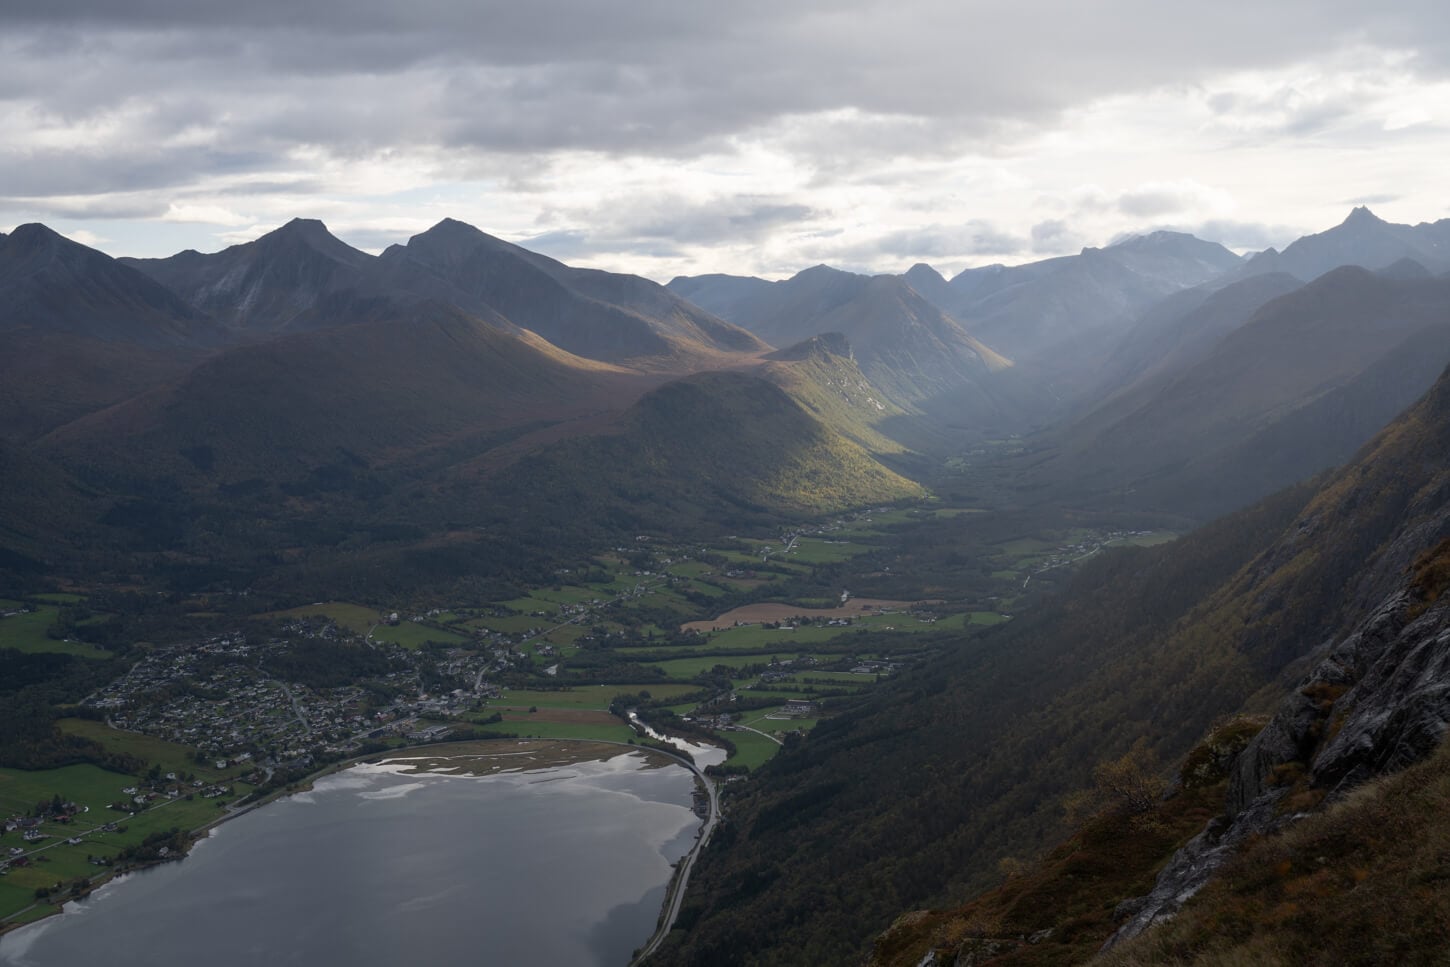
View on the opposite side of the ridge.
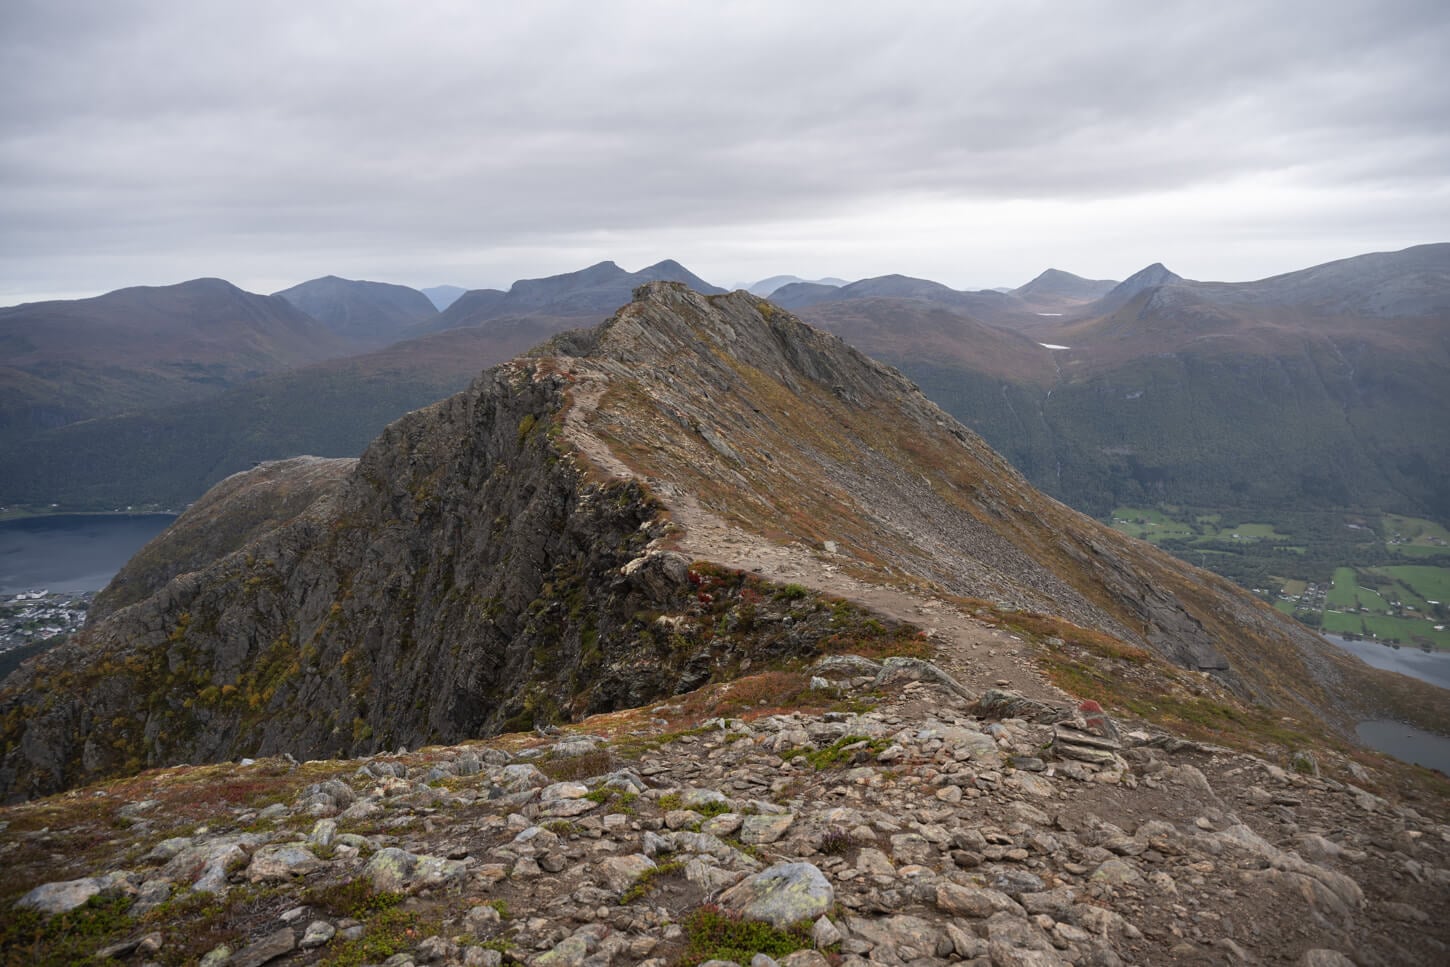
The trail is quite rocky for the most part.
The trail then continues with a series of up and downhill sections along the ridge. Sometimes the trail leads away from the ridge until Høgaksla. In this section, there is also a moderately exposed stretch equipped with cables. It’s not a particularly difficult section, but it does require sure-footedness, and it is exposed.
I also think this stretch is where you have some of the best views on the trail. It’s quite an exposed area of the ridge, with cliffs dropping almost vertically into the valley below. That means a bird’s-eye view of the whole landscape.
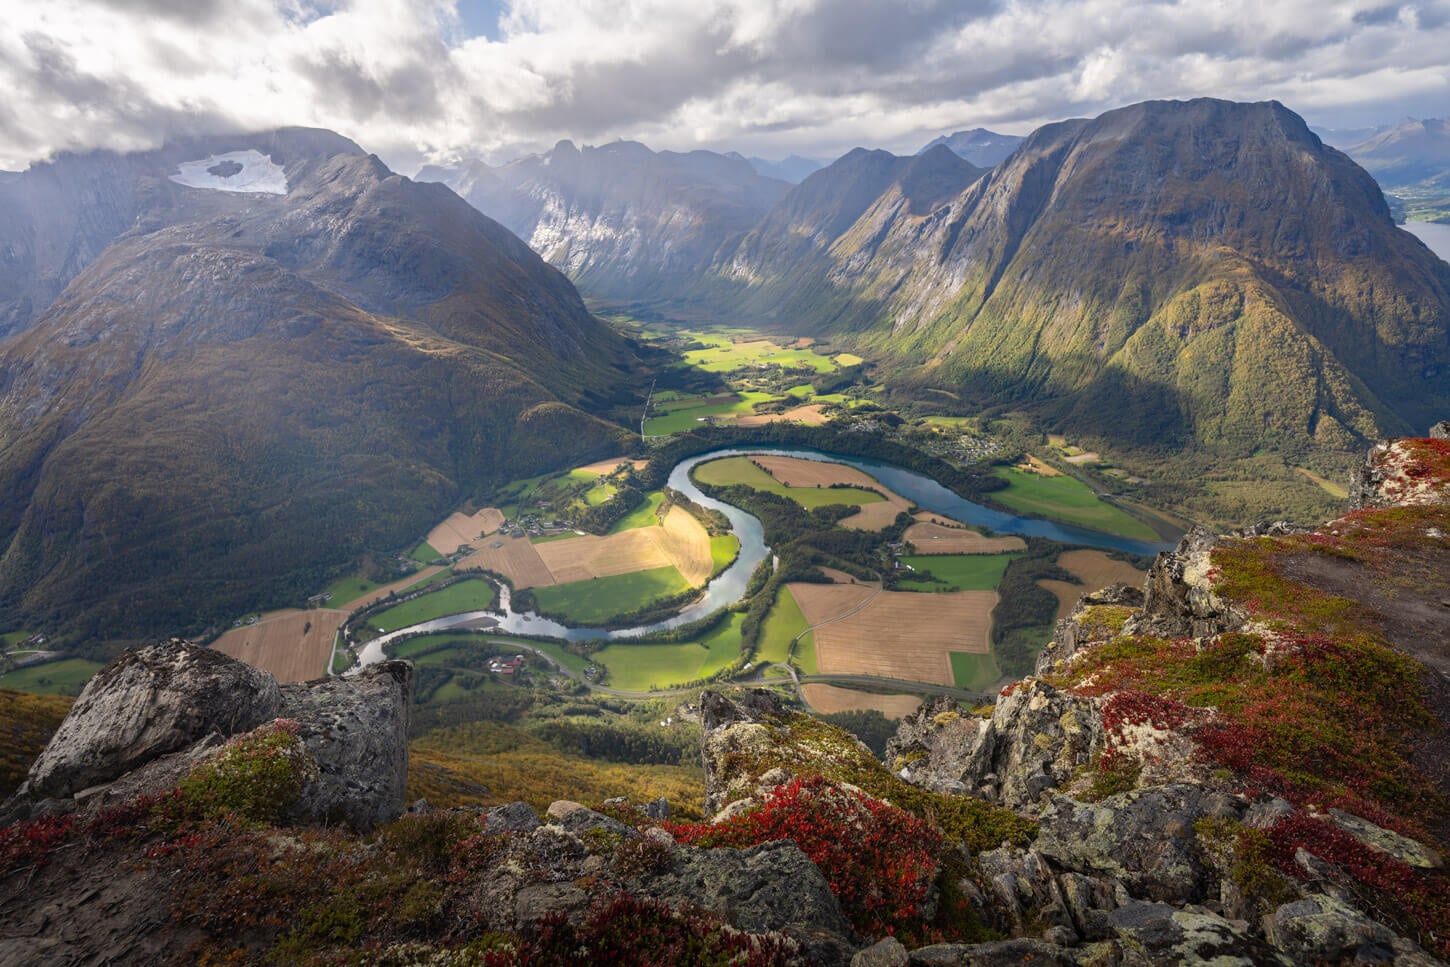
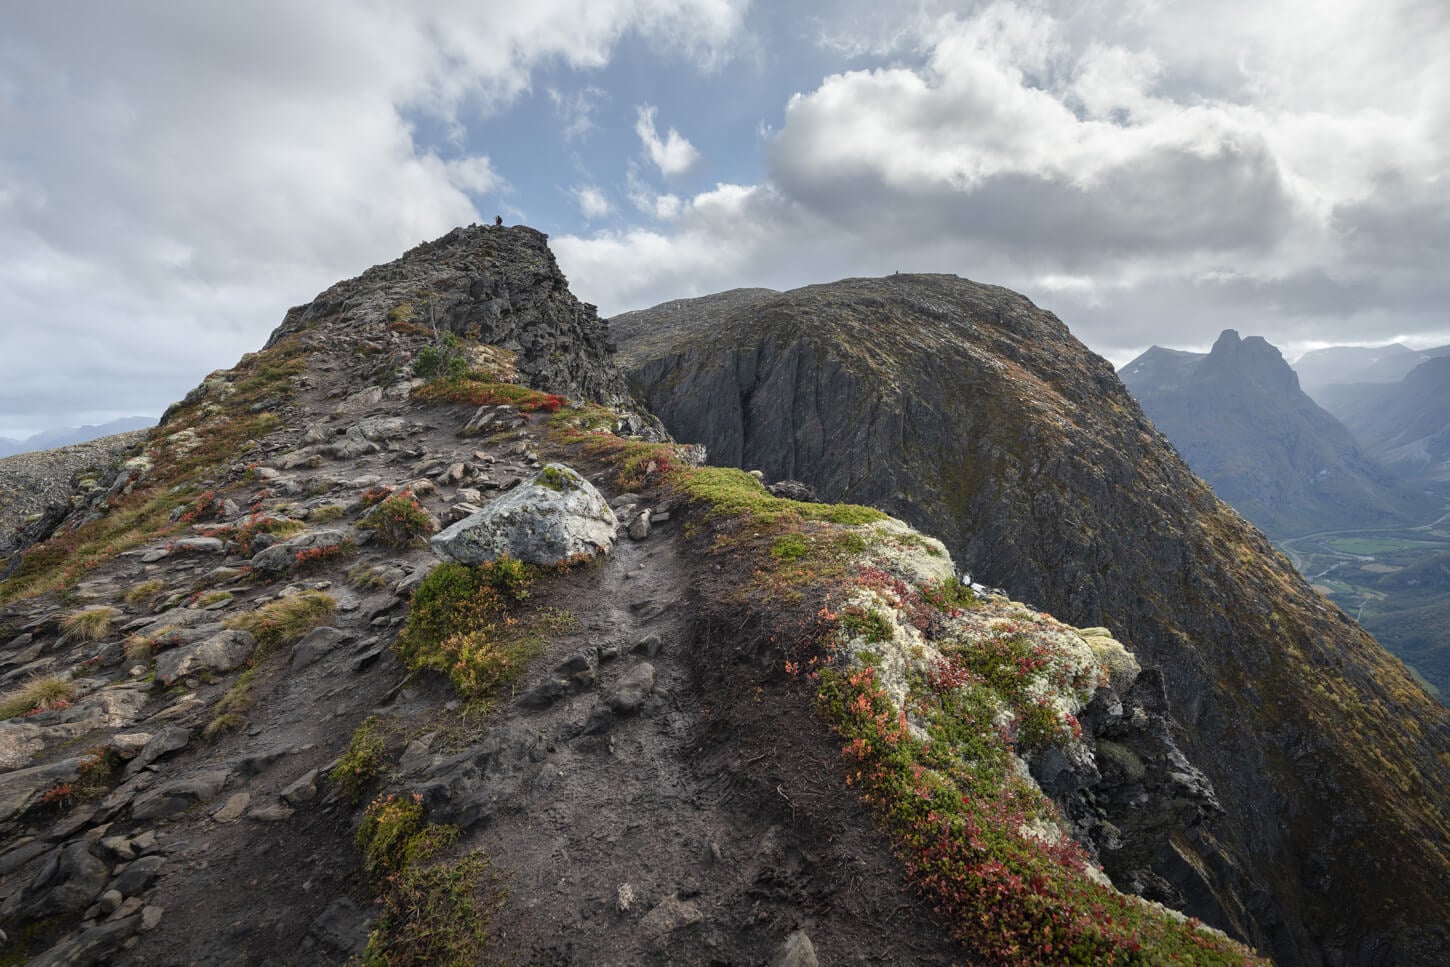
From here. There are two more peaks, Mjølvaskaret and Mjølvafjellet. The terrain is mostly rocky, and for the most part, the best views are now behind. Mjølvafjellet, however, still offers a great viewpoint that faces a different direction than the main ridge.
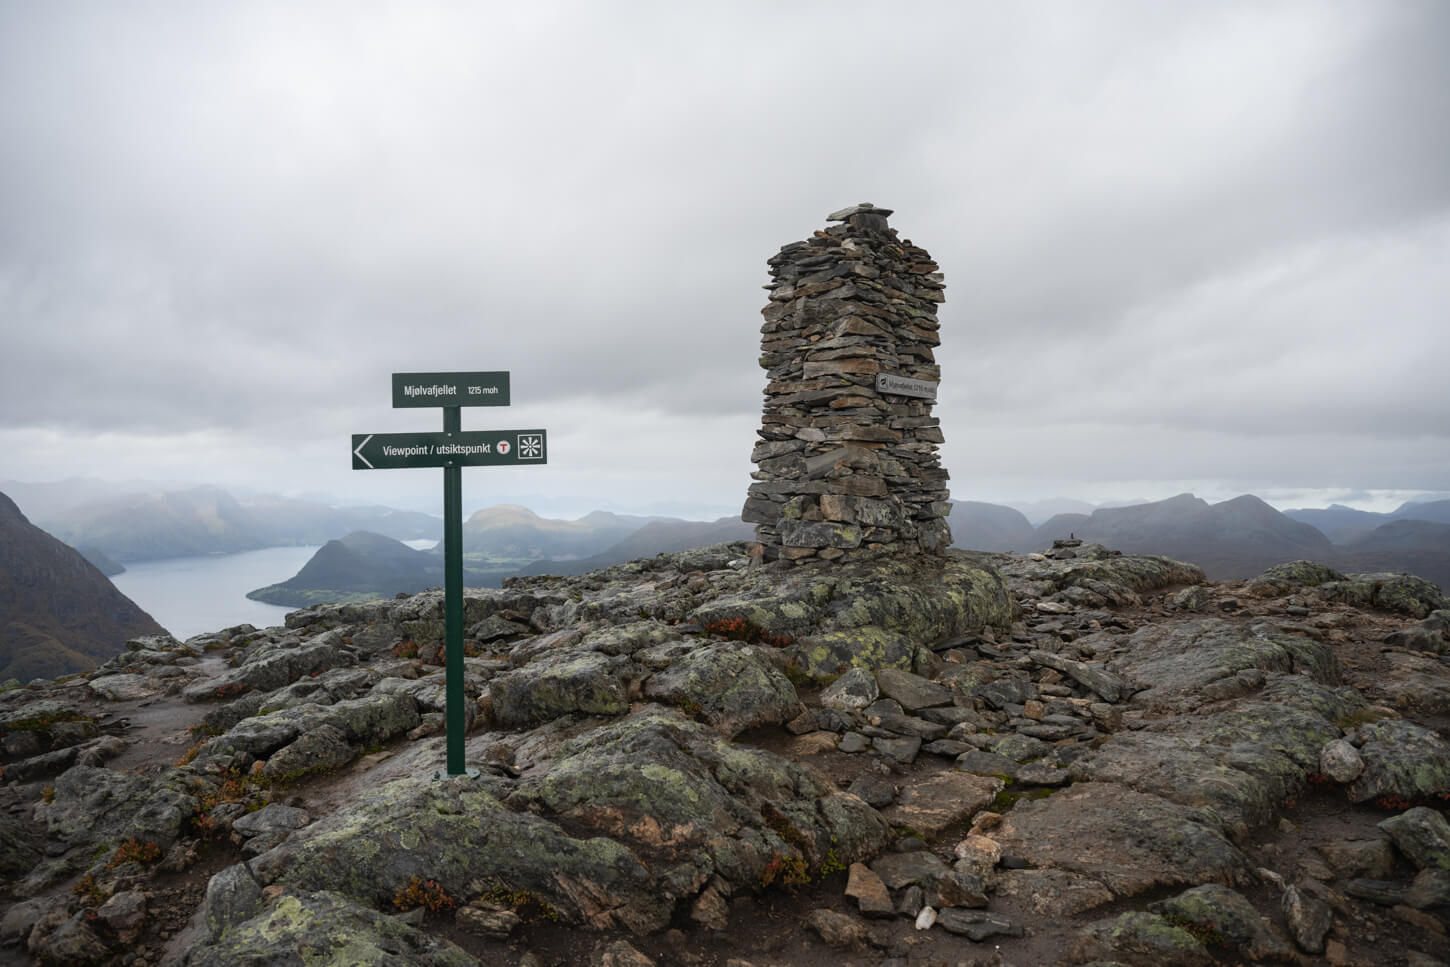
Mjølvafjellet Summit.

Mjølvafjellet’s viewpoint.
This would be the recommended turning point of the trail for safety reasons. This is what the sign below says: “The trail continues into a narrow and steep section. There is only room for one person side-by-side. To avoid dangerous situations with oncoming hikers, we encourage you to stop here.”
This is where you would cross paths with a stream of hikers coming from Vegnedalen.
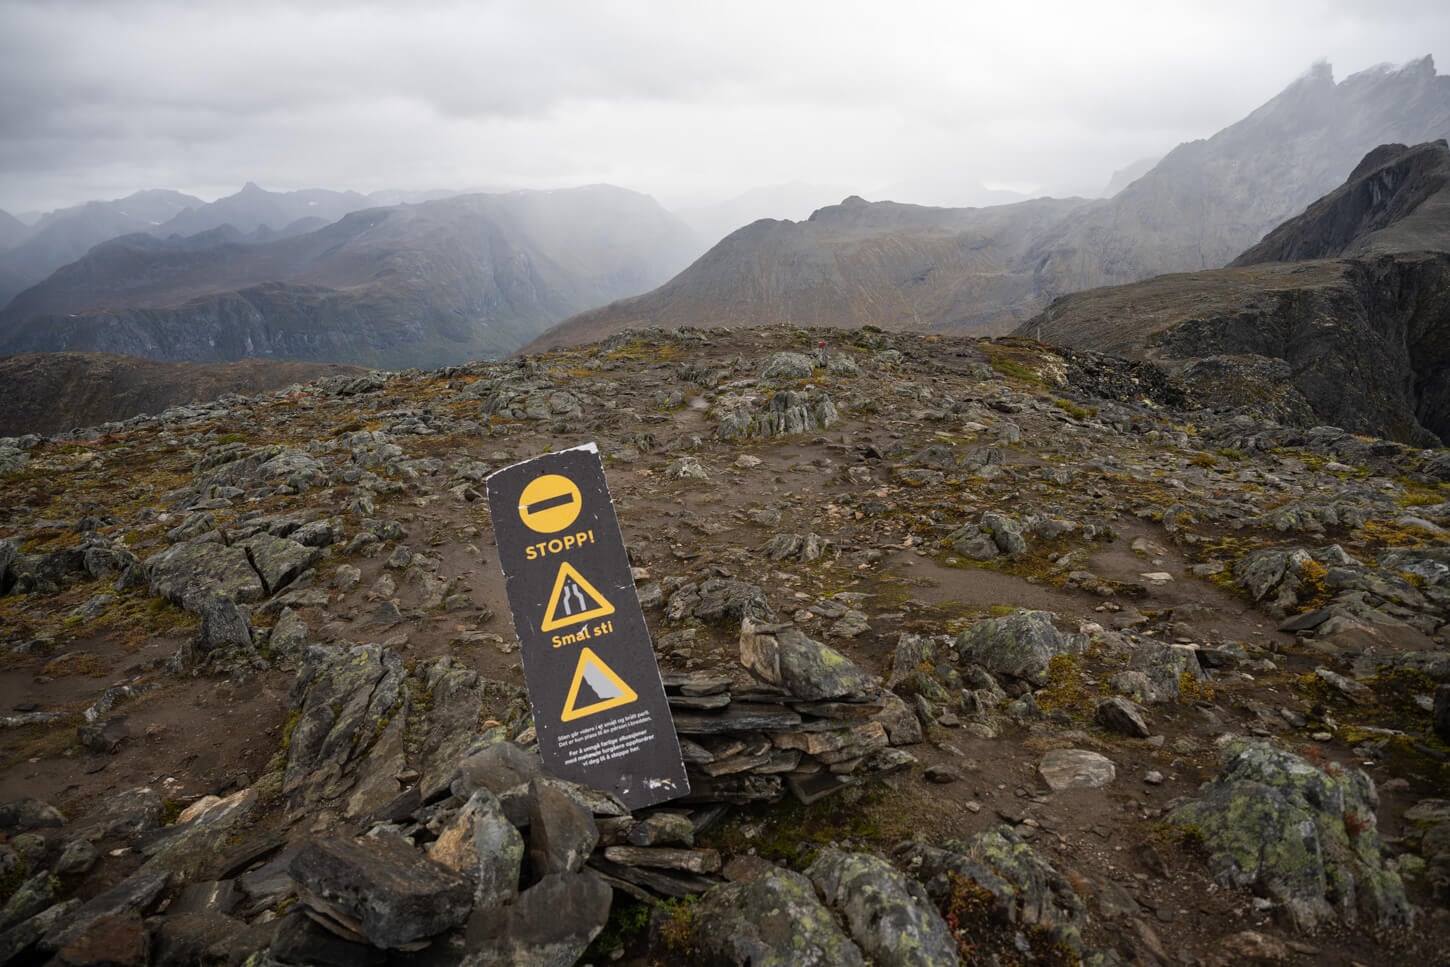
Coming from Åndalsnes, this is the recommended turning point to avoid facing oncoming traffic on the narrow, exposed ridge.
The most exposed section of the ridge.
And, on the way back, you can enjoy once more the views from the most scenic section of the ridge, and head back to Åndalsnes to enjoy a meal or a drink at one of the local restaurants or bars.
Romsdalseggen Ridge Photos and Photography Tips
This hike offers several great viewpoints. Along the trail, the main points are, of course, Rampestreken, Nesaksla, and the section of the ridge between Høgaksla (990m), Mjølvaskaret (1,060m).
View from Rampestreken
View From Nesaksla.
Romsdalen Vallen from Romsdalseggen
In terms of light, in the morning, catch some backlight hitting the mountains or sidelight, depending on the season. At sunset, you have the potential to catch colors in the sky if the weather cooperates, or again, sidelight or backlight, depending on the season.
I almost exclusively used my 24-120m lens on this trail, full frame. If you had to bring only one lens, I’d recommend a similar range, something starting around 18-24mm and up to 70-120mm, to isolate the parts of the landscape.
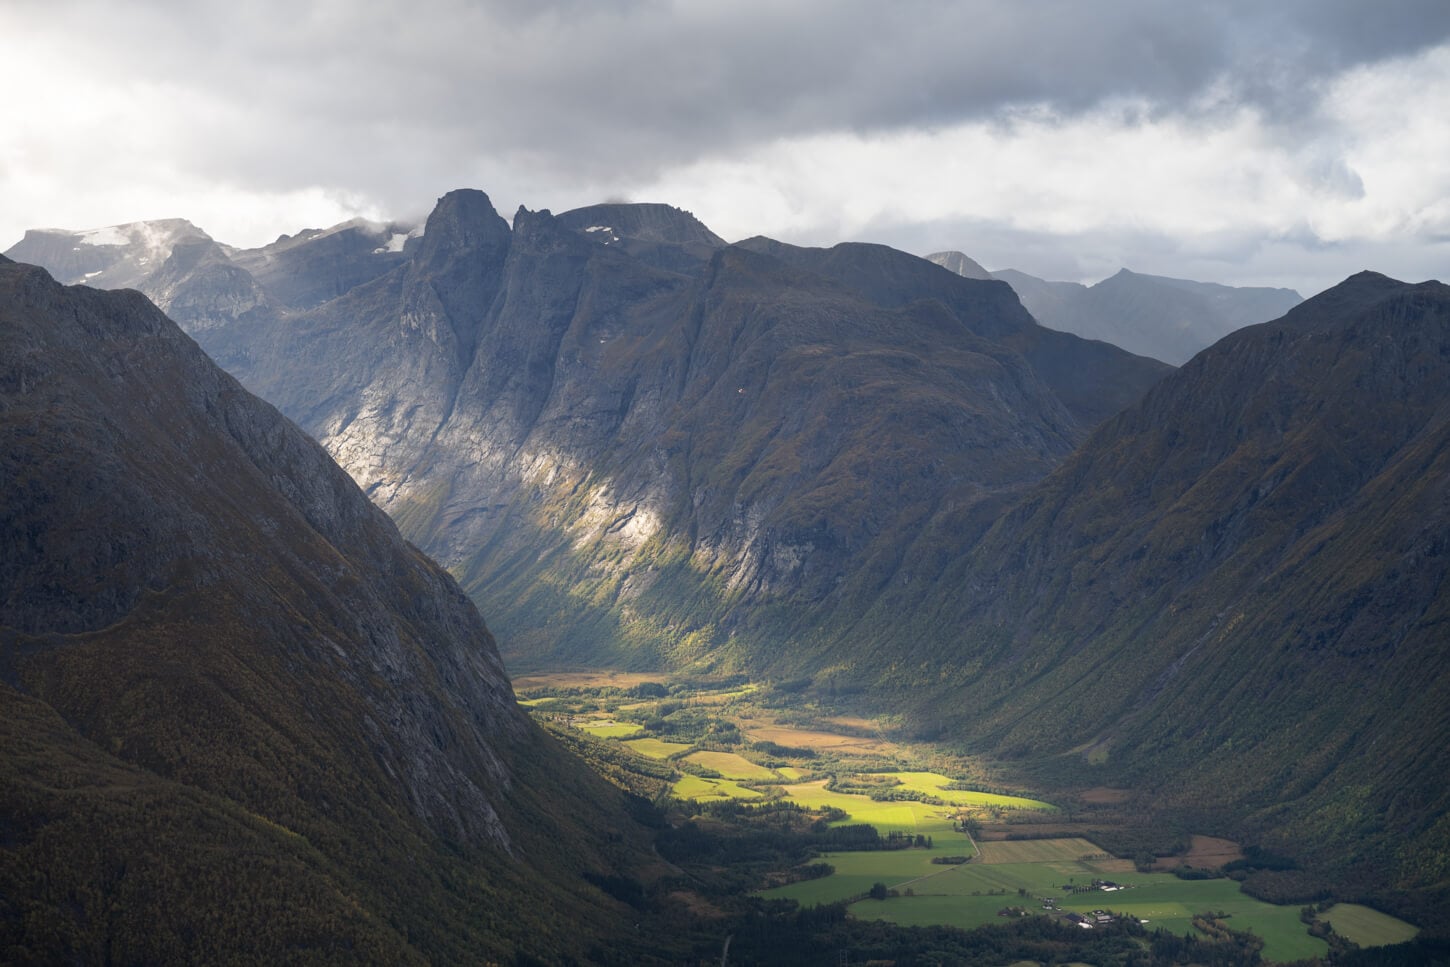
Trollvegen – 100mm focal lenght.
A wider lens might be useful on occasions, but with such wide views, there’s nothing that a panorama could not capture, if needed. Overall, anything in the range of 18-24 would work great, more than ultrawide, at least to my taste. That focal length fills the frame better.
What I would not miss is a polarizer; with the sun out really helps to bring colors to life, and cuts some of the reflections from the Rauma river while enhancing its color.
24mm focal length.
Photo taken at 14mm.
Romsdalseggen Fatal Accident & Safety Notes
As I mentioned earlier, I was there on the day the only known fatal accident had happened on Romsdalseggen, on the 19th of September 2026, when a young woman in her 30s had fallen off the cliff while trail running at the worst possible point, the narrow section past Mjølvafjellet.
I have not seen the accident, luckily. She and her partner ran past me some 30 minutes earlier, we exchanged the customary trail greetings, and went our ways.
I only saw the Search and Rescue team arriving in a helicopter when I reached Mjølvafjellet, some 30 minutes later. The first hikers from Vengedalen were also coming up from the opposite side, and stopped watching the rescue operations too.
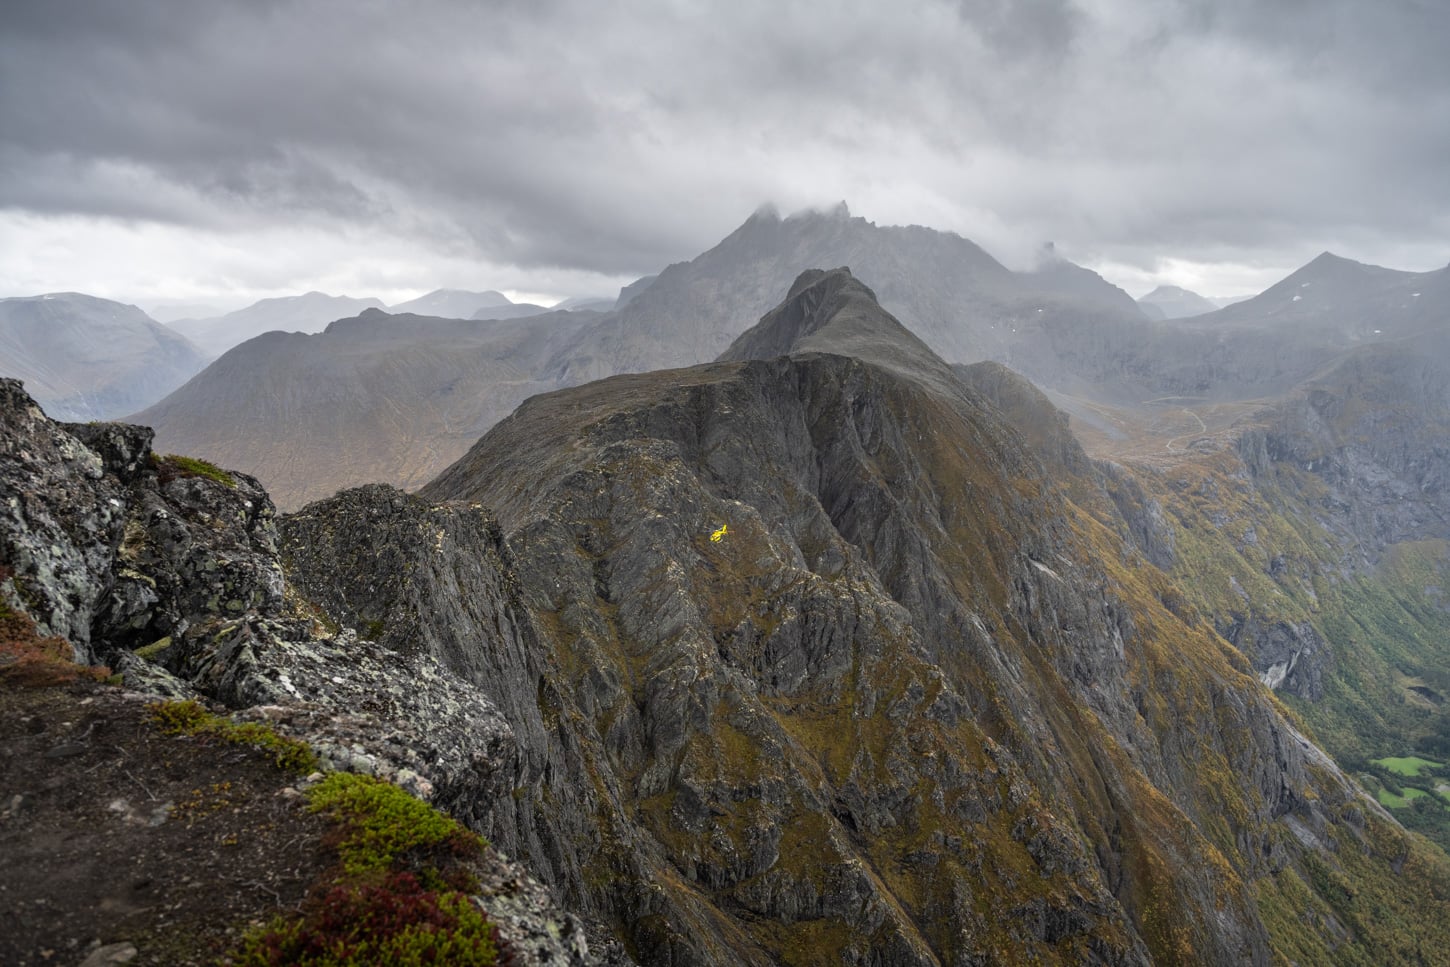
The ridge is completely exposed to an almost vertical 1,000 meters drop.
A team landed the helicopter nearby and started to scout the cliffs on foot. I watched the rescue operations for more than an hour and scouted the cliffs with my telephoto lens, while trying to find where she could have landed to signal the rescue teams. Time is of the essence in such cases.
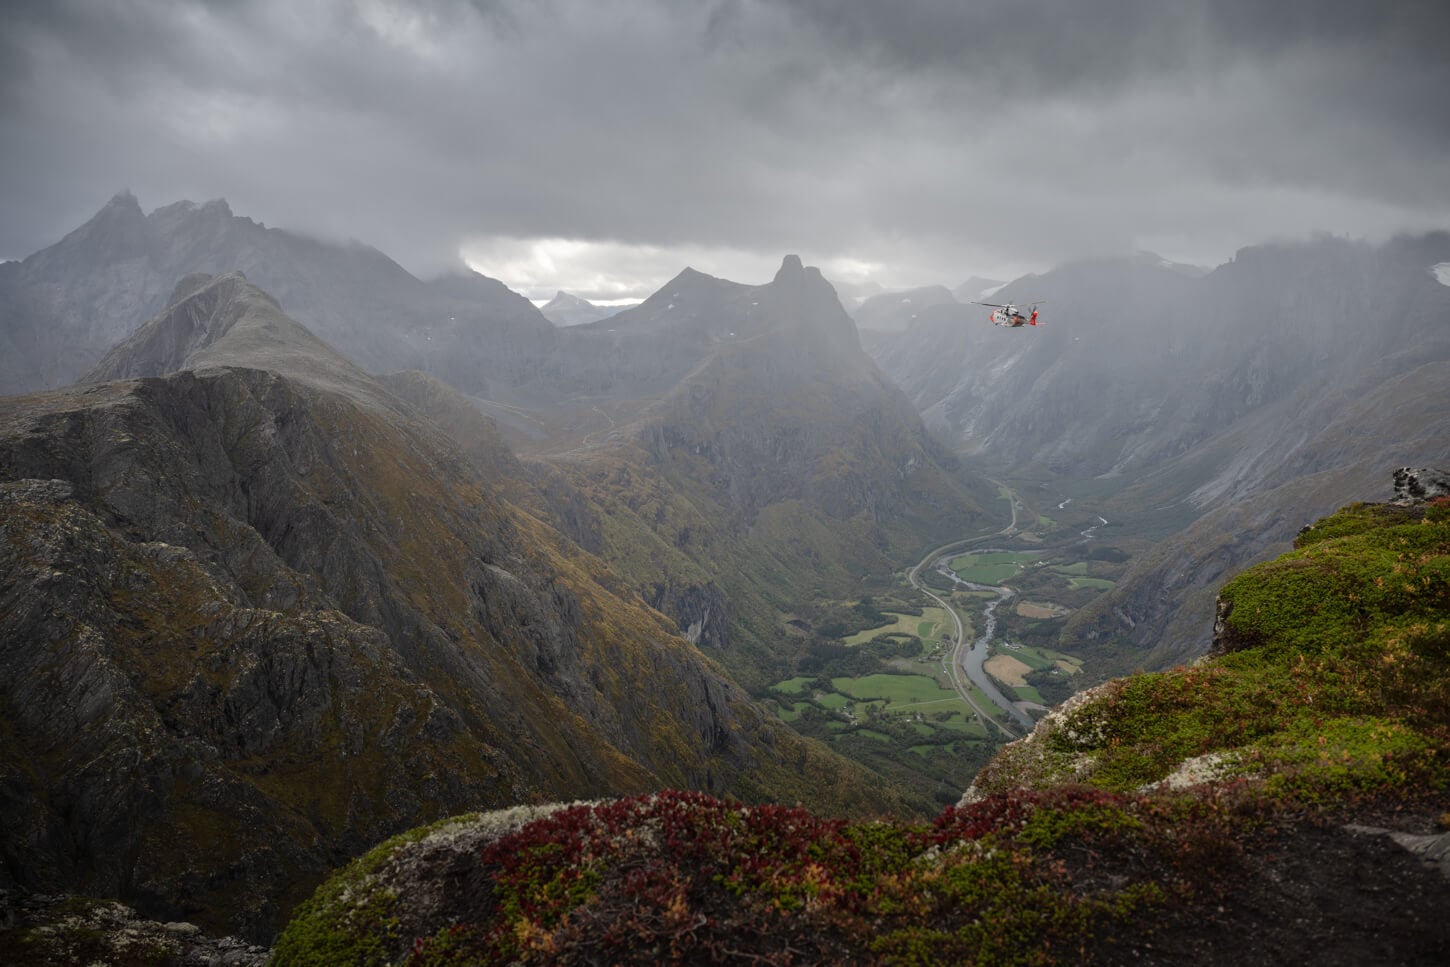
Rescue operation underway.
A second helicopter had arrived, and I kept scouting the cliffs. After about half an hour, I decided to head back – quite shocked and in disbelief, while trying to process what had just happened.
Romsdalseggen Safety Notes
Romsdalseggen sees an estimated 20,000+ hikers completing the ridge every year (source). Despite its extreme exposure and drop off of about 800-1,000 meters, this tragic event is the only known fatal falling accident on the main ridge.
That record owes a lot to how the hike is organized. The recommended direction is one-way, from Vengedalen to Åndalsnes, and the shuttle bus only runs that way. Hikers coming from Vengedalen climb toward Mjølvafjellet, the highest point of the hike, and cross the narrow ridge on the way up.
Past Mjølvafjellet, anyone continuing from the Åndalsnes side would instead be descending into that section, which is far more dangerous than ascending it, and would meet the climbers head-on on a path with room for only one person. That’s why the sign at Mjølvafjellet asks hikers coming from Åndalsnes to stop there.
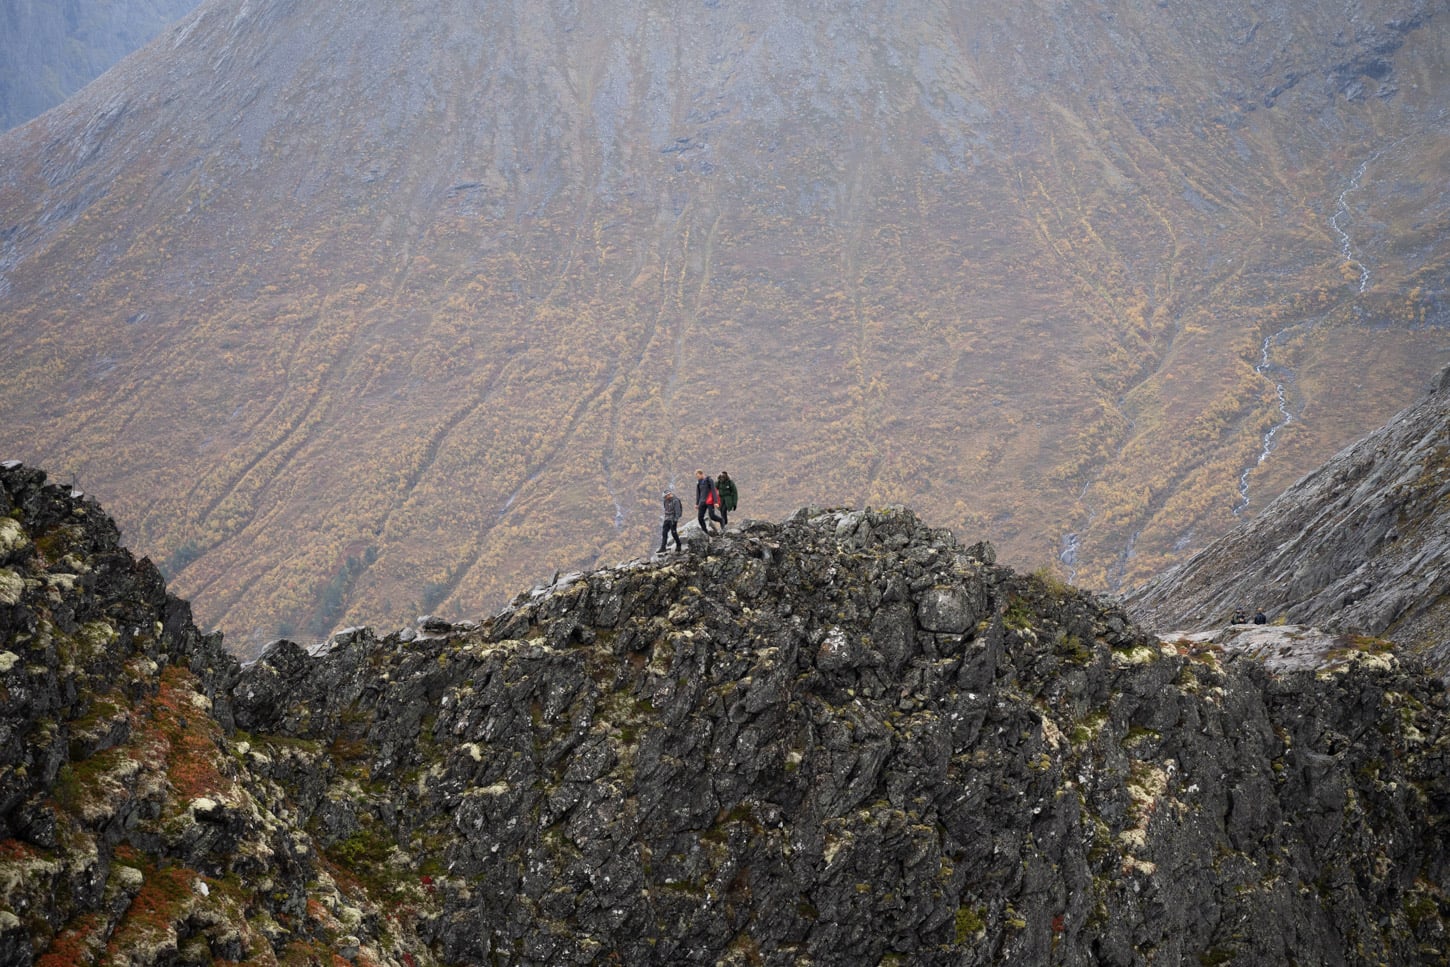
Hikers ascending from Vengedalen. Some sections are completely exposed to 800/1,000-meter cliffs.
Still, safety on that section is no joke. I planned an out-and-back from Åndalsnes toward Blånebba, starting early to cross the narrowest sections before the first shuttle-bus hikers arrived from the opposite direction. That avoids the hazard of passing oncoming traffic on a knife-edge. In the end, I turned around at Mjølvafjellet because of the accident.
So, definitely:
- Follow the safety guidelines, signs, and recommended direction of travel for your safety and that of others.
- Take extra precautions when the trail is wet.
- Never get too close to the exposed sections.
- Turn around if conditions or the situation call for it, as I did at Mjølvafjellet.
With such beautiful views, it’s easy to forget how costly a fall can be. Take care out there.
Where to Stay
Åndalsnes would be the obvious choice for the night before or after the hike. It’s a relatively small town, but there are enough places to stay and restaurants for a good dinner after the hike
If you are in a van or RV, the Levähdysalue rest area is the best free option. just a five-minute drive from Åndalsnes. There is another paid parking area you can overnight at next to Åndalsnes’ train station, as well as a campsite.
And – of course, you could camp on the mountain within the Allemansretten regulations. No water on the mountain though.
Additional Resources
- Discover more Scenic spots and Hikes in Norway.

Leave A Comment