
Himmeltinden Hike, Vestvågøya’s Highest Peak, Lofoten, Norway
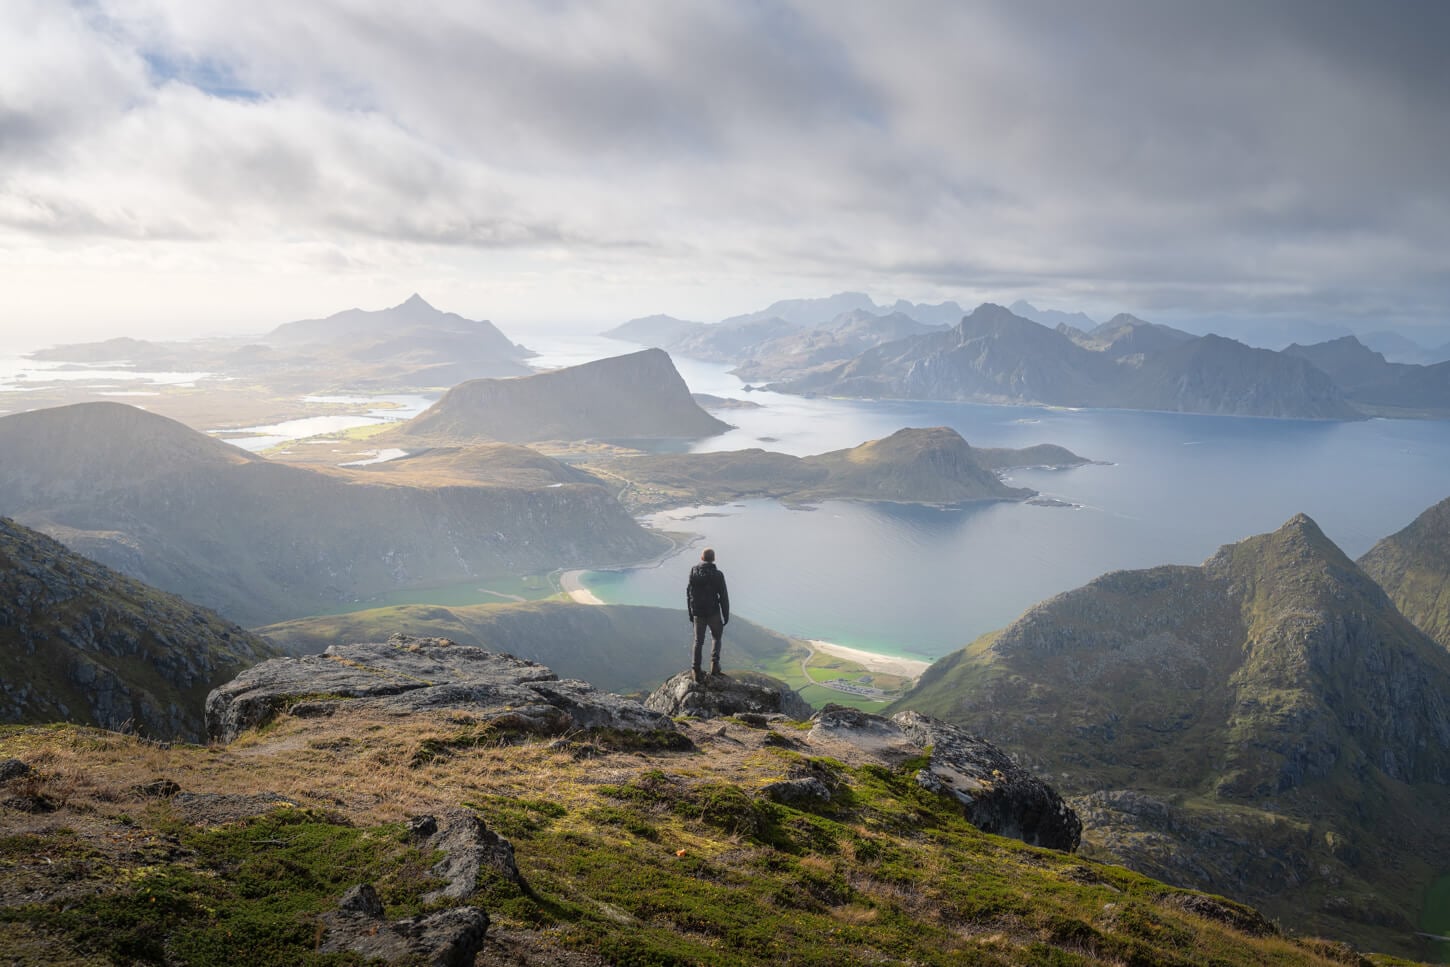
The Hike to Himmeltinden is also a hike to the highest point on the island of Vestvågøya. That translates into fantastic panoramic views of the southern part of the Lofoten archipelago once you reach the higher elevation.
| Himmeltinden Hike: Quick Overview |
| • Distance: 8.1 km / 5 mi (Out & Back) | Elevation: +880 m / 2,900 ft | Time: 3.5h–4.5h | Difficulty: Moderate | Trail: Unmarked, but visible until near the rocky top |
| • Start & Parking: Haukland Beach Parking area (main) |
| • Best Season & Light: Early Summer to Early Autumn |
While physically demanding, it’s not a particularly difficult hike. After the initial stretch shared with the trail to Mannen, the hike is a relentless climb to the summit, but it is neither exposed nor technical. A leg burner, yes.
Definitely well worth the views, and if you have it in your legs, you can add a detour to Mannen’s summit on the way back, too.
A couple of fun or interesting facts:
- The actual summit is closed to the public, due to it being part of a military installation – a NATO Radar. So technically, the Himmeltinden trail leads to a pre-summit. But even then, the sweeping, panoramic views are some of the best in the Lofoten Islands.
- Himmeltinden means “the sky peak” in Norwegian. “Himmel” could also mean heaven. Quite an apt name and words play for Vestvågøya’s highest summit, and the paradisiac view it offers.
- The mountain is also referred to as “Himmeltindan”, plural due to its multiple peaks.
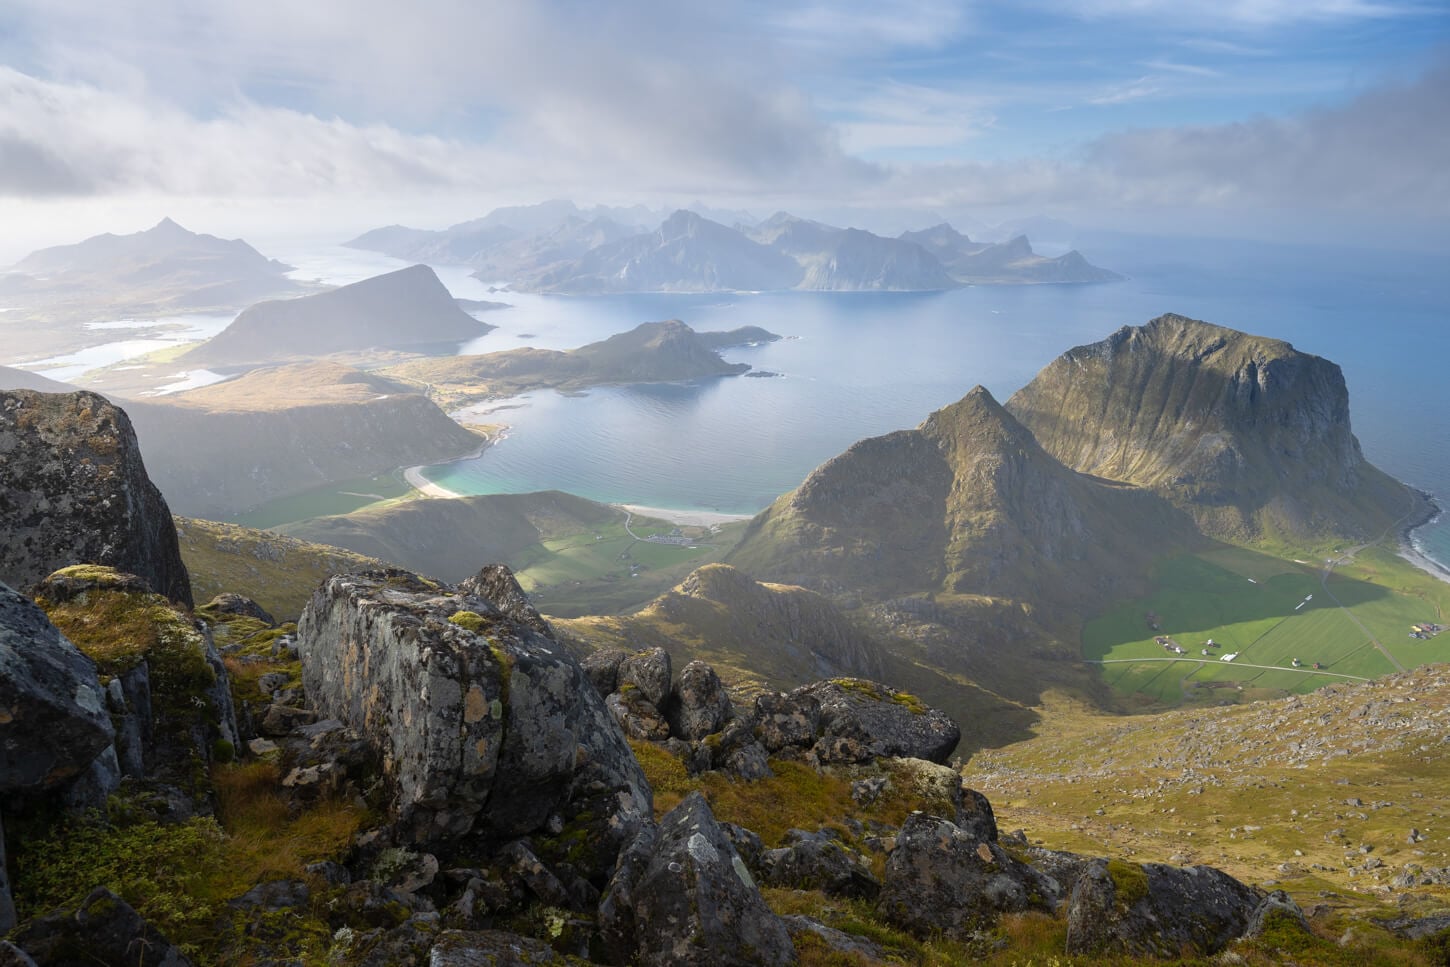
Table of Contents
Overview of the Himmeltinden Hike, Map & GPX
While the hike is relatively short at about 8km/5 miles, the elevation gain is quite significant, at almost 900m/(1,476 ft) in total. So the hike is quite steep for most of the trail, but it never gets technical or exposed. It can be muddy in places, as it often happens in the Lofoten.
Other than that, the trail isn’t particularly challenging. If you’re up to it, you could also include a detour to Mannen’s summit. It adds a couple of kilometers and about 200m of elevation gain, but it’s well worth it. You can download the file of the Himmeltindend plus Mannen hike here.
Here is the map of the hike. You can download the GPX file for free from the activity linked below.
How to Get to the Himmeltinden Hike Trailhead and Parking
The main parking area and trailhead are next to Haukland’s beach. This is also the hike/trail I will describe here. However, if that area is full, there is another smaller parking area past the tunnel, at Uttakleiv. Not the main Uttakleiv beach parking area, but a smaller one on the right side just off the tunnel. However, I’d recommend parking at Haukland beach; much easier to pay, and you can also use EasyPark.
- Driving Directions: From the E10 and Leknes, you have two options, one north and one south of Leknes. If you are arriving from the North, turn onto Leiteveien a couple of kilometers before entering Leknes. Follow the road, and you will arrive directly in the vicinity of Haukland beach. South of Lekens, take the first road to your right for Uttakleiv, after the Flesveien Brua, the bridge that connects to Offersøya. If you are driving from the south (Reine), it’s the first to the left, after the E10 tunnel.
- Parking: Paid parking available at the Haukland visitors center/bar. The parking also offers a dedicated area for Vans/ RVs. Alternatively, there is a smaller parking area near Uttakleiv. The parking area fills up quite quickly during the day, so it’s best to plan an early start. Or a late one.
- Public Transport: It’s possible to get to Haukland Beach by Bus from Leknes Center, Line 765.
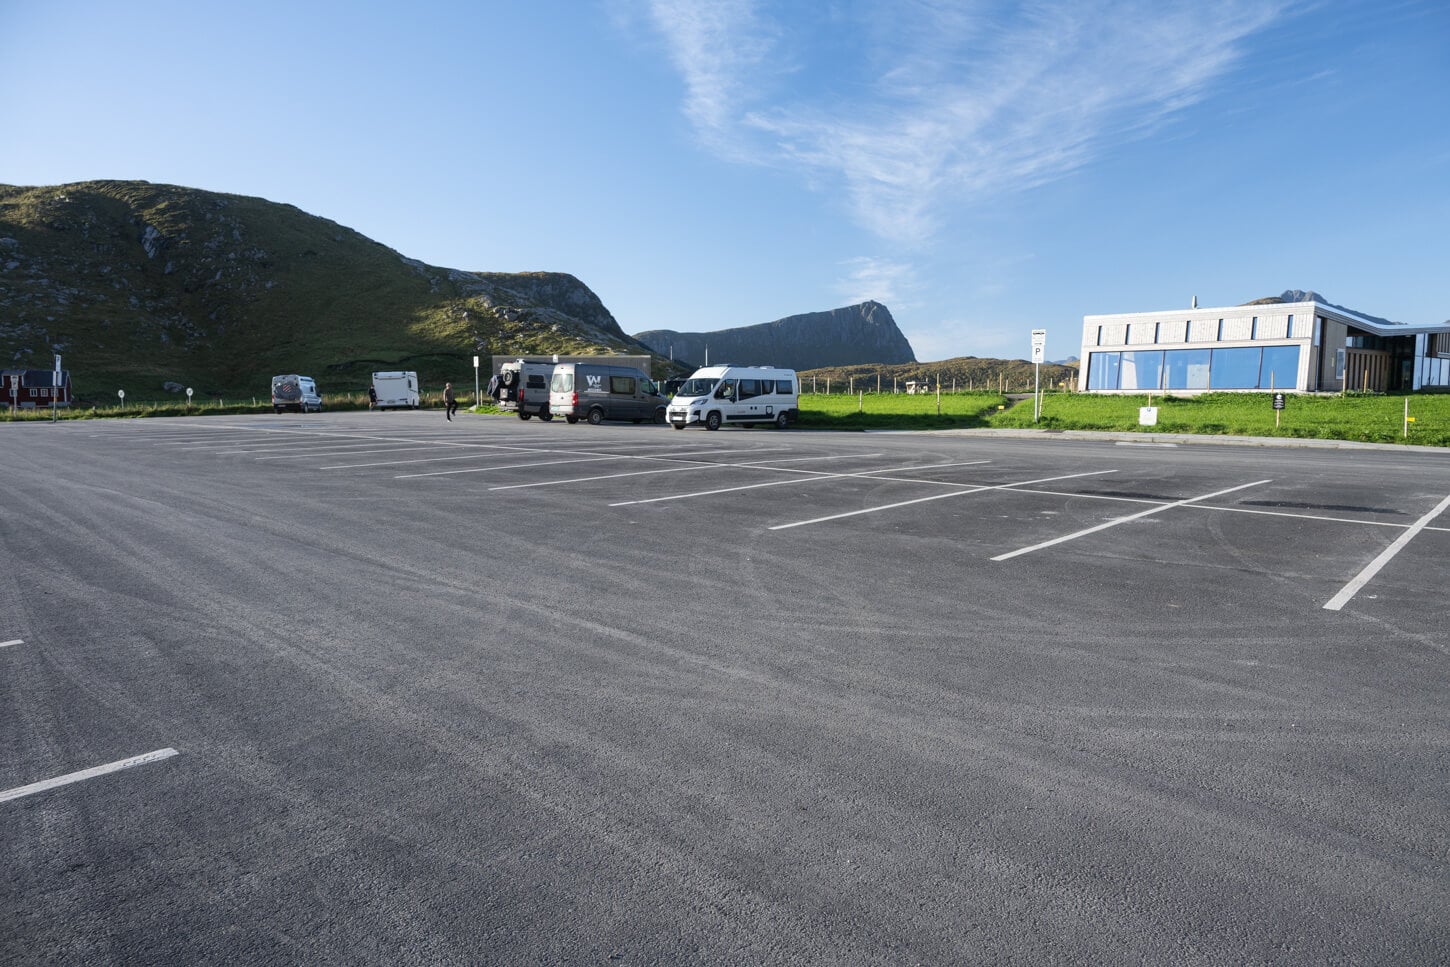
Haukland Beach parking area and Visitors Center, which is also the main trailhead of this hike.
The Himmeltinden Hiking Trail
From the Haukland beach parking area, you’ll see a gated, one-lane paved road across the street. That’s the start of the trail. Initially, it follows this old road into the valley (Durmålsdalen) before branching off to the left onto a well-maintained gravel/dirt path up the side of the mountain.
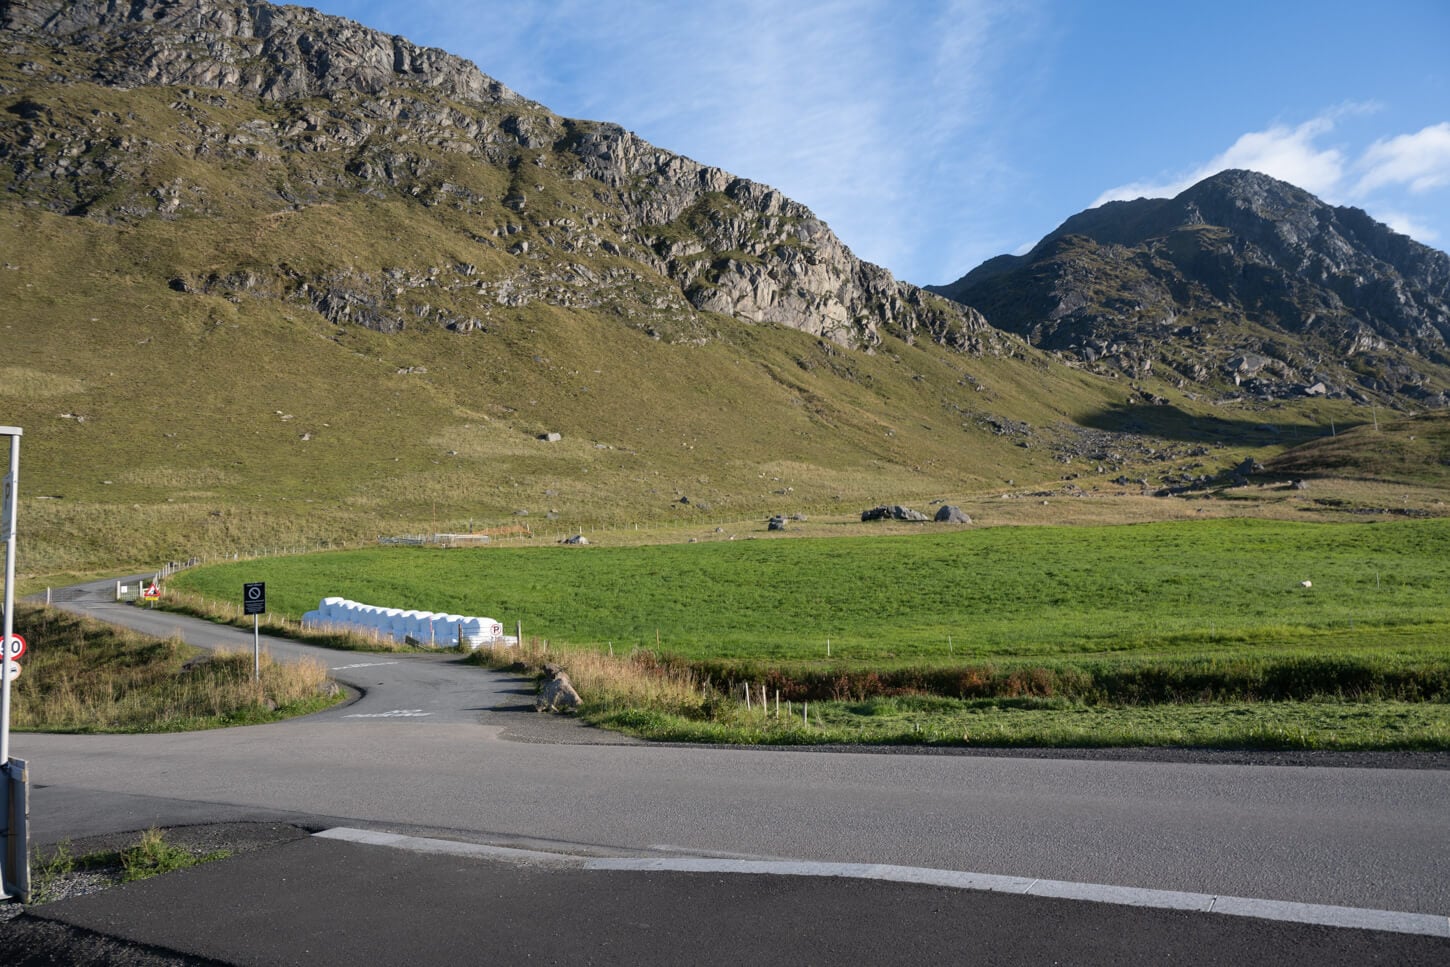
To access the trail, wal to the narro paver road that leards into Durmålsdalen
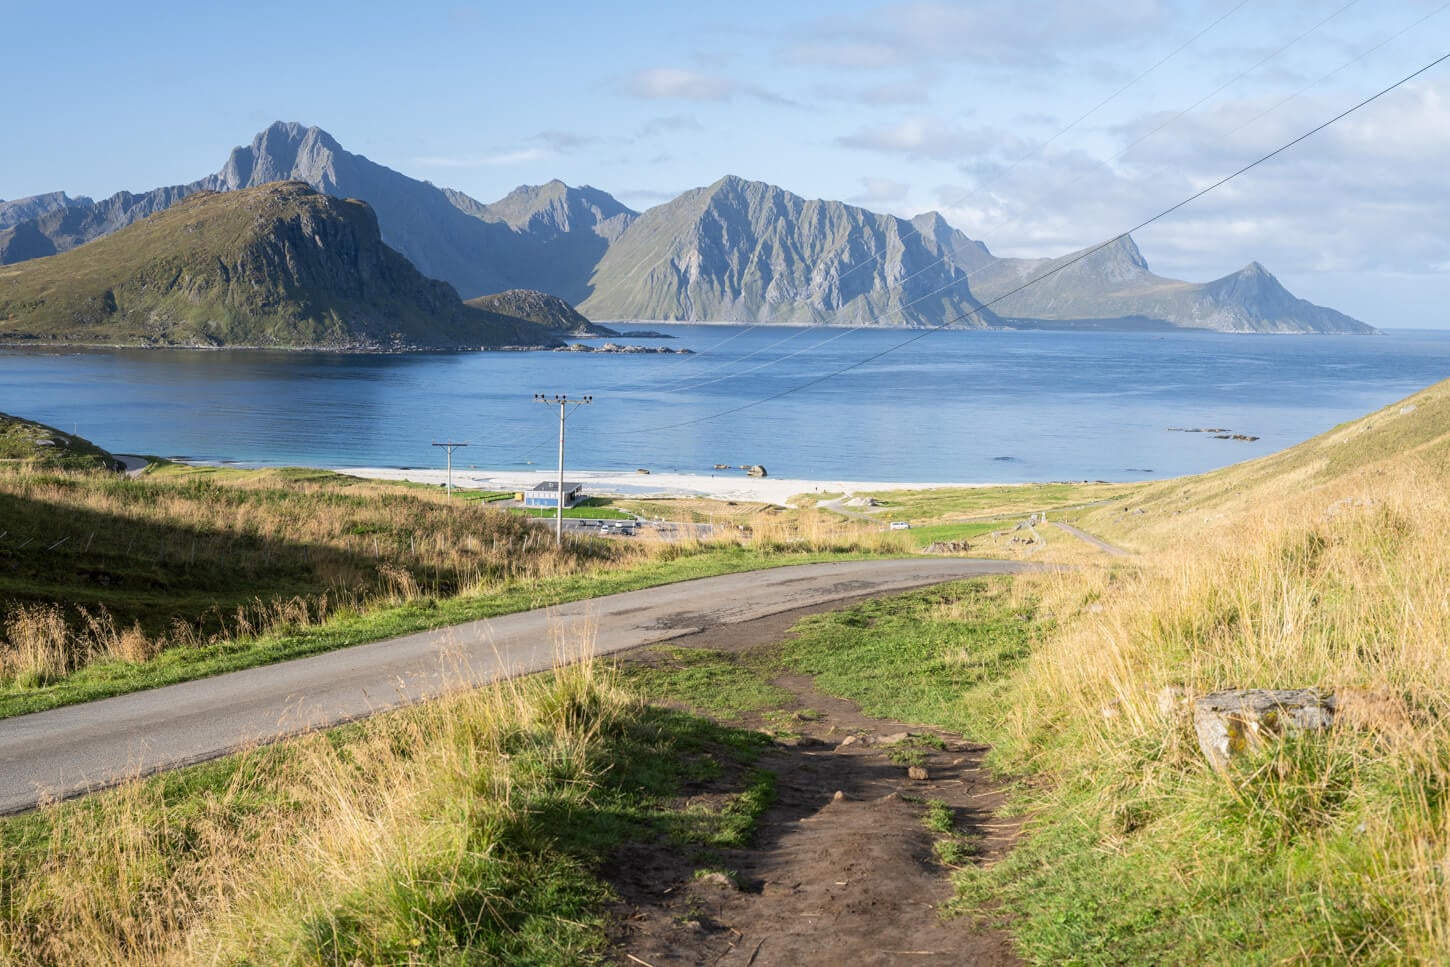
After a few hundred meters, take the dirt, unmarked path to your left.
It’s quite easy walking here; the trail leads up toward the saddle in a series of gentle, wide switchbacks that keep the gradient manageable. This section has been improved in recent years to better handle foot traffic.
Before long, you’ll reach the saddle (Hauklandskaret) between Mannen and Himmeltinden. The main path flattens out here as it heads down toward Uttakleiv on the other side, but you’ll see a signpost pointing to the right for Himmeltinden.
From this point, the hike becomes a steep, winding climb straight up the side of the mountain, pretty much all the way to the summit area.
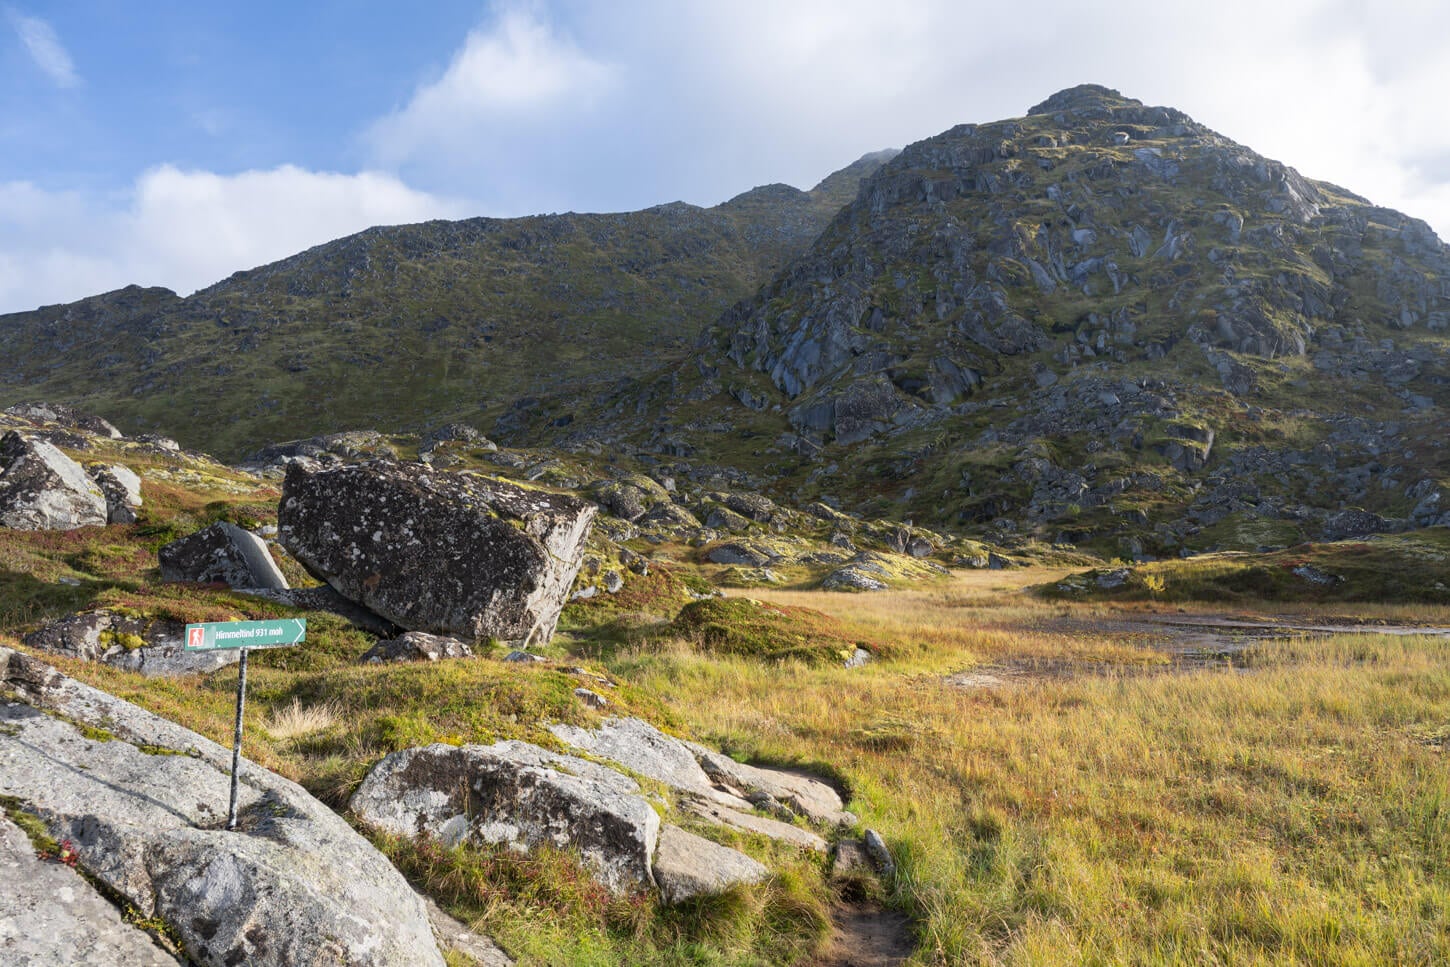
After the fork between the Manne and Himmeltinden Trail, you should see a sign that points toward the Himmeltinden Trail.
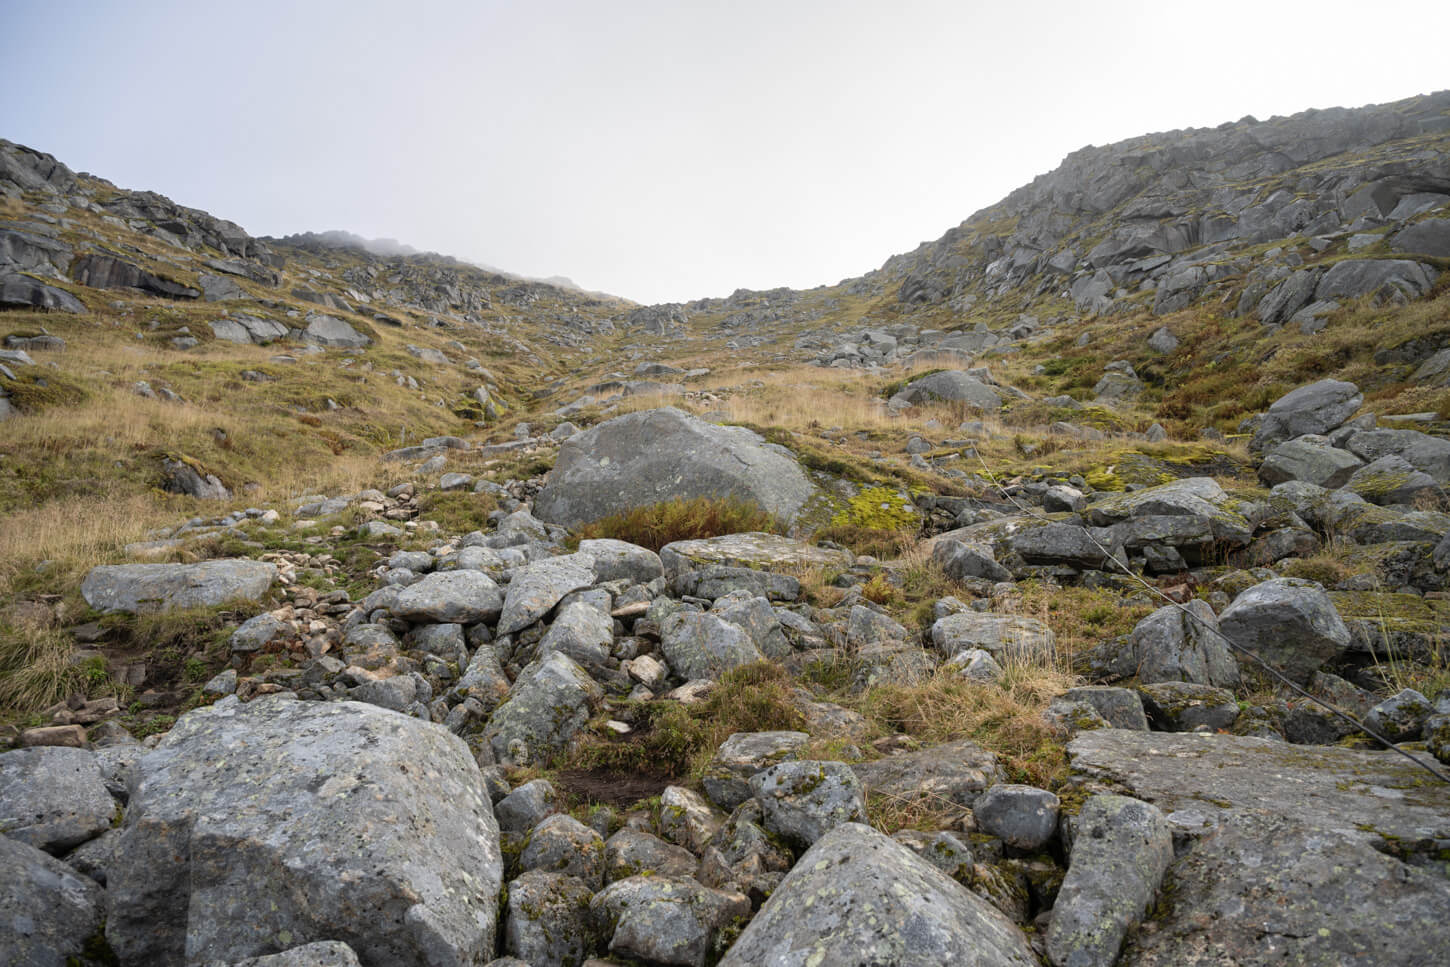
The trail is immediately quite steep.
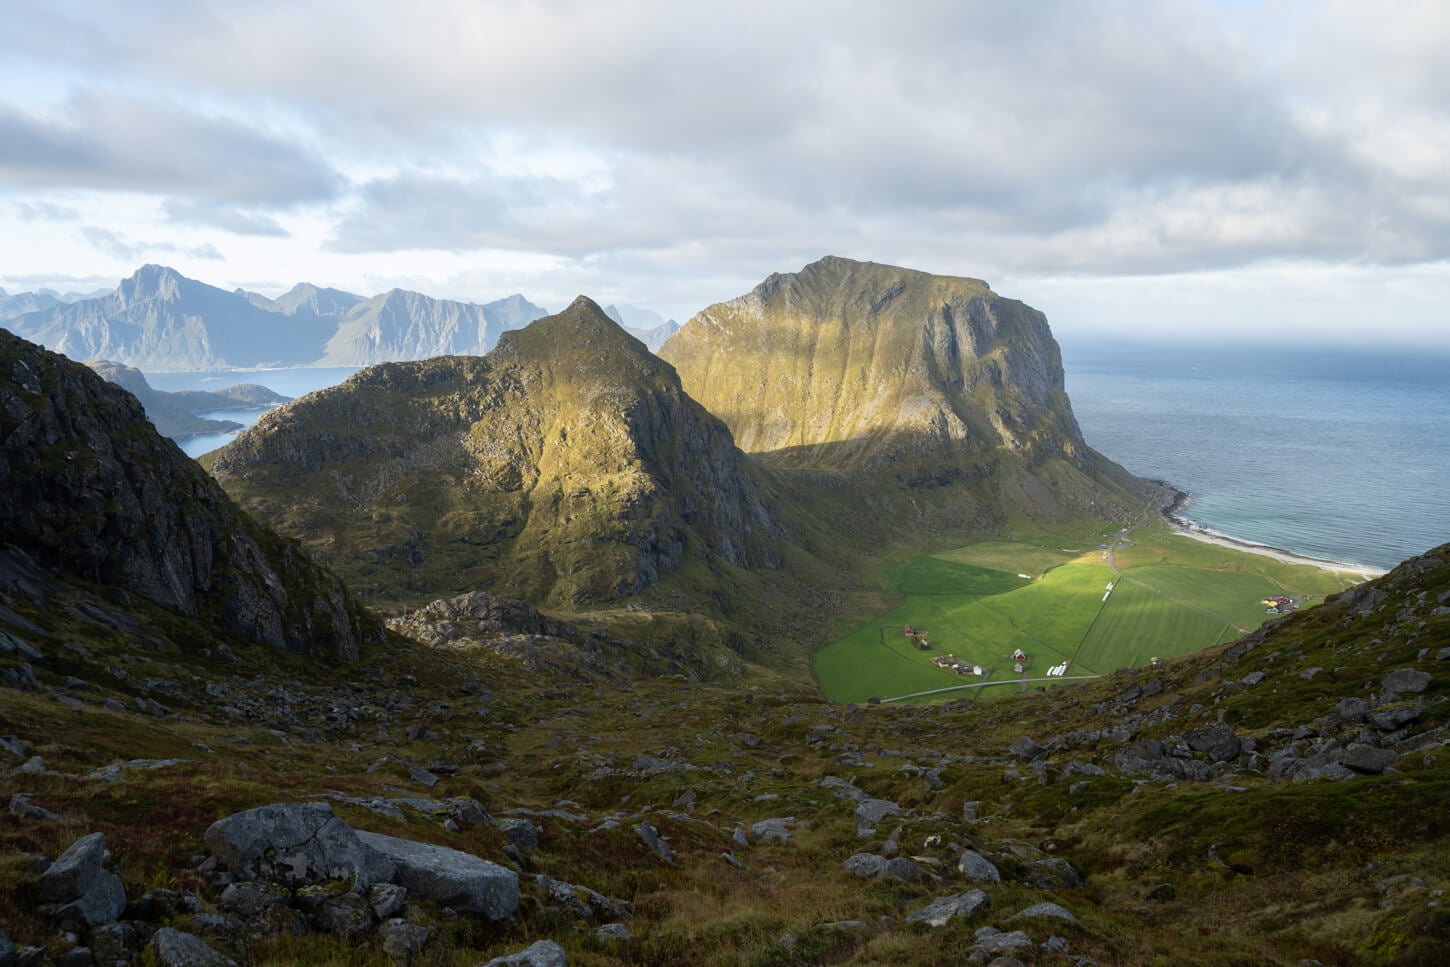
The higher you go, the better the views. Here you can see Mannen on the left and Veggen on the right.
The trail isn’t visible from below, but it is still easy to follow. At times, there are different lines, but they all converge back after a while. There is no scrambling required, but there are a lot of rocks and boulders alternating with muddy sections, so it is slow going.
The view will, of course, get better and better as you gain elevation. About 1km from the summit, there is a great viewpoint a little off the trail. I’d recommend not skipping it as it’s just a short 5-minute detour on a small plateau. The coordinates are: 68.2154, 13.5600.
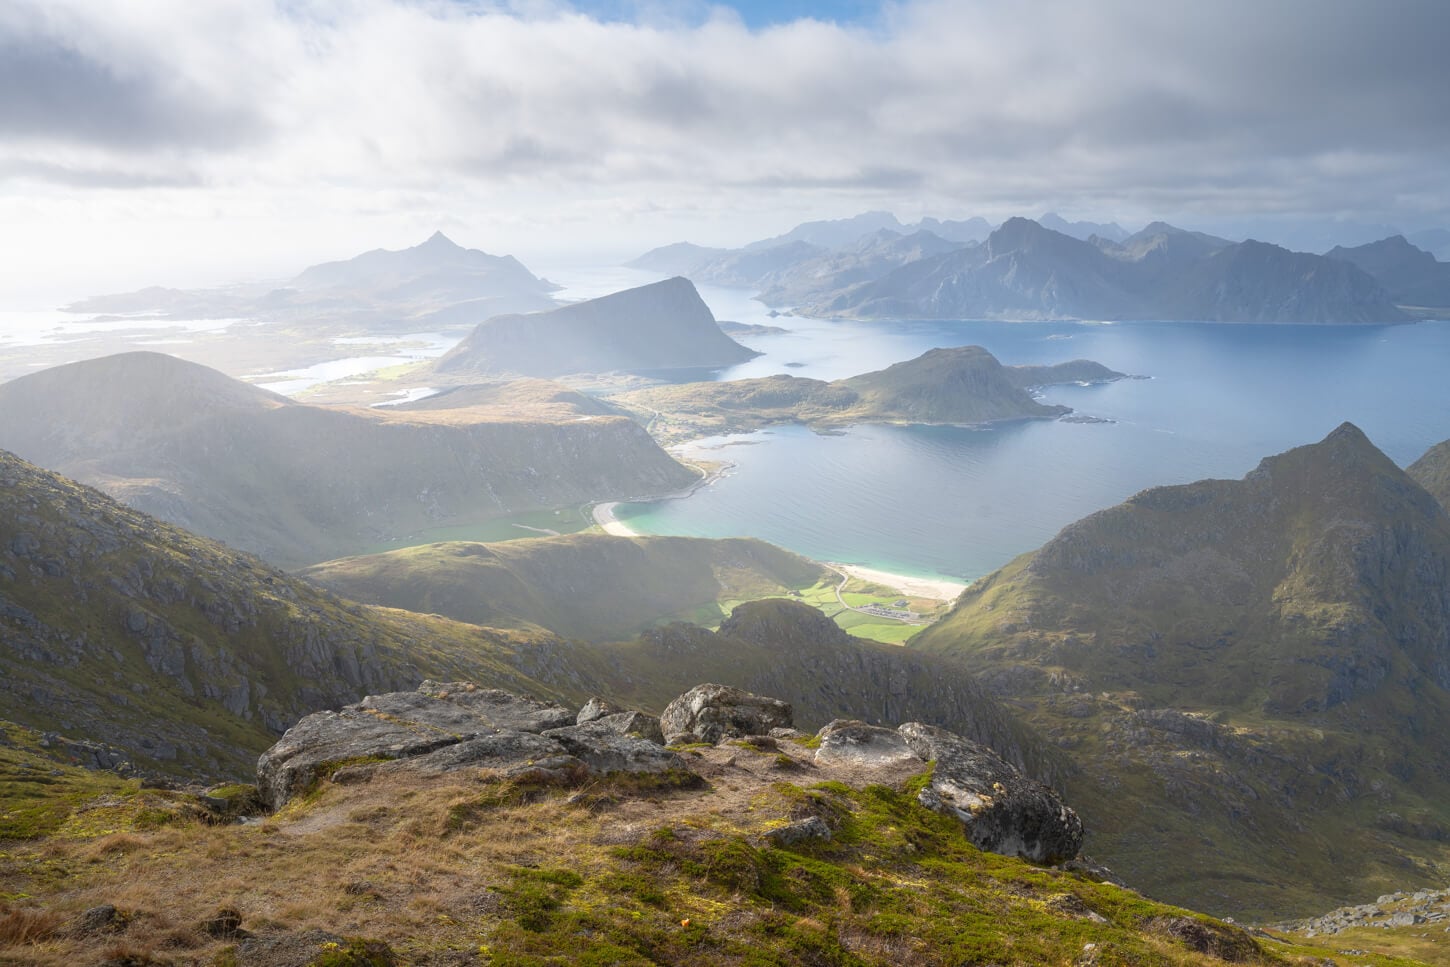
One of the best viewpoints on this trail (68.2154, 13.5600).
From the viewpoint, the trail continues up the side of the mountain before crossing a smaller plateau that leads to the final, rocky ascent.
This last stretch is quite rugged, and the obvious path tends to disappear into the boulders. To reach the summit, you’ll need to wrap around the rocky mound and access the top from the opposite side.
Once on top, the views open up into a jaw-dropping 360-degree panorama over the Lofoten archipelago. On clear, sunny days, it truly feels like you’re standing on top of the world.
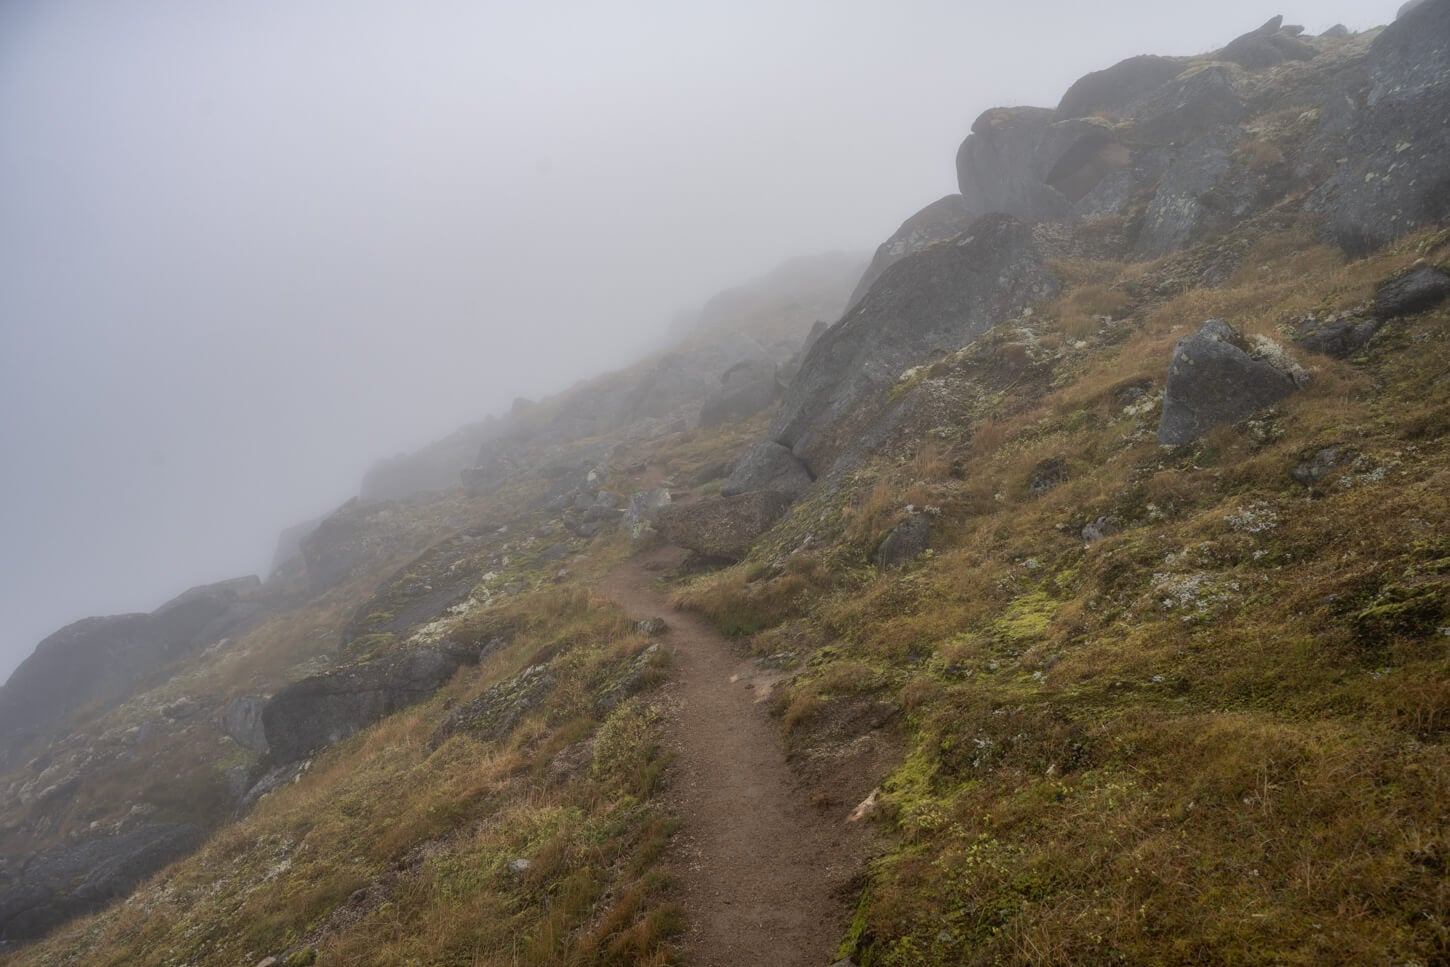
Toward the end, the trail flattens out before ethe last, short uphill section that leads to the top
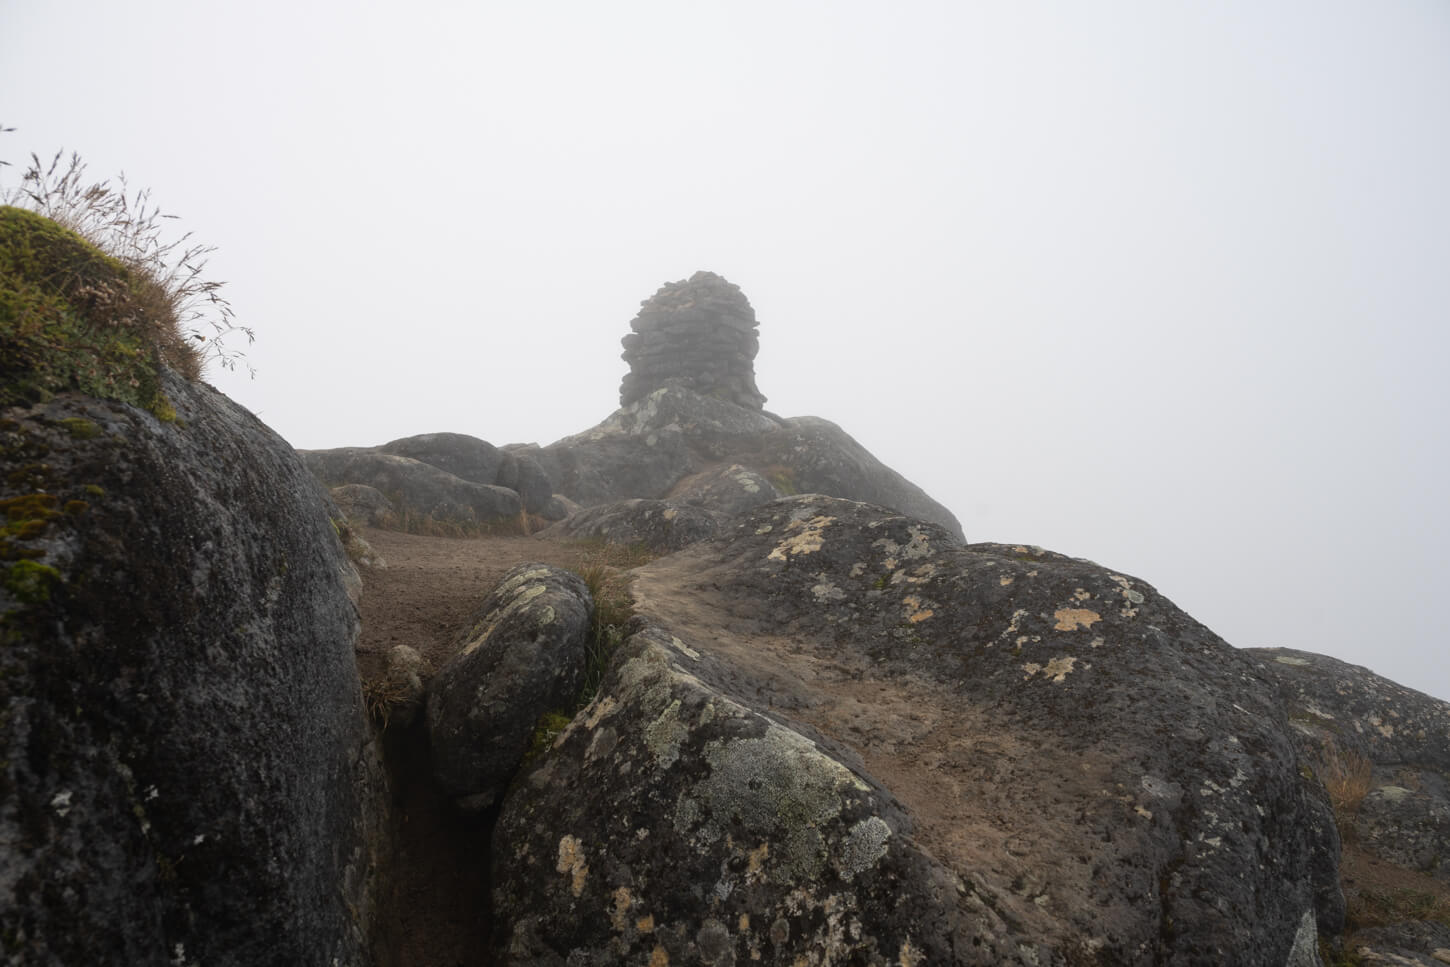
A Large Cairns marks the summit.


Literally from the top, you can view many of the other hikeeble moutains in the area. Mannen, Veggen, Holandsmelen, Offersøykammen, Stornappstinden, and many more. And again, on the way back, and if you have it in your legs, I’d recommend the short detour to Mannen.
Himmeltinden Photos and Photography Tips
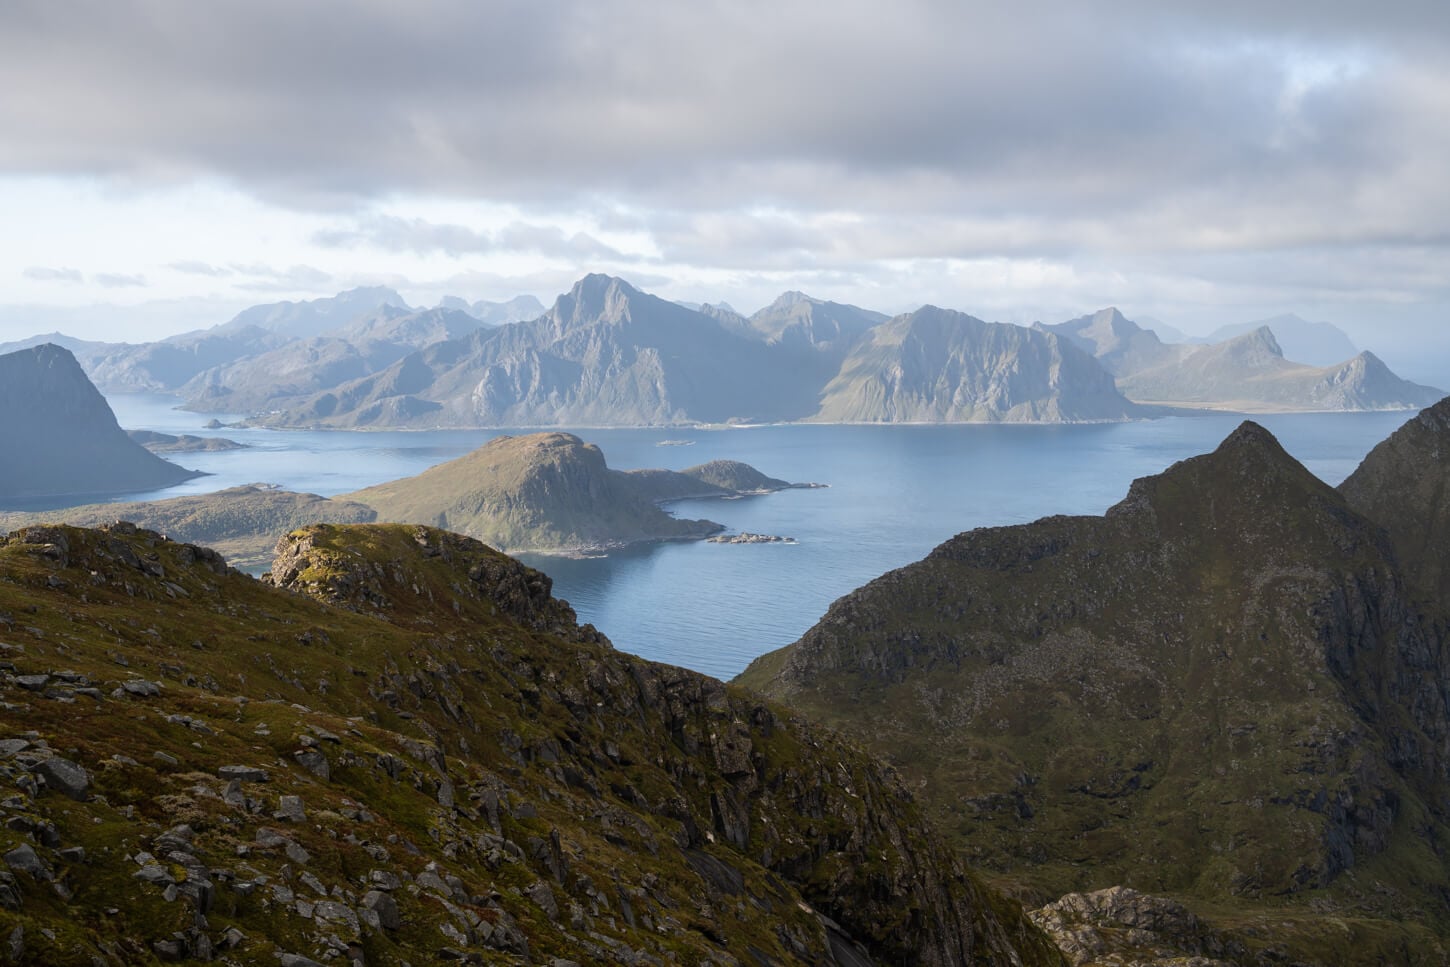
With such open views, you’re bound to get good photos wherever you point the camera. however I think the most scenic views in terms of landscape photography start to appear halfway up the mountain. That’s when you have layers upon layers of mountains fading in the distance, creating a strong sense of depth.
One of the best viewpoints along the trail, coordinates: 68.2154, 13.5600.
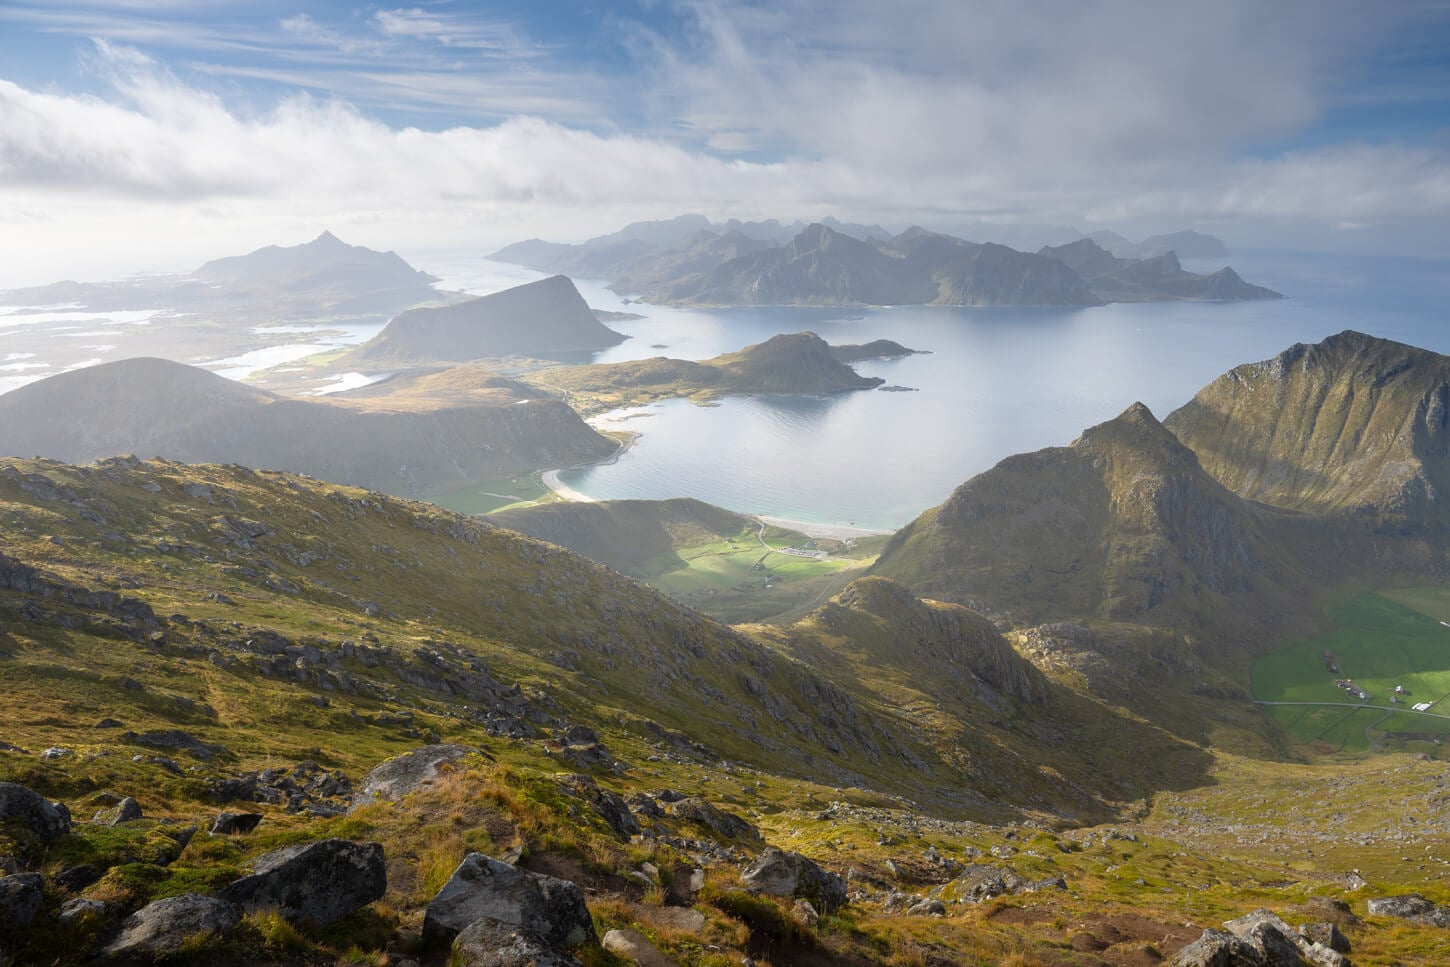
Best Light & Timing
From early summer to early autumn, Himmeltinden works well for both morning and late-afternoon hikes. Because the primary viewpoints face south, you get gorgeous side-lighting from the east in the morning, and soft, directional light from the west in the late afternoon.
To give you a point of reference, the photos in this post were taken in early September between 8:30 and 10:30 am.
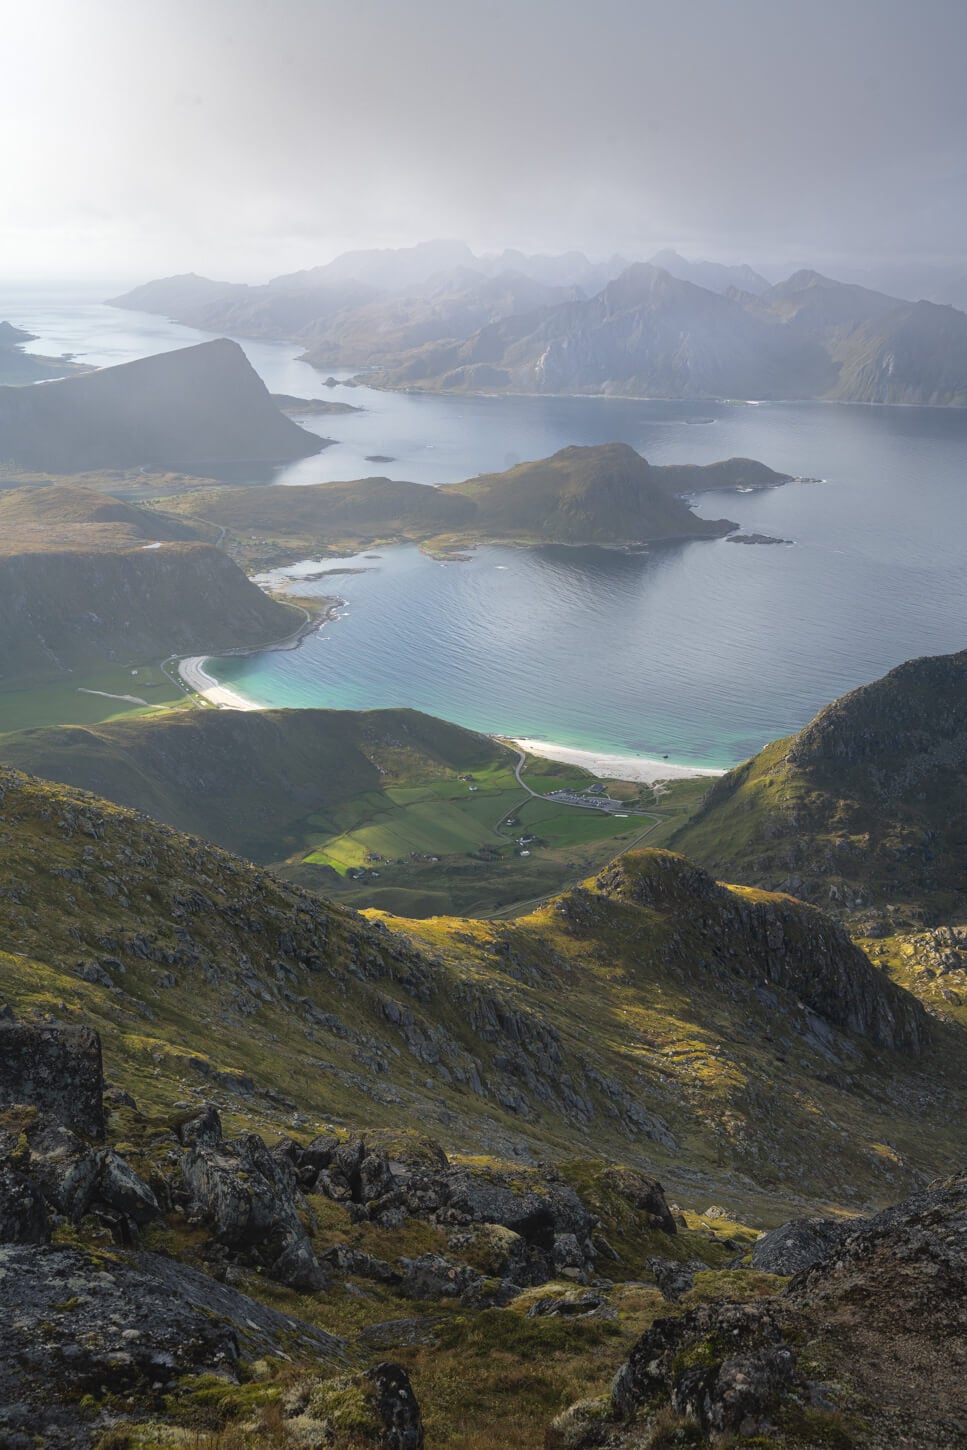
Mornings provide good sidelight from the East.
Focal Lengths & Gear
In terms of lenses, most of the wider landscape shots were taken between 24 and 30mm, full frame. Going any wider tends to push the distant peaks too far away, making the mountains look tiny.
On the longer side, a medium telephoto lens will allow you to photograph and isolate many more details in the landscape. I personally found my Nikkor Z 24-120 to provide the ideal range for this trail. There are quite a few details in the landscape that you can isolate.
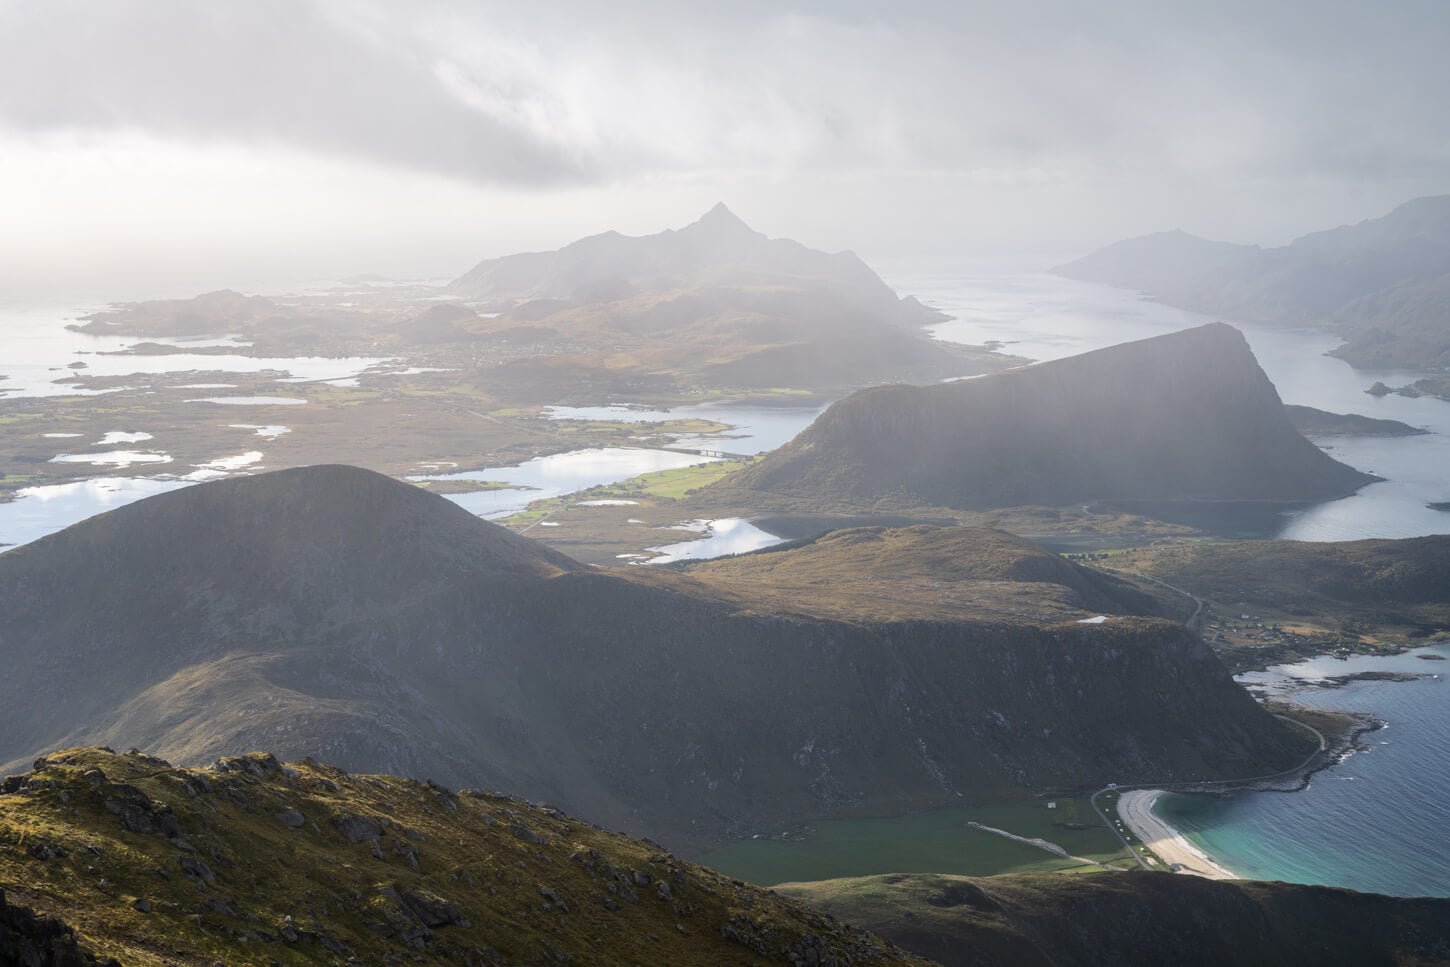
From the nearest to the farthest: Holandsmelen, Offersøykammen and Nonstinden.

Where to Stay
The nearest town is Leknes, which offers quite a few different types of accommodations. A little farther, Ballstad and Stamsund usually offer somewhat cheaper accommodations.
If you are camping in a Van you can choose between staying at Haukland or Uttakleiv. Both are paid, and they are the closest places to the trailhead and have basic facilities. There are also some free spots along the road
Additional Resources
- Planning a trip to the Lofoten? Here are my tips to plan a trip to the Lofoten Islands.
- Discover more Scenic spots and Hikes in Norway.
- Here’s the Haukland Beach Visitors Center Website.

Leave A Comment