The Bannalpsee Hike – Switzerland
The hike to Bannalpsee leads to a beautiful and very photogenic lake in the Engelbergtal, where you can enjoy the scenic views of the surrounding mountains reflected in the lake.
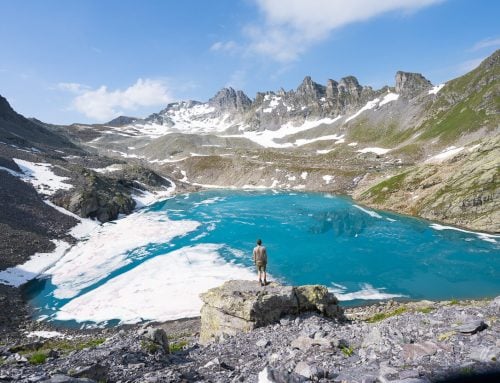
The Bannalpsee hike is one of my favorites in the Engelbergtal area. Compared to other similar regions in Switzerland, this is one that still feels more rural. The emerald green waters of the lake offer mirror-like reflections of the surrounding mountains if there isn’t too much wind.

Bannalpsee and its still waters reflecting the surrounding landscape
Several other hiking routes start from the lake, so it’s also possible to hike further up the mountains and view the lake from above. I plan to do that sometime in the future, and I will update this post with more information accordingly.

How to get to Bannalpsee and Overview of the Hike
- Getting there: By car, you can drive directly to the Fellboden gondola lift station and park in the area. There are some free parking areas, and some are reserved for Gondola lift customers. By public transportation, you can take any train to the Wolfenschiessen Banhof. From there, take the train to Oberrickenbach Talstation. If you are looking for car rental options,
- Start of The Hike: From any of the parking areas by the gondola stations, you would need to head back on the road until you see the signpost pointing toward a gravel road on the left. That’s the trailhead.
- Photography & Scenery value: Pre-Alpine lake surrounded by beautiful steep mountains.
- Difficulty: Medium/Hard.
- Tip: In mid-spring or late summer/early autumn, the water level in the lake may be low and not at its best for photography. There’s also a webcam you can check here.
The Bannalpsee Trail
| Distance | Ascent | Hike Time |
|---|---|---|
| 13.9 Km | 910 Mt | 6:00 / 7:00 Hrs |
Bannalpsee is accessible year-round using the Gondola lifts in the Vally, but if you want to hike up as I did, you will most likely need to way until mid-spring. Early to mid-may, depending on snow levels.
Some parts of the trails are also at avalanche risk. Even in mid-may, it’s possible to find the trail blocked by old avalanches. If you want to hike this same route, I recommend waiting until mid or late June to be on the safe side.
The trail is otherwise clearly visible and marked at all times. It will cross a few other trails, but the direction is clearly marked at each.
The Hike can start from any available parking area around the Gondola station in the valley. You will have to go back on the paved road until you see the marked trail signs pointing to a dirt road.

Looking back toward the gondola lift stations
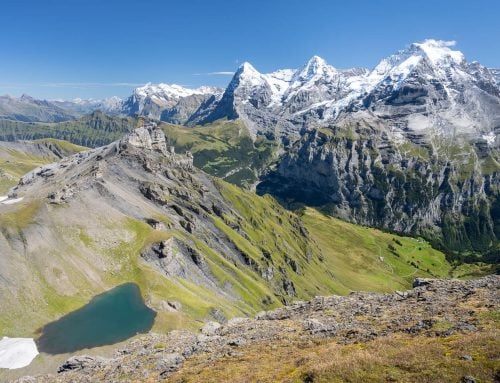
As you reach the other side of the valley, the trail will go uphill. The views will open up on the valley below as you ascend, giving you some great views.

The first rays of sun shining on the valley and the surrounding mountains
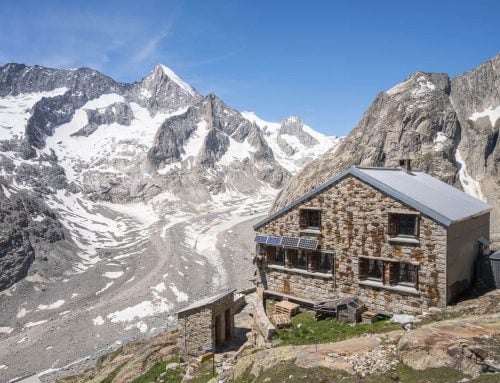
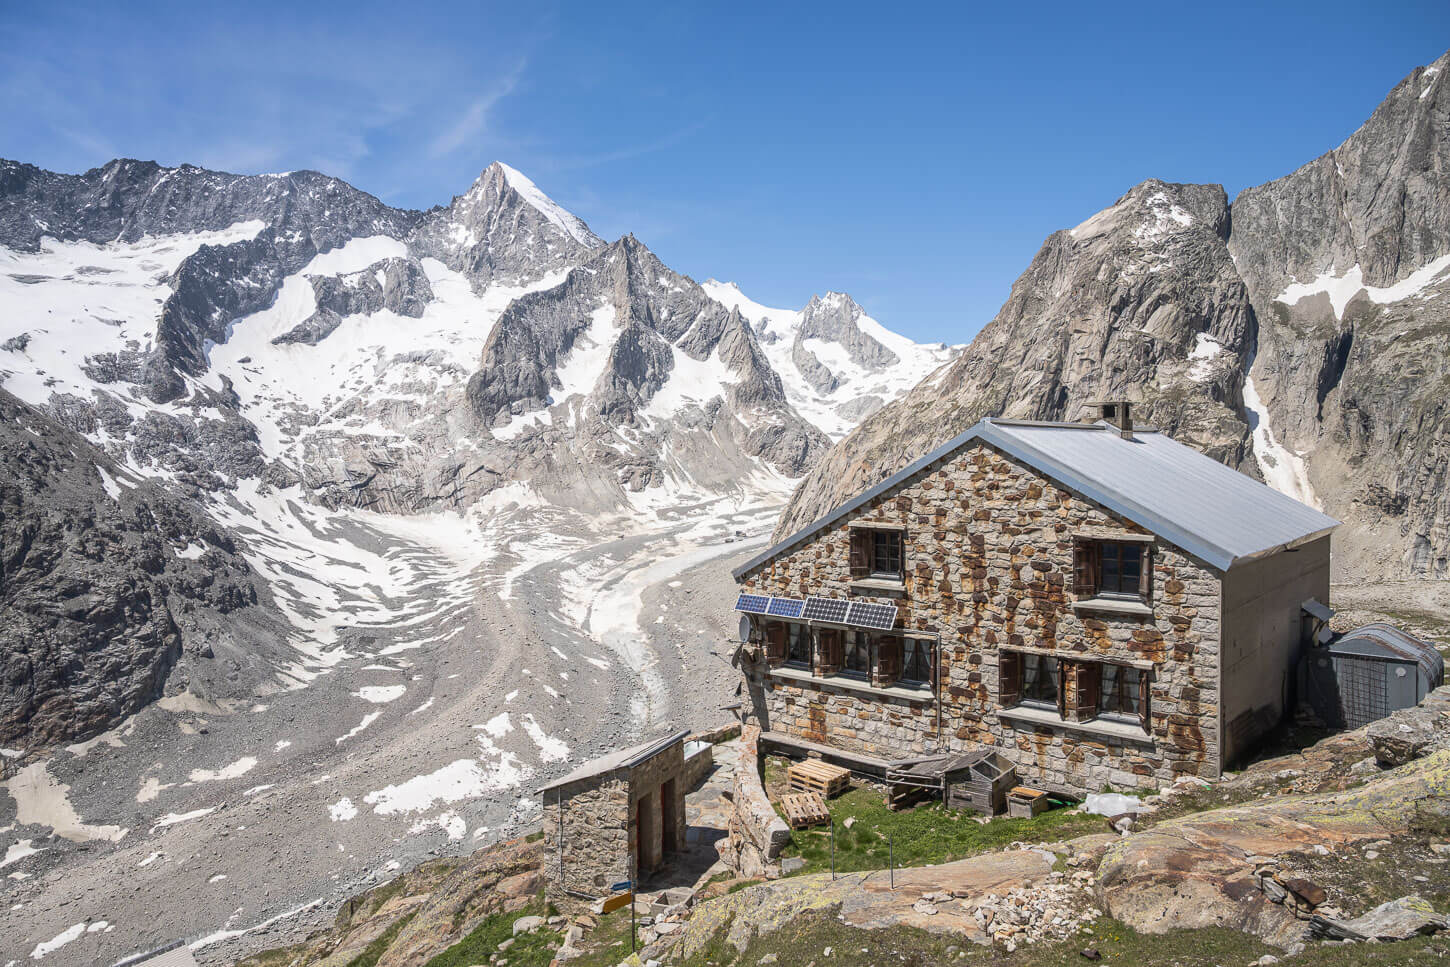
You will then reach the top of the ridge, where the trail caresses a forested area. This part is relatively flat, and you will pass by two nice mountain huts.
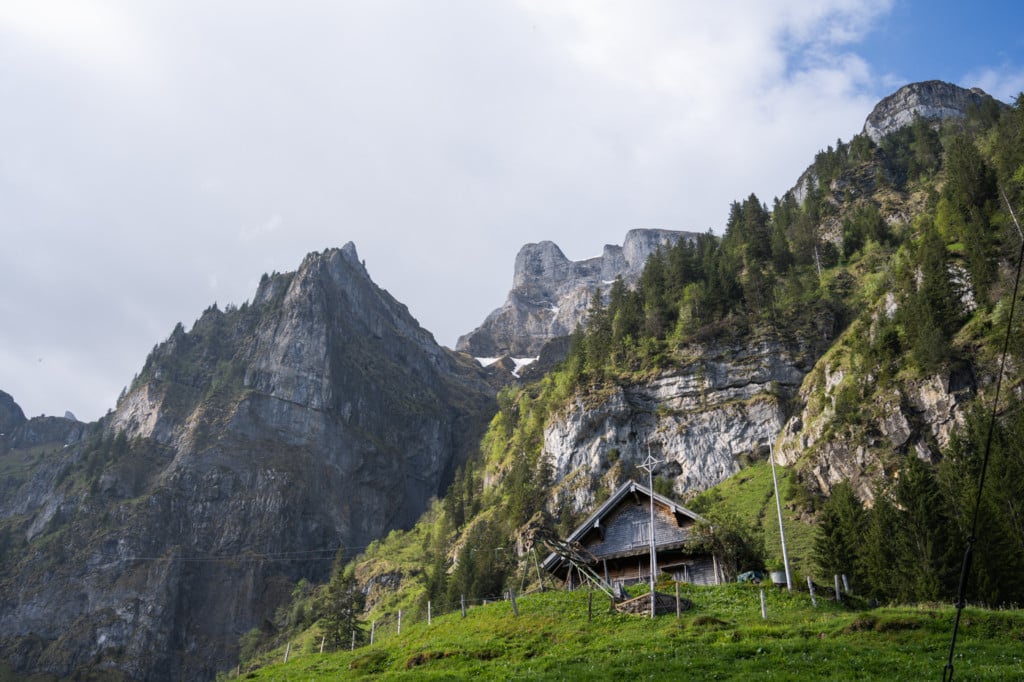
Mountain Huts along the trail.

Mountain Huts along the trail.
As you keep going, the trail will head uphill again for the last stretch, where it reunites with the arrival station of one of the gondola lifts.
From here, it’s just a couple of minutes’ walk to reach the shores of the lake.
Photos and Photography tips for the Bannalpsee Hike
My first recommendation would be to start this hike early in the morning. This will allow you to catch the sun rising above the surrounding mountains. If the weather conditions are right, you will be able to capture the first rays of sun shining on the valley below.

The first light shining over the mist in the valley below

Morning light shining over an alpine landscape.
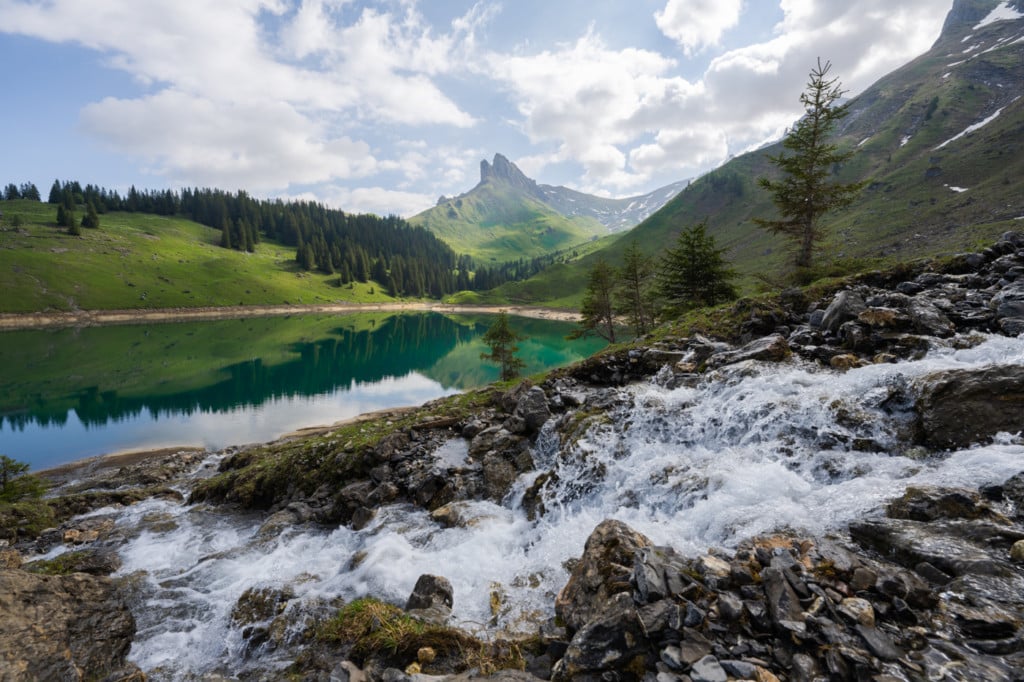
On the lake, the best compositional options are on the southwest side. This is where you will be able to capture the best reflections of the surrounding landscape.
The Huts, in this case, make an excellent addition to the surrounding landscape and fit in quite well, in my opinion.
Bannalpsee and its still waters reflecting the surrounding landscape.


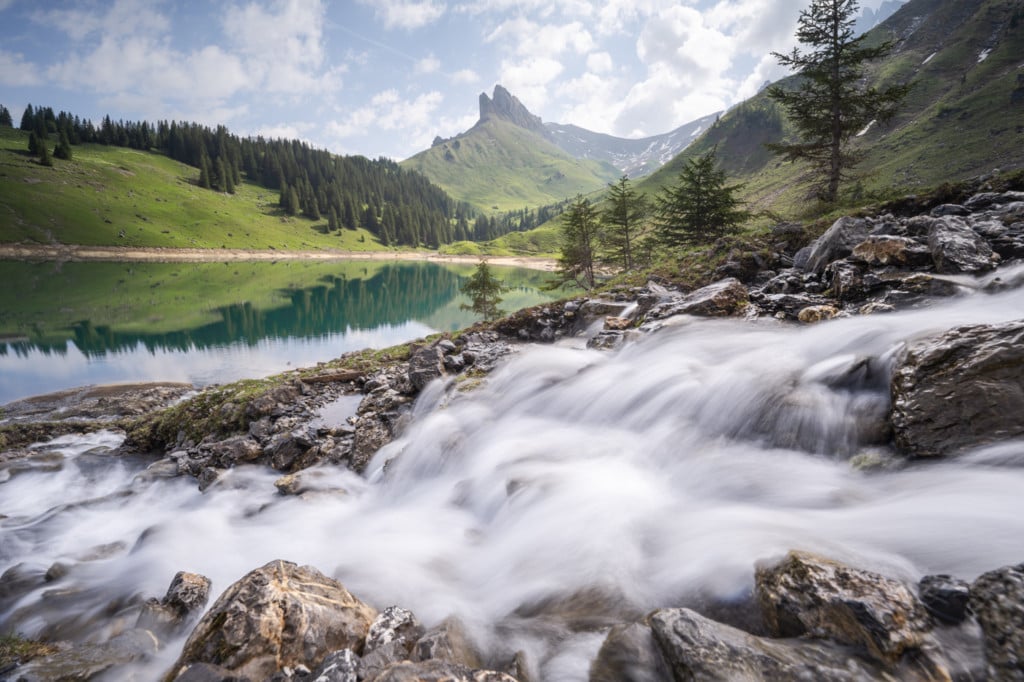
As you continue down the trail and depending on the season, there may be a few small creeks that could be used as a foreground. I was here in mid-may, and the water level in the stream was good, but probably from late June, the water level will be low. Unless it rained recently, in which case the water levels should also be good.
Bannalpsee and the surrounding landscape with the small creek in the foreground.
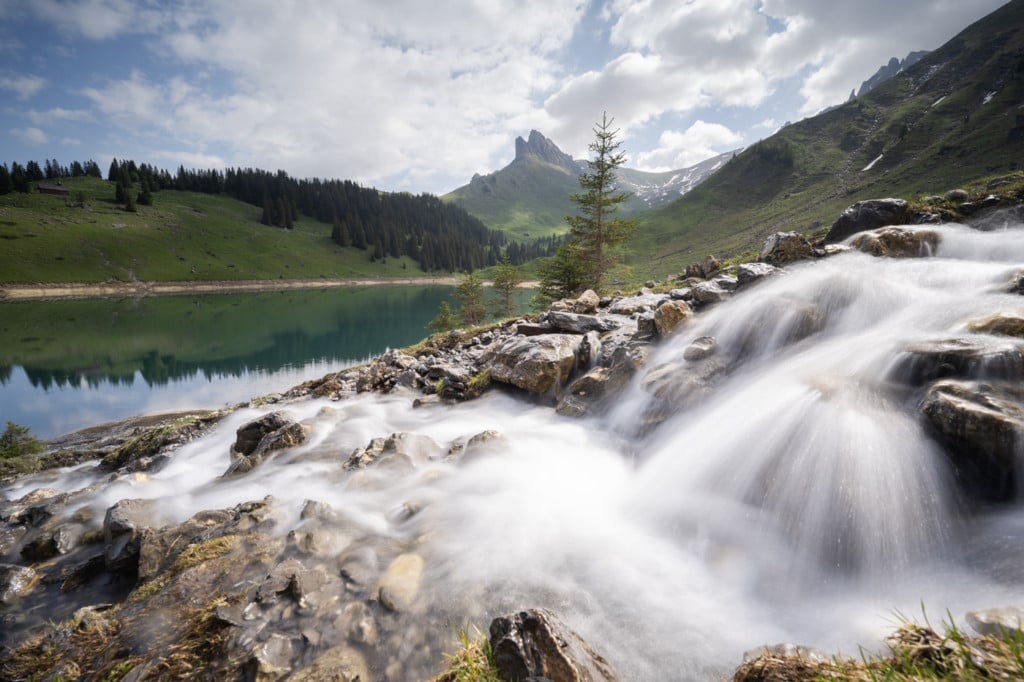
Long Exposure shot of the same creek.
Long Exposure shot of the same creek.
I would bring anything between 14 to 70 or 12omm just for landscape shooting in terms of lenses. I did not feel the need for any longer focal length on this hike. If you are into wildlife, however, bring something with more reach.
Map of the Bannalpsee Hike
Where to Stay near Bannalpsee
There are a few options available around the Bannalp lake, in no particular order:
I have not stayed at any of these, but if you want to overnight here and explore more trails in the area the next day, these are all great options.
Additional resources
- Check out my main Switzerland page for more info and PhotoHikes in Switzerland.
- More awesome lake hikes in Switzerland: Limmerensee, Oeschinensee, Gelmersee, Triftsee, Glattalpsee, Göscheneralpsee, or Mattenalpsee and Gaulisee.
Leave A Comment