
Laguna Sucia Hike, Patagonia, Argentina
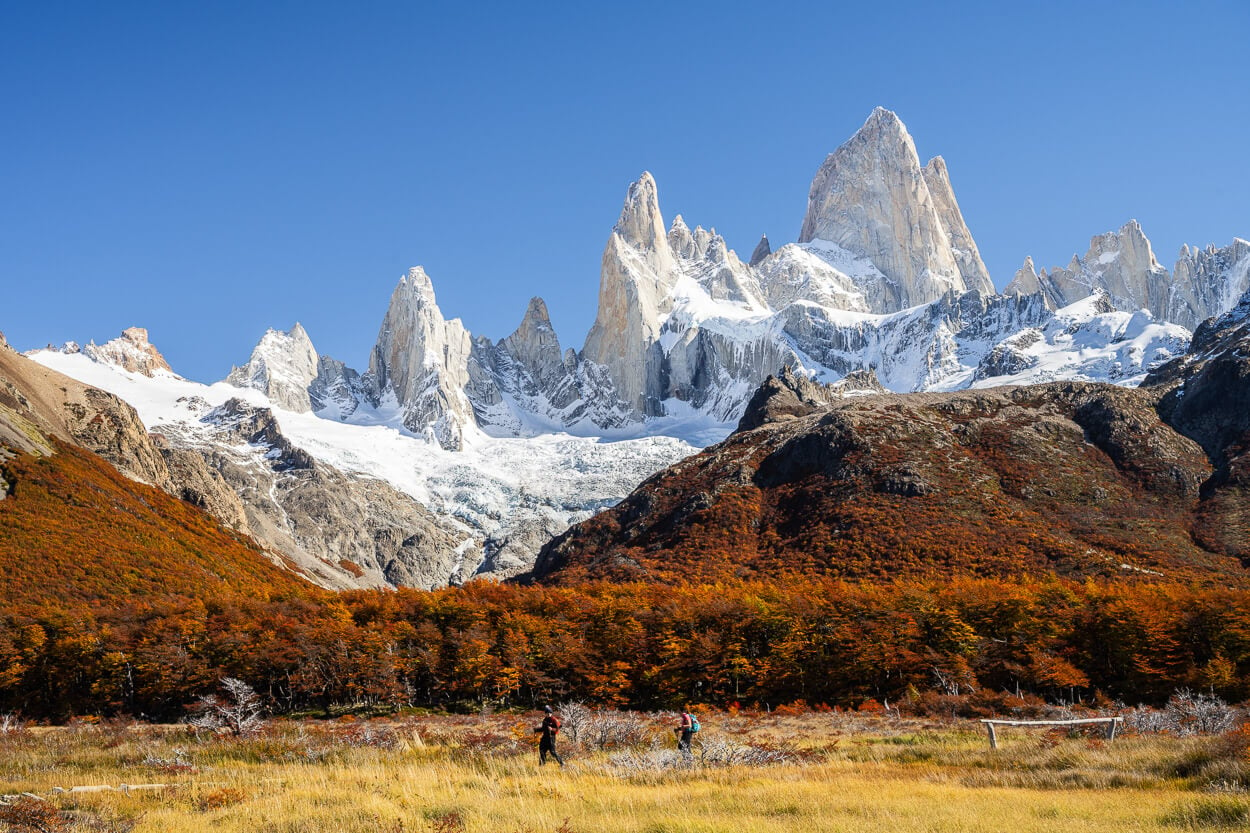
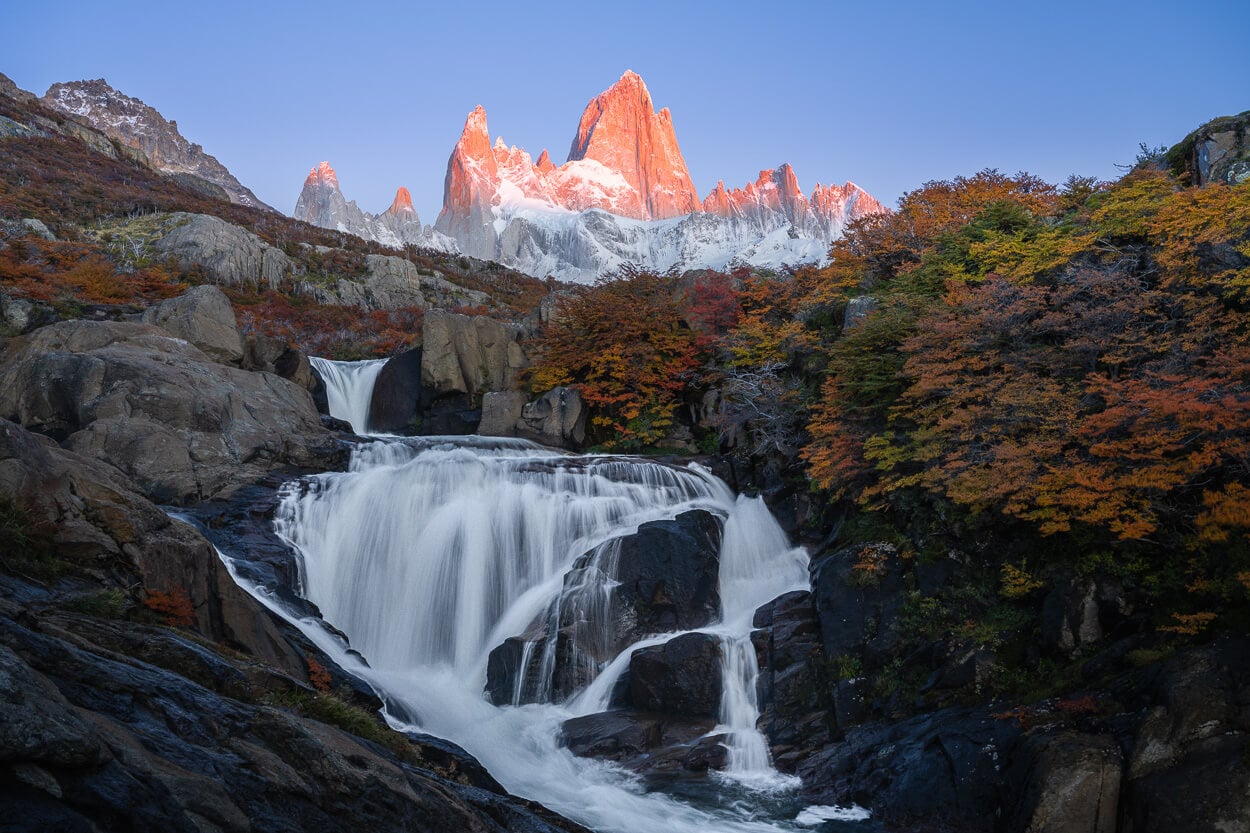
The hike to Laguna Sucia is one of the lesser-known but no less scenic hikes in El Chaltén. From the Laguna, you can enjoy unobstructed views of the Fitz Roy Massif and its glacier, towering high above the “dirty” as translated from Spanish) lagoon. Nothing dirty about it though.
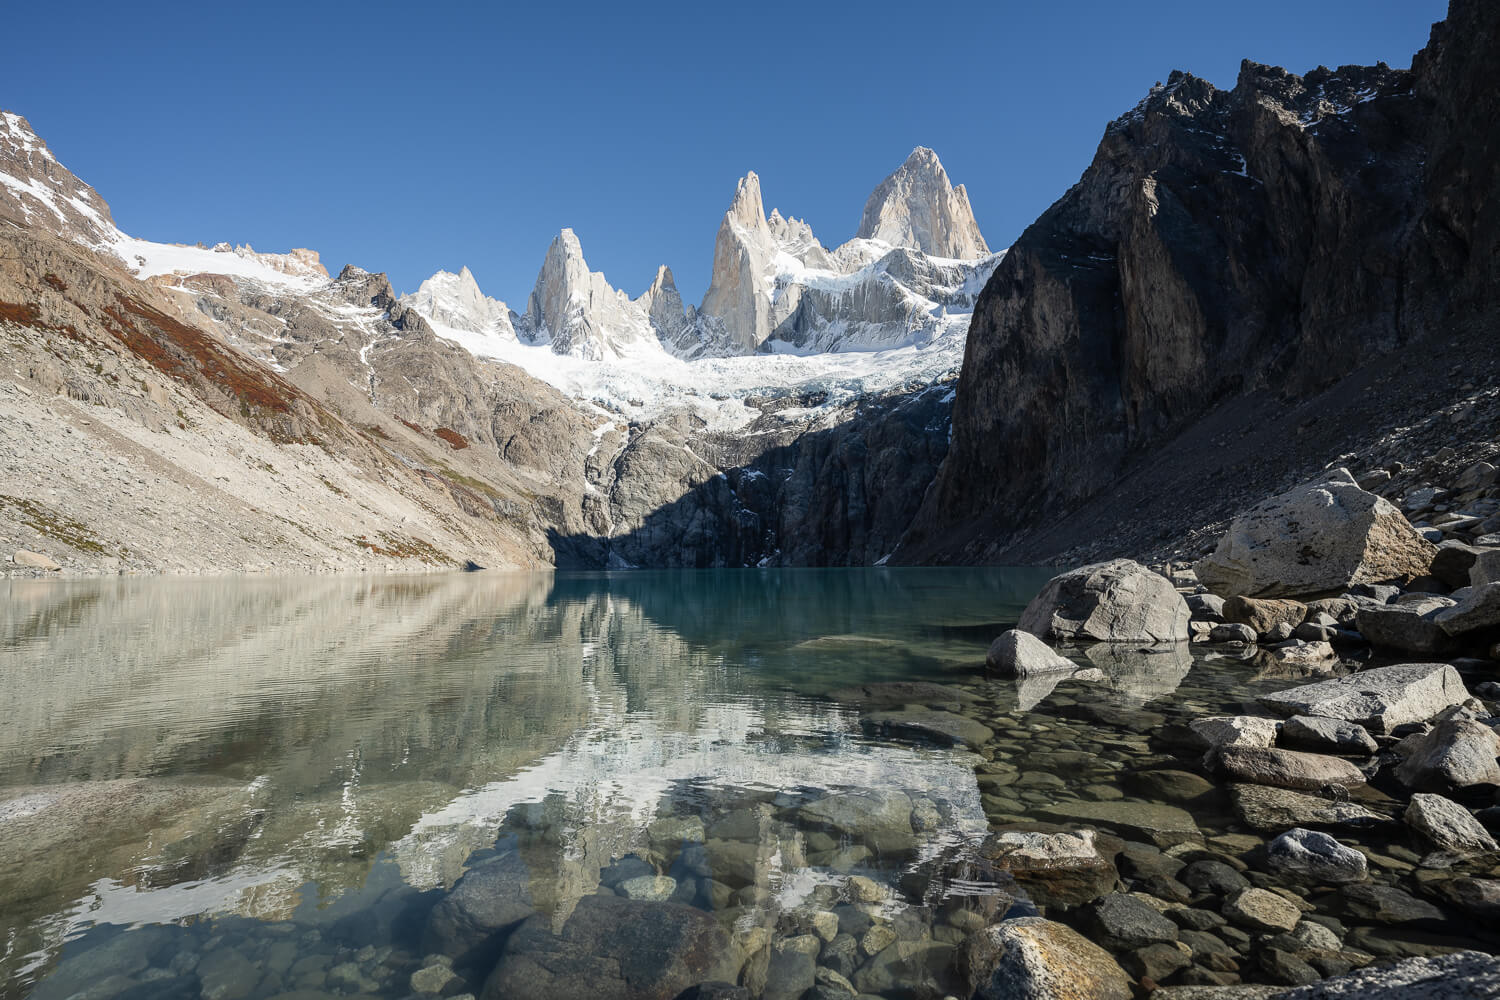
Laguna Sucia and Mount Fitz Roy
| Laguna Sucia Hike: Quick Overview |
| • Distance: 4.55 km / 2.8 mi (Spur section from Poincenot) or ~22.6 km / 14 mi (Full round trip from El Chaltén) | Time: 1.5–2 Hours (Spur) | Difficulty: Moderate | Trail: Campamento Poincenot spur to Laguna Sucia |
| • Start & Access: Laguna de los Tres / Rio Eléctrico trailhead. The actual trail branches off the main Laguna de los Tres trail past Rio Blanco |
| • Best Season & Light: October to April / Early Morning Start. Sunrise or Midday. |
The name “Sucia” is supposed to derive from the turbidness of the water, rich in minerals from the glaciers above it. However, the waters were crystal clear when I visited.
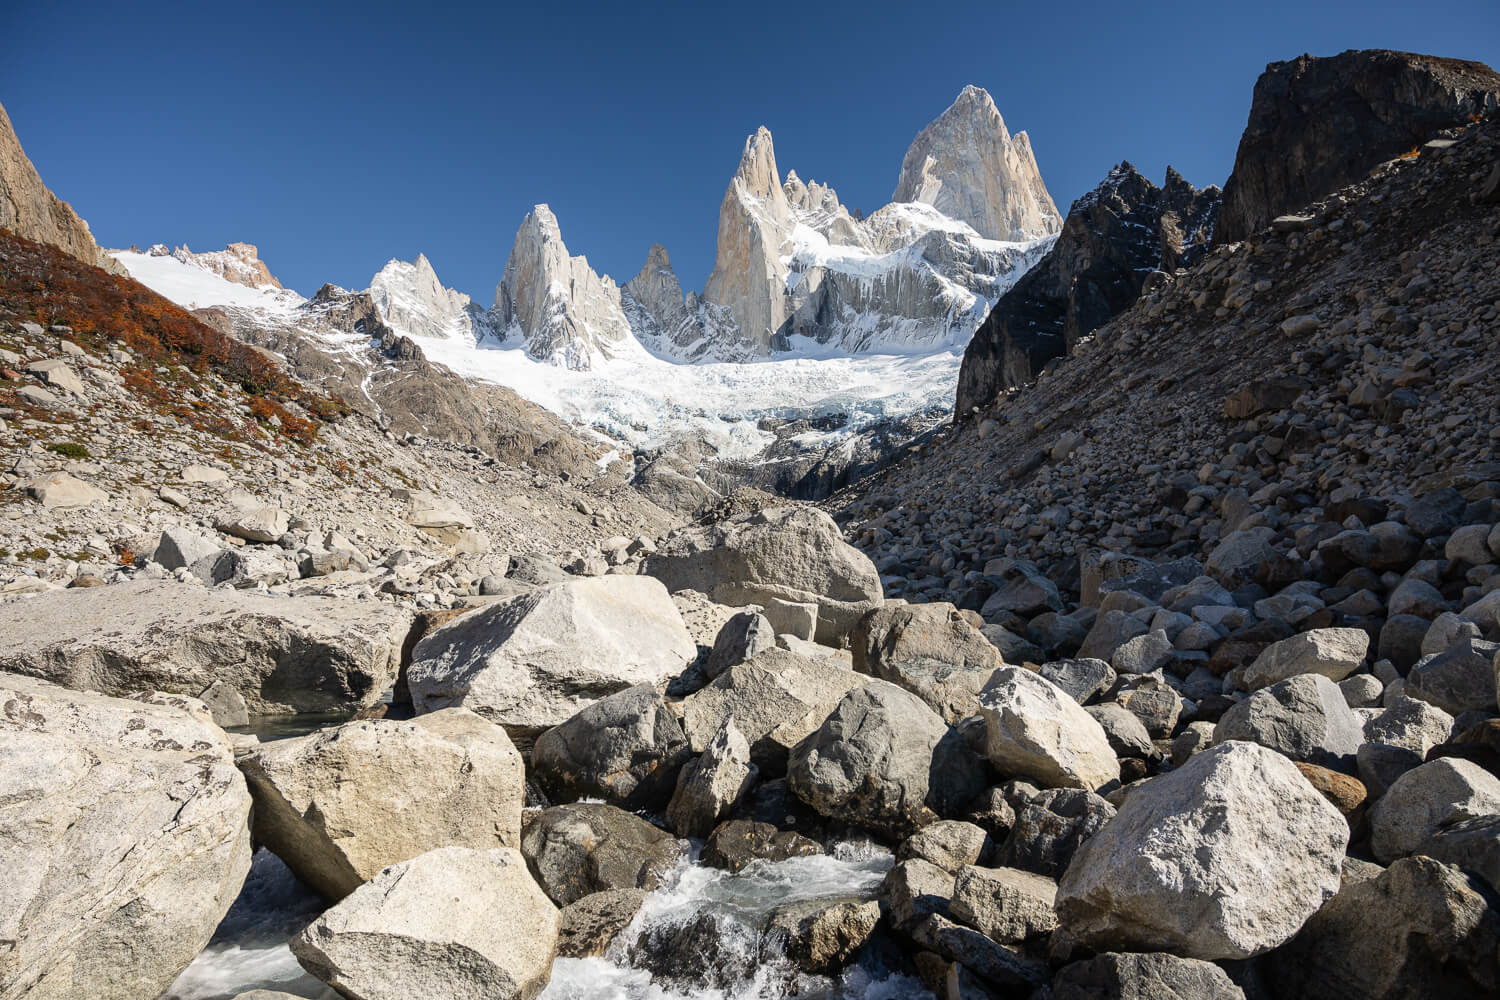
It is also considered one of the (relatively) remote areas of the park. Still, it is quite accessible, but there is a short, muddy scramble and a final moraine crossing with potentially unstable boulders. So it’s a good option if you are looking for less-crowded trails than the main ones in Los Glaciares Park.
Also, there is no direct trail called “Laguna Sucia” from El Chaltén. Rather, it stems off the main Laguna de los Tres trail after Campamento Poincenot. There are also several ways to hike to Laguna Sucia via the trail network in the Park. We’ll look into them next.
Table of Contents
Overview of the Laguna Sucia Hike, Map & GPX File
Overall, it is worth it as a day hike in itself. It can also be easily combined with other points of interest in the Park. There are three main ways to hike to Laguna Sucia. Distances here are one-way:
- From the Laguna de Los Tres Trailhead in El Chaltén: 11.3 km / 7 miles. It’s a popular option to combine with Laguna de los Tres.
- From the Laguna de Los Tres Trailhead by the Rio Eléctrico Bridge: 9.58km / 5.9 miles (but you have to account for transportation from El Chaltén). From here you can combine it with the Mirador Piedras Bancas.
- From the Laguna Torre Trailhead, via the Laguna Madre e Hija trail: 15.5km / 9.6 miles. Here, you can combine it with Laguna Torre, but that increases the distance further.
You can also combine these in a loop. For example, start in Rio Eléctrico, and loop back to El Chaltén via the other Laguna de Los Tres trailhead from town. Or, you can start at the Laguna Torre trailhead and loop back.
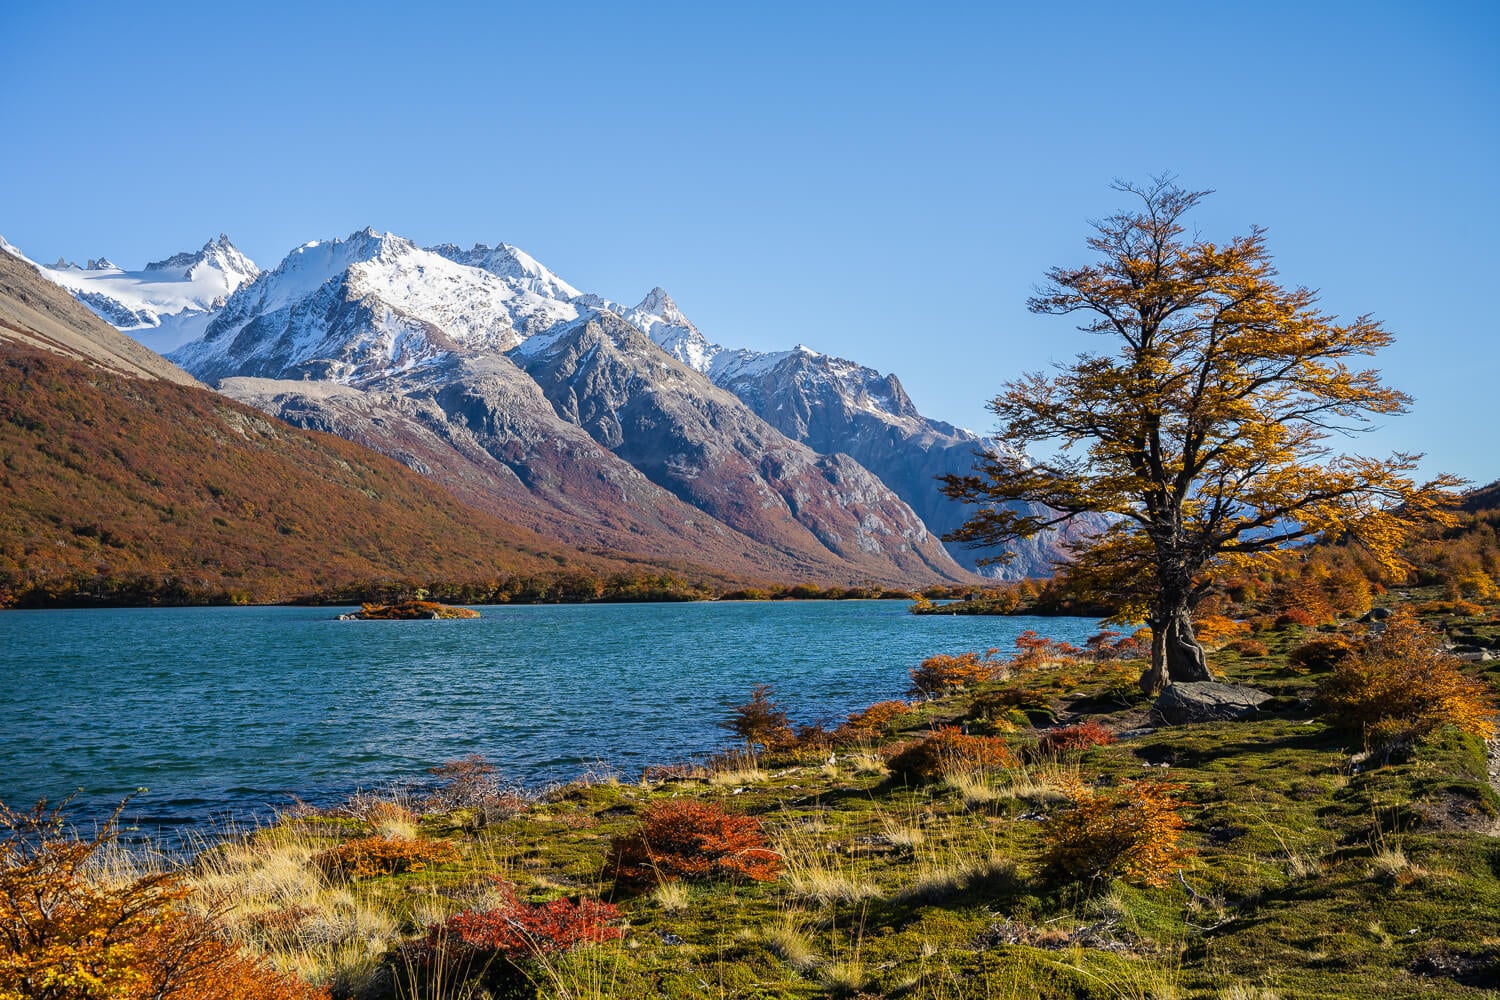
Laguna Madre e Hija is one of the less frequented routes that can be combined in a hike to Laguna Sucia
My personal recommendation: either make a detour from Laguna de los Tres, or, if you already hike both Lagunas (de los Tres and Torre), do it from the Laguna Torre trailhead via the Laguna Madre e Hija trail. It’s a much quieter stretch, and you’d see more of the park.
Here are the details of the Laguna Sucia Trail starting from where the trail branches off the Laguna de los Tres trail. You can download the GPX file from the Map below. If you want to combine it with Laguna Sucia with Laguna de los Tres, you can also download the GPX file of my hike here. Just be aware I had to backtrack a couple of times because I missed the turning point (more on why below).
You can download the GPX file of just Laguna Sucia Trail from the link below.
| Max Altitude | 885 m / 2,903 ft |
| Distance | 4.55 km / 2.8 miles (Spur section) / 11.3 km / 7 miles (One-way from El Chaltén) |
| Elevation Gain | 150 m ↑ / 150 m ↓ (492 ft) for spur section (~500 m ↑ total from El Chaltén) |
| Hike Duration | 1.5 – 2.0 hours (Spur section) / 5.0 – 6.0 hours full round trip from the Laguna de los Tres Trailhead |
| Hike Difficulty | Moderate, but includes short muddy scrambles, unmaintained sections, and unstable boulder moraine crossings |
| Trailhead Coordinates | Rio Blanco Junction (-49.2787° S, -72.9656° W) |
| Required Gear | Sturdy waterproof hiking boots, trekking poles for moraine scrambling, National Park Pass |
| GPS Track | Download Laguna Sucia GPX Track |
Here is the map of the hike.
How to Get to the Trailhead and Parking
The main trailhead, same as Laguna de los Tres, is in El Chaltén. You can walk right to the Parking area and start from there.
- Driving Directions: If you are coming from out of town, i.e., from El Calafate, drive right through El Chaltén on Road 41. Keep going until you find the parking area to your right. Likewise, if you are arriving from the North on Road 41, you will find the parking area to your right, just before entering El Chaltén.
- Parking: There is a large Parking area by the Park’s entrance in El Chaltén, right next to the trailhead. If you are planning to start at Río Eléctrico, there is also a large parking area there.
- Public Transport: If you are arriving by bus in El Chaltén, the best is to walk to the Laguna de los Tres trailhead. It would take approximately 20-30 minutes to get there.
The Laguna Sucia Hiking Trail
The official trailhead from the Laguna de Los Tres trail is easy to miss. The coordinates are: -49.2787, -72.9656. It’s easy to miss because there is an arrow next to it to point hikers to the correct trail when hiking to or coming back from Laguna de Los Tres, so they do not get lost on a different trail. It also looks like one of those trails closed for the purpose of letting the trail heal, and there is no “Laguna Sucia” sign.
But when you see this, it’s the trail. I missed it twice because of the arrow and the logs; I assumed it was a closed trail, which was a wrong assumption.
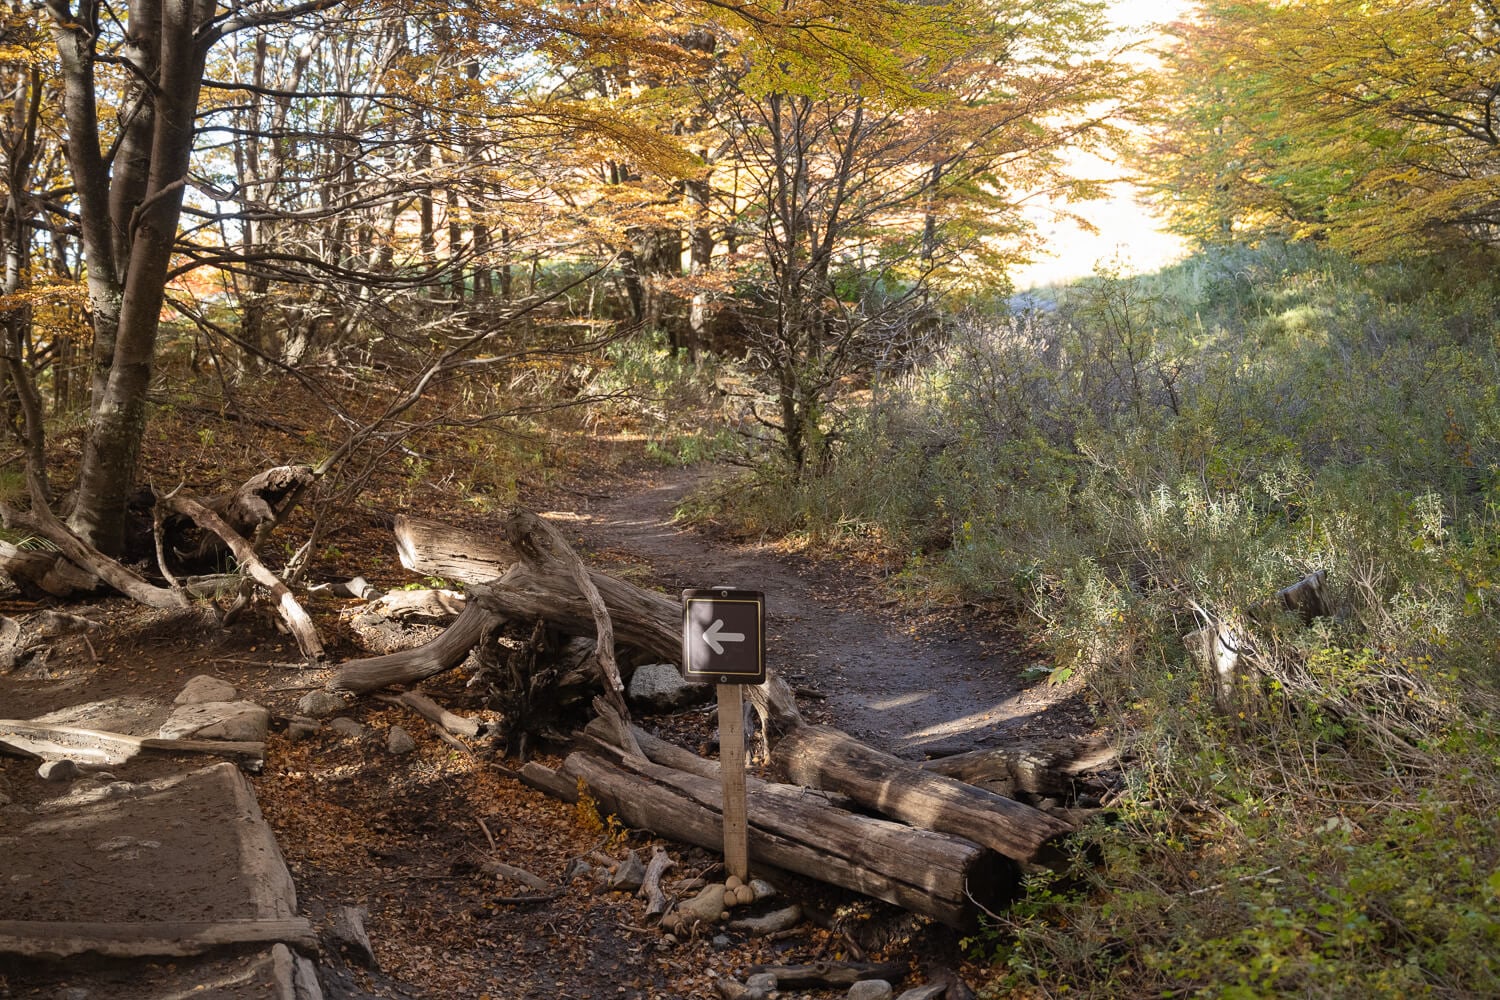
This is the “technical” Laguna Sucia Trailhead.
I personally missed it twice, despite having the GPX track with me, because many maps also show several trails close together, many of which have disappeared. The bottom line: take the trail with the arrows that point away from it. That’s the trailhead.
Initially, that trail is easy walking, just a path in the forest for the first ten minutes or so, as it follows Rio Blanco upstream. Then the trail becomes increasingly rockier. As you approach the river bed, you will have to navigate through big boulders, and it is slower going here. The trail is officially unmarked, but watch out for small cairns on top of some of the boulders.
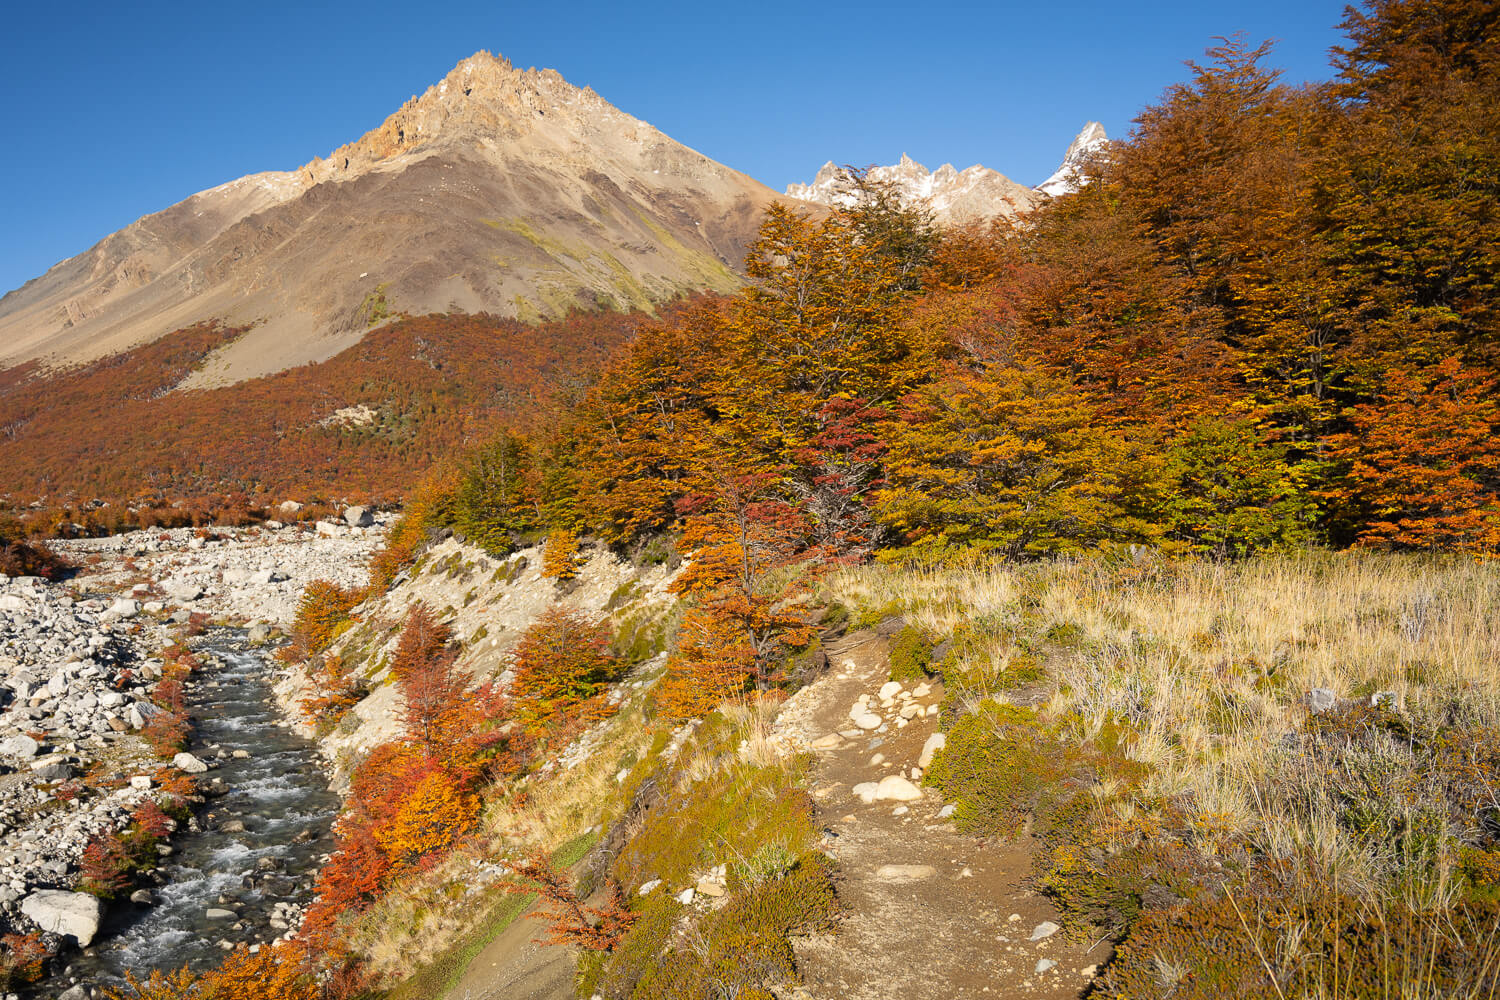
The first part of the trail follows Rio Blanco Upstream.
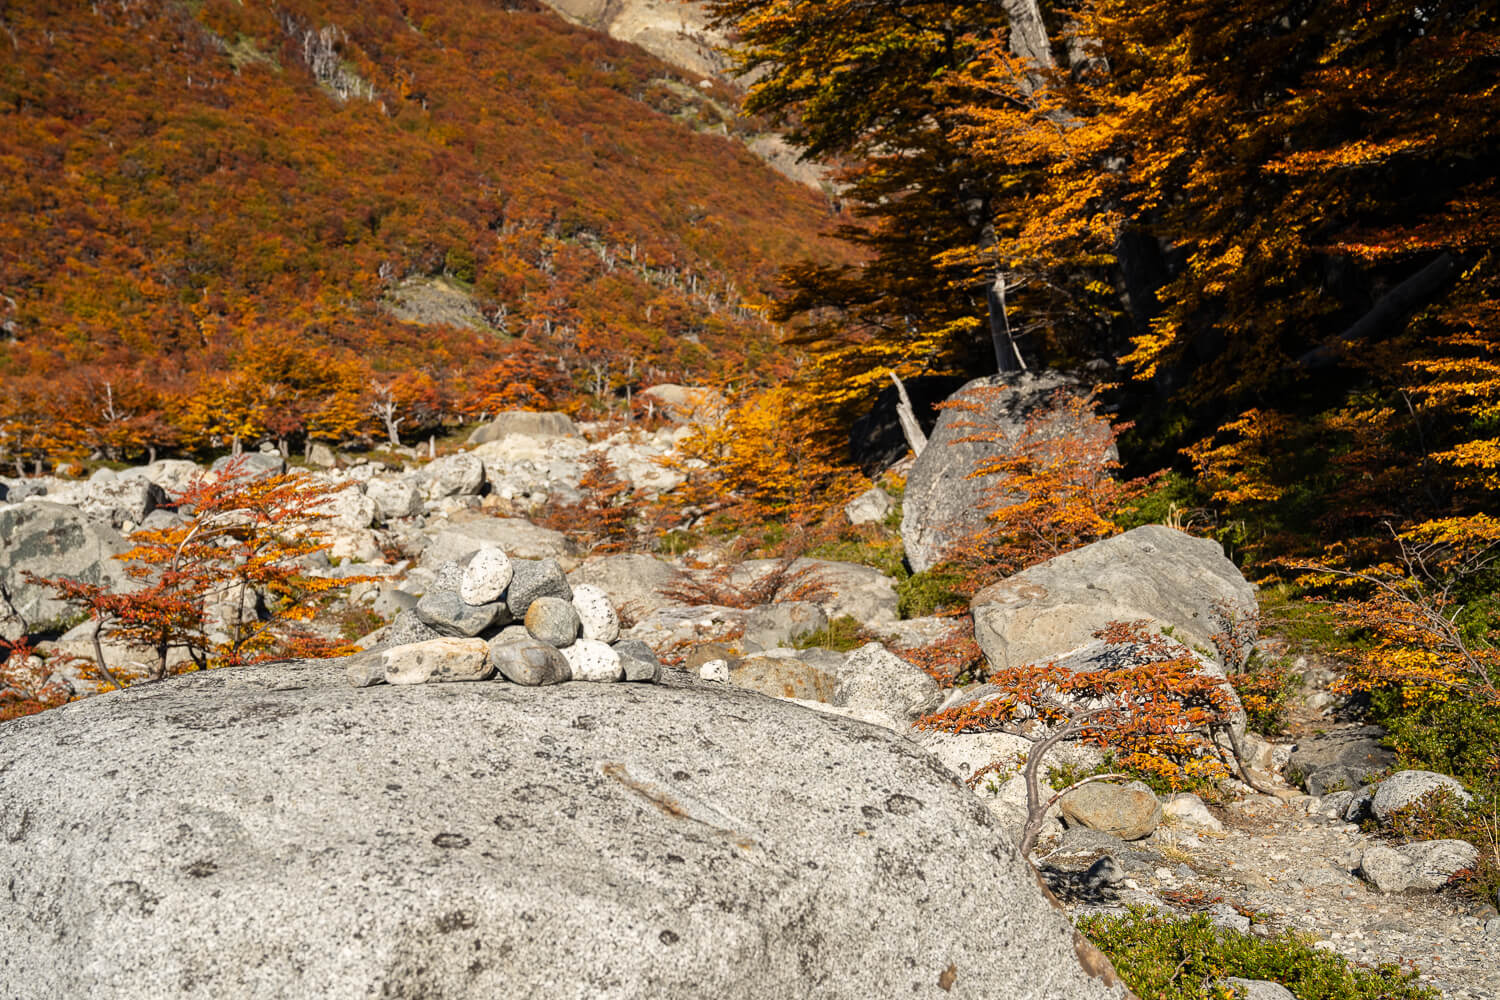
The trail is unmarked, but there are small cairns at regular intervals.
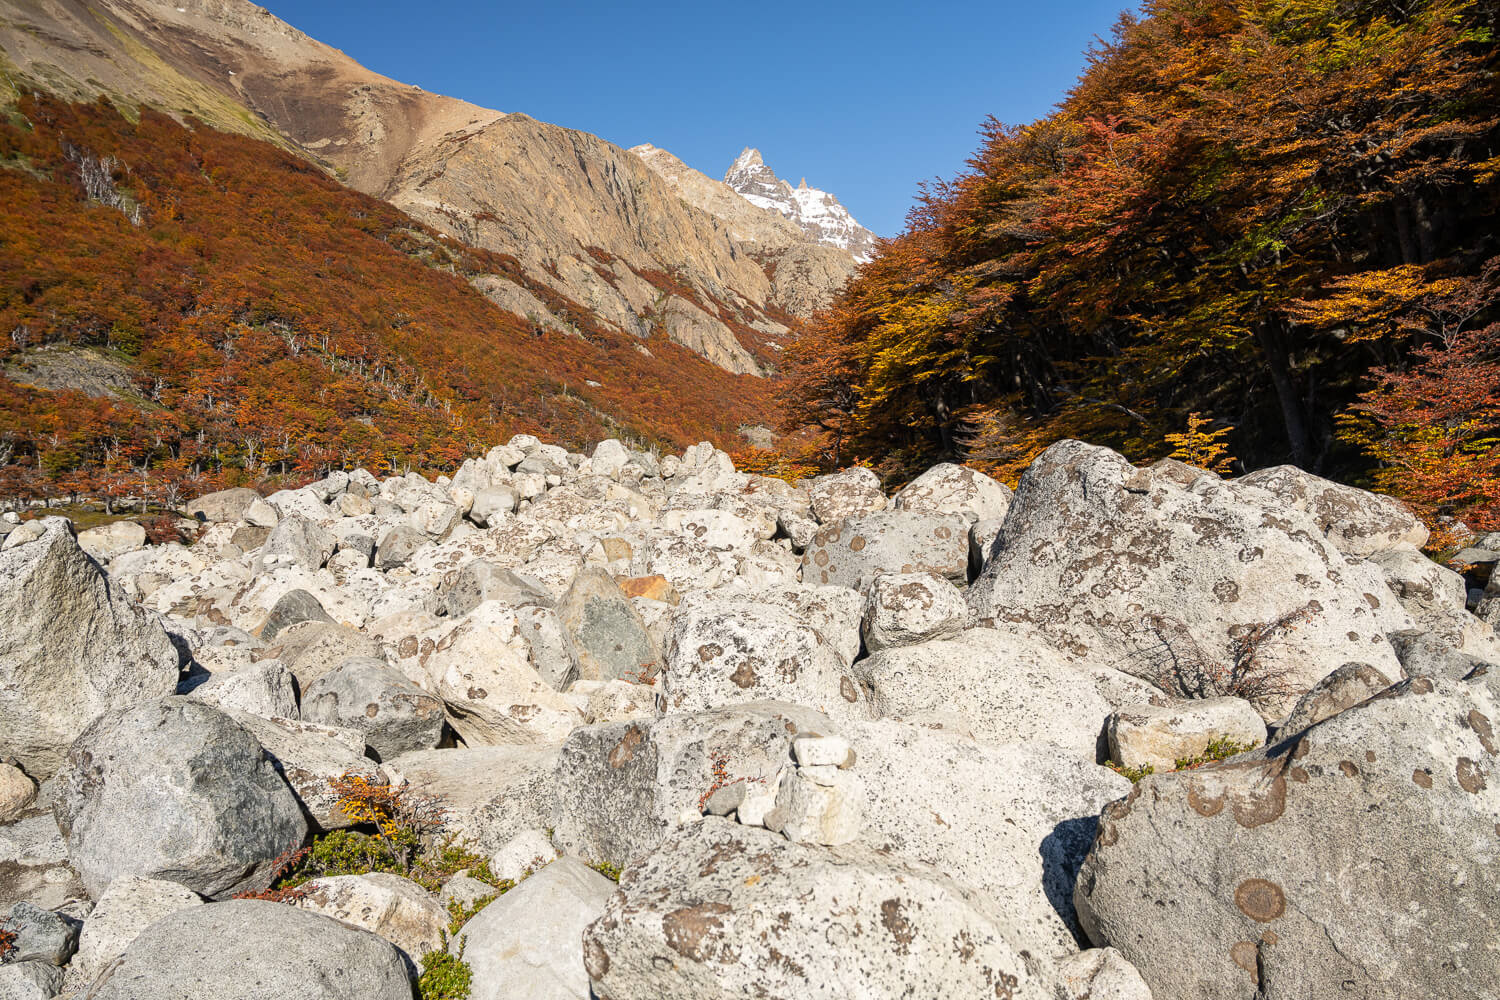
After the first easy stretch, you’ll need to find your way through a section filled with rather big boulders.
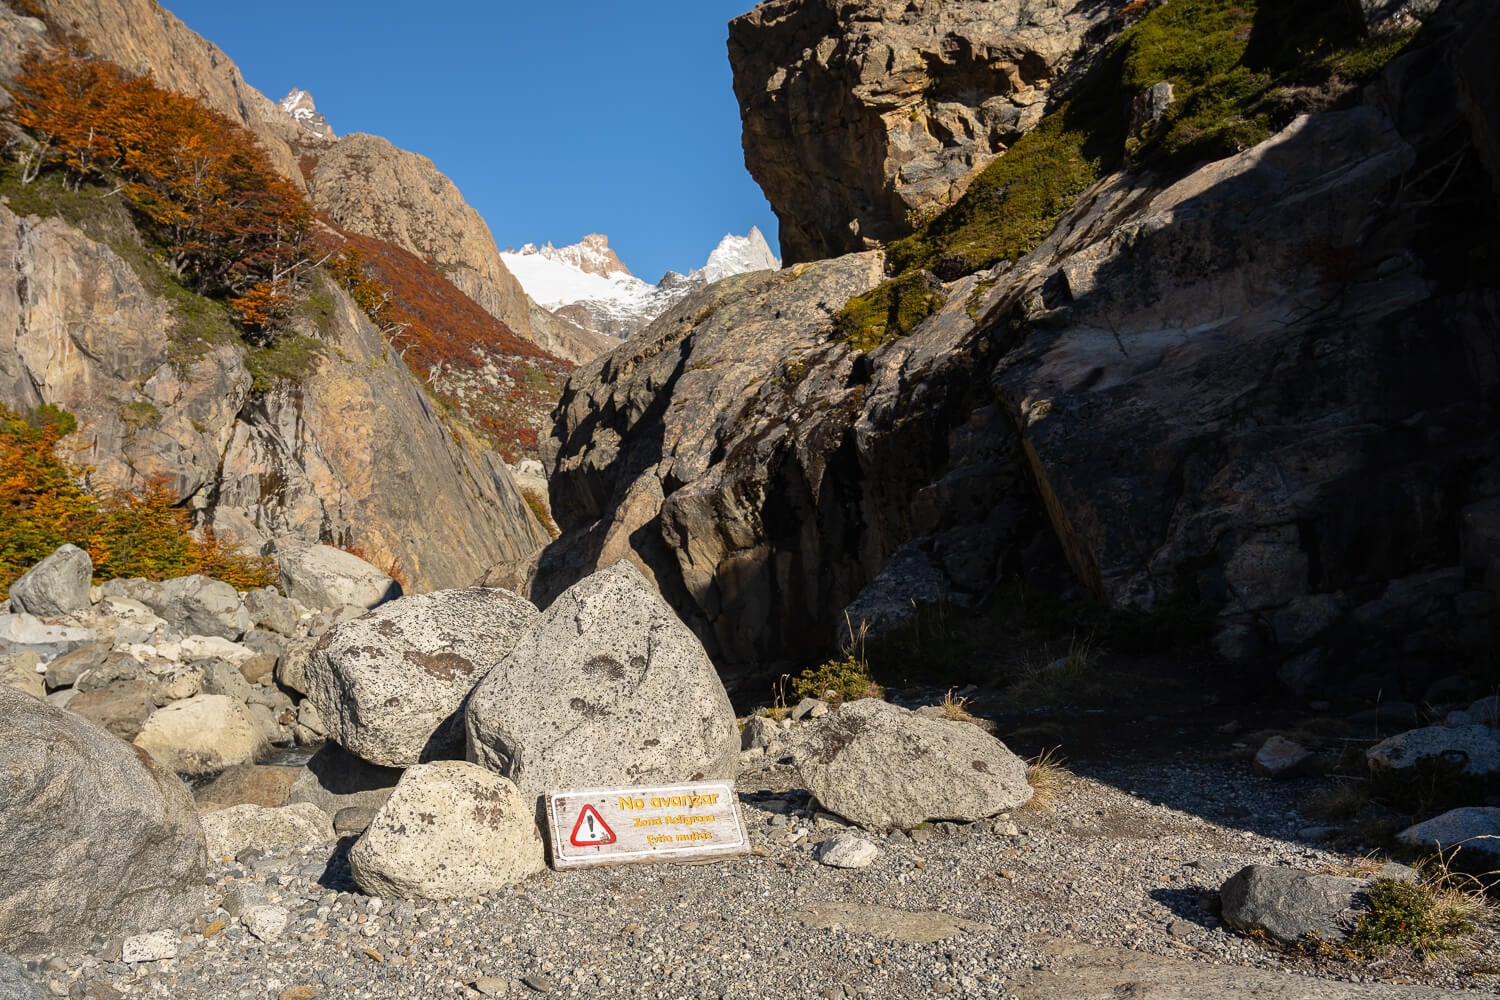
If you arrive at this point, backtrack. Continuing here is not allowed. Look for a passage in the nearby forest.
Keep following the trail until you reach a small ravine with a warning sign, the one in the photo above. Instead of continuing there, look for a small passage in the forest to the right. It’s a bit hidden, and it is visible only once you are close to it.
Take that trail. It’s a short, muddy scramble up a steep slope, with low-hanging branches. Easily done if taken slowly, as you have to watch your foot and negotiate passage through the various branches. And mud.
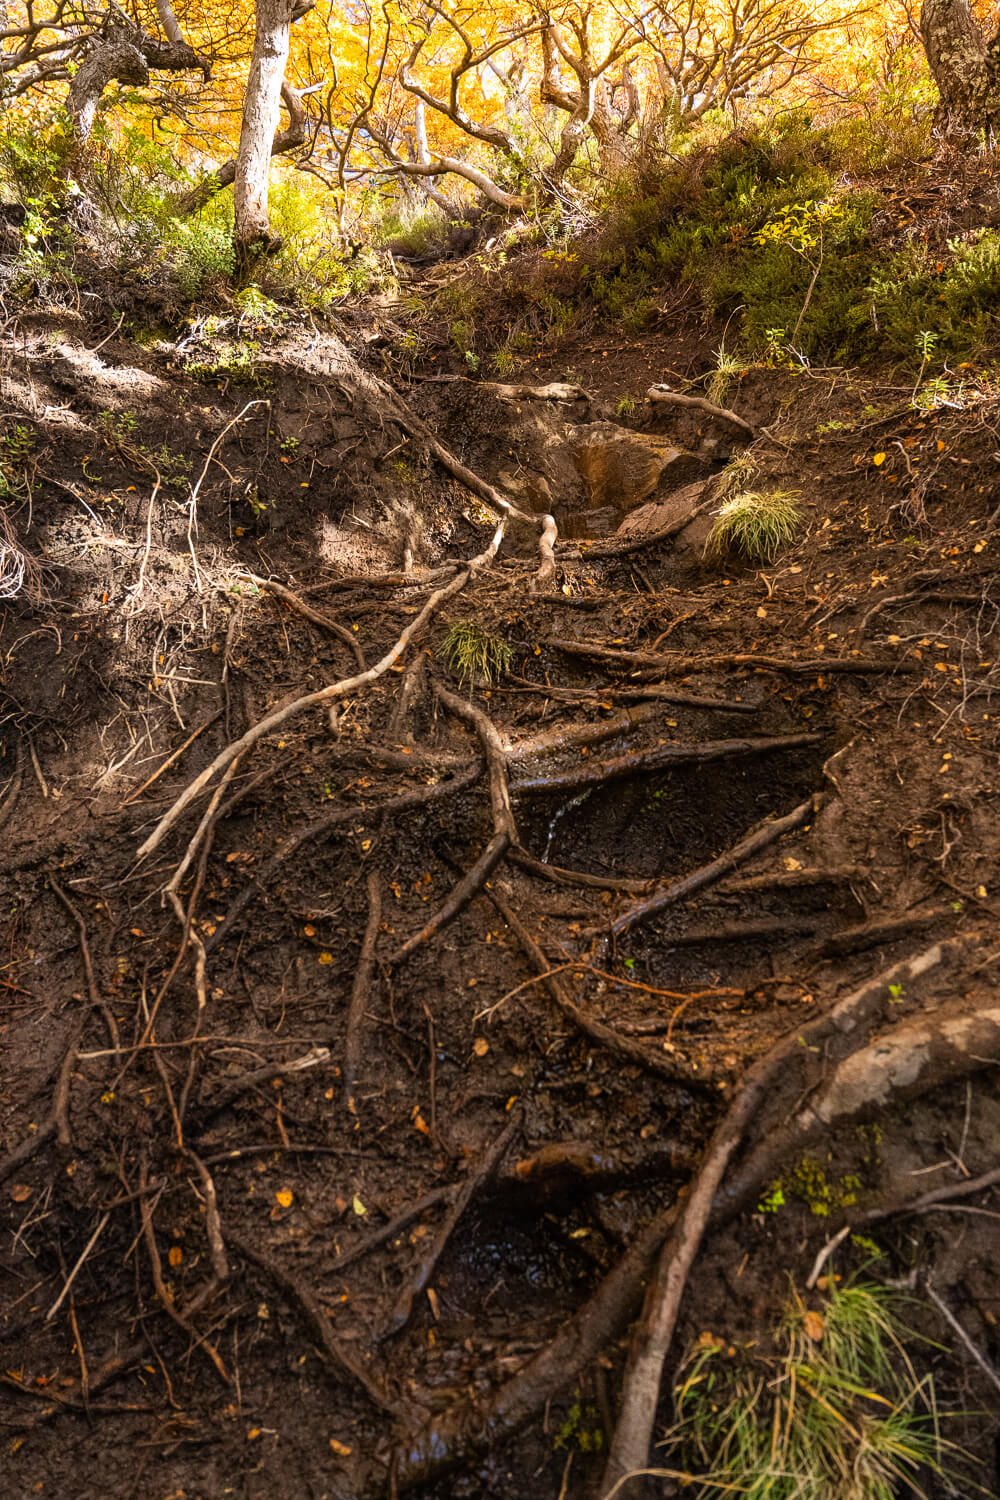
This is the safe passage. A steep wall of mud and roots. It is worse than it actually looks.
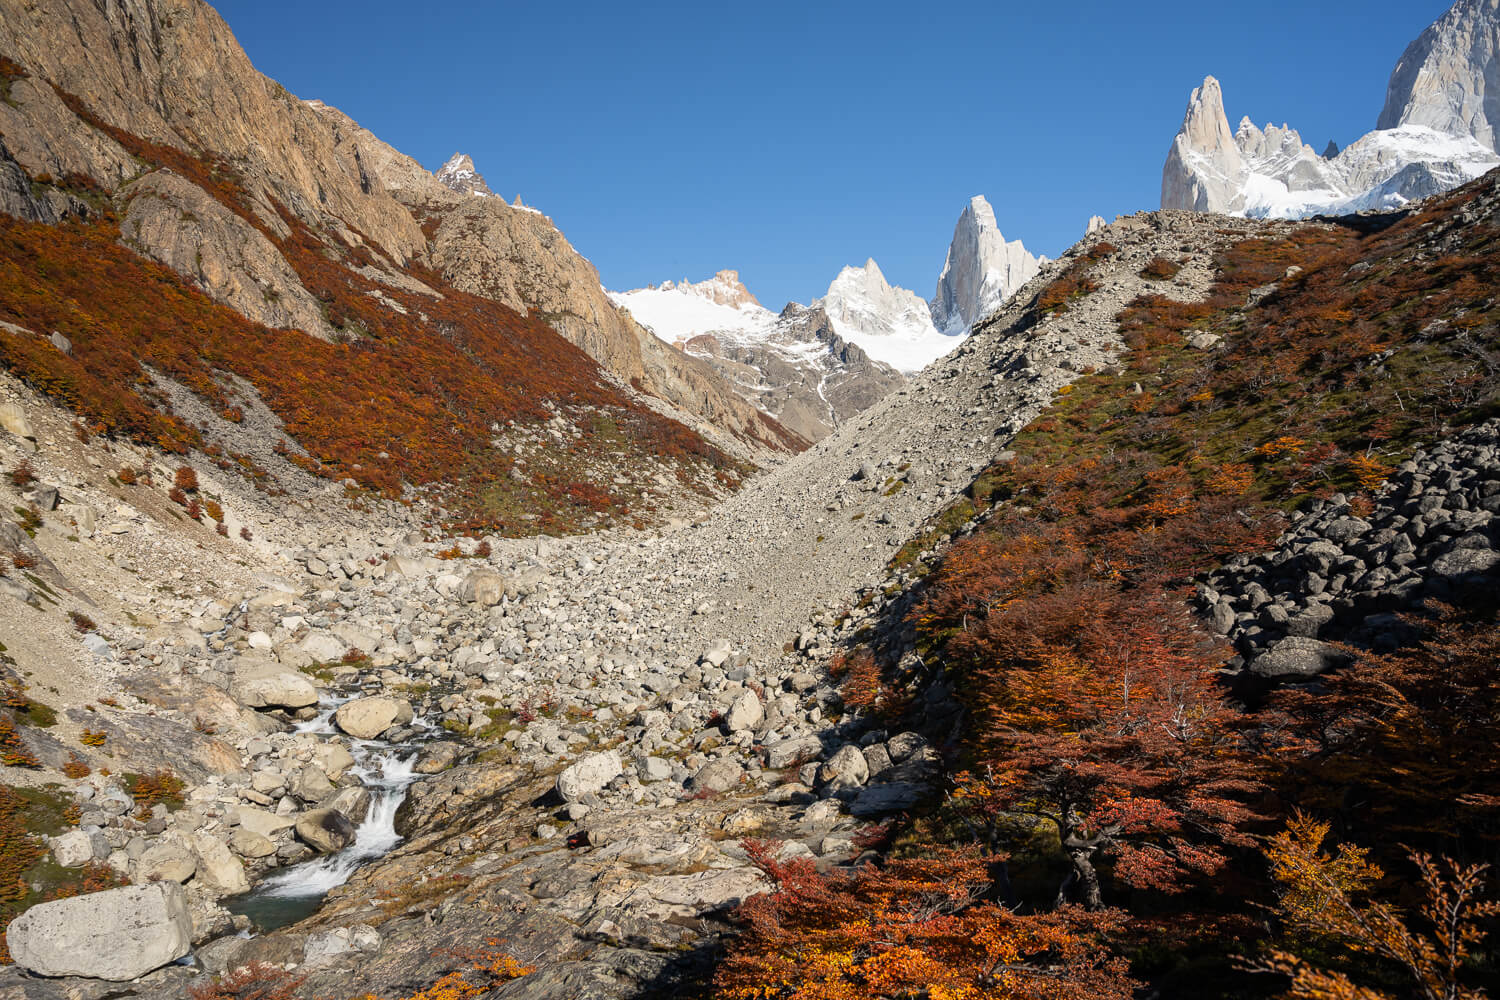
At the top of the short, muddy scramble
Crossing the Moraine & Laguna Sucia Viewpoint
At the top of this short climb, you will reach a viewpoint that is above the narrow ravine mentioned before. From there, the trail continues toward the morainic deposit at the bottom of the laguna.
Here the trail completely disappears at times, but watch out for the small cairns again. Generally speaking, you should stay on the lower slope of the moraine, rather than trying to climb up. There can be unstable boulders on this deposit on the higher section of the moraine, so also watch out for potential small slides.
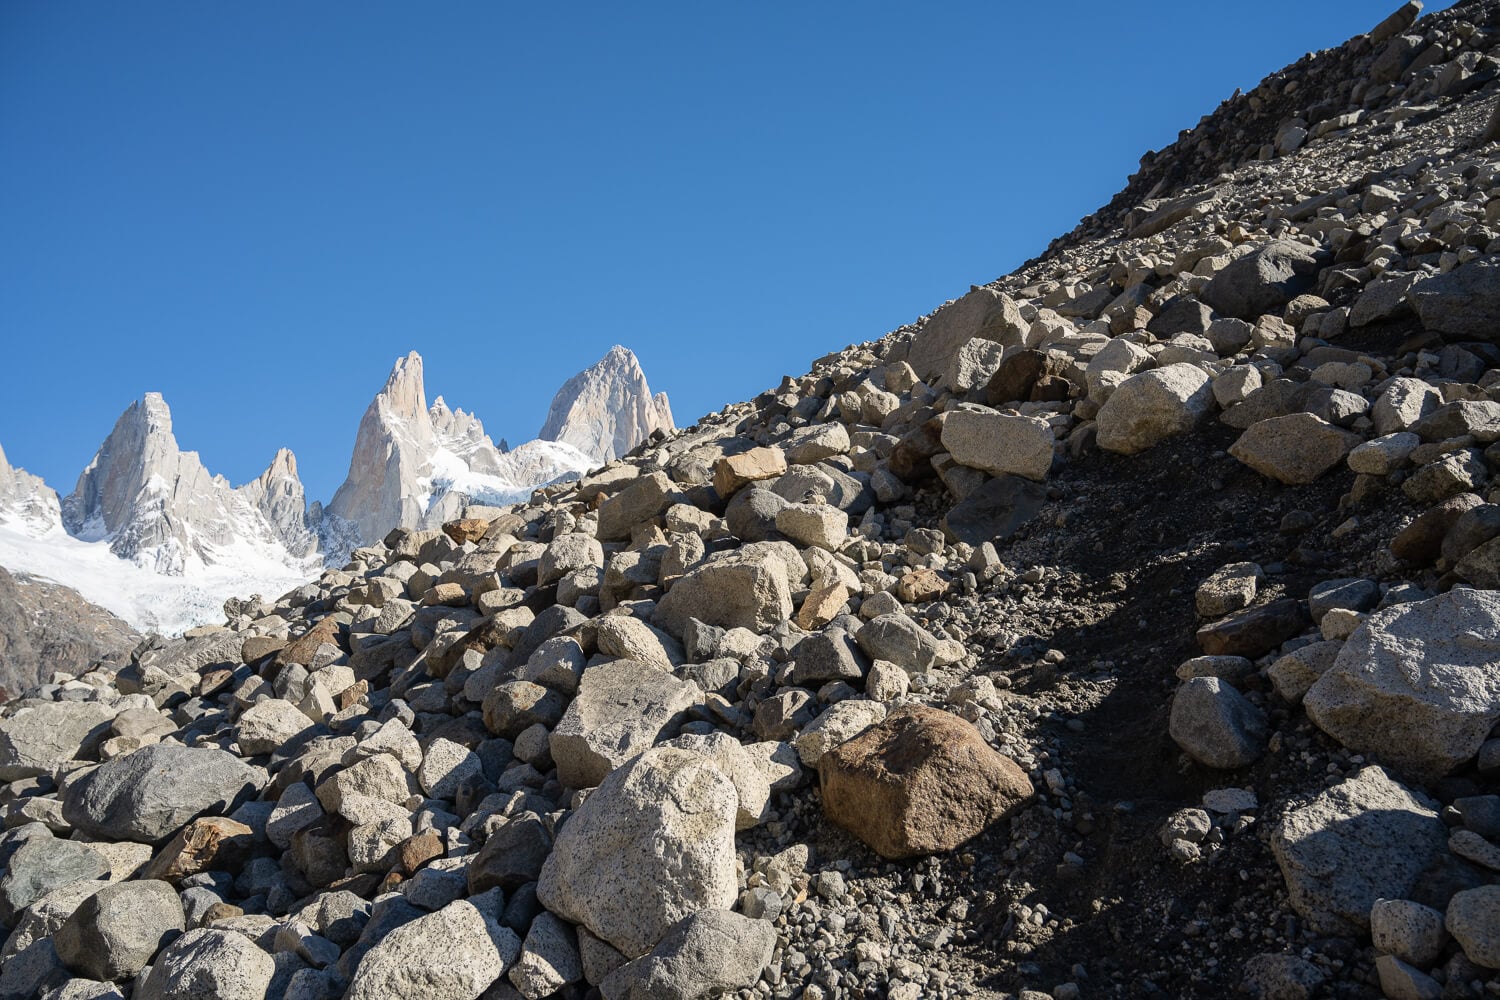
The last part invoices crossing a morainic deposit with potentially unstable boulders.
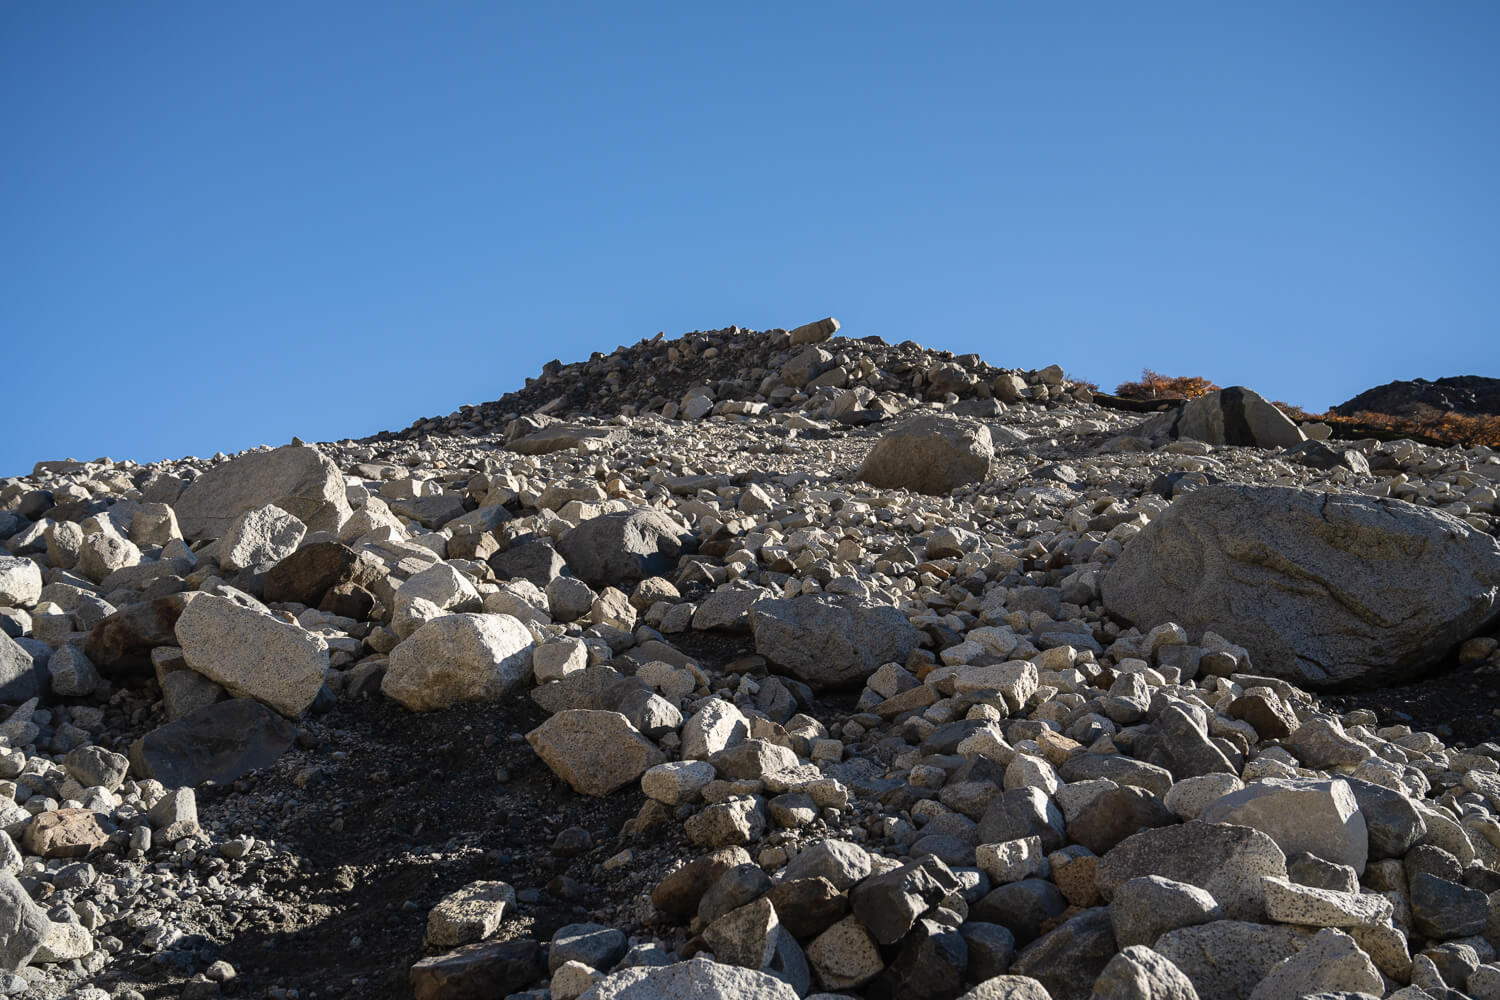
It takes about fifteen minutes to cross this section and arrive at the main viewpoint, on the shore of the Laguna.
It is also possible to cross the river and access the unmarked trail on the opposite side for additional views. I could not make it there on my visit, but the opposite side should offer a more open view of the Laguna. Do not stray off of visible paths though, to prevent damage to the vegetation.
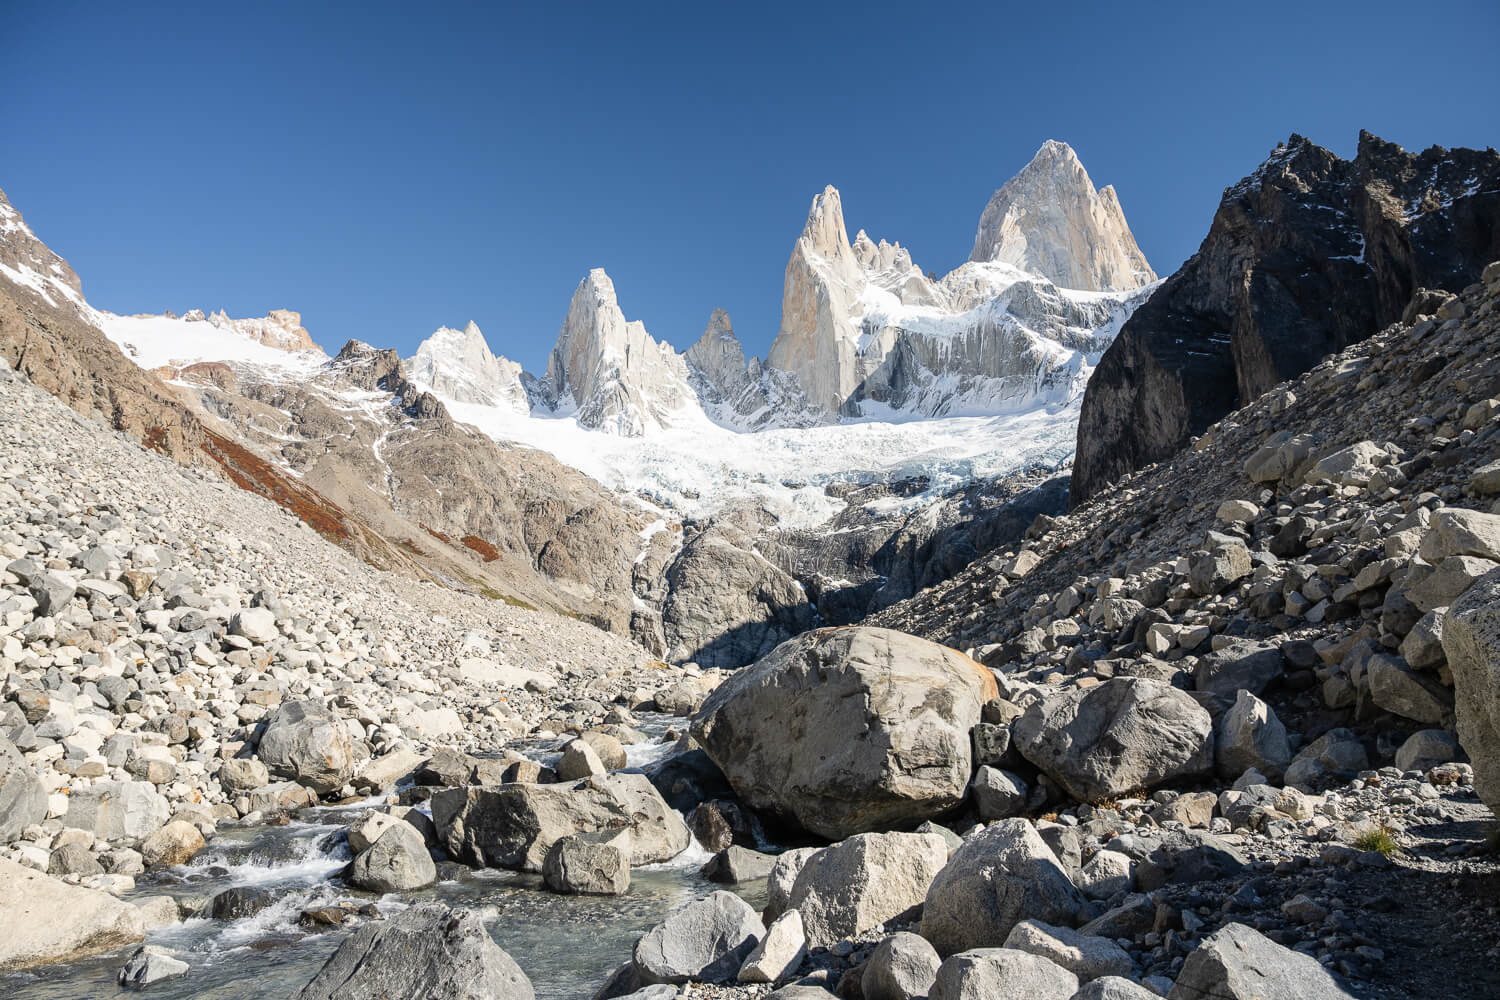
The views open up as you approach the Laguna
Laguna Sucia.
Laguna Sucia Photos and Photography Tips
Like any places that offer clear views of the Fitz Roy massif, Laguna Sucia is a great candidate for a Sunrise Hike and photos. Though I would only recommend it if you have already done Laguna de los Tres for sunrise.
Otherwise, it’s a very doable daytime location too, with one caveat. Do not arrive too early in the morning, as the laguna will be completely in the shadows. I arrived there around noon, and the laguna was mostly lit, as you can see from the photos.
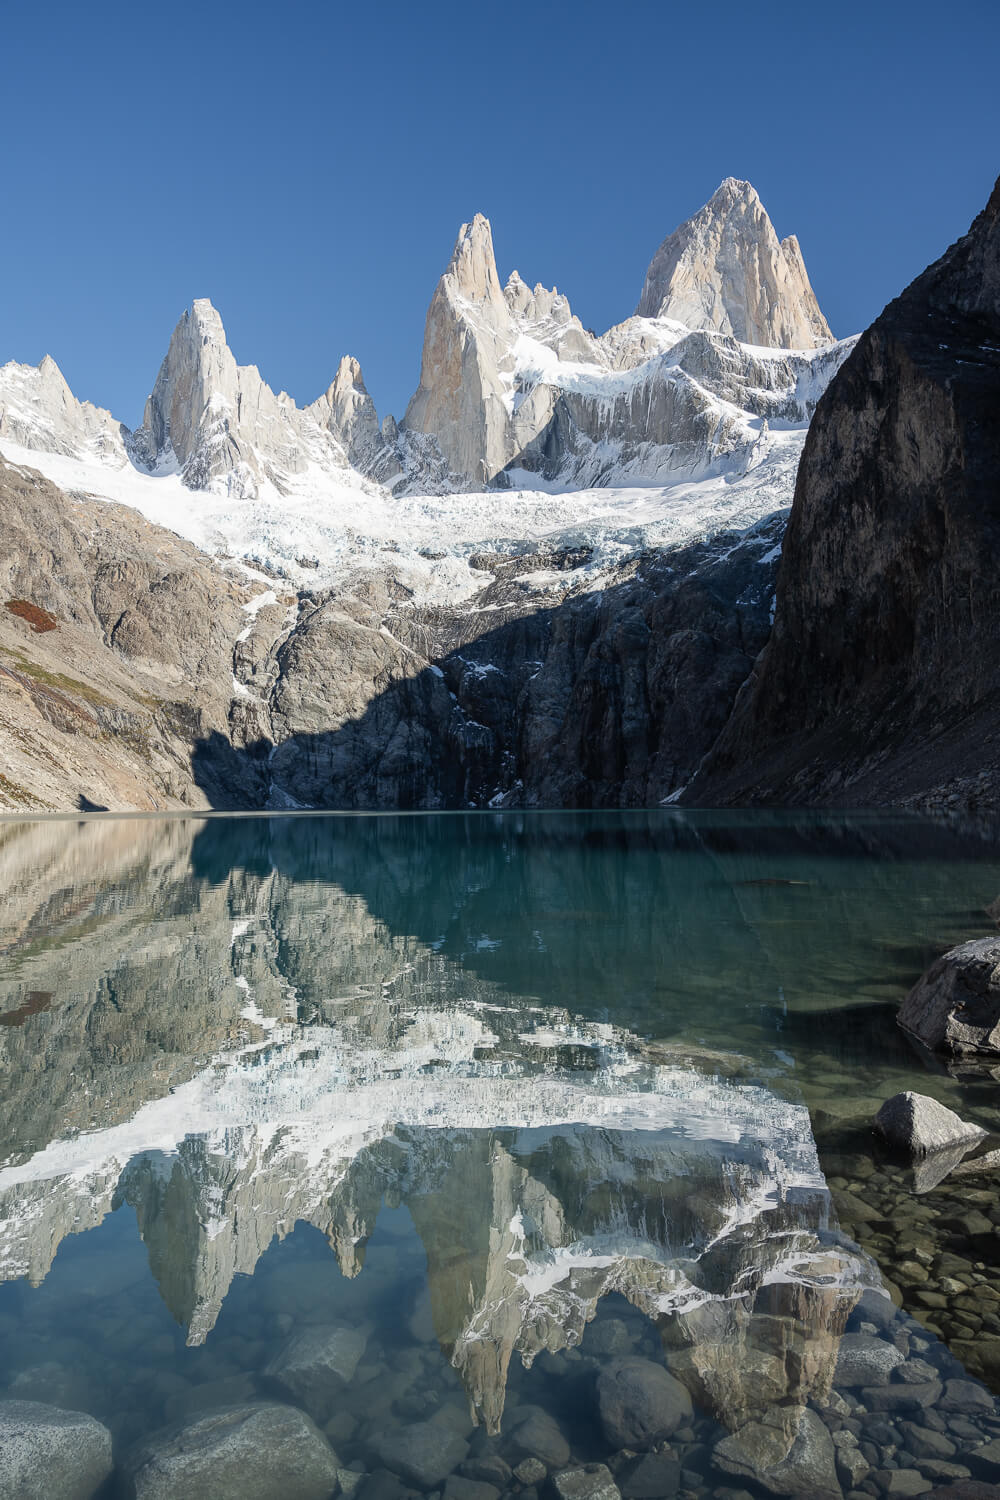
In terms of lenses, specifically for the Laguna, I’d recommend the widest lens you have to fit much of the Roy, the Laguna, and the foreground. On that, when I was there the water of the lake was crystal clear, and the mixture of the reflections and underwater stones can create interesting foregrounds. I used a 14-24mm lens at the Laguna mostly.
There are also some interesting views on the last bit of the morainic deposit with all the boulders creating a chaotic but “raw” foreground.
Longer focal lengths are a good idea for the trail; 24-70mm are more than enough to capture the landscape around the trail. And even longer lenses are useful at the laguna again, to capture the details of the Fitz Roy and its glacier closer.
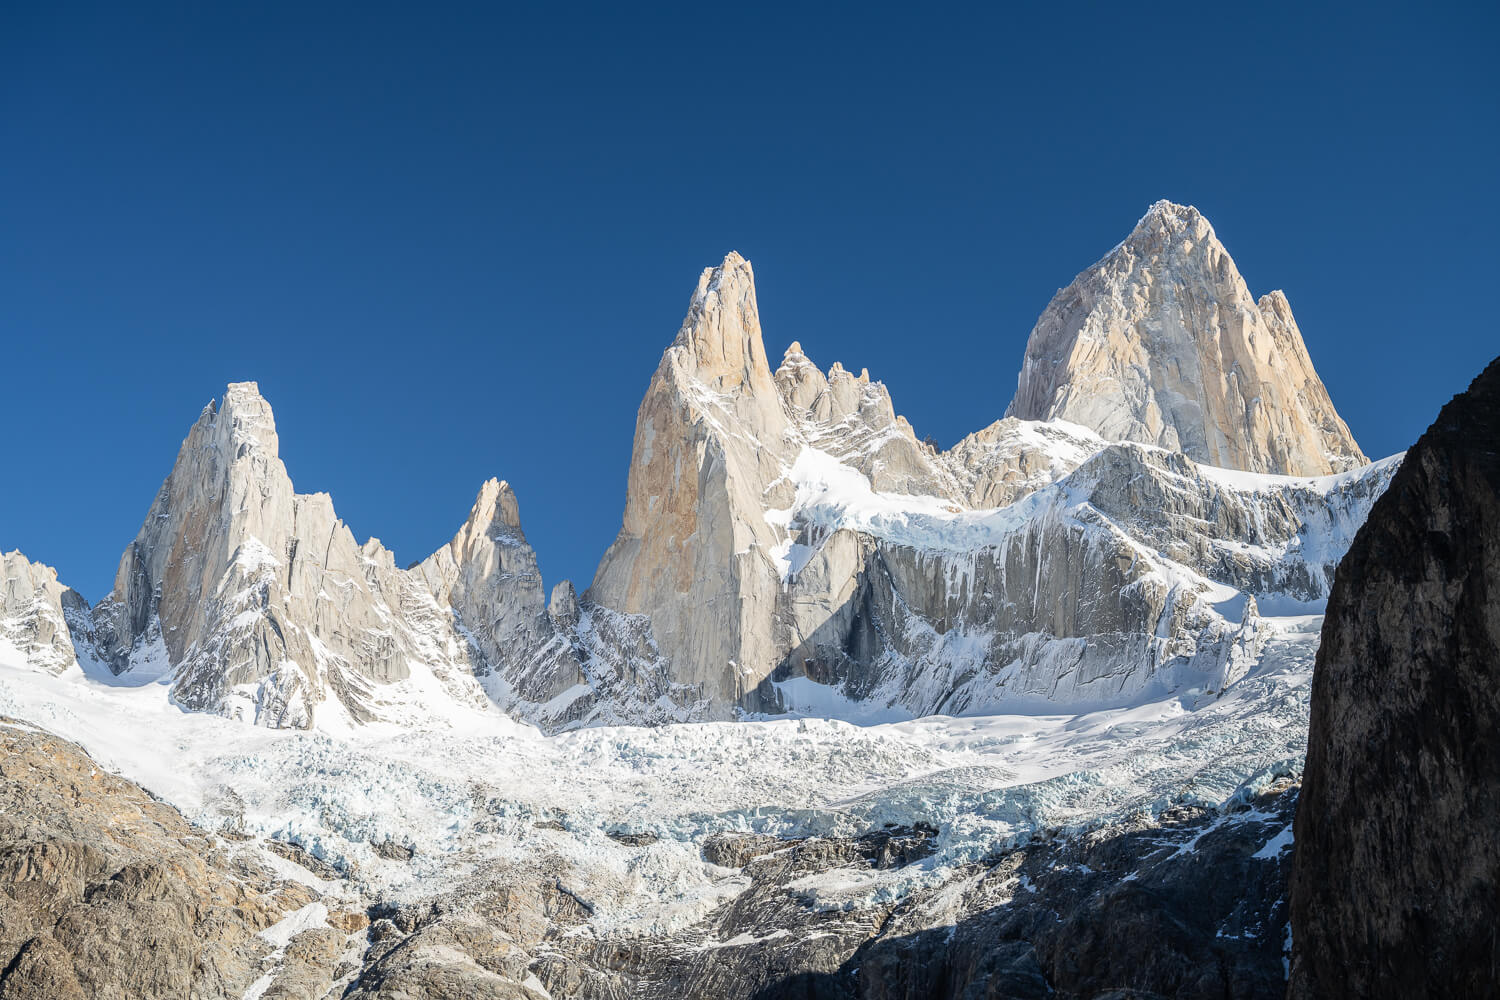
Laguna Sucia also offers some of the best, unobstructed views of Mount Fitz Roy.
Where to Stay
El Chaltén is pretty much the only town in the area, and it offers several different types of accommodations, from hotels to guesthouses and hostels. Lovely town to spend a few days at, exploring the trail in the park.
If you are camping, the closest campsite to the trailhead is Campamento Poincenot. Advanced booking is required.
Additional Resources
- You may also want to read my full El Chaltén Hiking and Landscape photography guide, if you are planning a trip to the area.
- For a general overview of hiking and landscape Photography locations in Argentina, check out my main Argentina page.
- If you are planning to combine this hike with other points of interest, you can check the Laguna de los Tres, Laguna Torre, or Mirador Piedras Blancas hikes.

Leave A Comment