
El Chaltén Hiking and Landscape Photography Guide (with Maps and GPX)
From Fitz Roy to Cerro Torre and the Hidden Waterfall, El Chaltén is a bit of a paradise for both Hiking and Landscape Photography. Home to some of the most beautiful mountains in the world and landscapes to match, it is a “Mecca” for hikers. And officially, it’s Argentina’s National Trekking Capital.
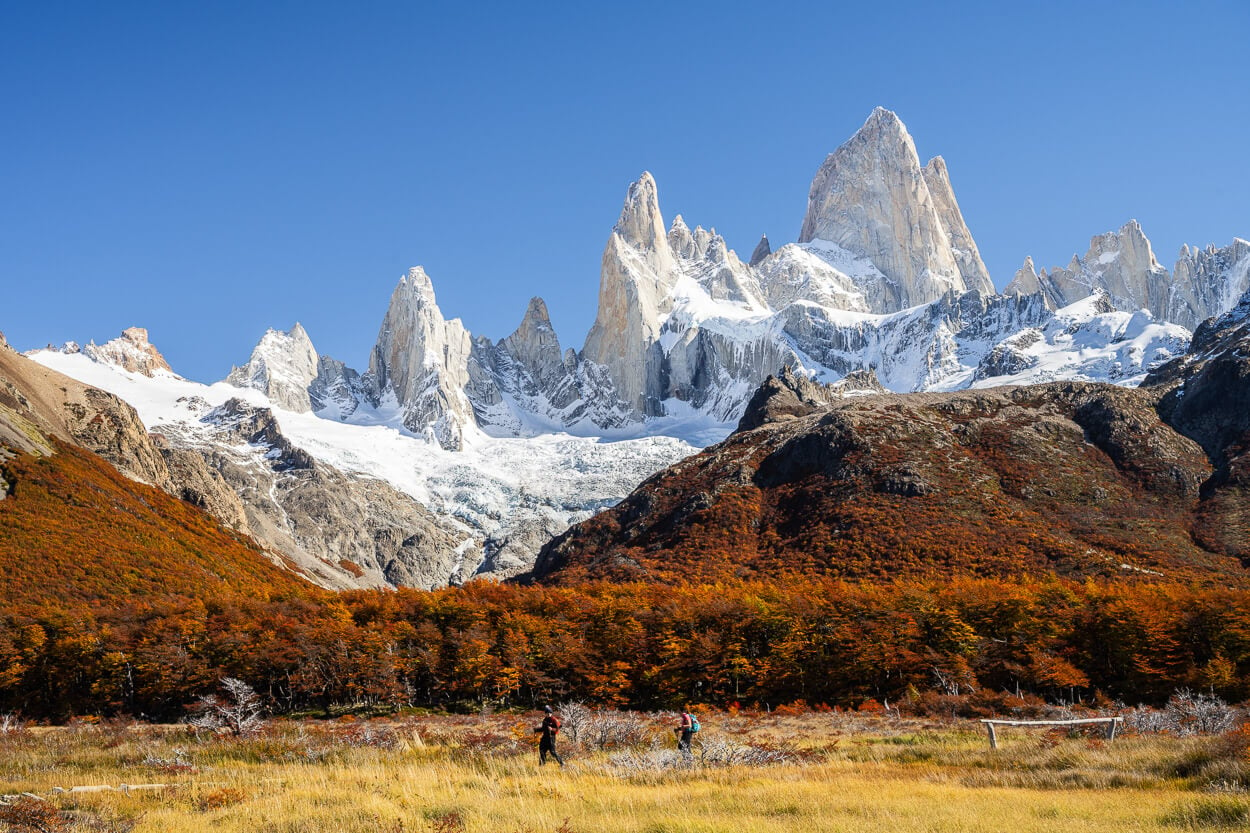
Hikers and Mont Fitz Roy in the background.
Located in Southern Patagonia on the Argentinian side, Los Glaciares National Park is probably one of the most visited hiking and landscape photography locations in Patagonia, and Southern America in General. Actually, I would go as far as saying in the world.
El Chaltén does feel a bit of a hiking and landscape photography paradise for more than one reason. It’s a town with a character, where the Fitz Roy dominates the landscape from pretty much anywhere in town. On clear days, when driving there, you have the feeling as if you are entering some sort of Mythological realm, with the view of the Cerro Torre and Fitz Roy in the distance.
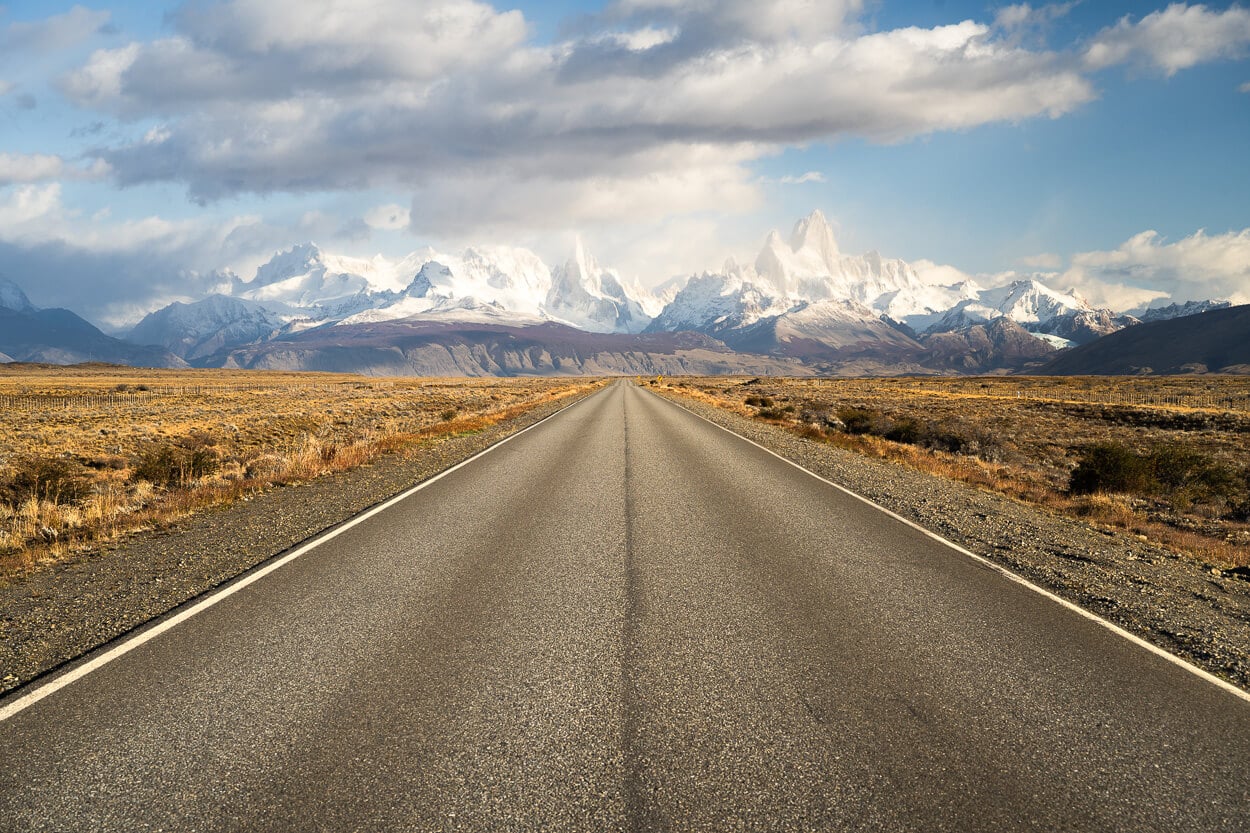
Arriving in El Chaltén.
Once there, you can walk to all the main trails right out of your doorstep. You then spend a day on trails or go out in the early AM to watch sunrise, in a sort of pilgrimage to the mountains. Then you come back to town to treat yourself to some nice food, drinks, or whatever is your choice, and repeat. That’s hard to beat if you enjoy the outdoors and the stunning views – and of course, landscape photography.
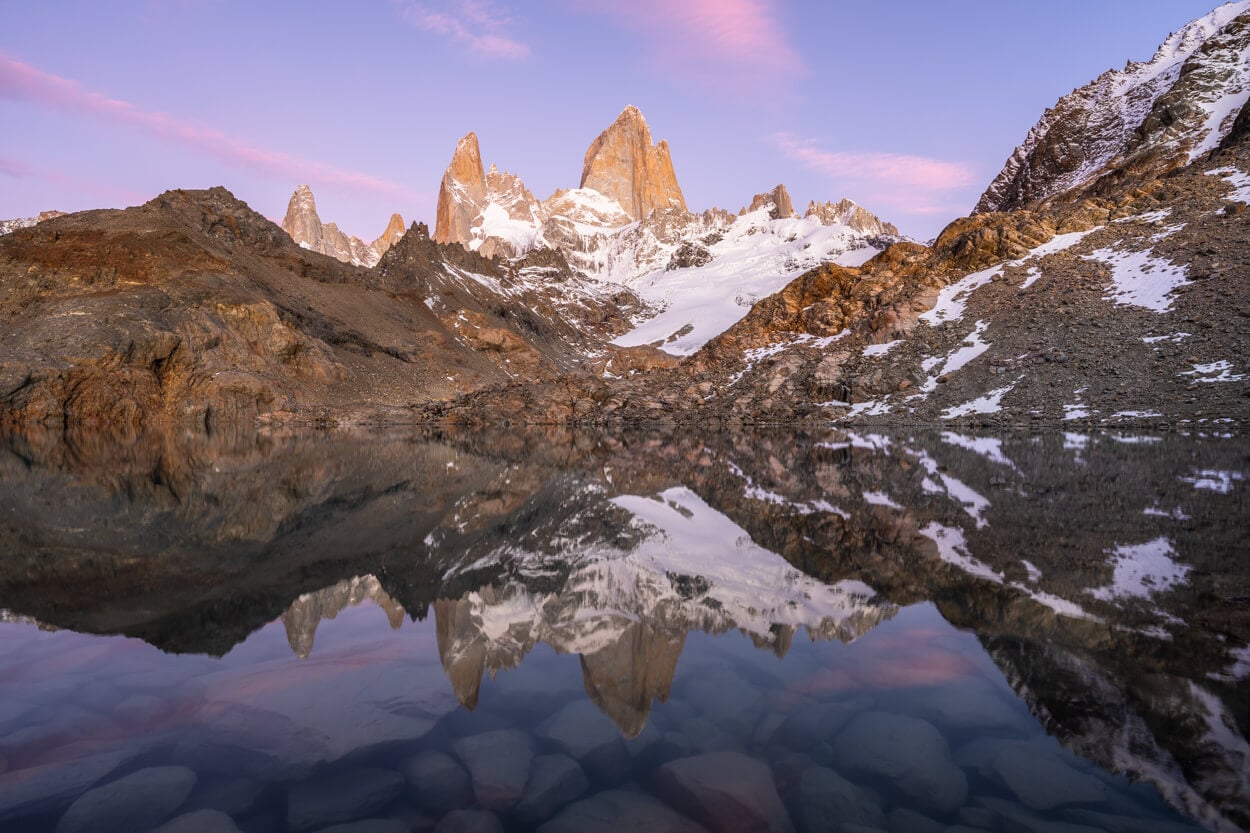
Lagubna de los Tres, one of the most popular Hikes and Photo spots in El Chaltén.
Table of Contents
When to visit El Chaltén
It’s technically possible to visit El Chaltén year-round, but the best time to visit is between November and March. That’s high season, and it’s also the most crowded.
Shoulder season is October and April. Less crowded and, in Autumn, beautiful fall colors. In winter, there are fewer crowds, and you should expect snow, ice, and freezing temperatures. So realistically, for hiking, the best season is November to April.
If you are doing this for landscape photography too, I’d highly recommend visiting in the autumn. To be precise, early to mid-April. Why? Again, the autumn colors there are really something you should see with your own eyes. Absolutely beautiful colors.
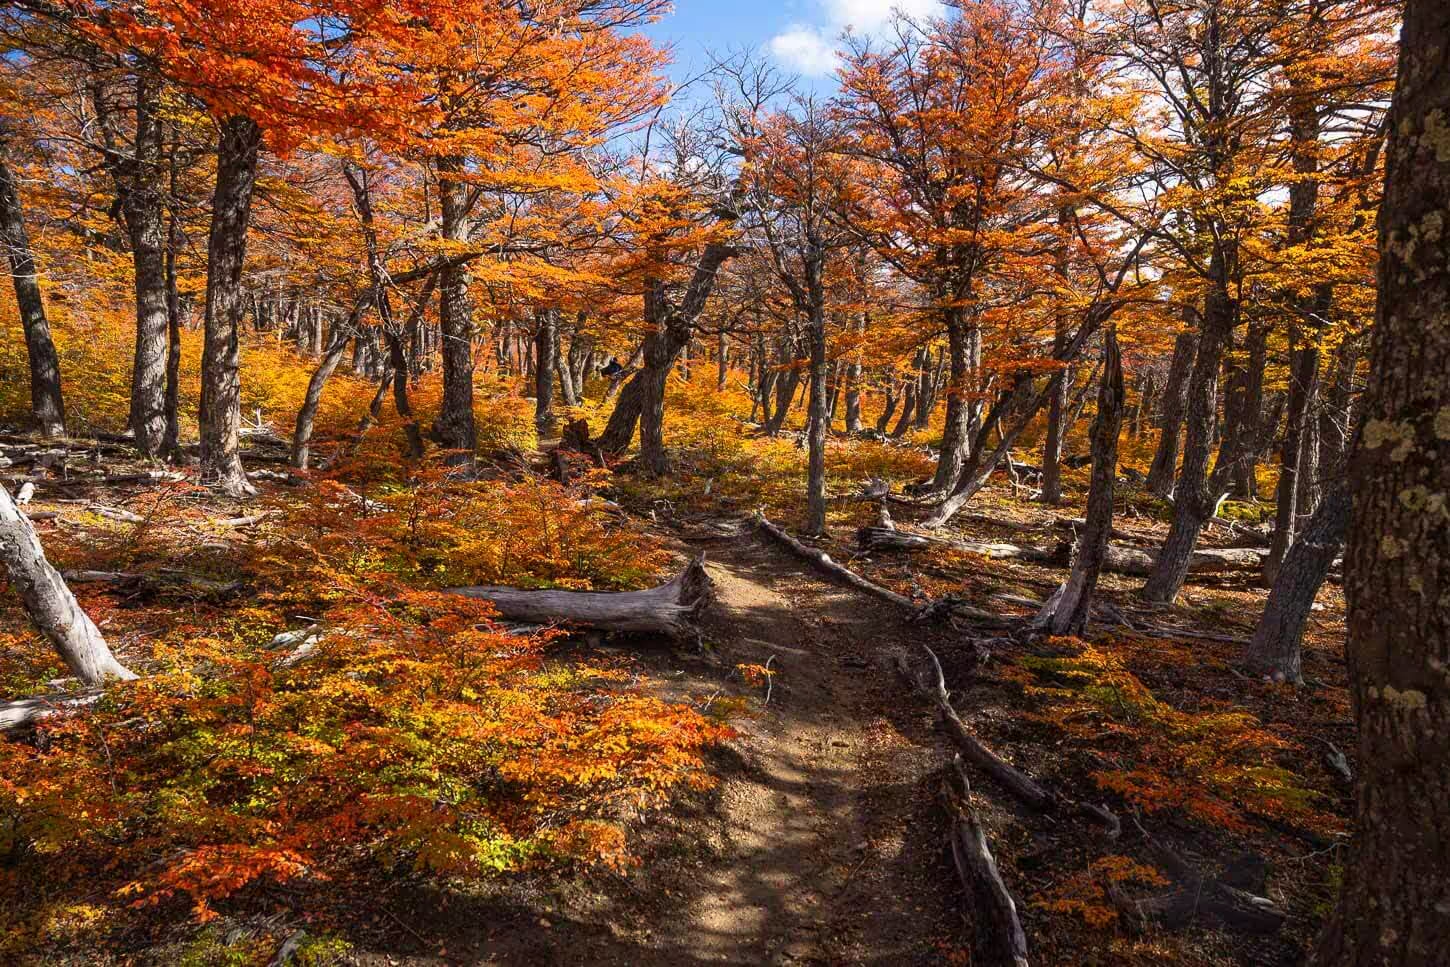
A trail in the forest in Los Glaciares, Autumn.
Furthermore, as I read online while doing my research, between late March and early April, the weather appears to be more stable. Of course, this will vary, but when I visited for seven days, I had seven days of nice weather. Nice is still relative, as it was freezing at night, it snowed the day before I arrived, and sometimes it was very windy. But other than that, it was sunny all day, every day, with the occasional clouds.
In low season and in winter, you will also need to bring additional gear or rent it on site (micro spikes or crampons, or snowshoes, for example). This is critical for safety, as well as
My personal recommendation, again, is to go in early/mid-April. Fewer crowds, and the autumn colors are absolutely out of this world beautiful.
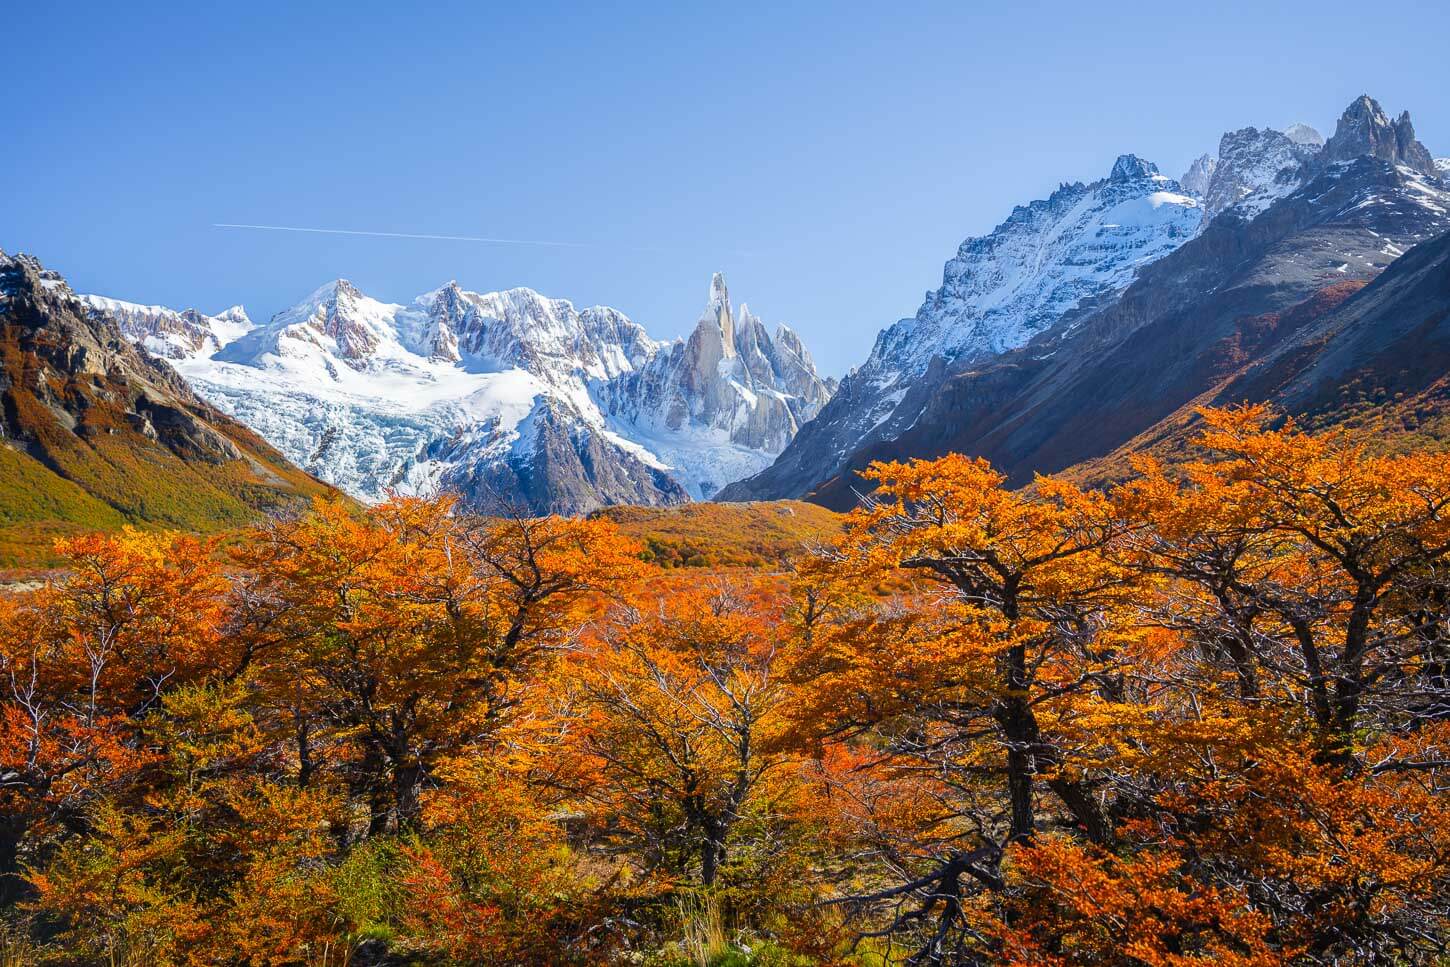
Autumn in Patagonia – Early April.
How much time to allocate to El Chaltén and Los Glaciares
While how much time heavily depends on your “to-do” list of hikes, I would recommend at least five days in El Chaltén. This is to maximize your chances of doing at least the main three hikes: Laguna de los Tres, Laguna Torre, and Loma del Pliegue Tumbado. It’s three hikes for five days, two days added as a “bad weather” buffer. Then, if the weather turns nicer than expected, you can go for more. It’s best to see that as a bonus, rather than counting on it.
That was my strategy too. I allocated six full nights and seven days to Argentina, arriving in El Chaltén the morning of the first day from El Calafate, and departing back to Chile on the seventh day. I wanted to maximize my chances of being able to complete those three hikes at the very least.
Plus, I had a list of a few more to do in case of good weather. This worked well for my time window, as I was lucky enough to get a full week of sunny weather.
To sum it up, a full week should be enough to cover the major hiking sights in El Chaltén at a relaxed pace. And some more if the weather collaborates, but that is anything but granted in Patagonia.
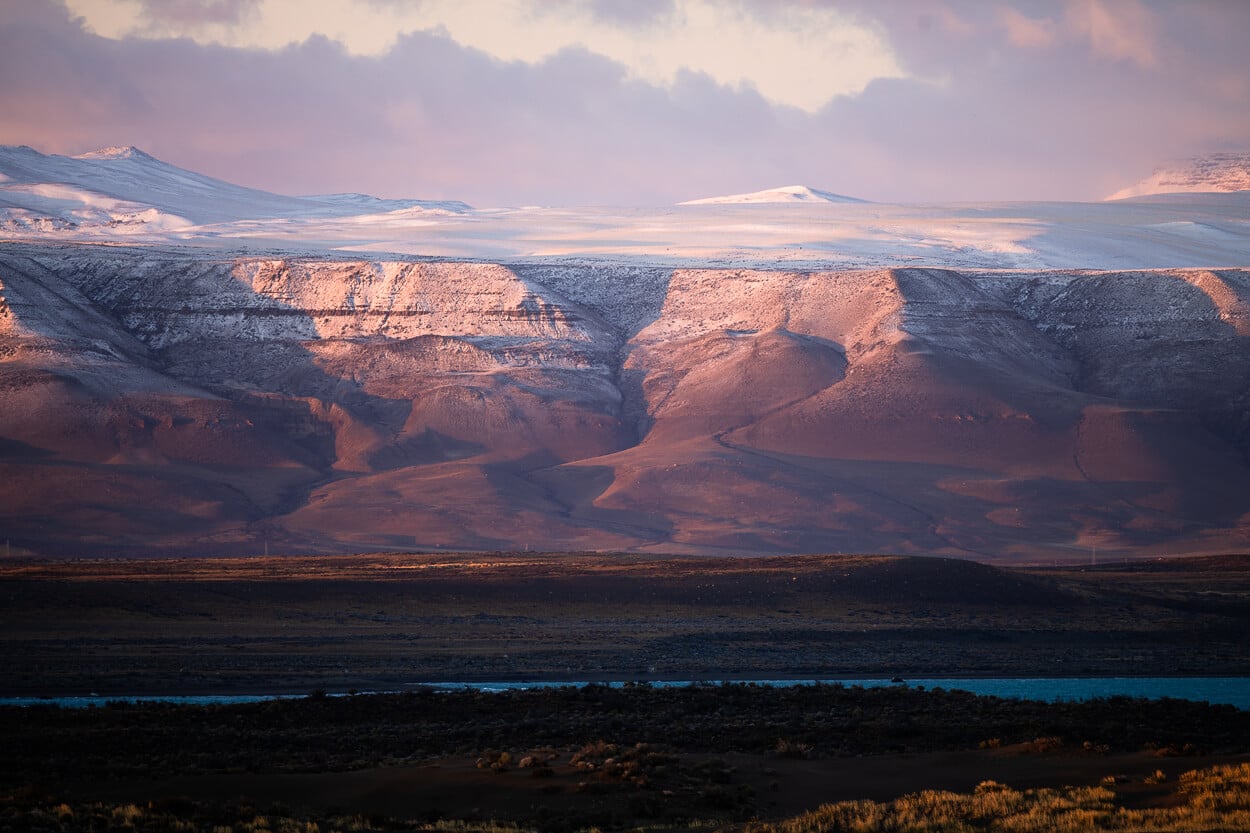
In the shoulder season, snow can fall at lower elevations already.
Where to Fly
If you are just planning to visit El Chaltén, the closest airport is in El Calafate. It’s the most optimal choice if you just want to visit El Chaltén and Los Glaciares.
In most cases, that requires a stopover in Buenos Aires. If you decide to go that route, pay attention to the arriving/departing airports in Buenos Aires. Sometimes flights depart from two different airports.
The other main option is flying to Chile, specifically Puerto Natales. However, that is viable if you are planning to combine the trip with a visit to Torres del Paine.
I decided to fly to Chile too,. I combined the trip with a few more days in Torres del Paine and a day in El Calafate. Also, because in my case, both the flight and the car rental turned out to be cheaper in Chile.
So, if you are planning to visit Torres del Paine too, you may also want to look for flights to Puerto Natales. Otherwise, if you are planning to just stay in El Chaltén. If you are planning to include Chile, you may want to check out my Torres del Paine Hiking and Photo Guide too.
Driving Time
- From El Calafate to El Chaltén, it’s almost 3 hours on Route 40. The road is entirely paved and crosses a barren but scenic stretch of land. Pay attention to Guanacos that often graze on the side of the road, and may be scared by oncoming traffic.
- From Puerto Natales to El Chaltén, it’s about 6 hours, without accounting for the border-crossing time. Make sure to avoid Route 7, even if Google sends you there. It’s a road in bad condition, and it will take much longer to cross. Take road 40 instead, passing by the small conglomerate of Esperanza. There is one gas station there, but do not count on it. From time to time, it may run out of fuel.
Important: if you are planning to land in Chile and rent a car, make sure you request your rental agency the International Border Crossing Permit from the rental agency in advance. That form allows you to bring the rental car across the border. Without it, you can’t.
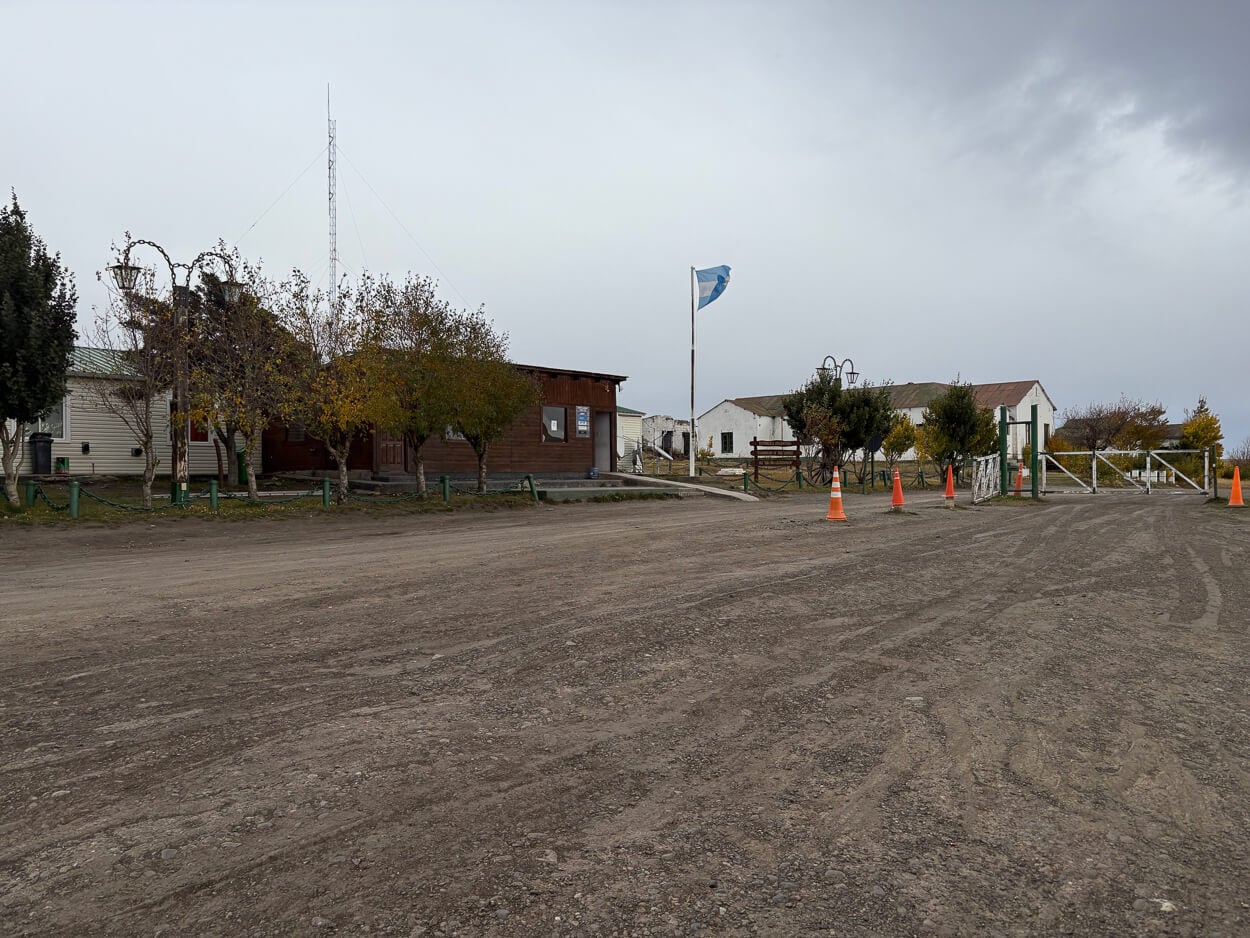
The Paso Río Don Guillermo border checkpoint, on the Argentine side.
Car Rental vs Bus Transfers
A car rental isn’t essential, especially if you are planning to just visit El Calafate/Perito Moreno and spend most of the days in El Chaltén. It’s practical, but not essential.
However, you would rent a car for the flexibility and freedom that come with it. For instance, can combine both Torres del Paine and El Chaltén in one trip, with a stop in El Calafate at your own pace. If you do, make sure you request a permit to drive the car abroad, whether you rent it in Argentina or in Chile.
However, if you are only visiting El Chaltén, you can do everything by walking. Restaurants, Groceries, microbreweries, and, of course, trailheads are all within 15- 20-minute walks from everywhere in town.
I did rent a car for my trip, but I only used it to hike to Mirador Piedras Blancas from Río Eléctrico, and to visit the Los Huemules reserve and hike to Puesto Cagliero. However, you can also organize a pickup and drop-off at these two locations with private transfer companies in El Chaltén.
Essentially, when I stayed in El Chaltén, the car sat in the driveway of my rental tiny house for the whole week, minus the two exceptions mentioned above.
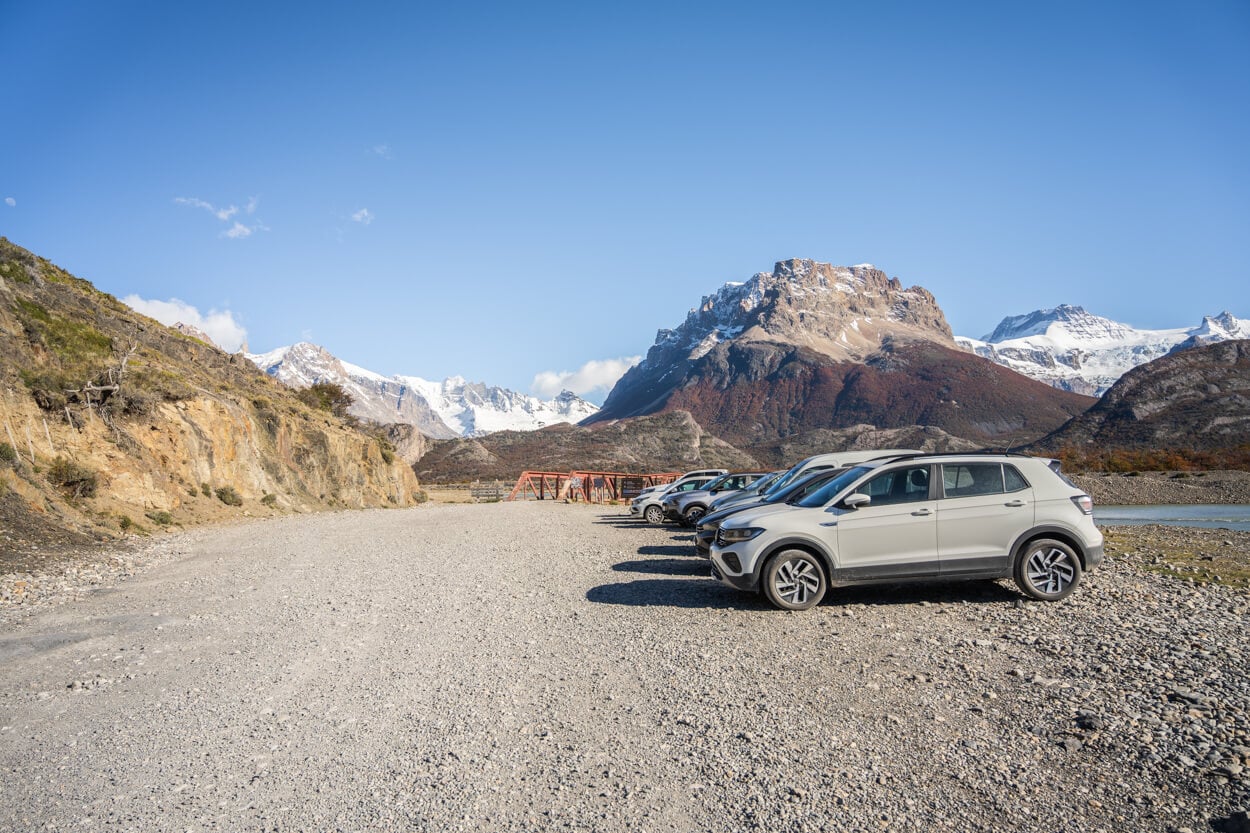
A 2WD car is fine enough to drive on the gravel roads around El Chaltén.
Driving
If you rent a car, you can go with any regular 2WD car. Between El Calafate and El Chaltén, the road is entirely paved. However, if you are driving from Puerto Natales or Torres del Paine, there is a rough stretch of dirt/gravel road around the border crossings, and it’s quite bumpy. As long as you regulate your speed accordingly, it’s fine. Drive slowly, especially to avoid any potential flat. For reference, I drove a Volkswagen T-Cross. Totally fine. But Bumpy.
Then there’s a lot of Pampa to drive through. A lot. It is tiring at times to drive through long, straight stretches of pampa, so best to tackle it when well-rested.
The other main thing to be aware of is Guanacos. You’ll see plenty of them along the road, and slow down when you see them. They can act unpredictably, be surprised by oncoming cars, and start to run around the road. Keep an eye out for them. Crossing paths with other animals such as hares, foxes, or Darwin’s rheas.
Transfer by bus
If you take the Bus route, you can travel to El Chaltén from both El Calafate and Puerto Natales. However, from Puerto Natales, you need to purchase two separate tickets: Puerto Natales and El Calafate, and El Calafate to El Chaltén. Basically, you’ll need to change. You can book your tickets here
Once you arrive in El Chaltén, the bus station is in the southern part of town, close to everything.
And, even if you land in Chile to combine it with Torres del Paine, private companies like Bus Sur do service both El Calafate and El Chaltén.
Important: again, if you are planning to cross the border into Chile, make sure you request your rental agency the International Border Crossing Permit from the rental agency in advance.
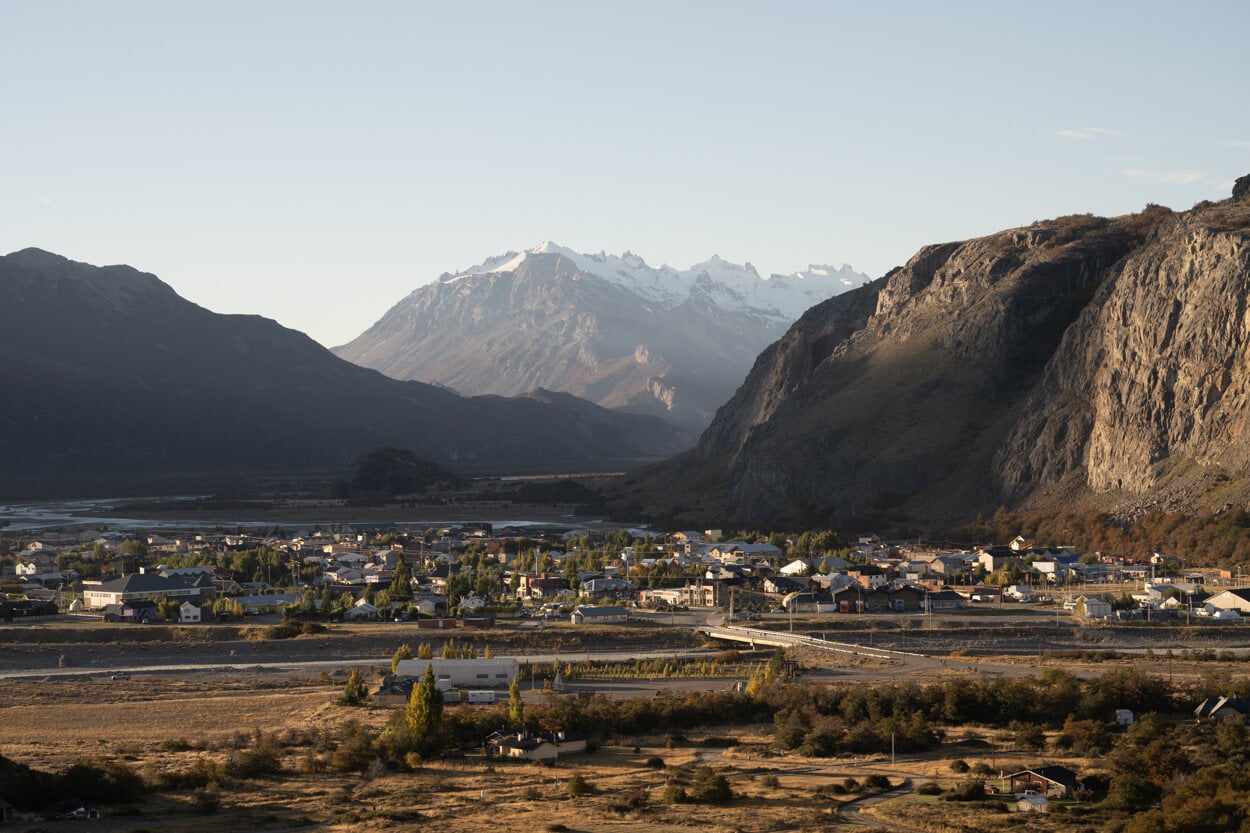
View of El Chaltén at sunset.
Where to stay and Accommodation types in El Chaltén
There is no shortage of choice in El Chaltén, from Hotels to Tiny Houses, small apartments with all the comforts of a house. That is what I chose for my stay, due to the freedom they provide in terms of being able to prepare my own food and have breakfast at any time. And the feeling of walking from your rental apartment straight into the park is great. They are quite nice too, with all the comforts of a house. I chose the Guer Aike Tiny Houses, which also provided Starlink Internet.
But again, guesthouses and hotels or residences are in no shortage in El Chaltén. Alternatively, there are also a few more options by the Río Eléctrico area, on the northern side of the park. They are a little more isolated from town, but you are closer to nature and to the Trailheads on the Northern side of the Park.
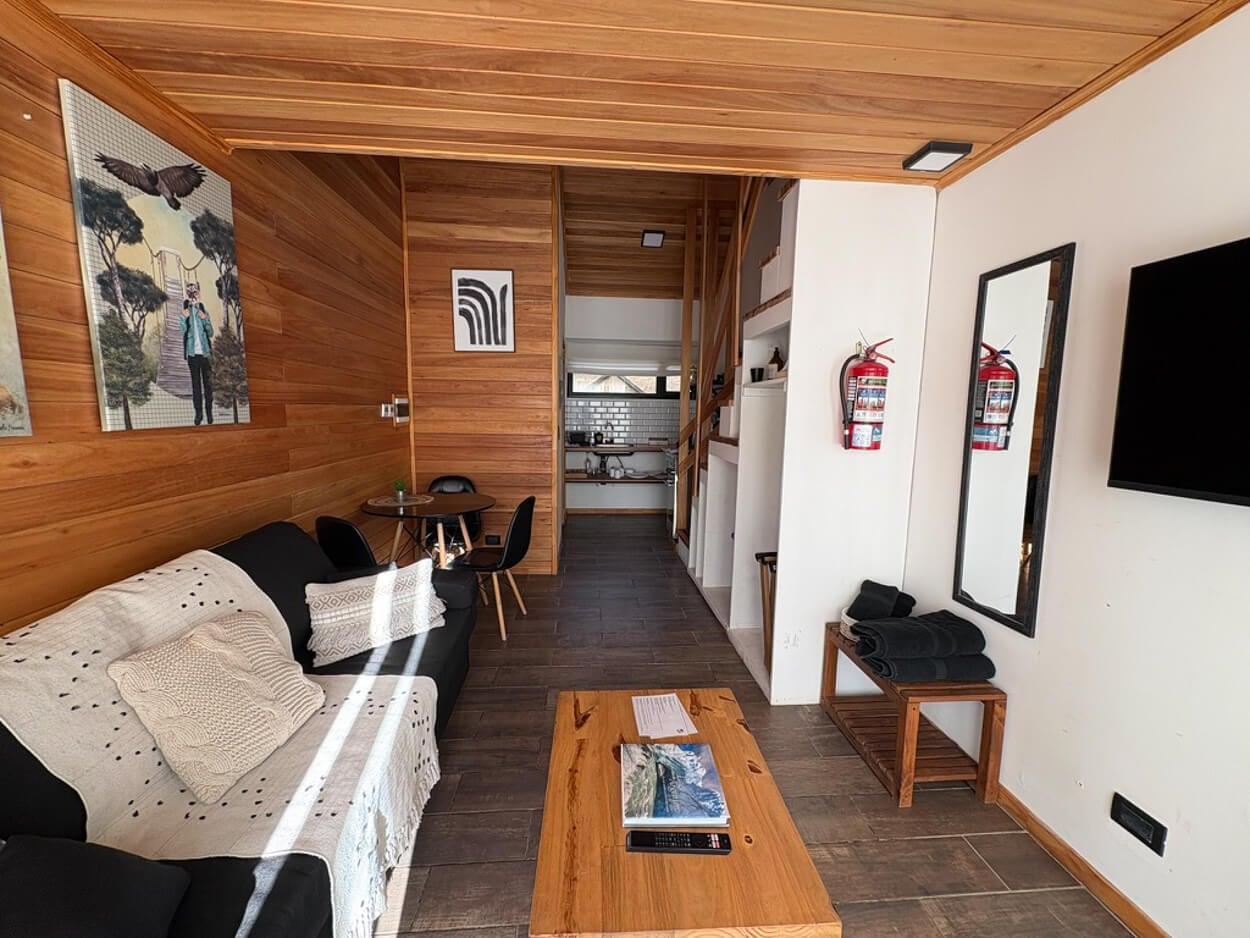
The inside of a two-floor tiny house in El Chaltén, a small apartment with all the necessities.
Camping
In terms of campsites, you can camp with a tent inside the park, in designated areas. The main campsites (Campamentos) around the main trails are: Laguna Capri, Poincenot, and De Agostini. Booking is required, though. You can book them online here. Also note, guides still report it as free, but all the campsites in Los Glaciares are now paid.
There is also a campsite in El Chaltén, but that’s only for Campervans or mobile homes. It’s right by the side of the road with direct views of the Fitz Roy, across the road from the Loma del Pliegue Tumbado and Mirador de los Condores trail. So it’s quite a scenic location, and it gets mixed reviews in terms of facilities. But it’s free at the time of writing.
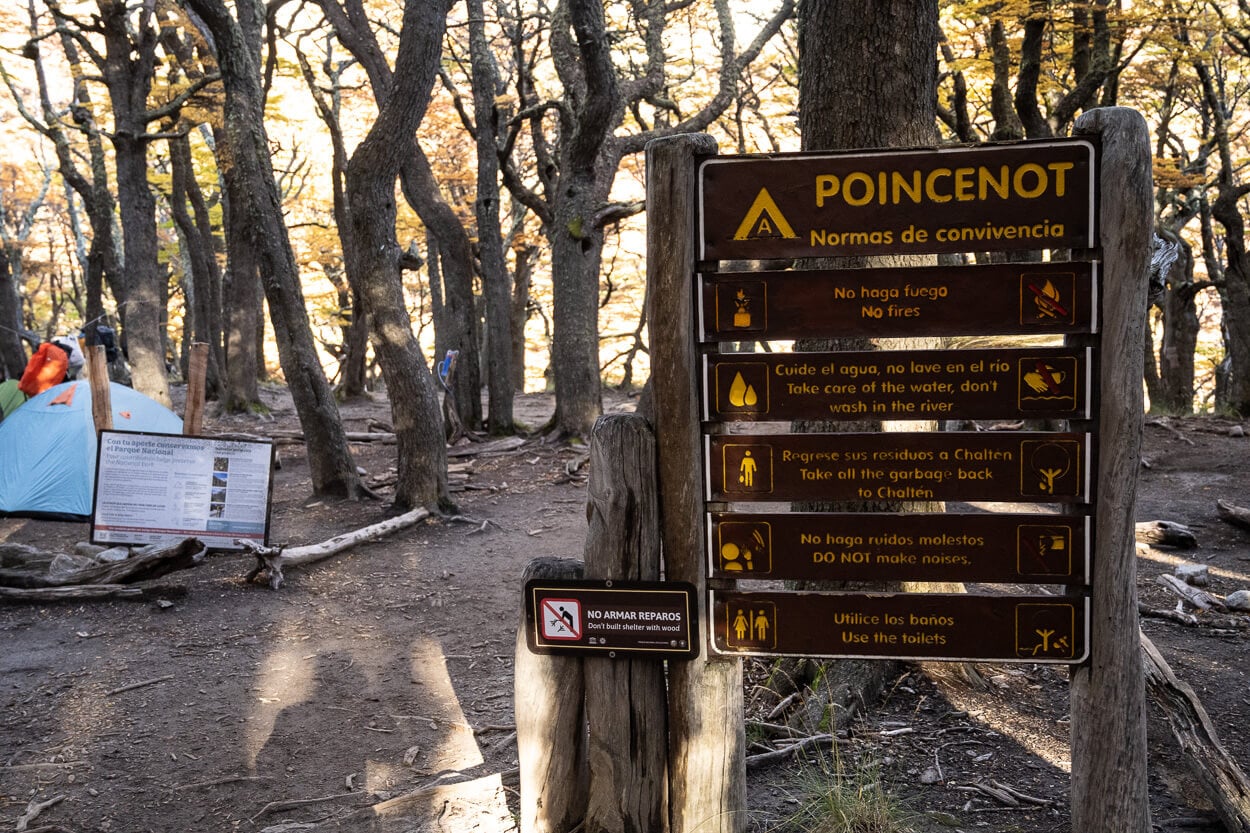
Campamento Poincenot, on the Laguna de los Tres trail.
Hiking in Los Glaciares: Park Fees & Tickets
To hike in El Chaltén and enter the Los Glaciares National Park, you would need to purchase a pass. I’d highly recommend doing this online and printing it out before you head there. You can also purchase them on site, but only when the booth at the trailhead is staffed.
Tickets can be purchased on the official APN website. You can either purchase day passes or flexi passes for multiple days (3 or 7), which, at the time of writing, can be used consecutively and on consecutive days. I went for the 7-day flex pass, which is about 100 bucks – again at the time of writing.
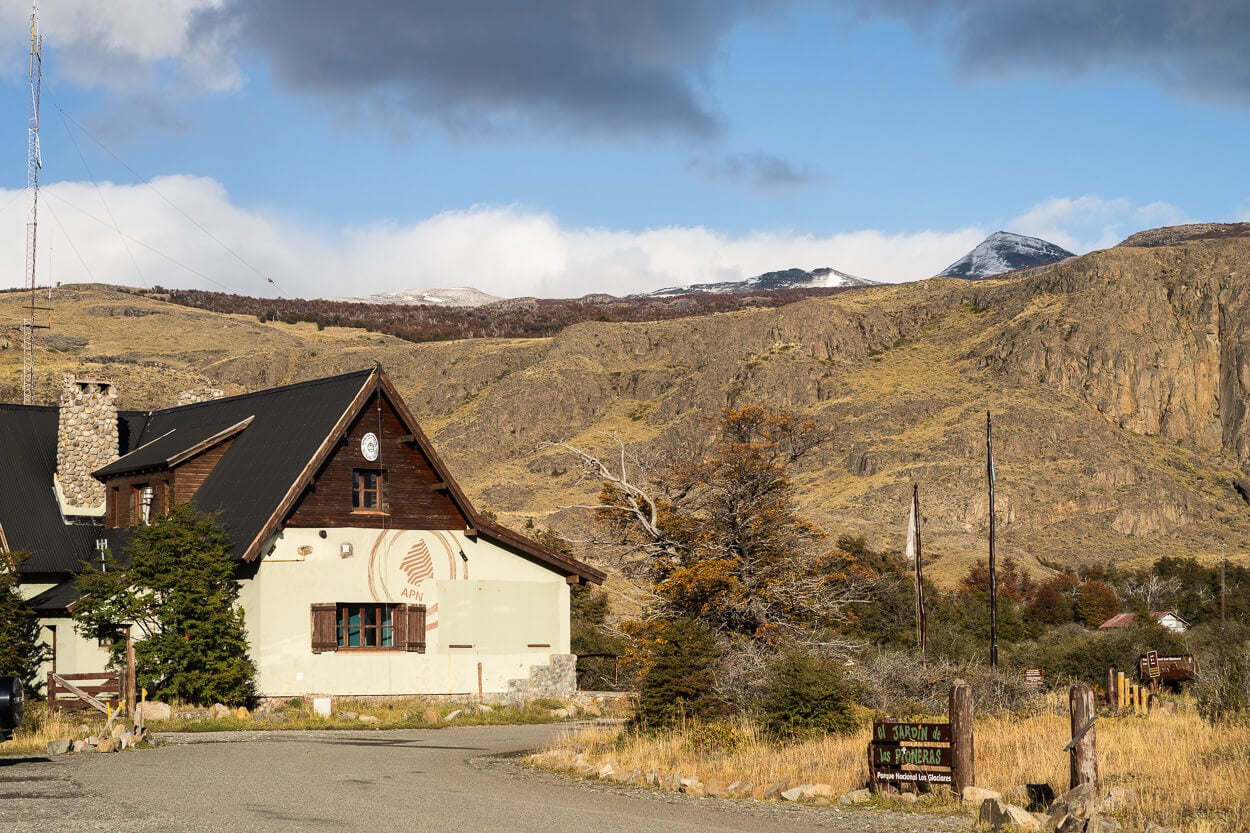
The APN center in Chaltén.
On site, you can purchase the pass at the Mirador los Cóndores, Laguna de los Tres, and Río Eléctrico entrances. The opening times are 8:00 AM to 6:00 PM during the summer season (September through April 30), and from 9:00 AM to 4:00 PM during the winter season (May through August 31). Bring Cash, as not all the booths have an internet connection.
Also, while the booths at the trailheads are only staffed during the day, the park itself has no opening/closing times.
Lastly, the Flex ticket covers both El Chaltén and Perito Moreno.
Hiking Gear and what to bring on Hikes
This corner of Patagonia is famous for its variable and sometimes brutal weather. And yes, it’s true, the weather can be as brutal and as ever-changing as they say. I’m saying this as someone who’s been travelling to the Arctic and subarctic European Regions for well over a decade, but the winds and weather changes in Patagonia are on a whole different level.
If you are going to do any extended hiking, you want to bring a good windproof and waterproof outer layer and have a 3-4 layer system.
Ideally, for each hike, you will want to have the classic 4-layer system:
- A merino base layer, a fleece layer, and an insulated jacket (down or synthetic). And, of course, the shell jacket, your waterproof/windproof layer.
- Hiking poles are recommended, but not necessary if you don’t use them already. However, they would help a lot on the last climb of the Laguna de los Tres hike.
- Bring a bladder or water containers to hold enough water for the whole hike. There are no resupply points within the park.
- Enough food and snacks to keep you fed. As for water, you can’t buy any food within the park, unlike in Torres del Paine at the Refugios.
- In shoulder season, bring microspikes. Or crampons, if you have them, or you can rent them on site. A sudden storm can bring snow, which might also melt and refreeze overnight, and make some sections of the trails impossible to walk on.
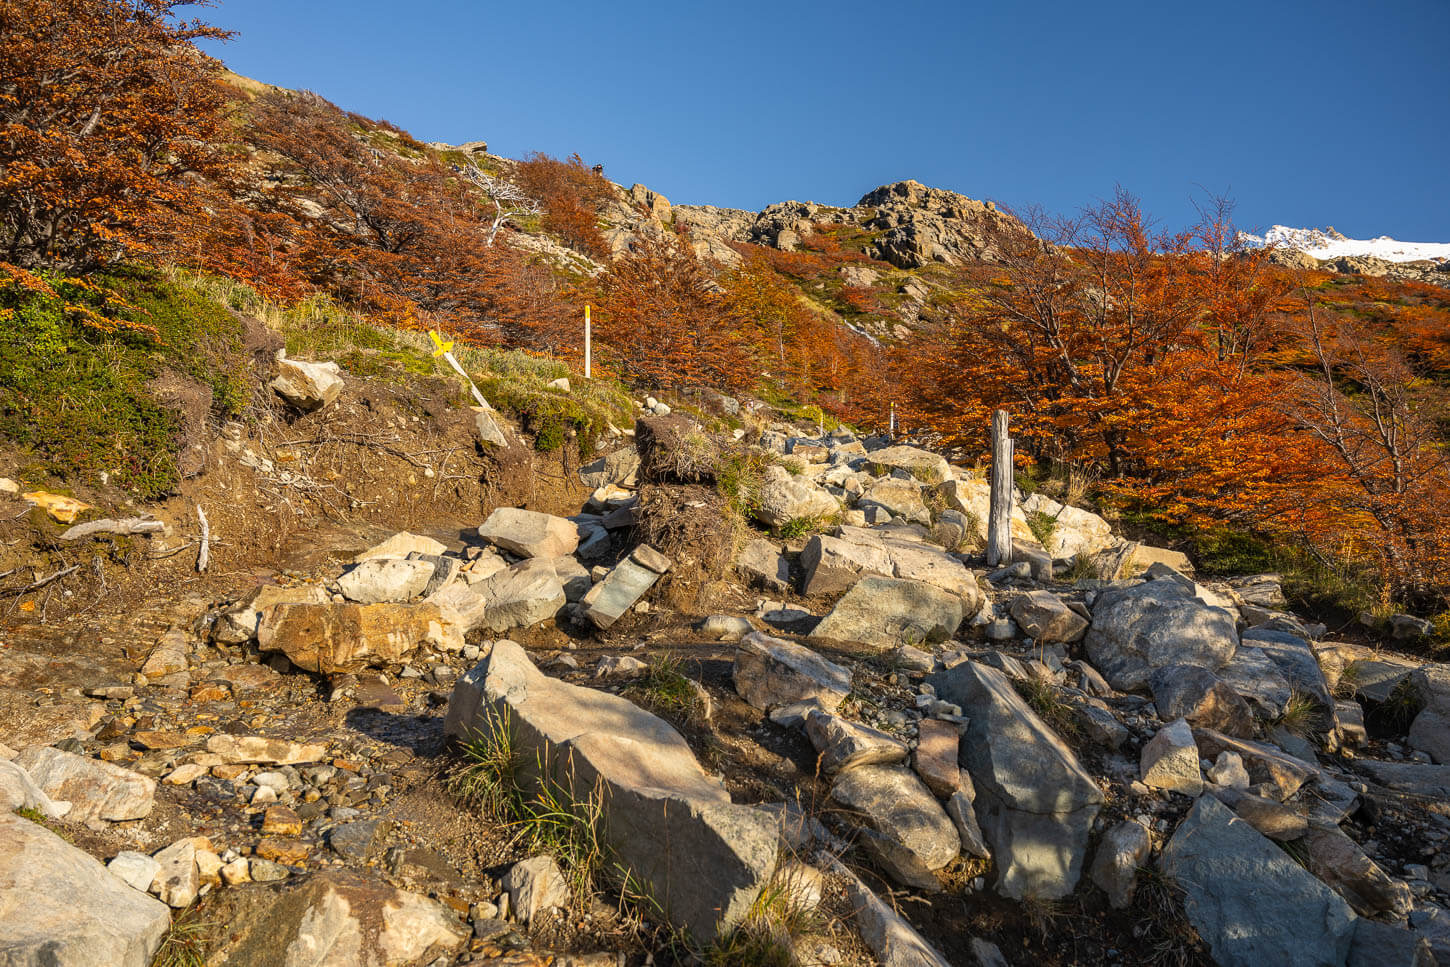
Most trail sections are easy and well-maintained, but some may require hiking poles – such as the final part of Laguna de los Tres.
Camera Gear
To sum it up, bring all the lenses you have. Well, not necessarily “all” if you have a large arsenal, but do cover as much focal length as possible. I brought lenses to cover almost entirely from 14 to 400 mm (full frame), and I had a use for all of them multiple times. Specifically, my Nikkor Z 14-24, the 24-70, and the 100-400.
Generally speaking, the 24-70mm was my default lens on the camera. The 100-400 was the other lens I used the most. The trails, with such grand views, you really have the option to isolate many of the details in the landscape, or the main peaks themselves. and the occasional wildlife, of course.
The 14-24 mm got used on a few occasions, but for me it was critical to have it at Laguna de los Tres, for example, and on a few other occasions.
On the side of the range, my 100-400mm got more use than the wide-angle. With such sweeping landscapes, you can really capture the details or isolate the beautiful mountains in the Park. Not to mention the occasional wildlife. By any means, I am not a wildlife photographer, but on some occasion will present itself, more likely than not. And, more likely than not, you’d wish you had a long lens when the occasion presents itself.
Other accessories
A sturdy tripod is critical, or at least one with a bottom hook you can hang some weight on. The winds can be brutal, so if you are going to use a tripod at all, you’d need to be prepared for them.
And a CPL filter – a circular polarizer to cut the glare and enhance colors. Especially in the autumn, this is a must-have.
Other Things to Consider
- With the basics covered, here are a few additional things to consider and some tips to consider when planning your hike
- Internet/Mobile: While El Chaltén “town” has good coverage, there is no mobile signal as soon as you venture a few hundred meters on the trails. So, if you rely on mobile navigation for the trail, make sure you download all the maps before leaving town. If you need to get a plan, the Airalo e-SIM with the South America plan probably offers the best rates. I used that one too.
- Card payments vs. Cash: Cards are accepted pretty much everywhere. I never needed to pay cash anywhere, either for groceries, restaurants, bakeries, or shops. However, if you book a private accommodation such as a guesthouse or tiny house, do clarify the payment method upfront. Some will ask for cash payments either in Argentinian Pesos or USD.
- Gas Stations: Another thing to note, there is only one gas station at the town’s entrance; the other closest one is in El Calafate. So, if you rented a car, fill up before leaving, and possibly do that a day or two in advance, to make sure you can fill up, in case the gas station runs out of fuel.
- Electric Plug: Argentina has its own plug, which is different from Chile’s, too. So, either bring a universal one, or if you are suddenly in need of an adapter, you can buy one in El Chaltén here. Guess how I know..
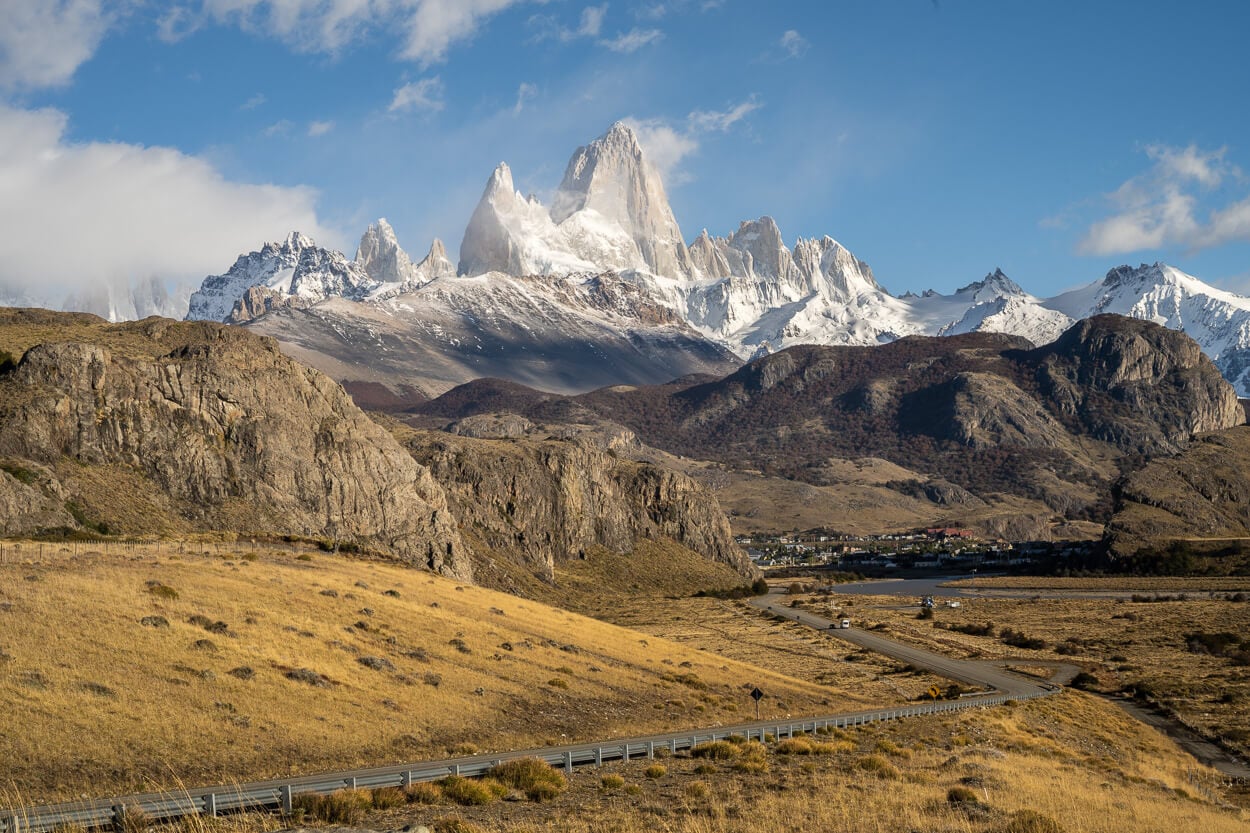
View from the pull-out area before entering the town.
Best Hikes and Photo Locations in El Chaltén with Maps
So here is the full list and map with the best hikes and landscape photography locations you can find in El Chaltén. I divided them into sections with a quick overview of each. You can click on the related post to dig into the details of each one of these hikes. Each post provides a detailed overview of each hike with free GPX files, as well as landscape photography tips.
You can also download the GPX files from the linked activities on the map below. The map also contains additional combined trails, such as Laguna de los Tres and Laguna Sucia.
“The Epic Three” classics Hikes in El Chaltén
These three hikes are considered to be the “essential” hikes in El Chaltén, and arguably the most scenic and photography-friendly ones. Although not technical, they are all quite long and demanding hikes, definitely not walks in the park. But with the effort comes great rewards, too. It’s those kinds of hikes I wish I could do for the first time again.
- Laguna de los Tres/Fitz Roy
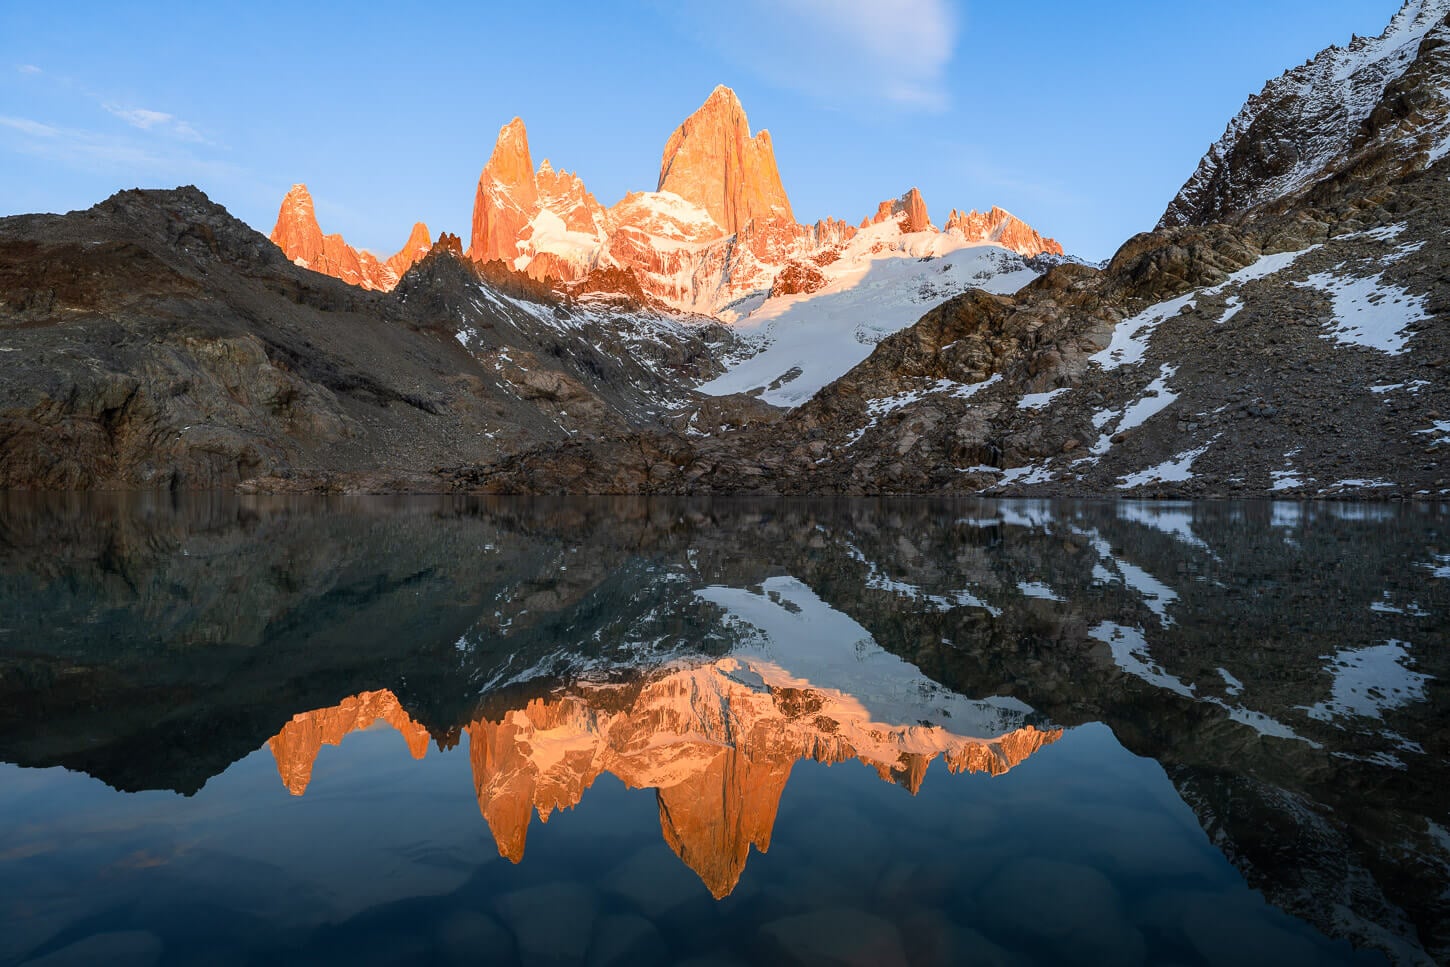
Laguna de los Tres, a classic sunrise hike.
| Laguna de Los Tres Sunrise Hike: Quick Overview |
| • Distance: 22 km / 13.67 mi (Out & Back) | Time: 7h 30m–8h 30m | Difficulty: Hard | Trail: Laguna de los Tres Trail |
| • Start & Parking: El Chaltén, Los Glaciares Park Entrance along Road 41 |
| • Best Season & Light: December through early April. Start 4.5 hours before dawn for “Fitz Roy Fire” |
This is the most well-known and most popular trail in El Chaltén, especially for sunrise. Watching the light of the sun gradually tinting the massive Fitz Roy peaks is a lifetime bucket list experience. Absolutely impressive at any time of the day, though. The hike is quite long, and only the last kilometer of the climb up to the Laguna is particularly hard going. If you are doing it for sunrise, you should aim to leave 4/4.5 hours before sunrise at least.
Laguna de los Tres Hike full details & GPX file.
- Laguna Torre

Laguna Torre
| Laguna Torre Hike: Quick Overview |
| • Distance: 17.8 km / 11.1 mi (Out & Back) | Time: 5h 00m–6h 30m | Difficulty: Moderate | Trail: Laguna Torre Trail |
| • Start & Parking: El Chaltén Laguna Torre Trailhead (West side of town) |
| • Best Season & Light: December through early April. Sunrise at Mirador Cerro Torre or Laguna Torre, until mid-afternoon |
A considerably easier hike compared to Laguna de los Tres. This is the best hike to take in the views of one of the most unique mountains in the world, the Cerro Torre. A stone spike reaching for the sky, or a “scream of Stone” as dubbed in Werner Herzog’s movie with carrying the same name. It still is quite a long hike at almost 20km, but the elevation gain is not as important as for the other two trails, and it’s easier going.
Laguna Torre Hike full details & GPX file
- Loma del Pliegue Tumbado
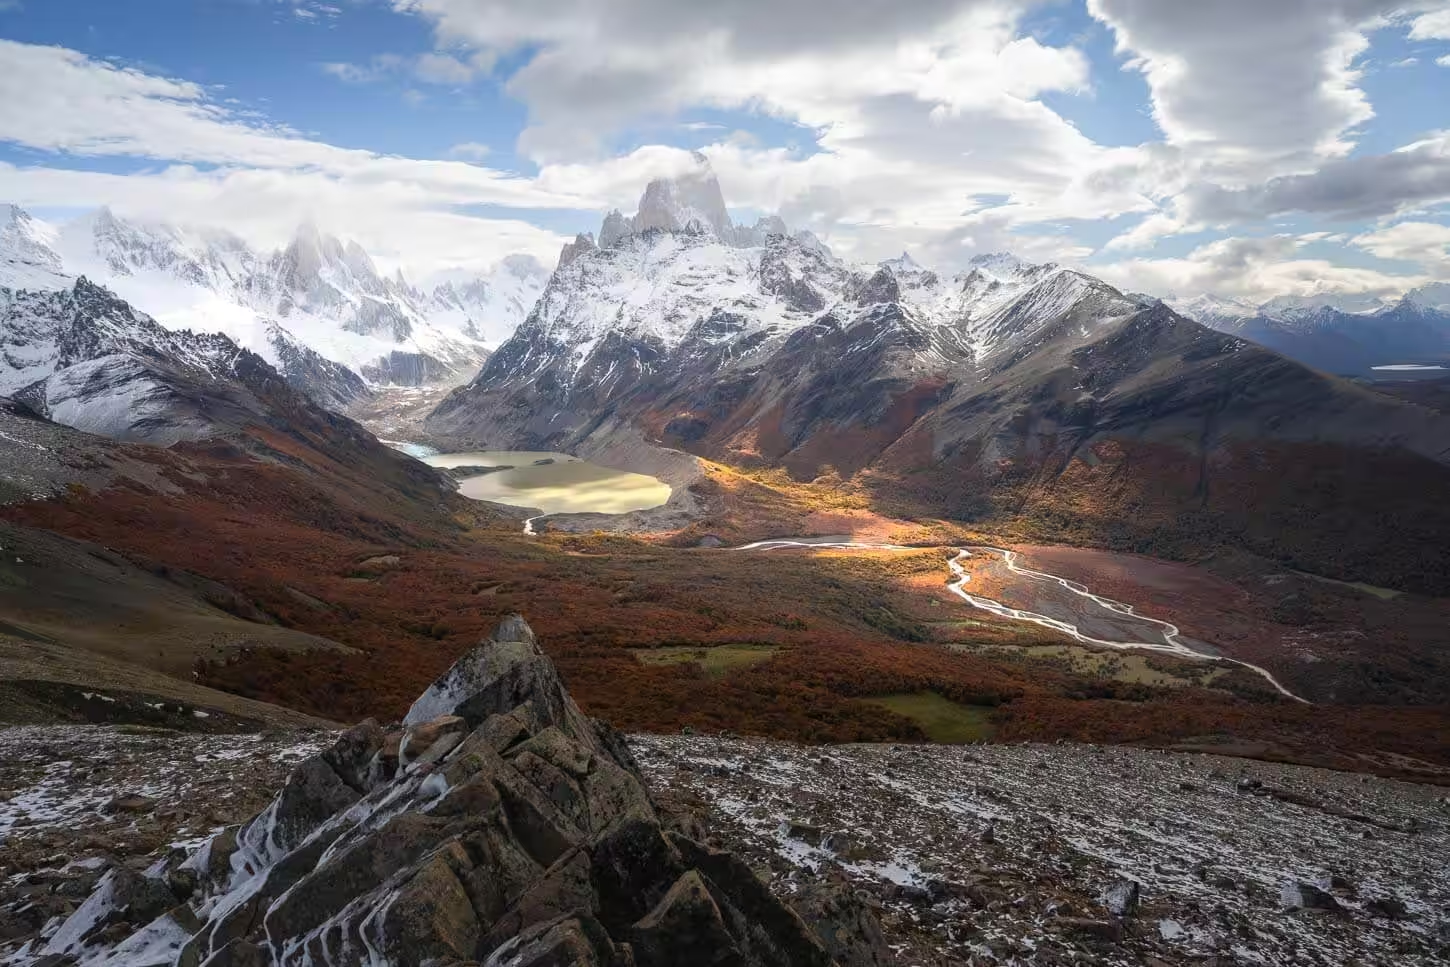
View of the Laguna Torre, Mount Fitz Roy (on the right), and Cerro Torre (on the left).
| Loma del Pliegue Tumbado Hike: Quick Overview |
| • Distance: 20.3 km / 12.6 mi (Out & Back) | Time: 5h 30m–6h 30m | Difficulty: Hard | Trail: Pliegue Tumbado Trail |
| • Start & Parking: National Park Visitors Center / Ceferino Fonzo (El Chaltén) |
| • Best Season & Light: December through early April. Early Morning to Afternoon (Clear weather for 360° views of Fitz Roy & Cerro Torre) |
If you ask me, the second-best views are after Laguna de los Tres. And the second-best view of Cerro Torre after Laguna Torre. A long hike, but with an evenly distributed elevation gain through the trail. The Panoramic views from Mirador Loma del Pliegue Tumbado are jaw-dropping. The whole Laguna Torre valley, its meandering river, and both Cerro Torre and Fitz Roy towering above it all.
Loma del Pliegue Tumbado Hike full details & GPX
The lesser-known and more technical ones
The next two hiking trails are both less frequented and more challenging to different degrees. They still offer fantastic views of major landmarks, but they do require experience navigating more difficult and exposed terrain.
- Laguna Sucia
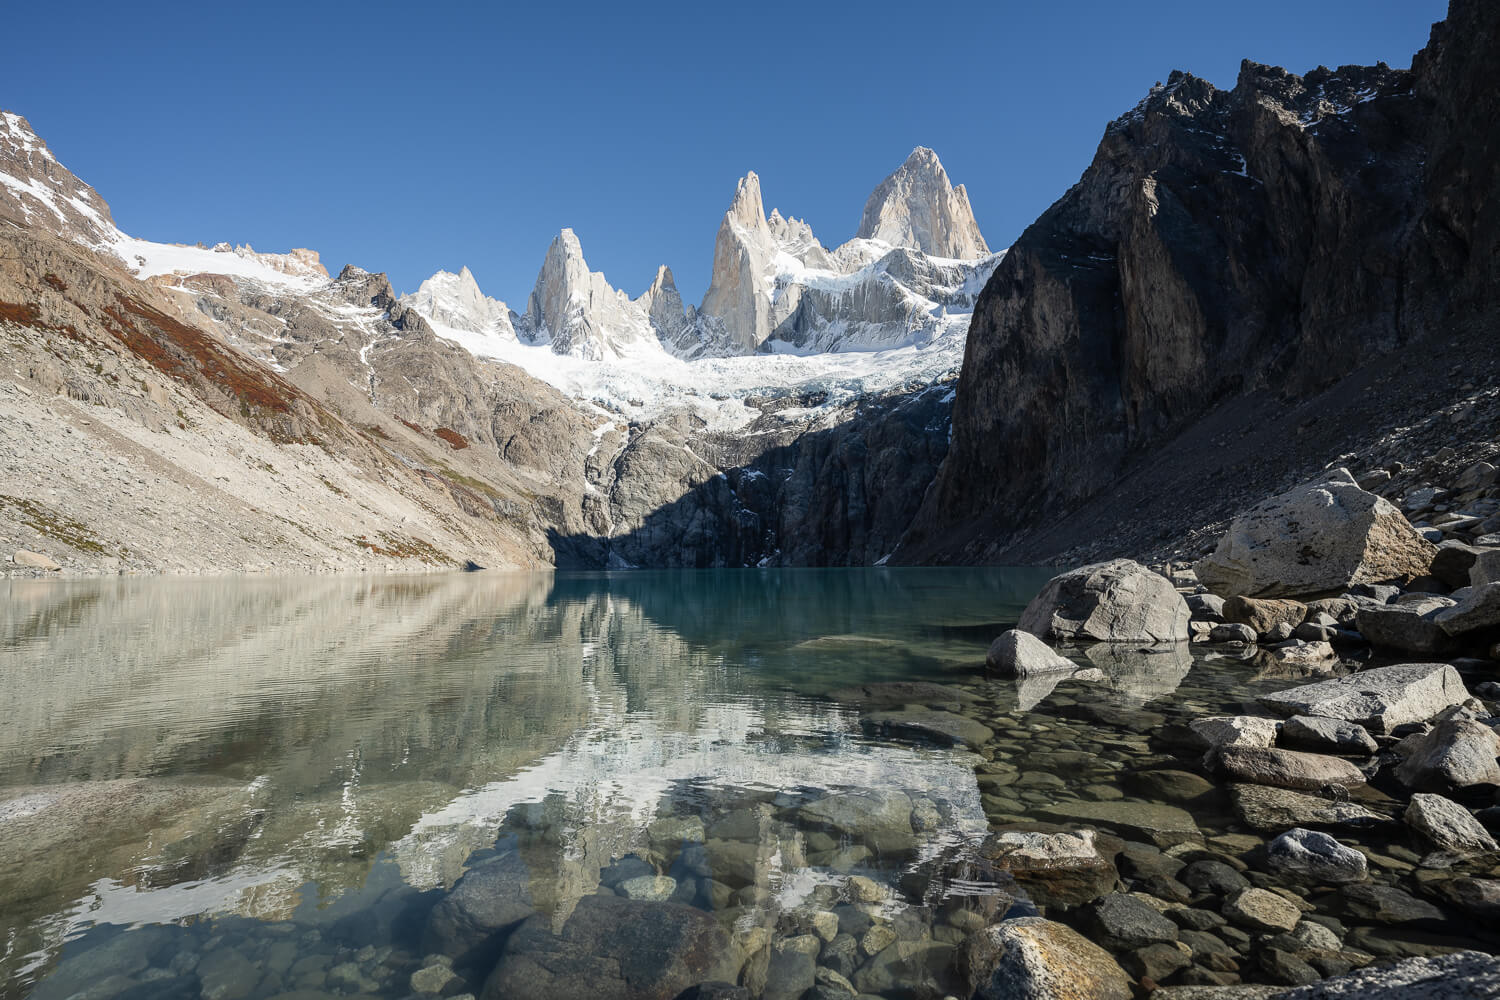
Laguna Sucia
| Laguna Sucia Hike: Quick Overview |
| • Distance: 4.55 km / 2.8 mi (Spur section from Poincenot) or ~22.6 km / 14 mi (Full round trip from El Chaltén) | Time: 1.5–2 Hours (Spur) | Difficulty: Moderate | Trail: Campamento Poincenot spur to Laguna Sucia |
| • Start & Access: Laguna de los Tres / Rio Eléctrico trailhead. The actual trail branches off the main Laguna de los Tres trail past Rio Blanco |
| • Best Season & Light: October to April / Early Morning Start. Sunrise or Midday. |
A beautiful lagoon that can be visited either as a day hike or as a side detour to the Laguna de Los Tres Hike. A beautiful lagoon right below Mount Fitz Roy, with crystal clear water. The detour adds a total of 4.55 km / 2.8 miles to Laguna de los Tres. There is also a bit of a scramble up a steep, muddy path in the forest, and navigation on potentially unstable boulders around the morainic deposit next to the Lagoon. A place where you’ll meet many fewer people compared to the trails above.
Laguna Sucia Hike full details & GPX file
- Loma de las Pizarras
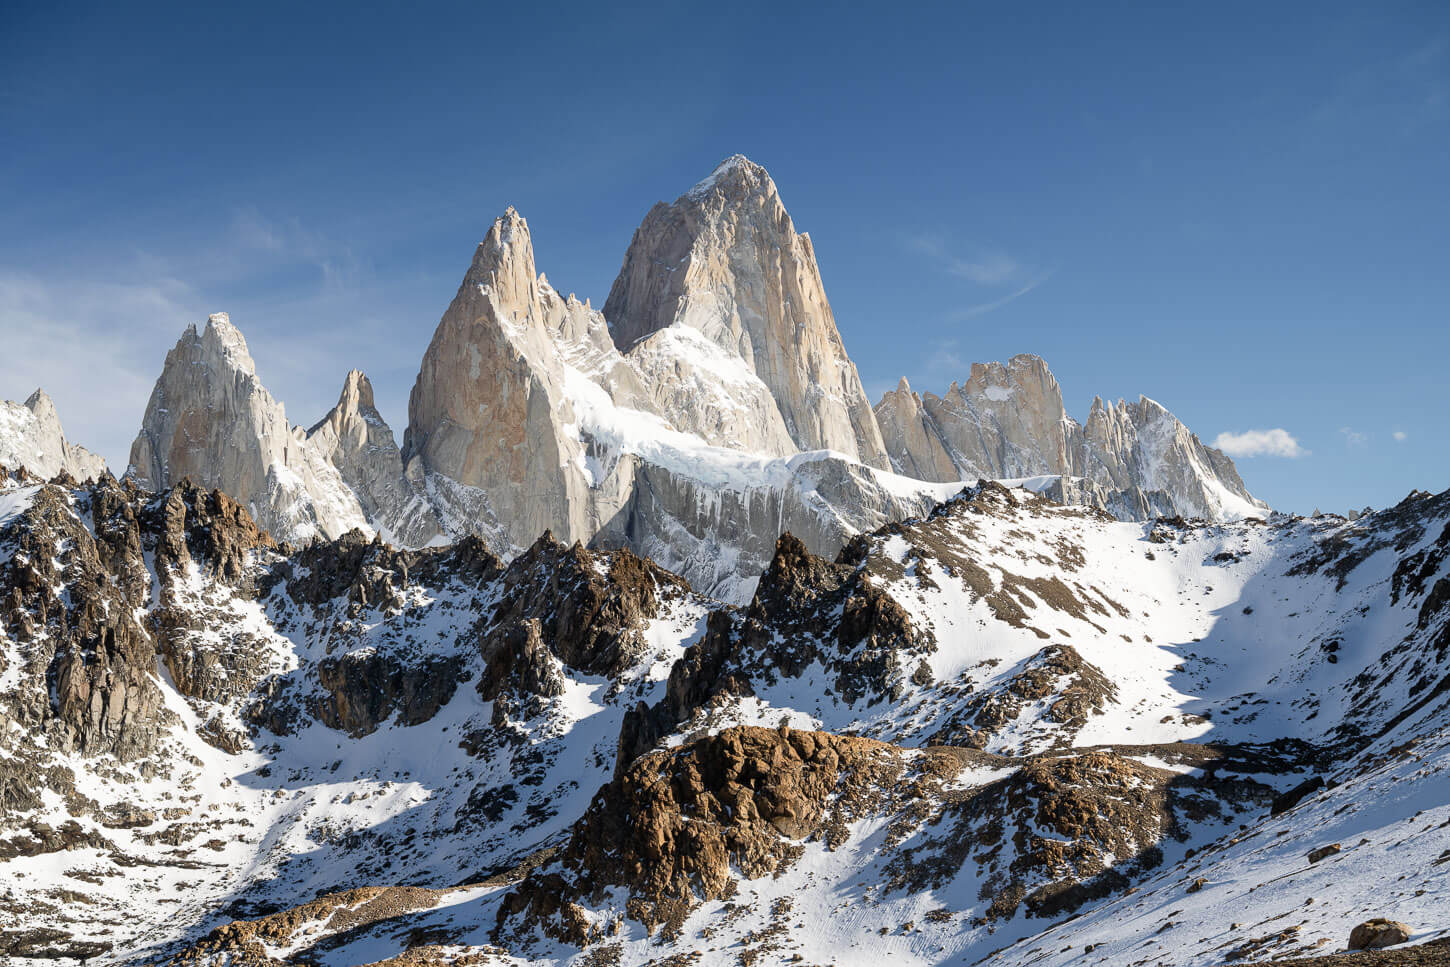
On the trail to Loma de las Pizarras
| Loma de las Pizarras Hike: Quick Overview |
| • Distance: 25.2 km / 15.8 mi (Out & Back, without the summit) | Time: 8h 00m–9h 00m | Difficulty: Hard / Demanding | Trail: Laguna Torre and Laguna Madre e Hija trails to Loma de las Pizarras. Partly unmarked |
| • Start & Access: El Chaltén Trailhead (Los Glaciares National Park entry pass required) |
| • Best Season & Light: November to March / Early Morning Start, for clear views of Fitz Roy, Laguna Torre & Glacier Grande |
This is the most technical hike in this list. An unmarked and partly visible trail, with the last stretch over an exposed ridge. unfortunately I haven’t been able to complete it yet. On my attempt, I had to turn around one kilometer before the final viewpoint, due to ice on the trail. However, it is a more demanding and less crowded hike compared to all the others. If you are looking for a more challenging hike, this is the one to go for. I can’t vouch yet for the final exposed section, but I’ll be attempting again in a couple of years.
Loma de las Pizarras Hike full details & GPX file
Easier trails
Here is a mix of other trails. Easier, shorter ones that still offer great views, or, in some cases, are good for a rainy day and low-hanging clouds.
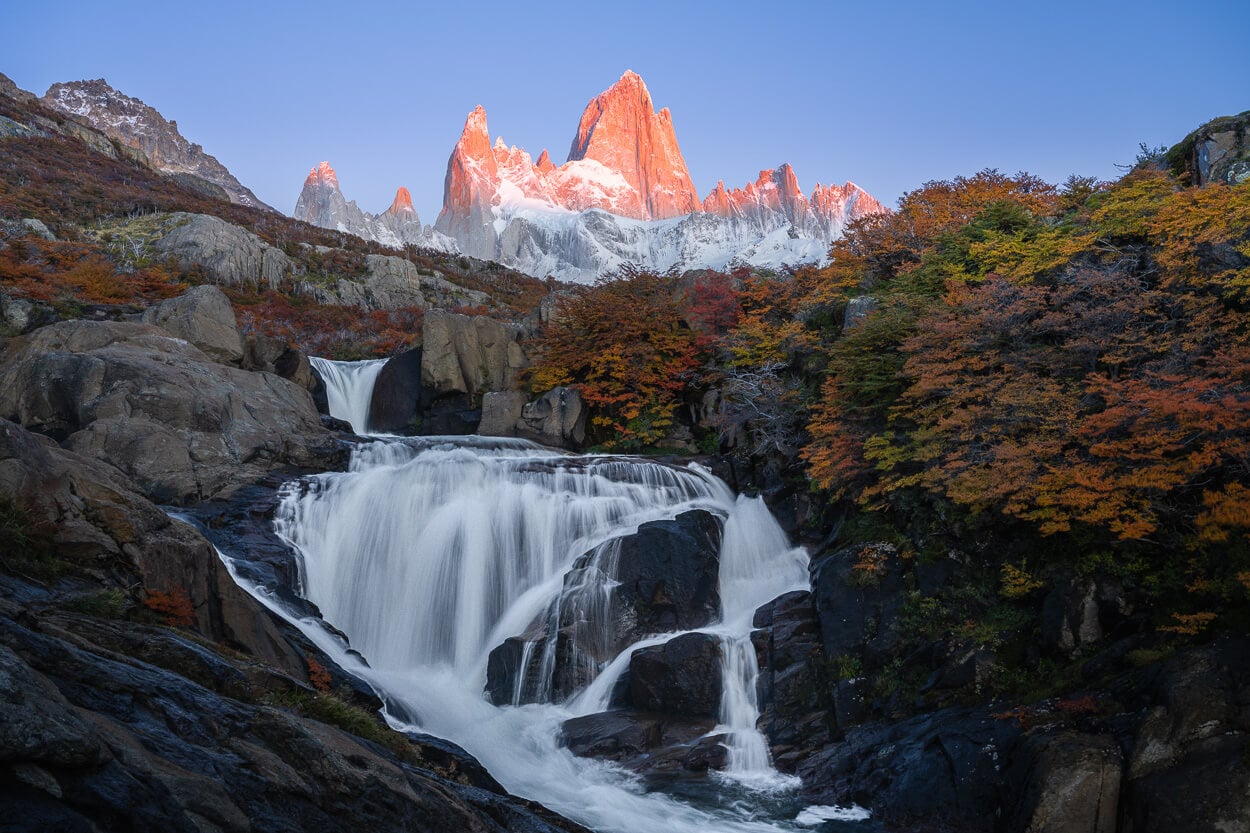
- The Hidden Waterfall, la Cascada Escondida
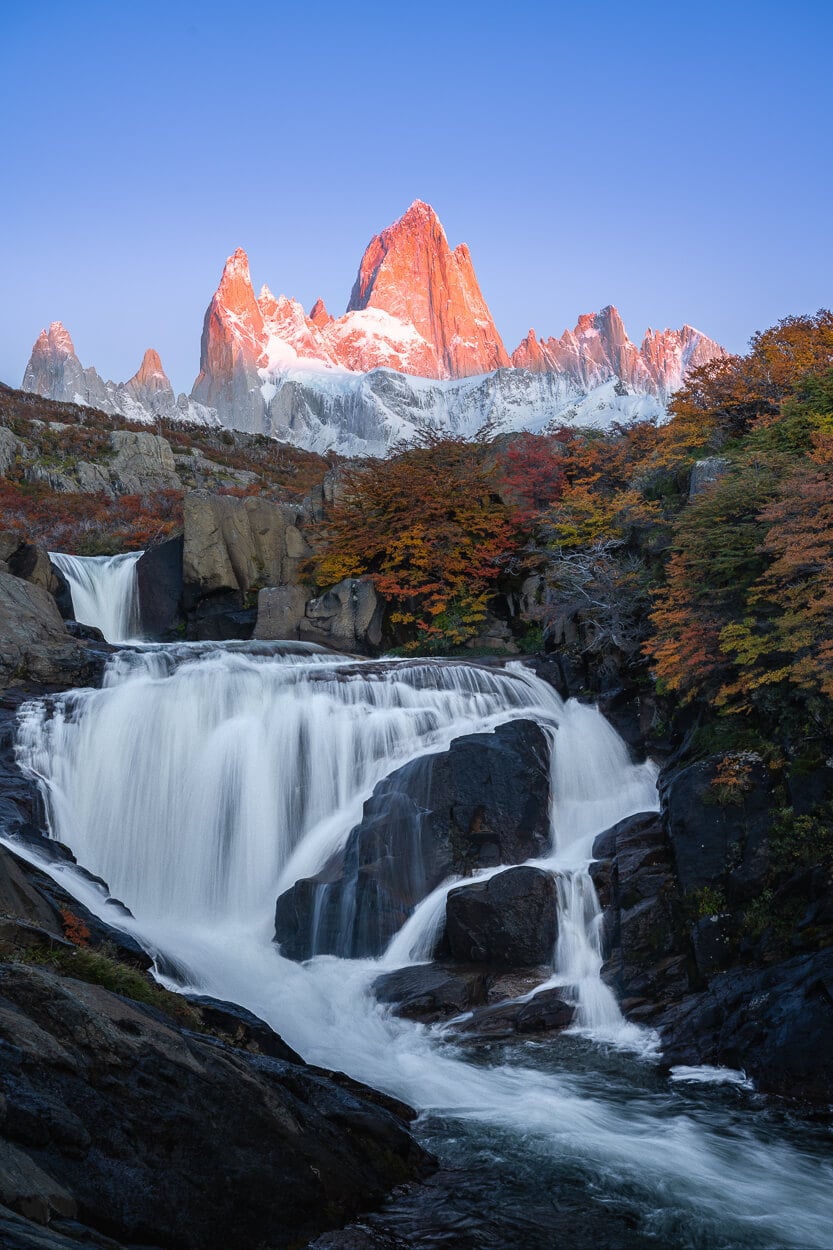
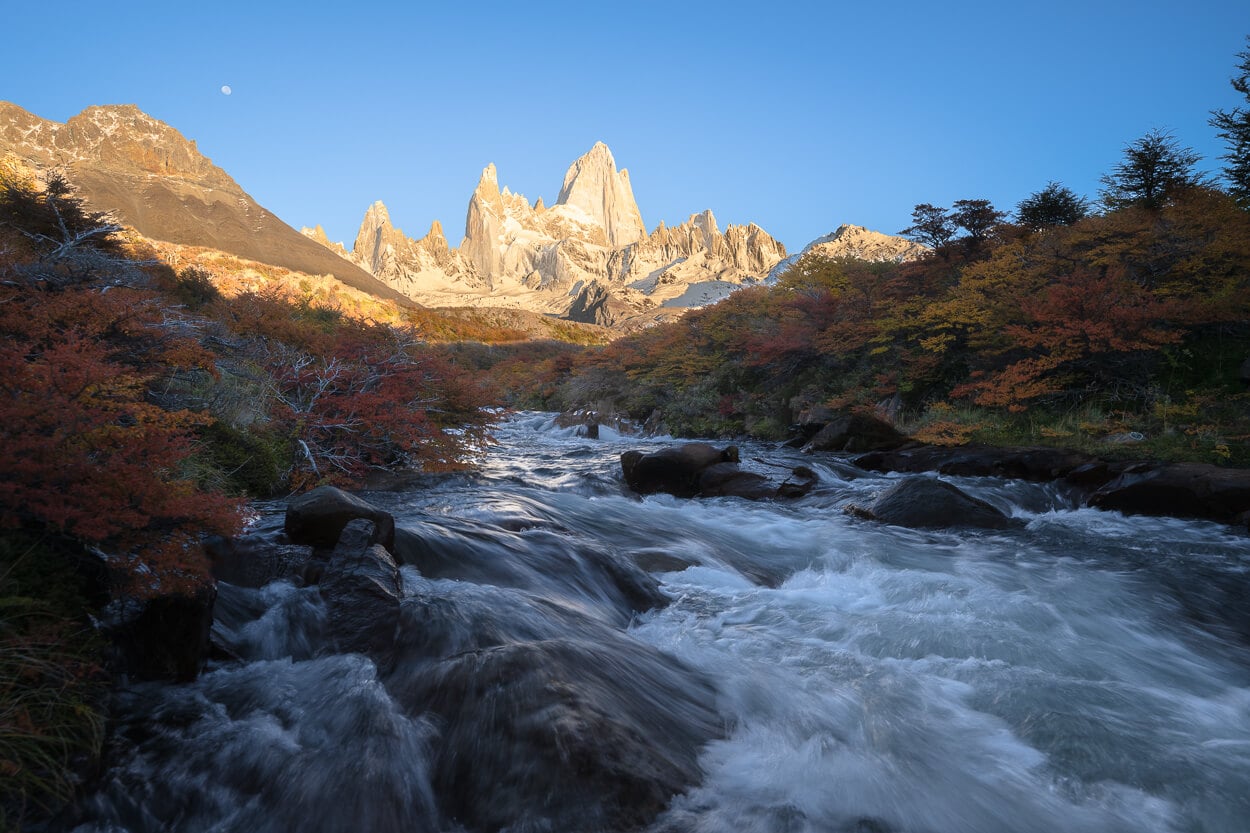
The Hidden Waterfall, a classic sunrise hike.
| El Chaltén Hidden Waterfall Hike: Quick Overview |
| • Distance: 13.8 km / 8.6 mi (Out & Back) | Time: 3h 30m–4h 30m | Difficulty: Easy | Trail: Laguna de los Tres Trail |
| • Start & Parking: El Chaltén, Los Glaciares Park Entrance along Road 41 |
| • Best Season & Light: Sunrise / Blue Hour (For golden light on Fitz Roy above the waterfall) |
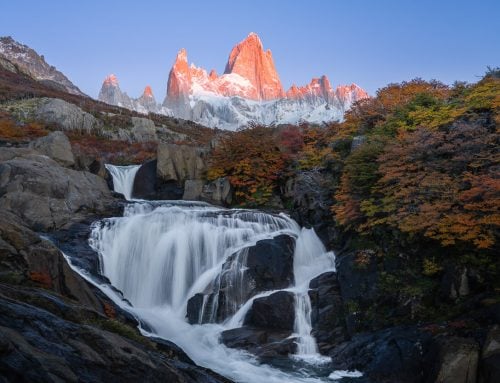
Located on a short detour off the main Laguna de los Tres trail, the hidden waterfall is not only a very scenic landscape photography spot, but a great alternative for sunrise to Laguna de los Tres. Or you can easily combine the two on the same hike too.
The Hidden Waterfall Hike full details & GPX file
- Mirador Glaciar Piedra Blancas
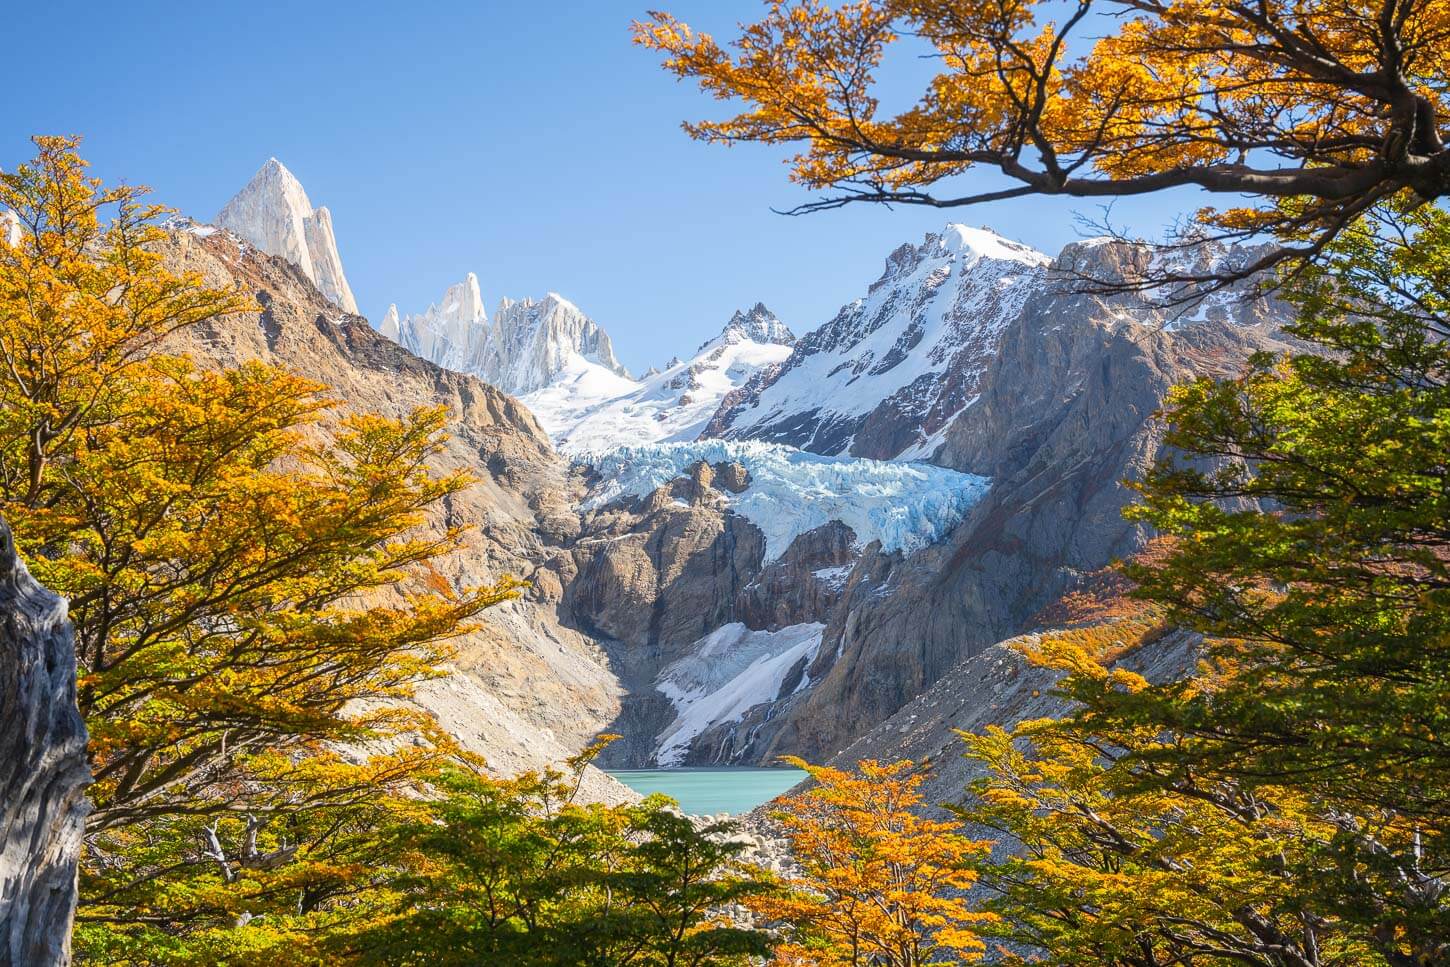
View of the Piedras Blancas Glacier from the Mirador.
| Mirador Piedras Blancas Hike: Quick Overview |
| • Distance: 11.4 km / 7.1 mi (Out & Back) | Time: 3h–4h | Difficulty: Easy |
| • Start & Parking: Río Eléctrico Bridge (Free roadside parking; 40-min drive from El Chaltén) |
| • Best Season & Light: Autumn (Mid-morning to mid-afternoon for direct light on the glacier) |
Also located on the Laguna de los Tras trail, but from the Río Eléctrico trailhead, the Mirador Piedras Blancas makes for an easy day hike to a viewpoint in front of the Piedras Blancas hanging Glacier. Quite a spectacular view.
Mirador Glaciar Piedras Blancas Hike full details & GPX file
- Chorrillo del Salto
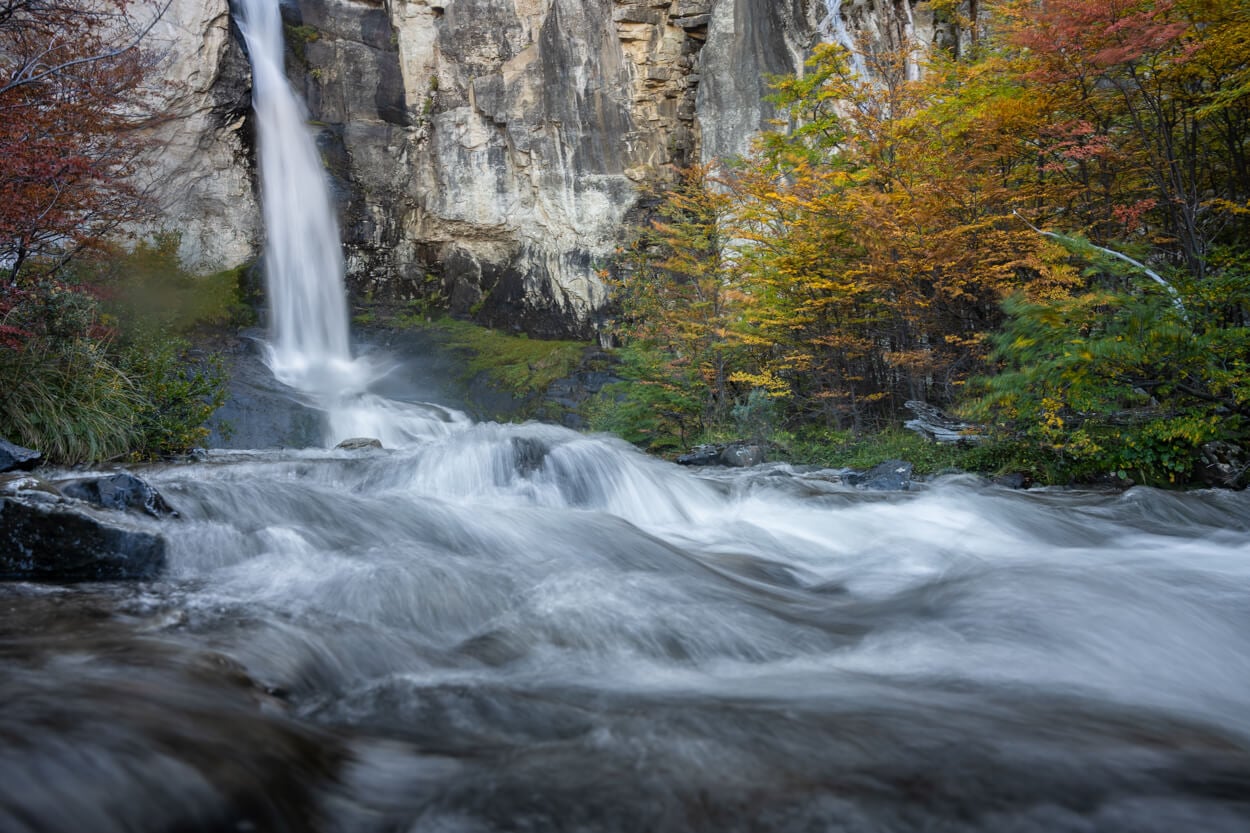
Chorrillo del Salto
| Chorrillo del Salto Waterfall Hike: Quick Overview |
| • Distance: 7.0 km / 4.3 mi (Out & Back) | Time: 1h 45m–2h 15m | Difficulty: Easy | Trail: Chorrillo del Salto Trail |
| • Start & Parking: El Chaltén, Trailhead along Route 41 (North end of town) |
| • Best Season & Light: Year-round. Mid-day to early afternoon for full sunlight filtering through the trees into the waterfall area |
This is a waterfall that can be accessed via a short out-and-back hike from El Chaltén. Same trailhead as Laguna de los Tres. It’s a 20-meter (~65–66 ft) tall waterfall, and the out-and-back hike from the trailhead is about 6 km (3.7 miles), mostly flat. Good for a rainy day.
- Mirador de Los Cóndores
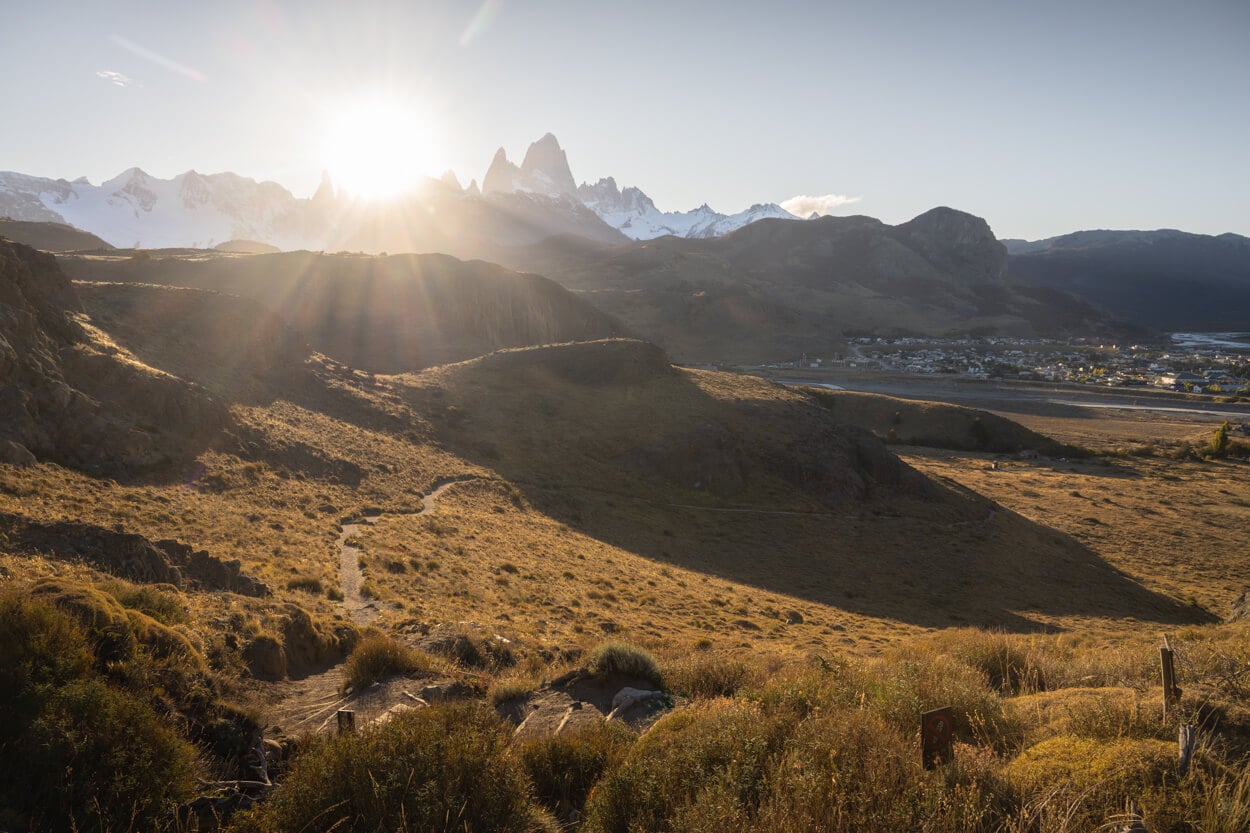
View of the Landscape around el Chalten from Mirador de los Condores
| Mirador de Los Cóndores Hike: Quick Overview |
| • Distance: 2.6 km / 1.6 mi (Out & Back) | Time: 0h 45m–1h 15m | Difficulty: Easy | Trail: Sendero Mirador de los Cóndores |
| • Start & Parking: Los Glaciares National Park Visitor Center (Ceferino Fonzo), El Chaltén |
| • Best Season & Light: Year-round. Late afternoon to Sunset for golden light over El Chaltén and Fitz Roy |
This is a short walk with minimal elevation gain that leads to a vantage point right above El Chaltén. It works well for both a Sunrise or Sunset hike, and offers views of both Mount Fitz Roy and Cerro Torre. From there, you can also continue to another Mirador higher up, de las Águilas.
Other Hikes to consider
If you still have an appetite and time for more hikes, here are a few more, like Puesto Cagliero or the Huemules Glacier. And, if you visit El Calafate, the Perito Moreno Walkways, and perhaps Cerro Buenos Aires.
I was only able to do Puesto Cagliero and the Perito Moreno Walkways, but I have the others on my list for the next time. You always need a good excuse to go back to places you enjoyed.
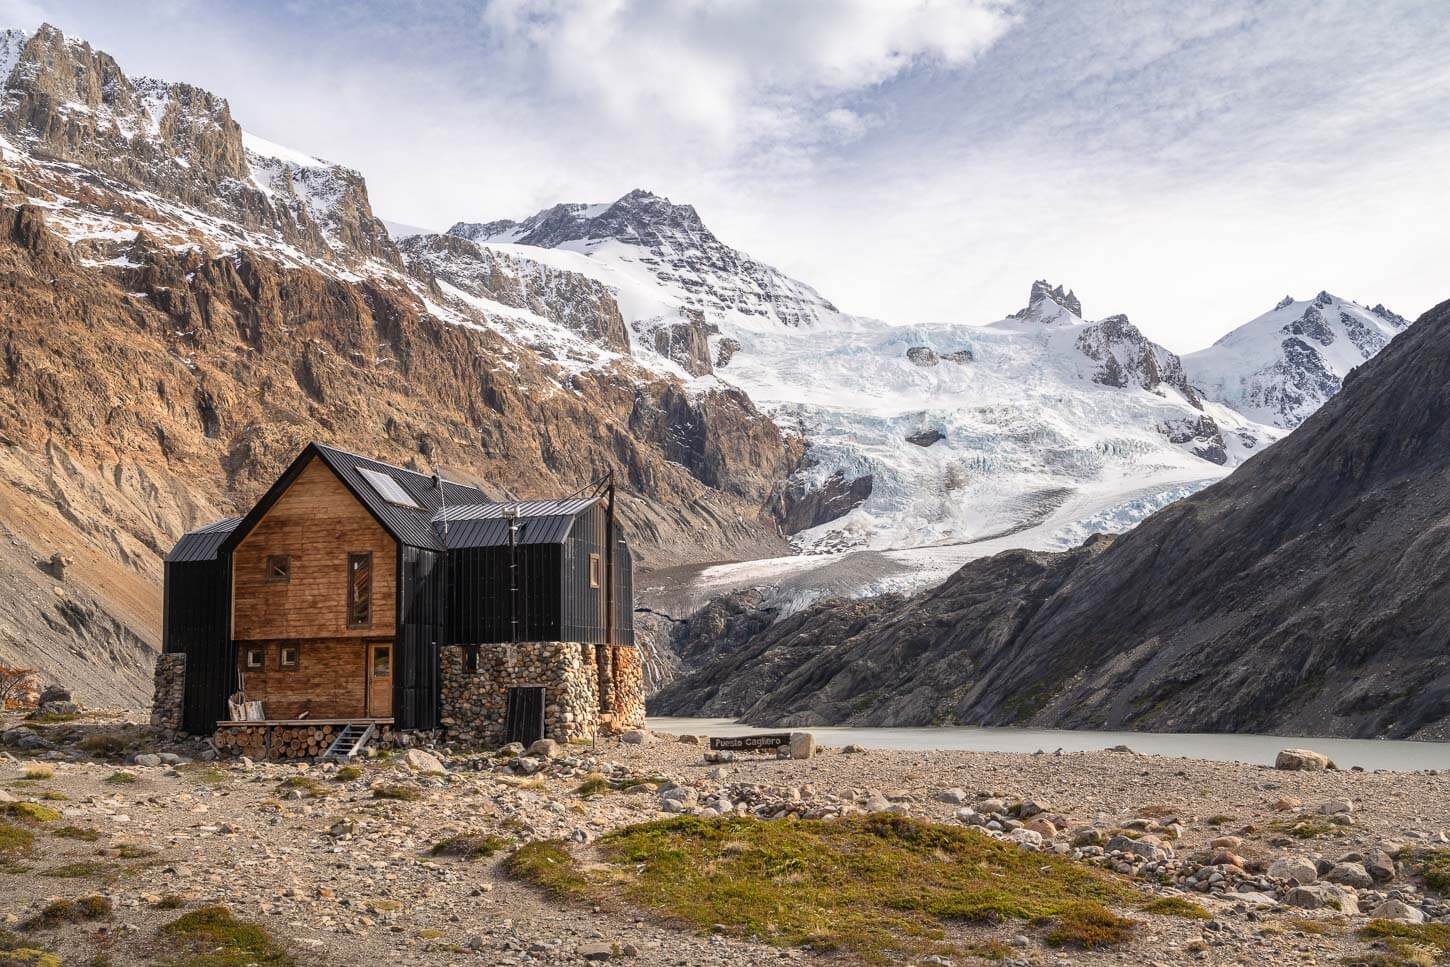
Puesto Cagliero, or the Cagliero outpost. A great day-hike not too far from El Chaltén.
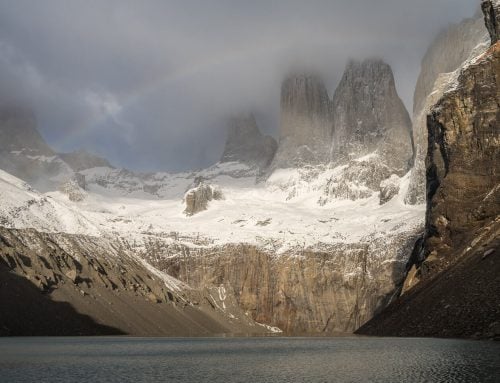
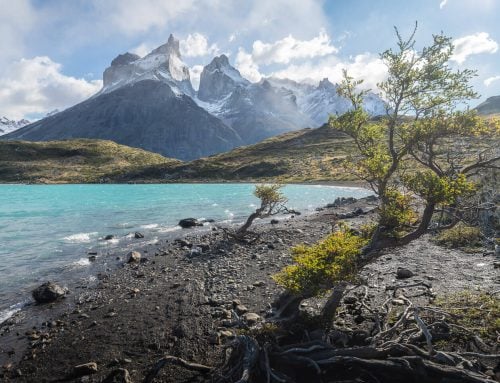
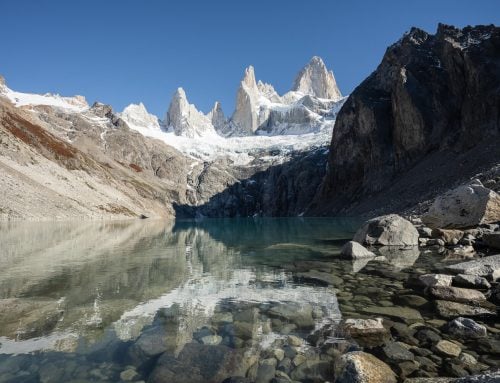
And that was it! I may update this post with more hikes in a couple of years, when I plan to visit El Chaltén again. It’s a place that leaves a mark, at least it did for me. So I’m really looking forward to visiting again.
Additional Resources
- If you are planning to include a visit to Torres del Paine in your trip, you may also want to check out my Torres del Paine Hiking and Photo Guide.
- Check out my main “Hiking in Argentina” page for an overview and to discover more trails.

Leave A Comment