
Torres del Paine – The Best Hikes and Photo Locations
This Torres del Paine best hikes guide covers the day hikes and photo spots I’d recommend after finally making the trip myself in 2026. Many would like to visit, have it on their bucket list, but seemingly never go, for one reason or another. I know, as I am one of them. I had been wanting to visit since the early 2010s, but only managed to get there in 2026 for the first time.
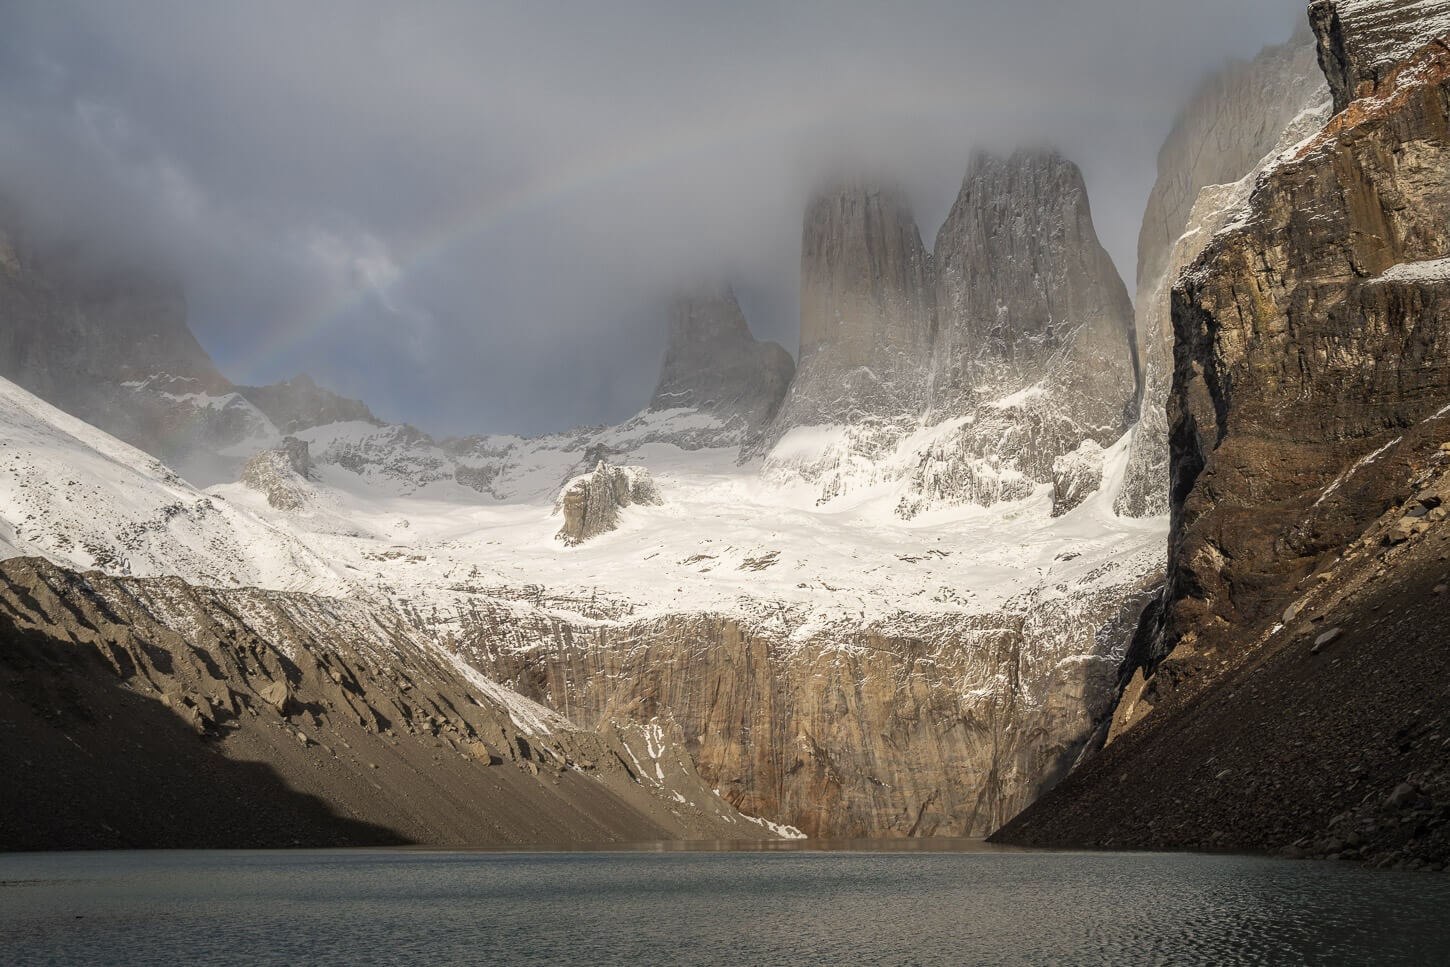
Mirador Base Torres.
It’s a long and expensive trip that requires a lot of travel time just to get to the destination. For instance, between 24 and 29 hours each for the outbound and inbound trips between airports from where I live. And for anyone who does not live in South America, travel time probably won’t be much different.
Yet, when I did it, I wish I had done it sooner. The landscape is extremely beautiful; you can feel the wilderness and remoteness of this area. Wildlife encounters are not uncommon either.
So here’s my guide to Torres del Paine, after my first trip there and after six months of meticulous research and planning.
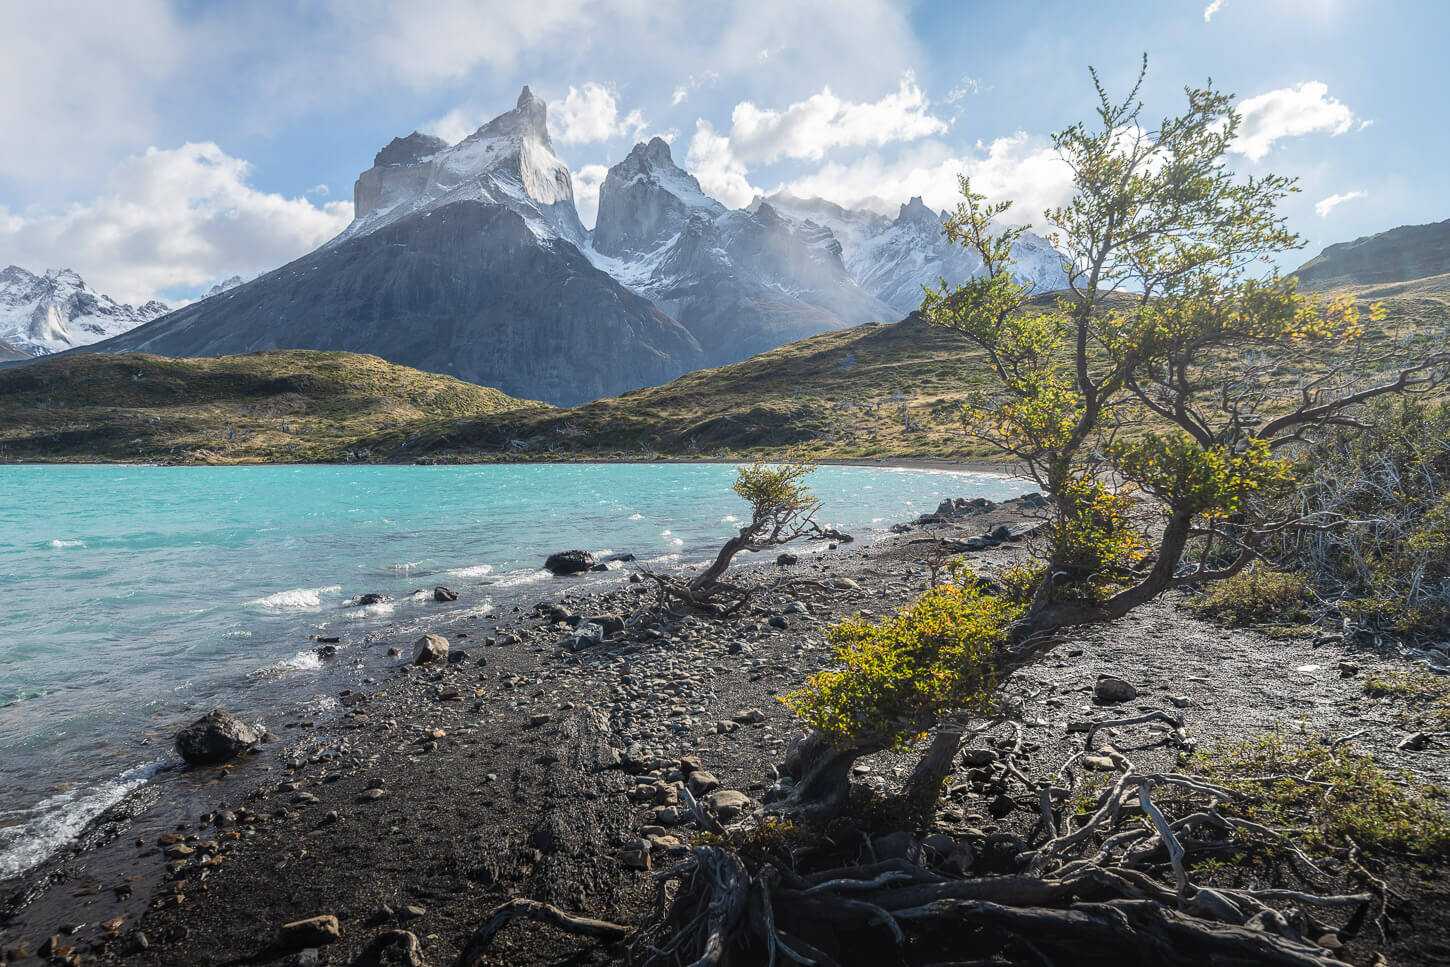
Trees on the beach on the Mirador Cuernos trail.
Table of Contents
Treks vs Day Hikes in Torres del Paine
Do note will focus on day hikes and photo locations in this guide. Instead of the W or O trek options. While I did consider both, I opted for the day hike options because of the flexibility they offer. If you are doing one of the treks, you’ll need to plan your schedule and book the huts ahead of time, whether you are camping or staying at the hut.
If you stay in the park, without doing the treks, you can technically do all the W trek has to offer, but on your own schedule. For instance, you can save the best weather day to do the Base Torres hike, or Mirador Frances/Britanico. If it’s rainy, you can hike to Glacier Grey. Or combine shorter hikes into one day, for instance, Mirador Condor or Mirador Cuernos. Or drive elsewhere if the weather is better – for instance, I hiked to Laguna Sofia near Puerto Natales while there was a raging storm above the park.
While I’d love to do the Trek, especially the O myself, for a first-time visit, staying inside the park made the most sense. Especially if you are doing landscape photography, as you’ll want the flexibility to move with the weather too.
Do note that all the trails in Torres del Paine have a cut-off time and are closed for the day after that time. And its house rules
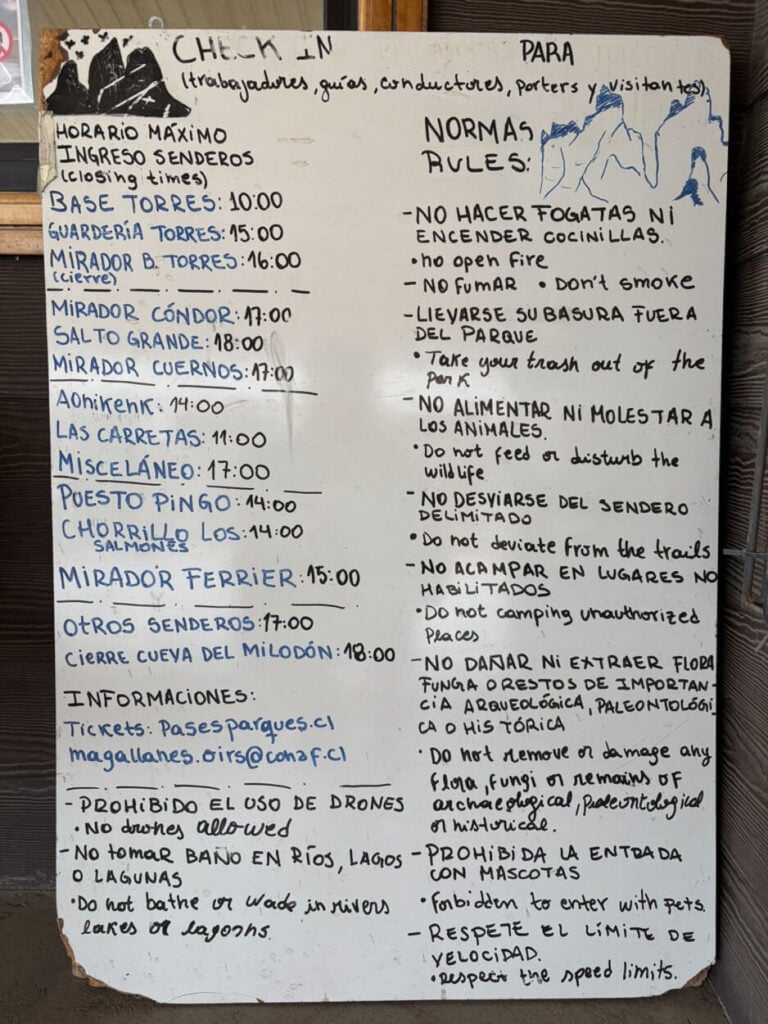
Park rules and trails opening hours.
When to visit Torres del Paine
It’s possible to visit Torres del Paine year-round, but the best time to visit is between November and March, which is high season. That is also when the Park is the most crowded. Shoulder season is October and April, but it’s a bit of a bet on what you’ll find. Even in March, snow and ice could suddenly close some trails, and the requirements to hire a guide may apply.
In the low season and in winter, however, there are more restrictions. CONAF currently requires guided access on the Base Torres trail from April 27 through August 30, and the full W circuit is closed in June and July (source: CONAF). You will also need to bring additional gear for winter or rent it in Puerto Natales (micro spikes or crampons, or snowshoes, for example).
I personally still choose late March. While days are shorter, winds can be less strong, and you get the first hint of autumn colors.
Summer, from December to February, is the most popular season to visit, for the most vibrant summer colors.
Where to Fly for Torres del Paine
Finding a good flight option is the first step. Generally speaking, you have three main options. Puerto Natales, Punta Arenas, and El Calafate. I personally went to Puerto Natales. Timing-wise and money-wise, it was the best option. So, for me, the quickest and the cheapest.
Puerto Natales’ Airport is also the closest one to the Torres del Paine, as it is just a two-hour drive away from the Park. If you can find a good connecting flight from Santiago or Puerto Montt, I’d recommend flying to Puerto Natales.
Punta Arenas is another option. There are more connecting flights from Santiago compared to Puerto Natales, but it is a longer drive, more than five hours instead of two to reach TDP.
El Calafate is another airport to consider. This is especially true if you are planning to visit Patagonian Argentina, too. For example, El Chaltén or Perito Moreno.
However, if you are planning to visit only Torres del Paine, I would not recommend flying to El Calafate. Flying to Argentina involves crossing the border from Argentina into Chile. And, to do that, will need to ask your rental car agency to arrange a permit to drive the car across the border. The permit must be requested at least a week in advance; usually, it is billed as an extra.
If you are looking to combine Torres del Paine and Los Glaciares, you may want to check out my guide on Hiking in El Chaltén too.
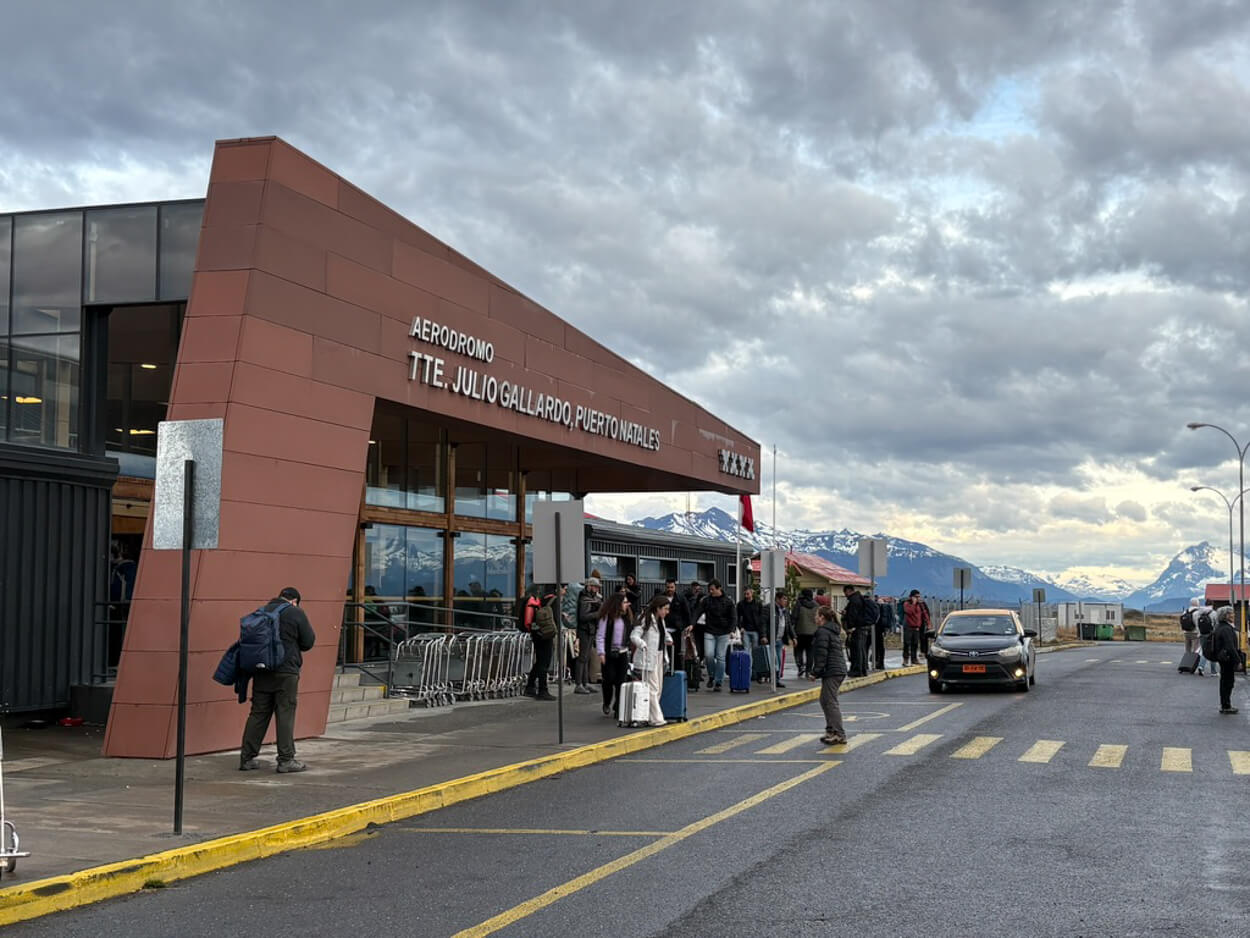
Puerto Natale’s Airport
How much time to allocate to Torres del Paine
Specifically for Torres del Paine, I allocated a full five nights and six days, with arrival in the early morning (9 AM) on day one, and departure to Argentina on the morning of day 6.
This was purely based on the list of hikes and locations I wanted to visit. And I figured that there were enough chances to have at least one decent sunrise day for the Base Torres Hike. Overall, that worked quite well. I was able to fit all my main hikes and viewpoints in this timeframe. For reference, Base Torres, Mirador Glacier Grey, Mirador Ferrier, Mirador Cuernos and Salto Grande and Mirador Condor. I also was hoping to do Cerro Paine and Mirador Frances and Britanico, if I had another time, but they were not on my priority list.
On the other hand, I was also able to fit a hike to Laguna Sofia and Mirador de Los Condores, right outside of Puerto Natales.
Overall, five to six days are ideal if you are planning to do most of the hikes in the park as day hikes, and allow for some buffer in case of bad weather.
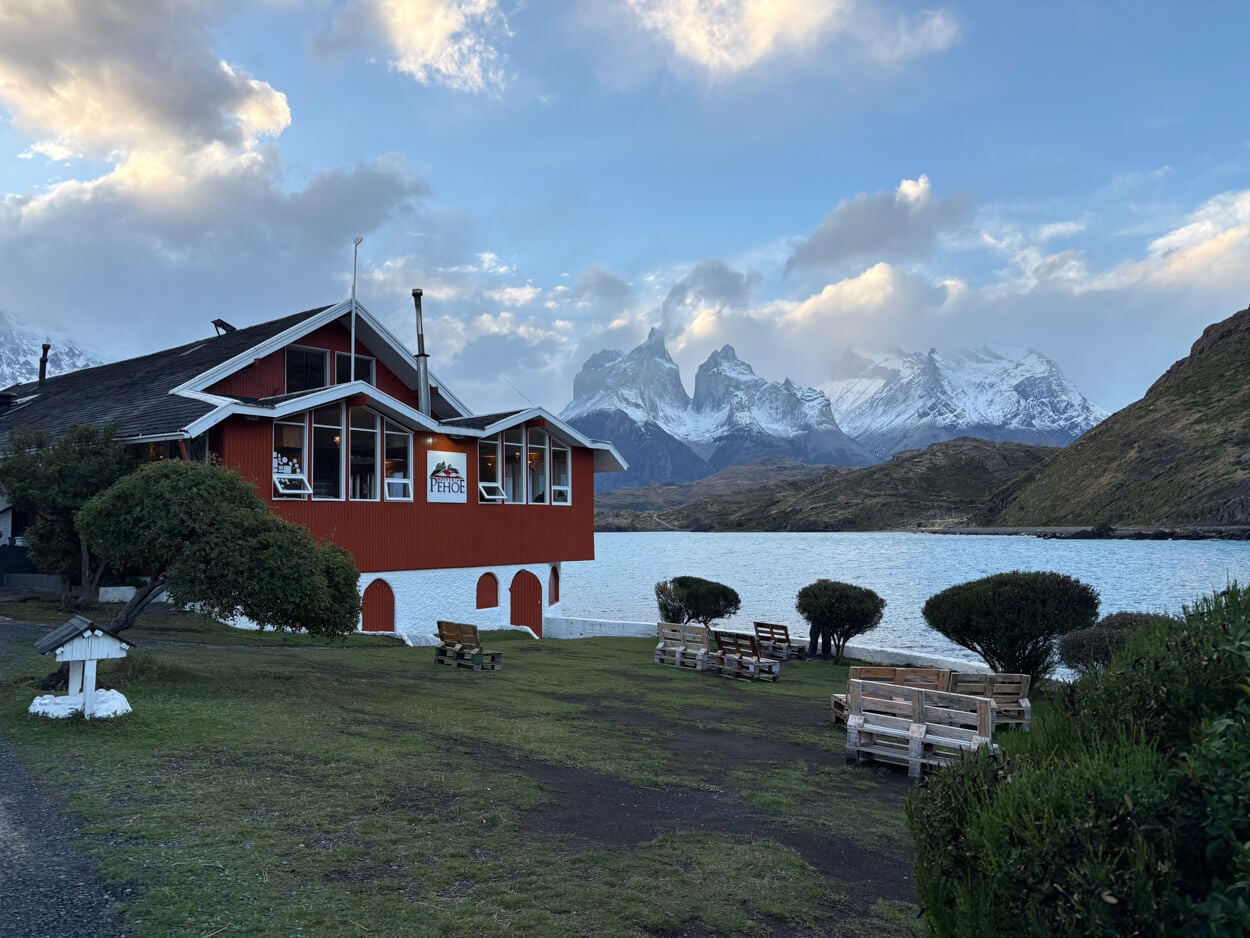
Hostería Pehoé, a popular place to stay at.
Car Rental Options and Bus Transfers
Whether you should rent a car or not mostly depends on the type of holiday you are planning. You can entirely organize your trip with Bus Transfers, but you’d have to adjust your movements to the bus schedule, especially if you opt for staying in Puerto Natales instead of somewhere in Torres del Paine.
For instance, if you are planning to rely on bus transfers and hike to Base Torres for Sunrise, that’s not feasible. Bus transfers don’t leave that early from Puerto Natales. And, if you arrive by bus, you’ll be arriving with several others, which means busier trails. But, of course, you would be saving much of the cost of a rental car.
I rented a car for my trip. As my trip was focused on hiking as much as it was focused on Landscape photography, it made sense for me to have the flexibility of moving around the park and surrounding areas as much as possible.
Car Rental Options
There are several car rental agencies in Puerto Natales, from local companies to private ones and to established international agencies. The first thing to be aware of is that only Sixt has an actual pickup and drop-off point at the Puerto Natales airport.
All the other agencies have their pickup and drop-off locations in Puerto Natales. In this case, you can either organize the bus transfer yourself, cheaper, or purchase a pickup/dropoff service from the agency. They will pick you up and drive you to their office, and return you to the airport when returning the car.
Normal passenger cars are fine for the road in and around TDP. However, most of the roads in the park are rough gravel roads, so it is slow going. And you want to take it slow to avoid rocky/flats. Flats are relatively common, and although I luckily did not get one, I saw 1-2 every day.
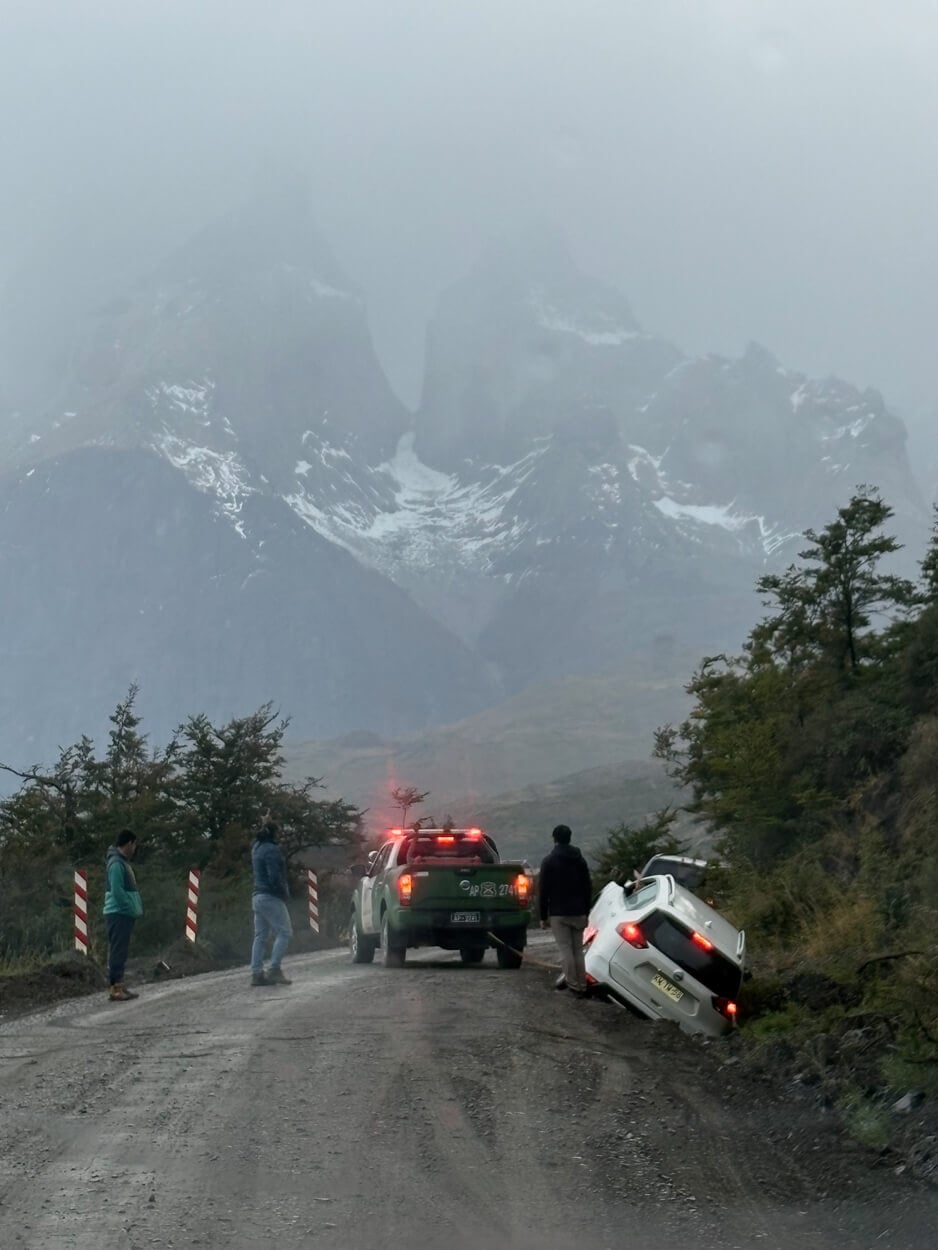
Careful driving inside the park is required; the roads are rough
Do note that there is no gas station anywhere near the park. The closest one is in Puerto Natales. So, if you are planning to travel much farther, make sure you have enough fuel – or drive back to Puerto Natales to resupply, as I did before driving to Argentina.
The gas station in La Esperanza along road 40 can run out of fuel from time to time. And presumably you don’t want to get stuck there waiting for the fuel supply.
Bus Transfers
You can save on the car rental and rely on bus transfers for the entire trip. For example, you can take a transfer from the Airport to Puerto Natales, and from Puerto Natales to Torres del Paine, and back.
This is a good option if you do not need the flexibility of being able to take the car and go somewhere to photograph sunrise, for example. Bus-Sur is probably the most used service for transfers.
Accommodation – Staying in Torres del Paine or in Puerto Natales?
Within the park, accommodation is somewhat limited and goes between acceptably expensive to outrageously expensive to prohibitive, depending on location. Do note I travel solo, so the prices are intended per room, which is usually for two persons.
Rio Serrano tends to be the more affordable area, with options in the range of 100-150 per night. Hosteria Pehoe, in the heart of the park, was in the range of 200-250 per night for their more affordable rooms. Apart from Campsites, everything else from here is more expensive, by a few hundred more, or by several thousand. I recall seeing 13k USD per night at one hotel. Yes, 13k
Puerto Natales is a popular place to stay and considerably cheaper than staying within the park; for instance, you can find a private apartment for five days for the same price you would book a room within the park for one night. That’s not a negligible difference.
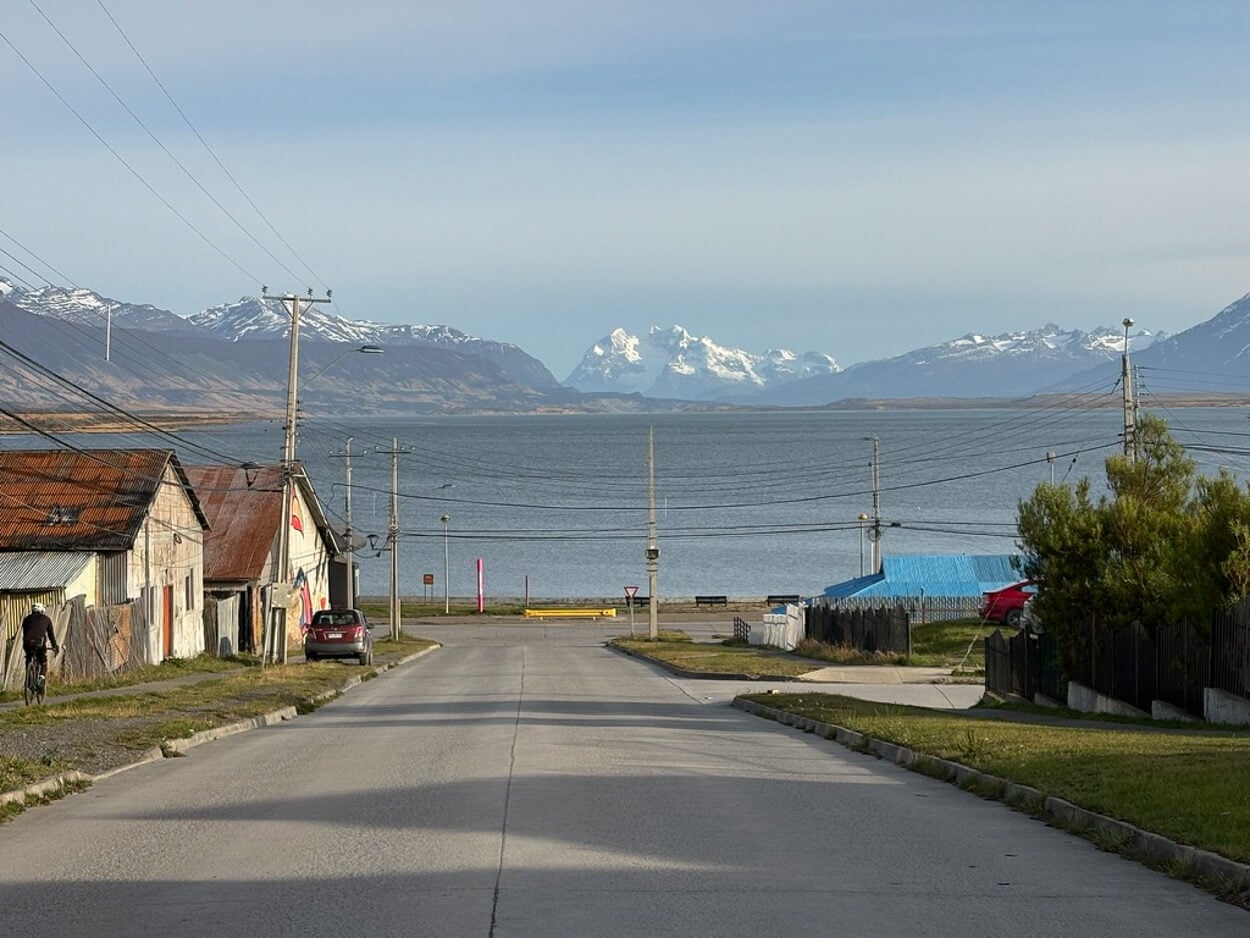
View of the landscape around Puerto Natales from a road in town.
The downside is that you must account for two hours’ drive every day, or for bus transfers. It’s a small, lovely town with lots of restaurants and a good supermarket to stock up for the park.
I initially chose to stay in Puerto Natales and booked an accommodation there. Then, after some pondering, I decided to spend a few hundred bucks extra to stay in the park. For a single person, that turned out to be about 700 EUR more for five nights, for a total of about 1000 instead of 300. Sounds like a lot, but compare that to an apartment without breakfast included, the fuel, and the four hours of driving every day to go to the park and back.
For me, the extra costs to stay in the Park were worth it, especially in terms of the flexibility that being on site provided. And the four hours extra could either be spent resting or exploring the area more.
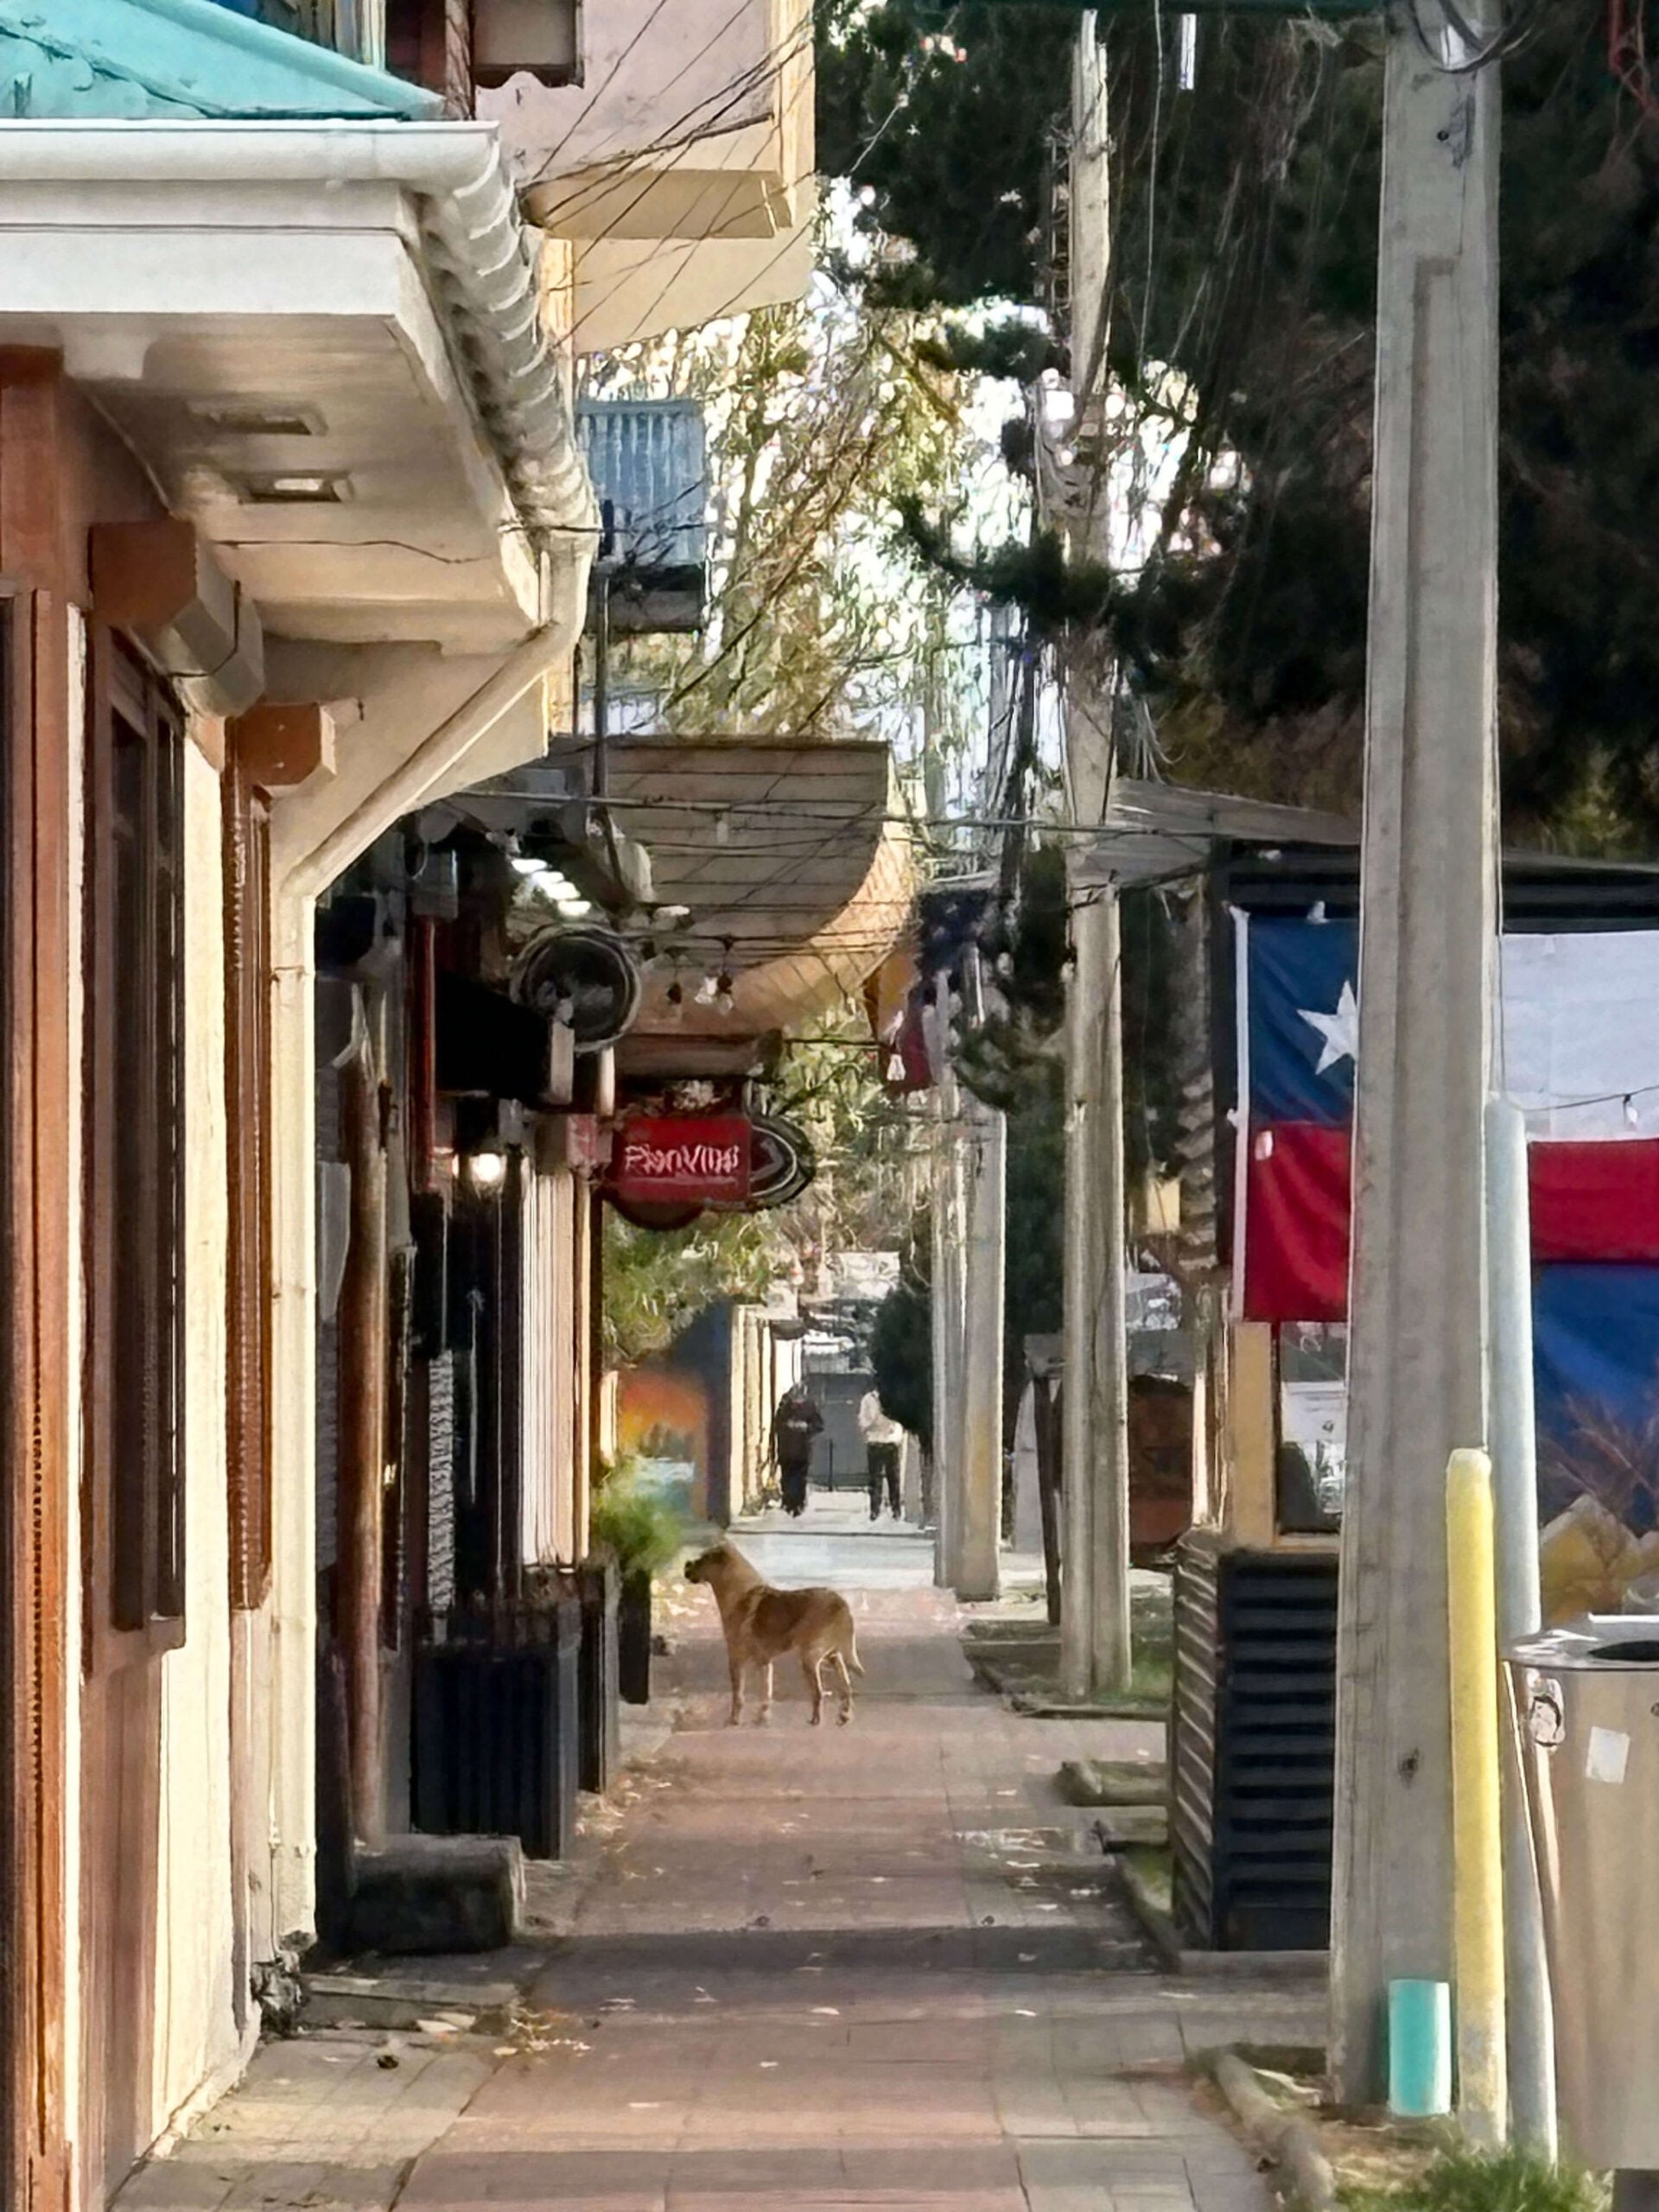
However, Puerto Natales is a nice enough town to spend a few days at too doing day trips. it has all the amenities one may need. And I found it to be a nice tone to walk around. One thing I wasn’t aware of are the many stray dogs, but they seem to live in peace with the local community, apart from barking at the occasional car. As someone who loves dogs, it was actually nice to see this ind of symbiotic relationship between the town, its inhabitants and the dogs.
Weather & Weather Forecast Tools
The weather is notoriously unpredictable in Torres del Paine, and things can change quickly. Winds can go from brutal to extremely brutal in a relatively short timeframe. And, especially in the shoulder season, trails can get closed because of a sudden snowstorm or icy conditions on the trail.
So, you’d want to keep an eye on the official CONAF SITE for trail closures, guide requirements, and other updates. And keep a close eye on the weather. The most reliable apps to check the weather are Windguru and Windy.app
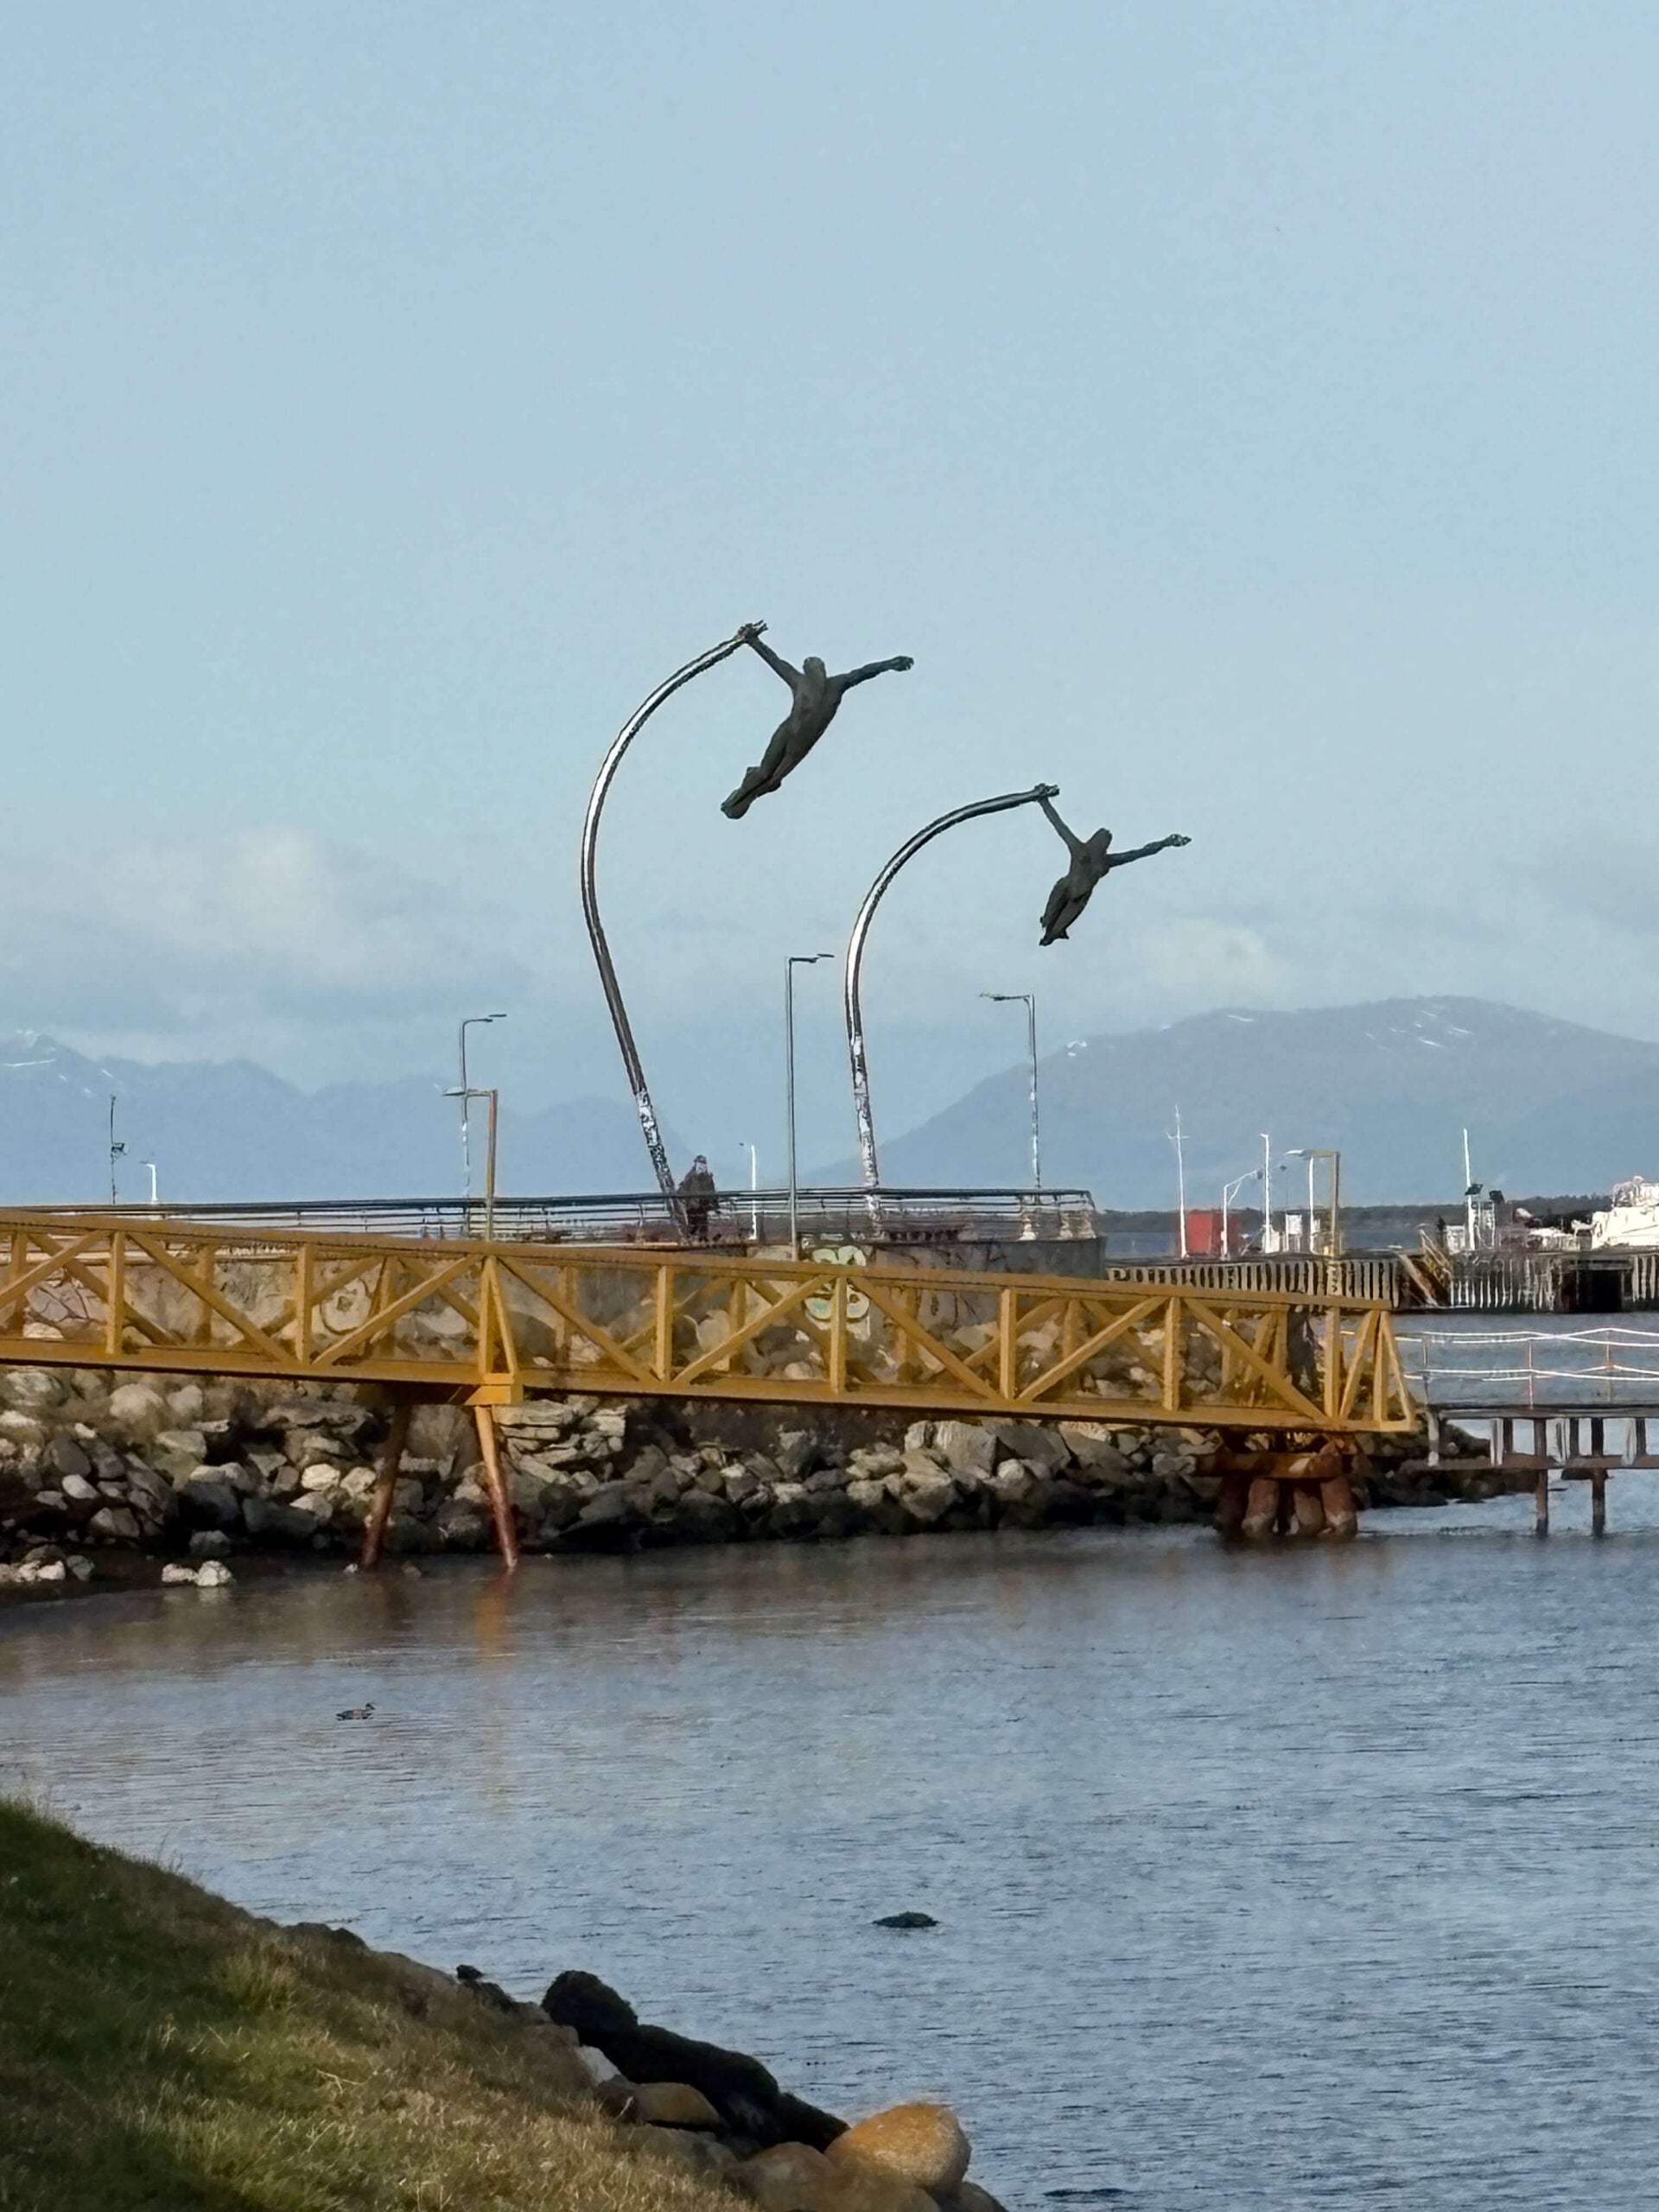
The “Monumento al Viento”, or “Monument to the Wind,” in Puerto Natales. Pretty much self-explanatory of the winds you can experience in the Area.
It’s w,rth spending some time learning how to read the Windguru forecast, especially the Cloud cover, the Wind, and the *0° isotherm (m).
- Cloud Cover: from the bottom, Windguru shows the “low cloud” which means clouds down to about 2,000m. Mid clouds are between (2,000m – 6,000m), and High clouds above that. Also, very little or no high clouds, because they can block the light for sunrise. You can use this information to understand how visibility is going to be. For example, the Mirador Base torres, is located at an altitude of about 900 meters. That means you want as little as possible cloud cover in the mid clouds range.
- Wind: Quite self-explanatory chart. Considering how brutal the winds could be in Torres del Paine, it’s probably best to avoid any long hikes if the winds are constantly above 50 km/h, as wind gusts can be much higher than that.
- The *0° isotherm (m). This information is useful to understand at what altitude the freezing point is. It’s particularly useful during shoulder season, as this will tell you where you may encounter ice on the trail.
Here is an example chart for Mirador Base Torres you can use to practice reading those values. Do note the cloud cover is as in “real life”, meaning the value at the bottom is the low cloud cover, going up from there.
Hiking Gear
The gear you bring is the most critical part of the equipment. Having the right gear will ensure you can enjoy the outdoors. As Norwegians like to say, “there’s no such thing as bad weather, only bad clothing”.
So yes, it’s true. The weather can be as brutal and as ever-changing as they say. I’m saying this as someone who’s been travelling to the northern hemisphere Arctic for well over a decade, but the winds in Patagonia are on a whole different level. If you are going to do any extended hiking, you want to bring a good windproof and waterproof outer layer and have a 3-4 layer system.
Ideally:
- A merino base layer, a fleece layer, an insulated jacket (down or synthetic), and a waterproof, windproof outer layer. Jacket and pants, in case of rain, which you’ll get at some point. iy’s Patagonia :)!
- Waterproof gloves – my personal favorite are the Sealskinz.
- Hiking poles are recommended, especially for the last km of the Base Torres hike.
- Merino Beanie. Forget about hats if it’s windy. They’re either gonna get blown to Argentina or to the Pacific Ocean. Bring jackets and mid layers with hoodies, so you can have multiple layers on your head if needed.
- One item I could not do without: Merino neck warmer. It works magic in keeping the heat around your neck and your blood warm, while allowing you to wear thinner layers on the trail, which helps prevent sweating.
Trekking poles: I generally use them under some conditions only, and I did not find them necessary on my hikes, if not perhaps for the last stretch up to Mirador Base Torres. If you don’t normally use them, then probably no need to bring them.
Bringing freeze-dried food into Chile
When it comes to importing food, Chile has strict regulations. However, it’s entirely possible to bring freeze-dried food into Chile, as long as it is commercially packaged and declared. The keyword here is commercially packaged. Homemade dehydrated food will not be allowed through.
I brought about 1.5kg of Freeze-dried food with me, with and without meat, with and without dairy products, and eggs. No issues at all. I declared them and ad the imspection the just scanned my bag, and I was out in less than five minutes.
The only thing you need to do is:
- Declare it: You can fill out SAG’s digital affidavit online from 48 hours before departure on their official website. You can fill in the Digital Affidavit here.
- Go through customs inspection; items to declare. They will ask you what type of food you have, and they will scan your baggage. I did not even have to pull it out of the bag.
On the Digital affidavit. Be aware that some third-party, private intermediary sites will ask you for payment to submit the SAG application. Avoid them. Submitting the digital affidavit is free. You can use the link I added above.
Camera Gear
Torres del Paine really is a place where you should bring all the lenses you have. From ultra-wide angle to the longest telephoto zoom you have. There’s going to be an occasion to use them all. Also, long telephoto lenses, even if you are not photographing wildlife, which I don’t either, unless the occasion presents itself.
You will also want to bring your sturdiest tripod, or one with the bottom hook to add weight. The Patagonia winds can be really brutal, and that’s essential if you want to use a tripod at all.
Wildlife in Torres del Paine & Wildlife Photography
Another big reason why Torres del Paine is popular is its wildlife. Pumas, Huemules, the Andean Condor, Foxes, guanacos, Darwin’s rheas, and more.
Admittedly, I am not a Wildlife Photographer, not even remotely close, but I do like to be ready if the occasion presents itself. And on my very first day in the Park, I saw both a Huemul and a Puma. The Puma was too close for comfort, but luckily it decided to turn around and go its own way (if interested, you can read the story of the “Puma Meeting” in my Mirador Ferrier post).
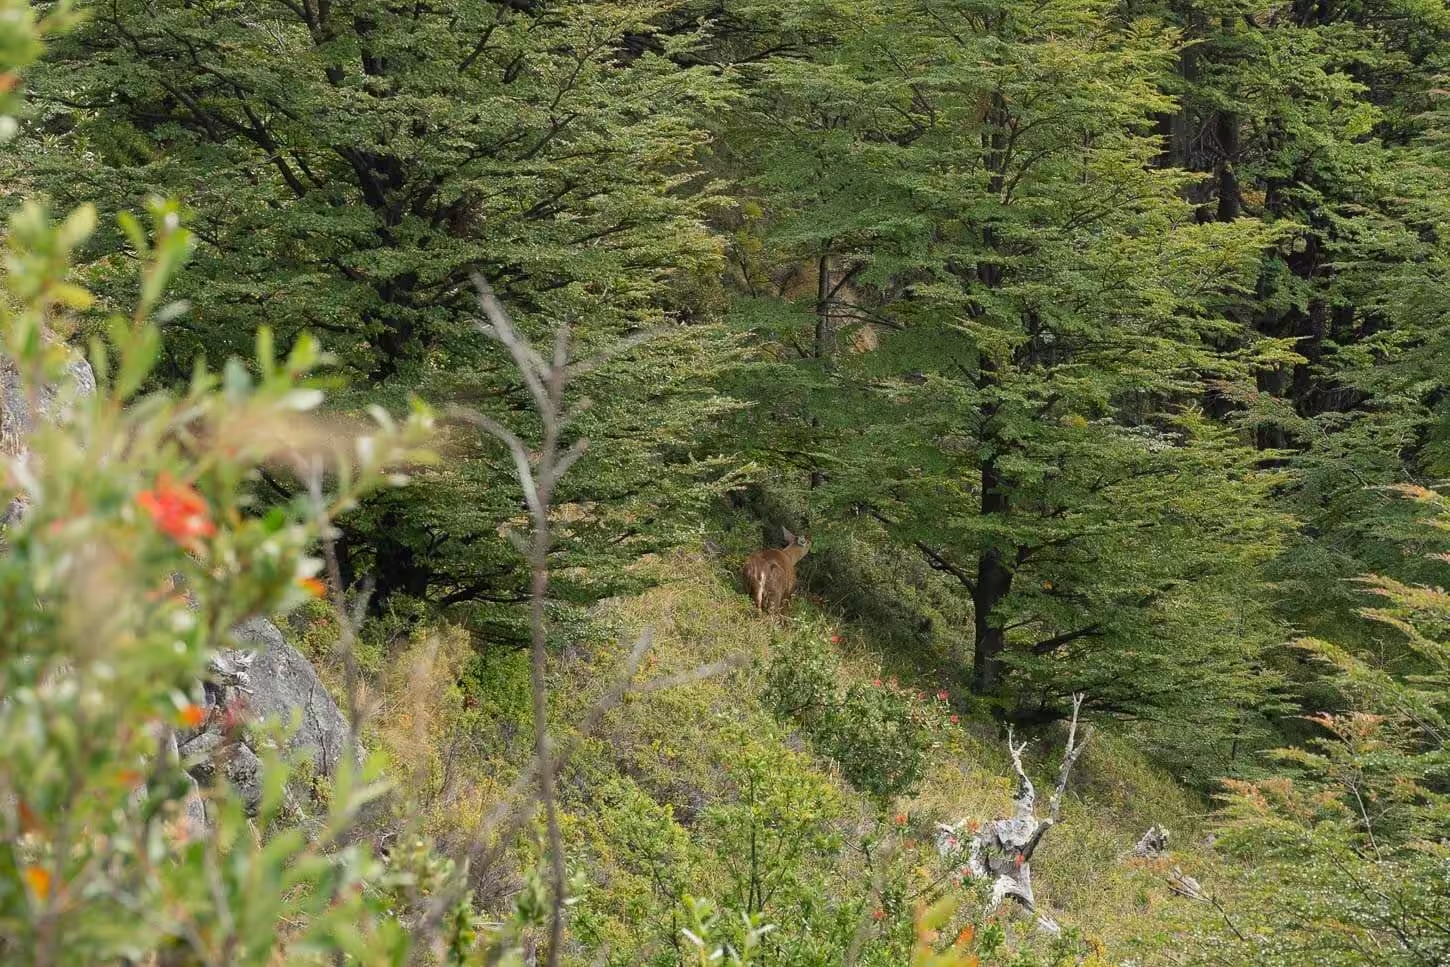
Huemul grazing in the Mirador Ferrier Area.
Now, following my first day encounters, I spoke to rangers and guides about wildlife in the park and got some interesting information.
When I spoke to the rangers at Mirador Ferrier, they were unsurprised by the Puma encounter but very much excited by the Huemul sighting. Speaking to Local guides, they did mention the Mirador Ferrier area is an area where you are more likely to see Huemules.
They mostly live in the Adjacent Rio Pingo valley, and sometimes move around the Mirador Ferrier area too. The guide I spoke to saw a Huemul three times, all in the Mirador Ferrier Area.
And while Pumas are more spread across the park, it makes sense for them to be in the same area too. They are predators, and they follow their potential prey.
This is a warning, though, not a recommendation. Startling a Puma no more than 2-3 meters away from me on the trail was not particularly fun. And to photograph Pumas, your best chances are to go with a Photo Guide that can bring you to the right places.
And look out for hopes to see the gigantic Andean Condor! I saw one, but only managed to snap a mobile photo. Impressive (the condor, not the photo).
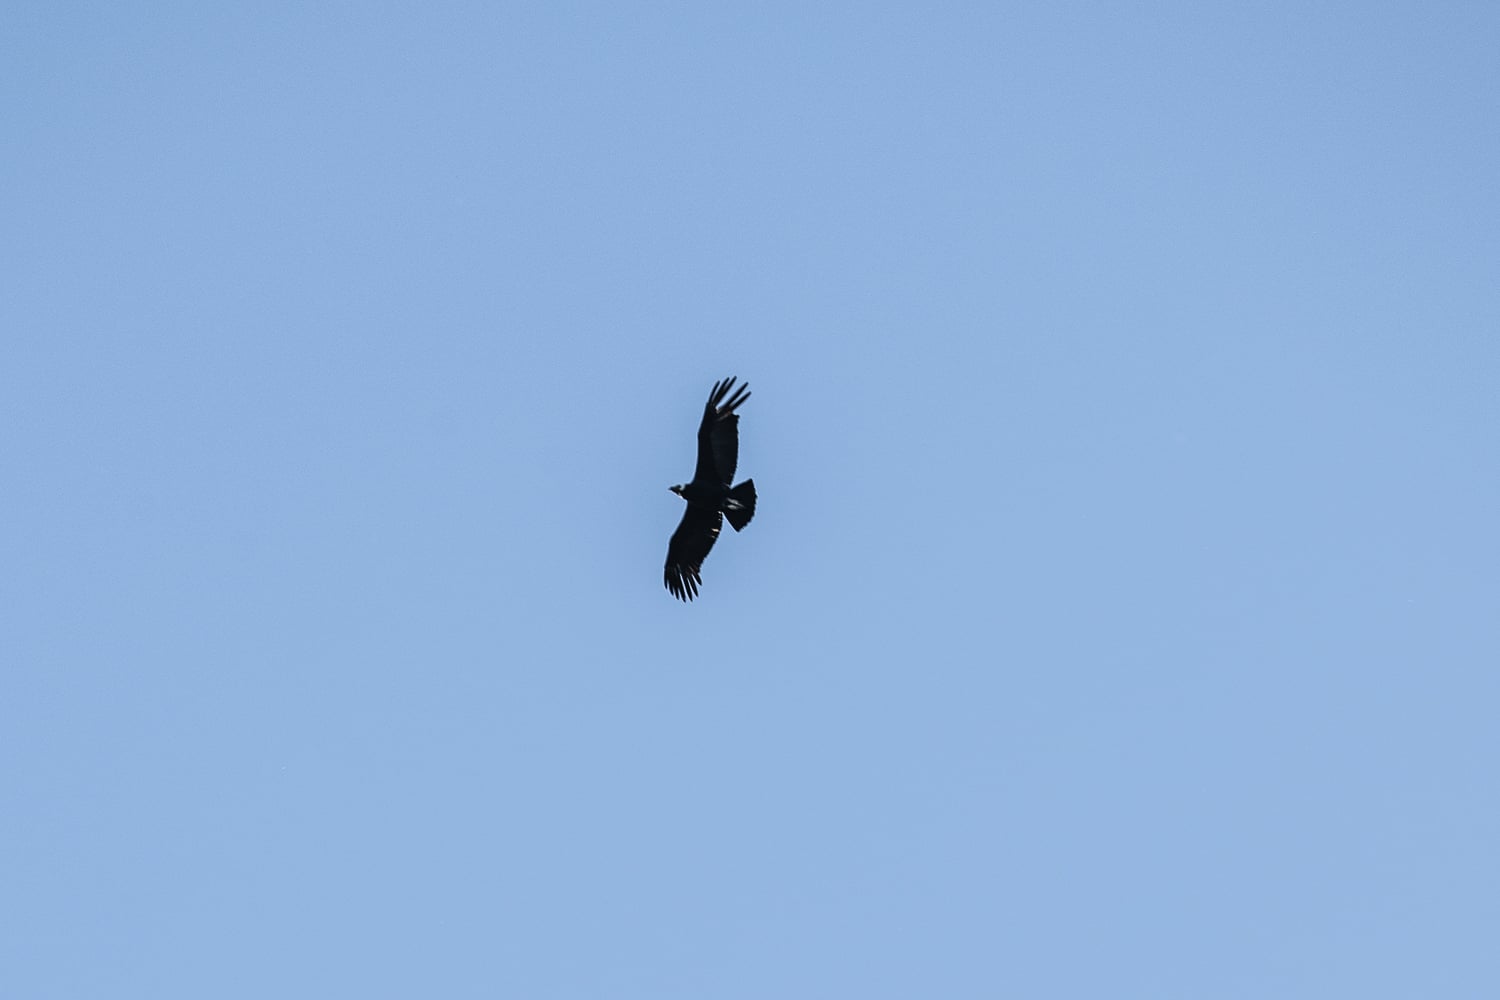
Andean Condor flying high. (400mm, full frame).
Other useful things to be aware of
Now, a few miscellaneous tips for the trip:
- Sim Cards/ Mobile Reception: mobile signal goes from patchy to none in most areas of the Torres del Paine. The Refugios have wi-fi internet connection, but it is paid unless you are staying there, and it’s not exactly cheap.
- PDI Tourist Card: Upon entering Chile, you will be given a PDI – a sort of receipt of entrance. You have to keep this for the entire trip and return it only when leaving. Do not lose it. If you are planning to visit Argentina and come back, as I did, you will have to leave the PDI at the border, and you will be given a new one when re-entering Chile from Argentina.
- Driving Safety notes: Keep an eye out for wild animals, especially Guanacos. They often graze in groups by the side of the road and can easily be startled by oncoming traffic. When they are, they can start running around, either away from or across the road. Drive slowly within the park, especially if you are not used to rough gravel roads.
- Transfer to Argentina: if you are also planning to transfer to Argentina, the transit point is Paso Río Don Guillermo Cerro Castillo, and it is only open between 8:00 AM to 8:00 PM. Sometimes till later in the summer season (9/10 pm). You should arrive well ahead of the closure time to go through the paperwork and admin stuff on both sides of the border. At least a couple of hours. If you are planning the crossing in the morning, try to arrive as early as you can to avoid being stuck at a bus stop.
- Food and snacks: shop in Puerto Natales before heading into the park. If you need to buy some food or a snack, you can only do so at the Paine Grande Welcome Center or at the Rio Pingo Visitors Center, where choice is very limited. They are more like small tourist shops with a small selection of snacks and drinks, among souvenirs and camping/hiking items.
Best Hikes and Photo Spots with Maps & GPX files
So here we are. Here are the map and the list of the most scenic spots in the park. It’s pretty much all “Miradors,” which means “Lookout” in English. You can download the GPX files directly from the activities in the app and from the full, dedicated post of each one of the locations available.
- Mirador Base Torres Hike
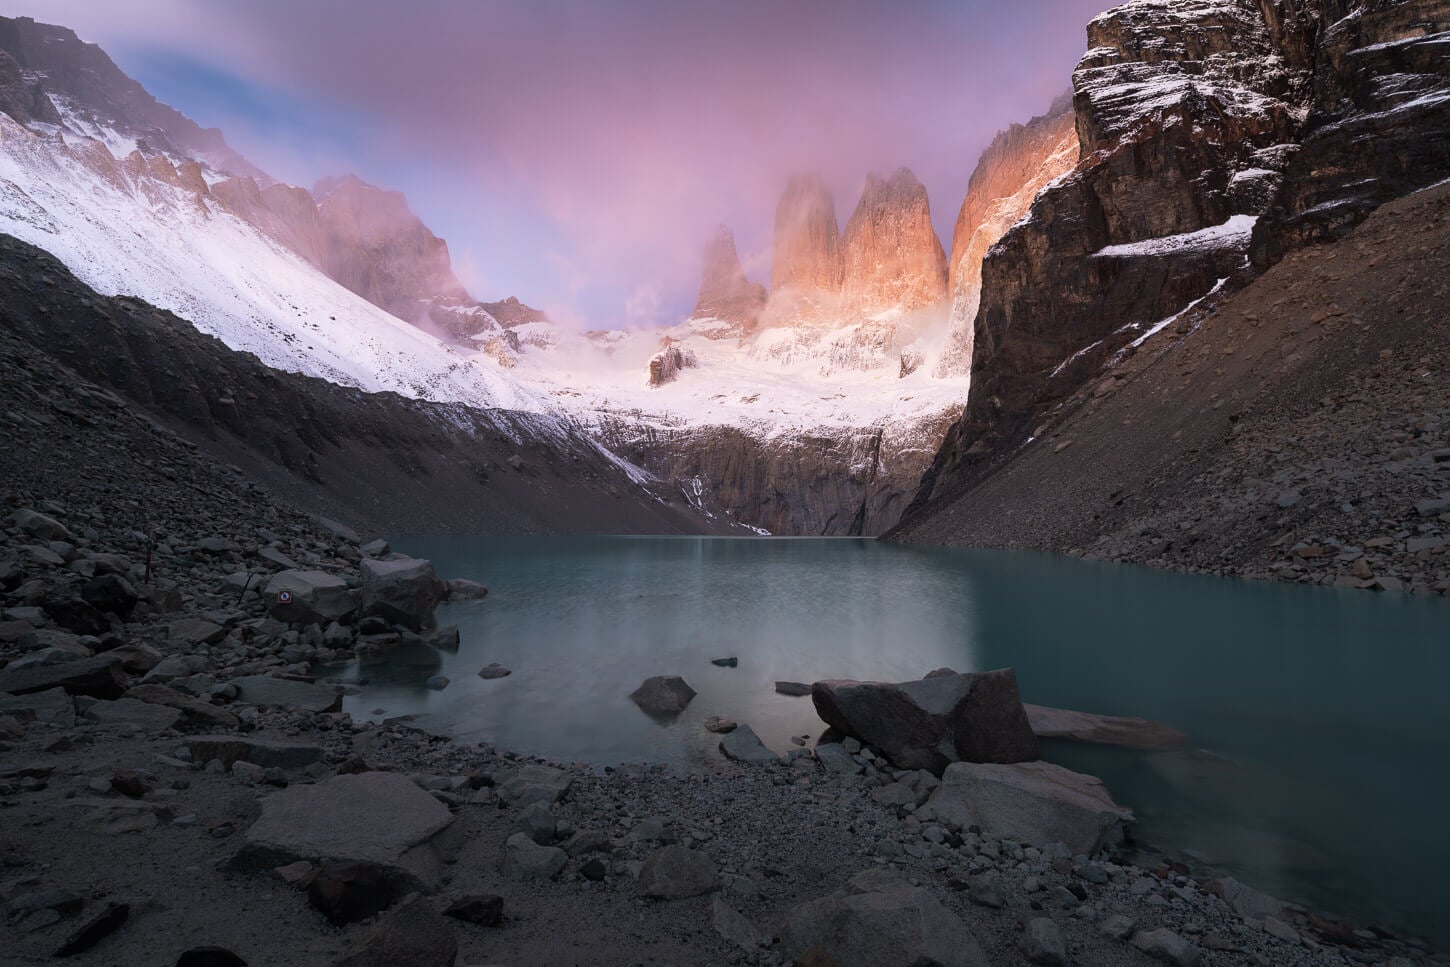
Mirador Base Torres at Sunrise
| Base Torres Hike: Quick Overview |
| • Distance: 22.0 km / 13.6 mi (Out & Back) | Time: 6h 00m–8h 00m | Difficulty: Hard | Trail: Base Torres Trail |
| • Start & Parking: Las Torres Welcome Center / Central (Torres del Paine) |
| • Best Season & Light: December through late March. Sunrise/Early morning, for the golden light on D’Agostini, Central & Monzino towers |
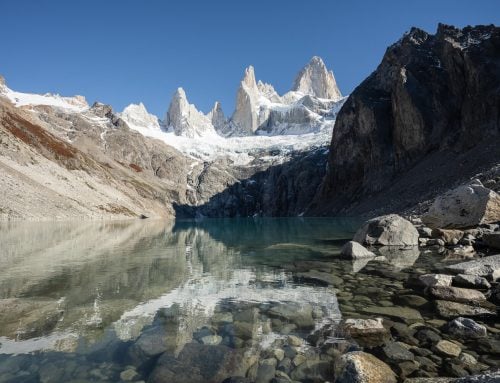
To many, this is the big-ticket item of the trip. The Iconic “Torres”. It’s a popular day hike, and equally popular for Sunrise, although the Base Torres trail is technically closed at night. The hike is long and not particularly hard, until the last kilometer or so, where there is a steep climb on an erosion-prone morainic deposit. While Part of the W trek, it can easily be done as a day hike too from the Welcome Center.
Mirador Base Torre Full Hike Details & GPX.
- Mirador Glacier Grey
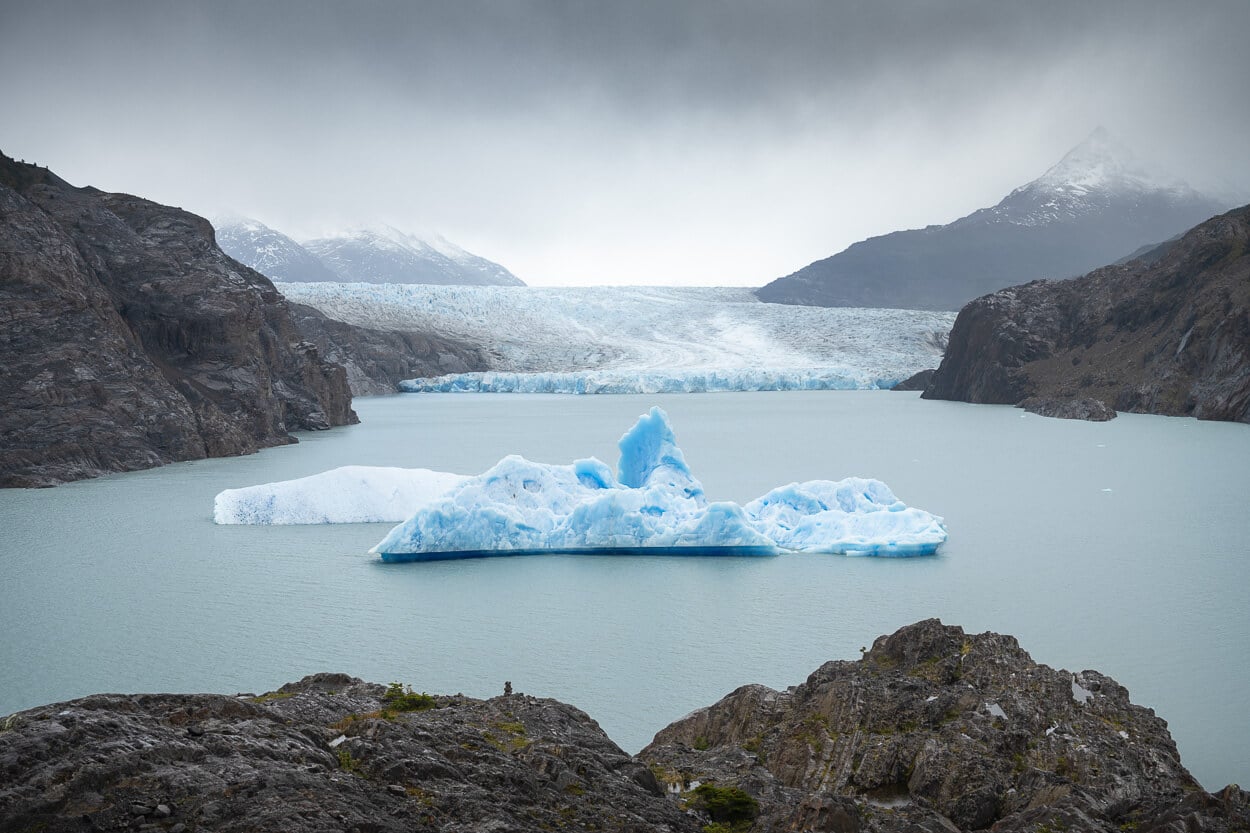
Mirador Glacier Grey
| Mirador Glacier Grey Day Hike: Quick Overview |
| • Distance: 24.1 km / 15.0 mi (Out & Back) | Time: 6h 00m–7h 30m | Difficulty: Moderate | Trail: Paine Grande Hut to Mirador Glacier Grey |
| • Start & Access: Paine Grande Hut, via Pudeto Catamaran |
| • Best Season & Light: October 1 to April 30 / Early Morning Ferry Start (For return catamaran connection) |
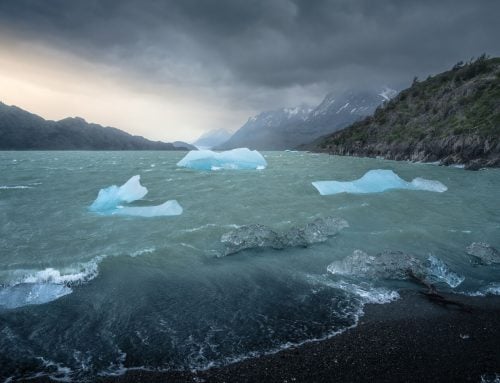
Another very popular hike to one of the most impressive glacier fronts in Torres del Paine. Also part of the We trek, it can be done as a day hike too by taking the Pudeto-Paine Grande Catamaran in the morning and back in the evening. It’s another relatively long hike, but it does not involve much elevation gain. It’s basically just a long hike along Lago Grey to the Glacier Viewpoint. There you can enjoy the views of the Glacier’s front and of the icebergs, bigger or smaller, floating in the lake before heading back.
Do note that this hike requires taking the Catamaran from Estancia Pudeto to Refugio Paine Grande, and back.
Mirador Glacier Grey Full Hike Details & GPX
- Mirador Condor
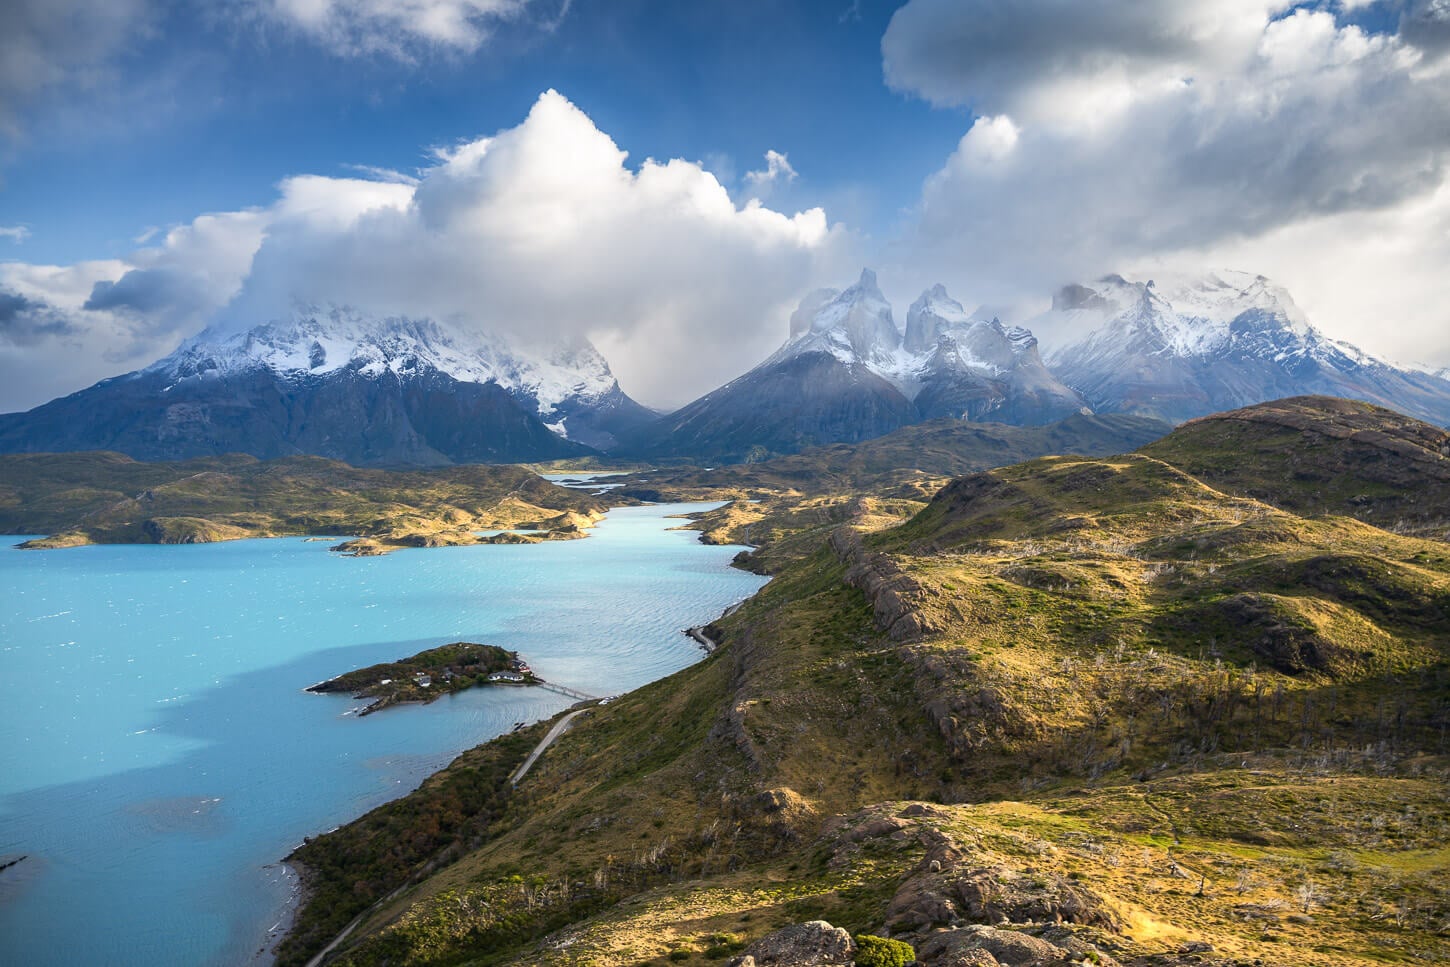
View from Mirador Condor
| Mirador Cóndor Hike: Quick Overview |
| • Distance: 3.0 km / 1.8 mi (Out & Back) | Time: 1h 00m–1h 15m | Difficulty: Easy | Trail: Mirador Cóndor Trail |
| • Start & Parking: Mirador Pehoé / Hostería Pehoé (or Camping Pehoé) |
| • Best Season & Light: November through April. Sunrise / Golden Hour (For panoramic light on Los Cuernos & Lake Pehoé) |
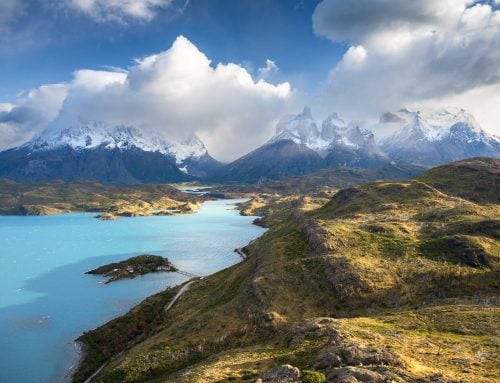
One of the best views of the Paine Grande Massif and the Cuernos group in the Park. It’s quite a short hike that can be accessed from either Hostería Pehoé or Camping Pehoé. Mirador Cóndor’s summit offers sweeping 360-degree views of the area,g
Mirador Condor full Hike & GPX
- Mirador Cuernos
A small beach on the trail to Mirador Cuernos.
| Mirador Cuernos & Salto Grande Hike: Quick Overview |
| • Distance: 6.42 km / 3.98 mi (Out & Back) | Time: 1.5–2 Hours | Difficulty: Easy | Trail: Salto Grande Parking/Estancia Pudeto to Mirador Cuernos |
| • Start & Access: Salto Grande Parking Area (Torres del Paine National Park) |
| • Best Season & Light: October to April / Morning or Late Afternoon (Golden light on Cuernos del Paine and Lake Nordenskjöld) |
Another relatively short hike that offers a scenic viewpoint as well as a view of probably the nicest waterfall in Torres del Paine, Salto Grande. It’s a hike with minimal elevation gain that passes by a couple of points of interest. Salto Grande, probably the nicest waterfall in Torres del Paine, a small, scenic beach that is particularly popular among landscape photographers, and of course, Mirador Cuernos.
Mirador Cuernos Full Hike Details & GPX
- Mirador Ferrier
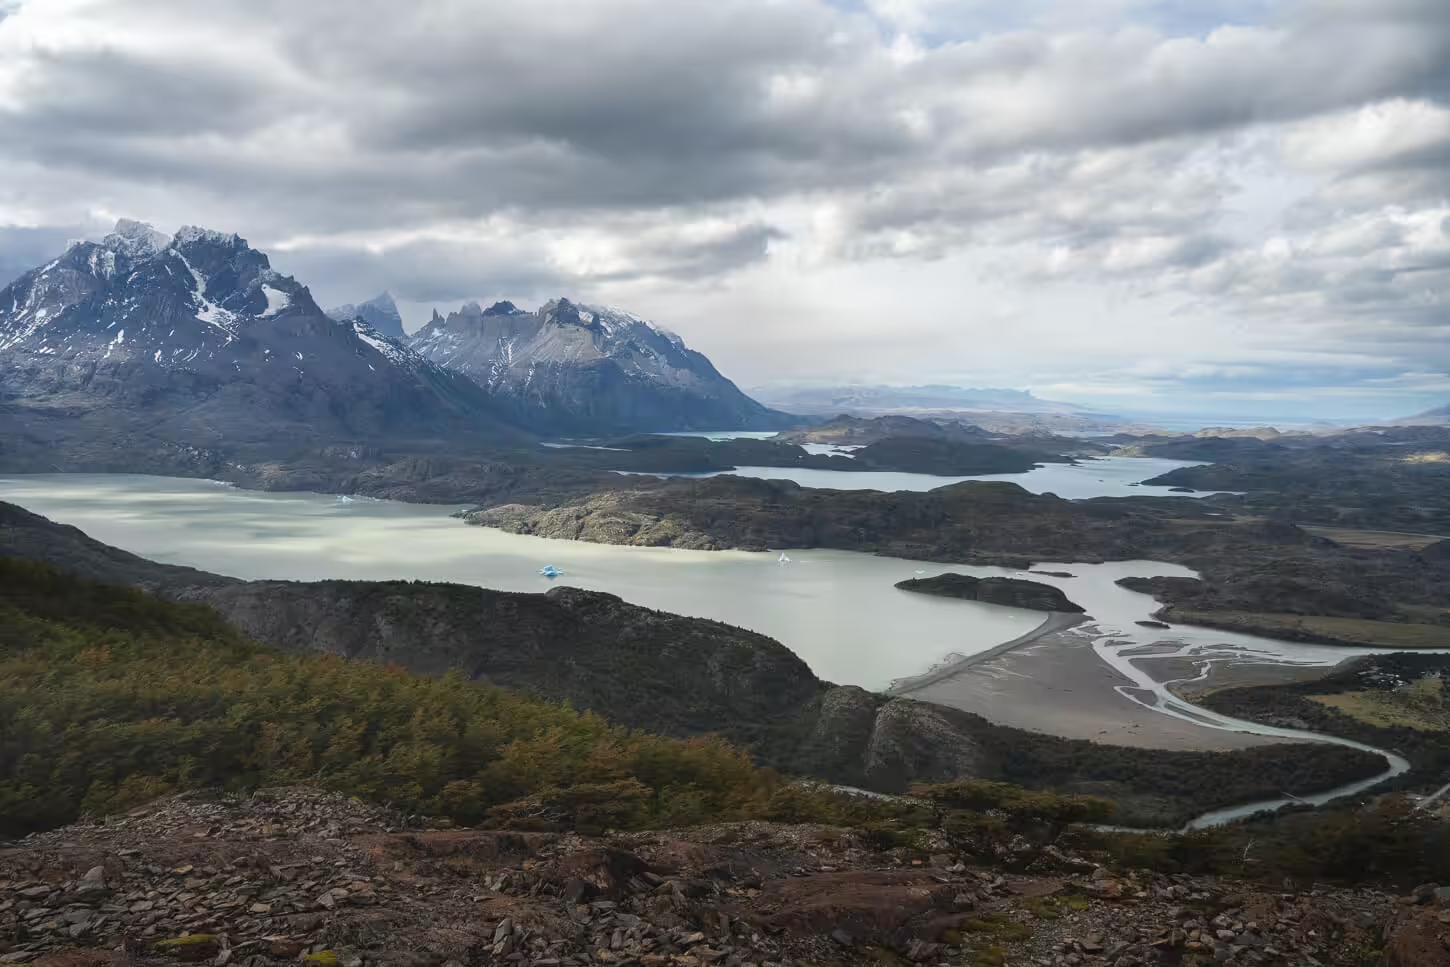
Lago Grey from the Mirador Ferrier Trail.
| Mirador Ferrier Hike: Quick Overview |
| • Distance: 5.77 km / 3.58 mi (Out & Back) | Time: 2h 30m–3h 00m | Difficulty: Moderate | Trail: Guardería Pingo to Mirador Ferrier, Fully marked |
| • Start & Access: Guardería Pingo / Lago Grey Area (CONAF hut registration required; 2:00 PM trail cutoff time) |
| • Best Season & Light: October to April / Early afternoon before the cutoff time |
A more demanding hike compared to the previous two. It’s still a relatively short trail, but it does involve a relatively important elevation gain. The trail is mostly in the forest or through bushes, but the views open up a few times before reaching the summit. Once you reach the top, you gain the view of the Paine Massif, Lago Grey, and the more remote Pingo Glacier. Being still quite a short hike, you can easily combine it with the next one in this list too, on the same day.
Mirador Ferrier Full Hike Details & GPX
- Mirador de los Hielos
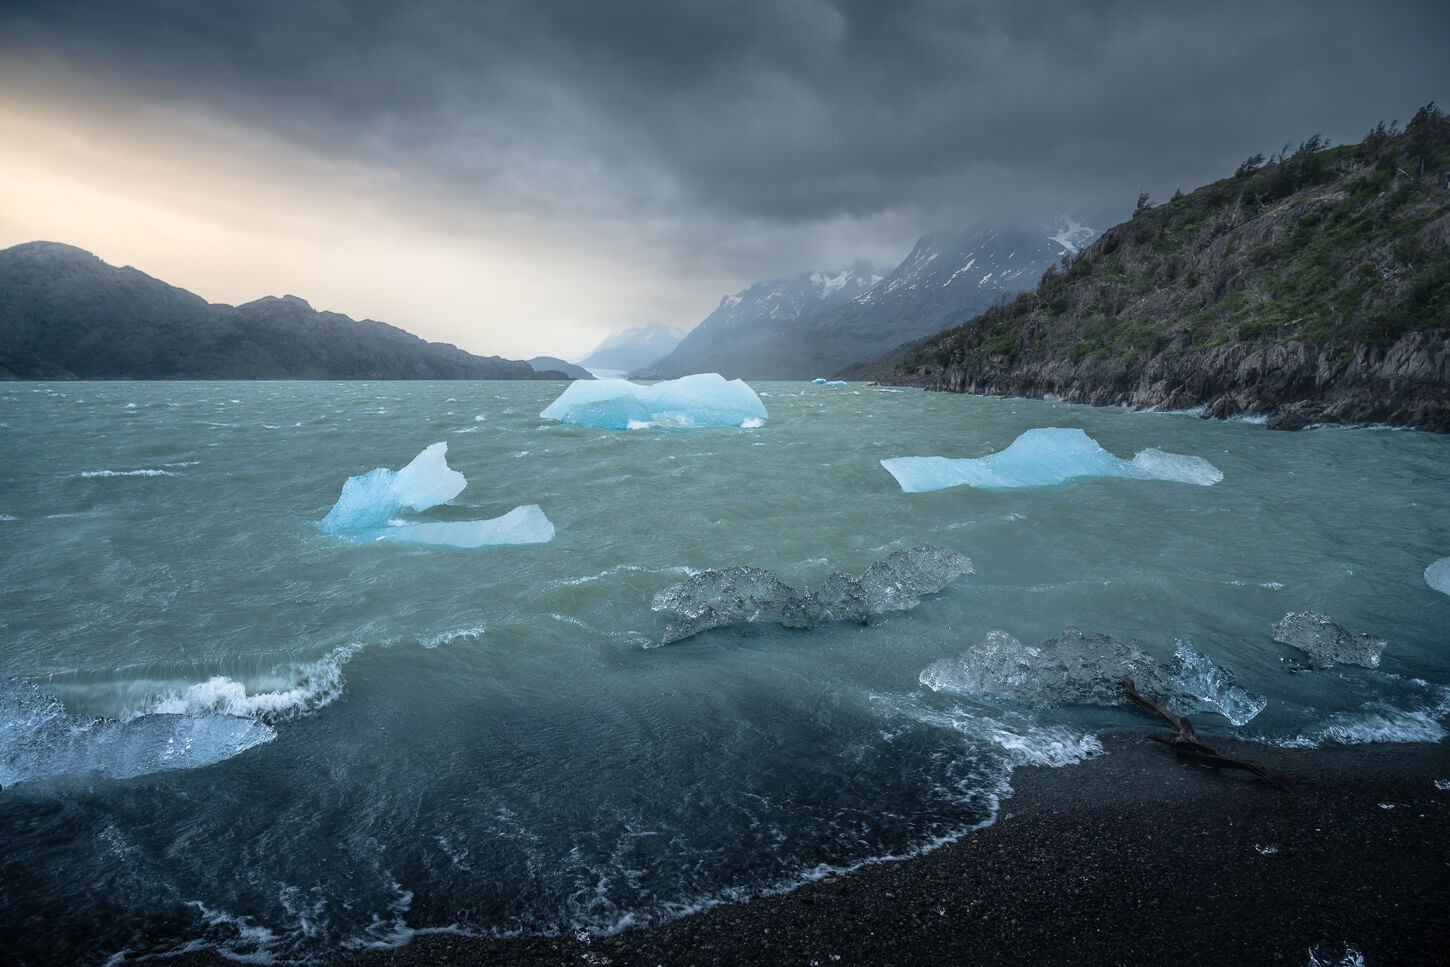
| Mirador de los Hielos Hike: Quick Overview |
| • Distance: 5.32 km / 3.3 mi (Out & Back / Loop) | Time: 1.5–2 Hours | Difficulty: Easy | Trail: Río Pingo Parking to Lago Grey Beach & Mirador Isla de los Hielos |
| • Start & Parking: Río Pingo Visitor Center / Hotel Lago Grey Parking Area |
| • Best Season & Light: October to April / Late Afternoon (Moody light on icebergs and Paine Massif) |
This is an easy hike along the shores of Lago Grey. You basically walk across a pebble beach to a small “island” where you have a great vantage point of the icebergs that reached the shores from the opposite side of the lake. It’s the best option to see some Icebergs up-close in Torres del Paine, along with Mirador Glaciar Grey.
Mirador de los Hielos Full Hike Details & GPX
- The Explora Viewpoint
This is an unnamed viewpoint close to the Hotel Explora. I just called it “Explore” for reference, as it is close to the Hotel that brings that name. It is a popular location and a popular stop for some photos, especially for landscape photographers. Easy to get to, right by the side of Road Y-150. Close to Camping Pehoé too, you can easily visit it as a short stop. Or for sunrise and Sunset.
This is where the popular boardwalk is, along with the small lake where you can capture the Paine Grande massif reflecting in the water, on rare windless days.
So not much of a hike, but an easily accessible scenic spot, to just soak in the views, or take some photos.
- Mirador Francés/Británico.
With the Base Torres and Mirador Glacier Hike, this is the other big hike that’s part of the W Trek with Glacier Grey and Base Torres<
I know, it’s my “elephant in the room”. It’s one of the most popular hikes, and I skipped it. But, to be honest, I intentionally left it at the bottom of the list for a couple of reasons.
First, purely from a landscape photography perspective, I had other hikes I wanted to do first and photo spots I wanted to visit.
If I had more time, I would have done it, but I will keep it for a future visit, when I have more time to spend in the park.
Second, the French Valley tends to have even worse weather than the surrounding areas, so I had not counted on being able to do it either.
A guide I spoke to in the park also mentioned this. That guide had been able to see it clearly only once out of a few W trek guided tours. It’s an amphitheater-shaped valley, and it often forms its own cloud system. Humid air coming from the south gets trapped in the cirque-shaped valley, gets pushed up, and as it cools, it condenses into a cloud layer.
- More Hikes
If you are still looking for more trails, here are a few more trails I had on my list. Cerro Paine is one, as an alternative to Base Torres for sunrise. And Rio Pingo, plus Mirador Zapata. However, this requires hiring a guide.
Additional Resources
- Check out my main “Hiking in Chile” page for a general overview, tips, and to discover more hikes.
- Here is the official CONAF Map with the basics about all the trails, all the rules, where to stay, and more.

Leave A Comment